
Adding a Design Wall Behind My Longarm Machine

Unusable Wall Space
Since moving into our house over four years ago, I had accepted the fact that I would not have a design wall in my long, narrow sewing room (18.5' long x 10.5' wide). I felt lucky enough to have a space to accommodate my 12-foot longarm frame with some room to spare. In order for the huge machine to fit, it had to be positioned in front of the only wall that could have functioned as a design wall-wall. If I had to choose, I would had given up a design wall any day to have easy access to my longarm. It was a no-brainer.
Possible Solution
But, what if I didn't have to choose?
In mid-November of last year, I had an idea that would make the wall behind my longarm machine useful.
Furniture sliders.
I bought the product pictured below from Amazon (affiliate link.)

Please note, these are for hardwood floors, so if you have a different flooring surface, another variety of slider might work better for you.
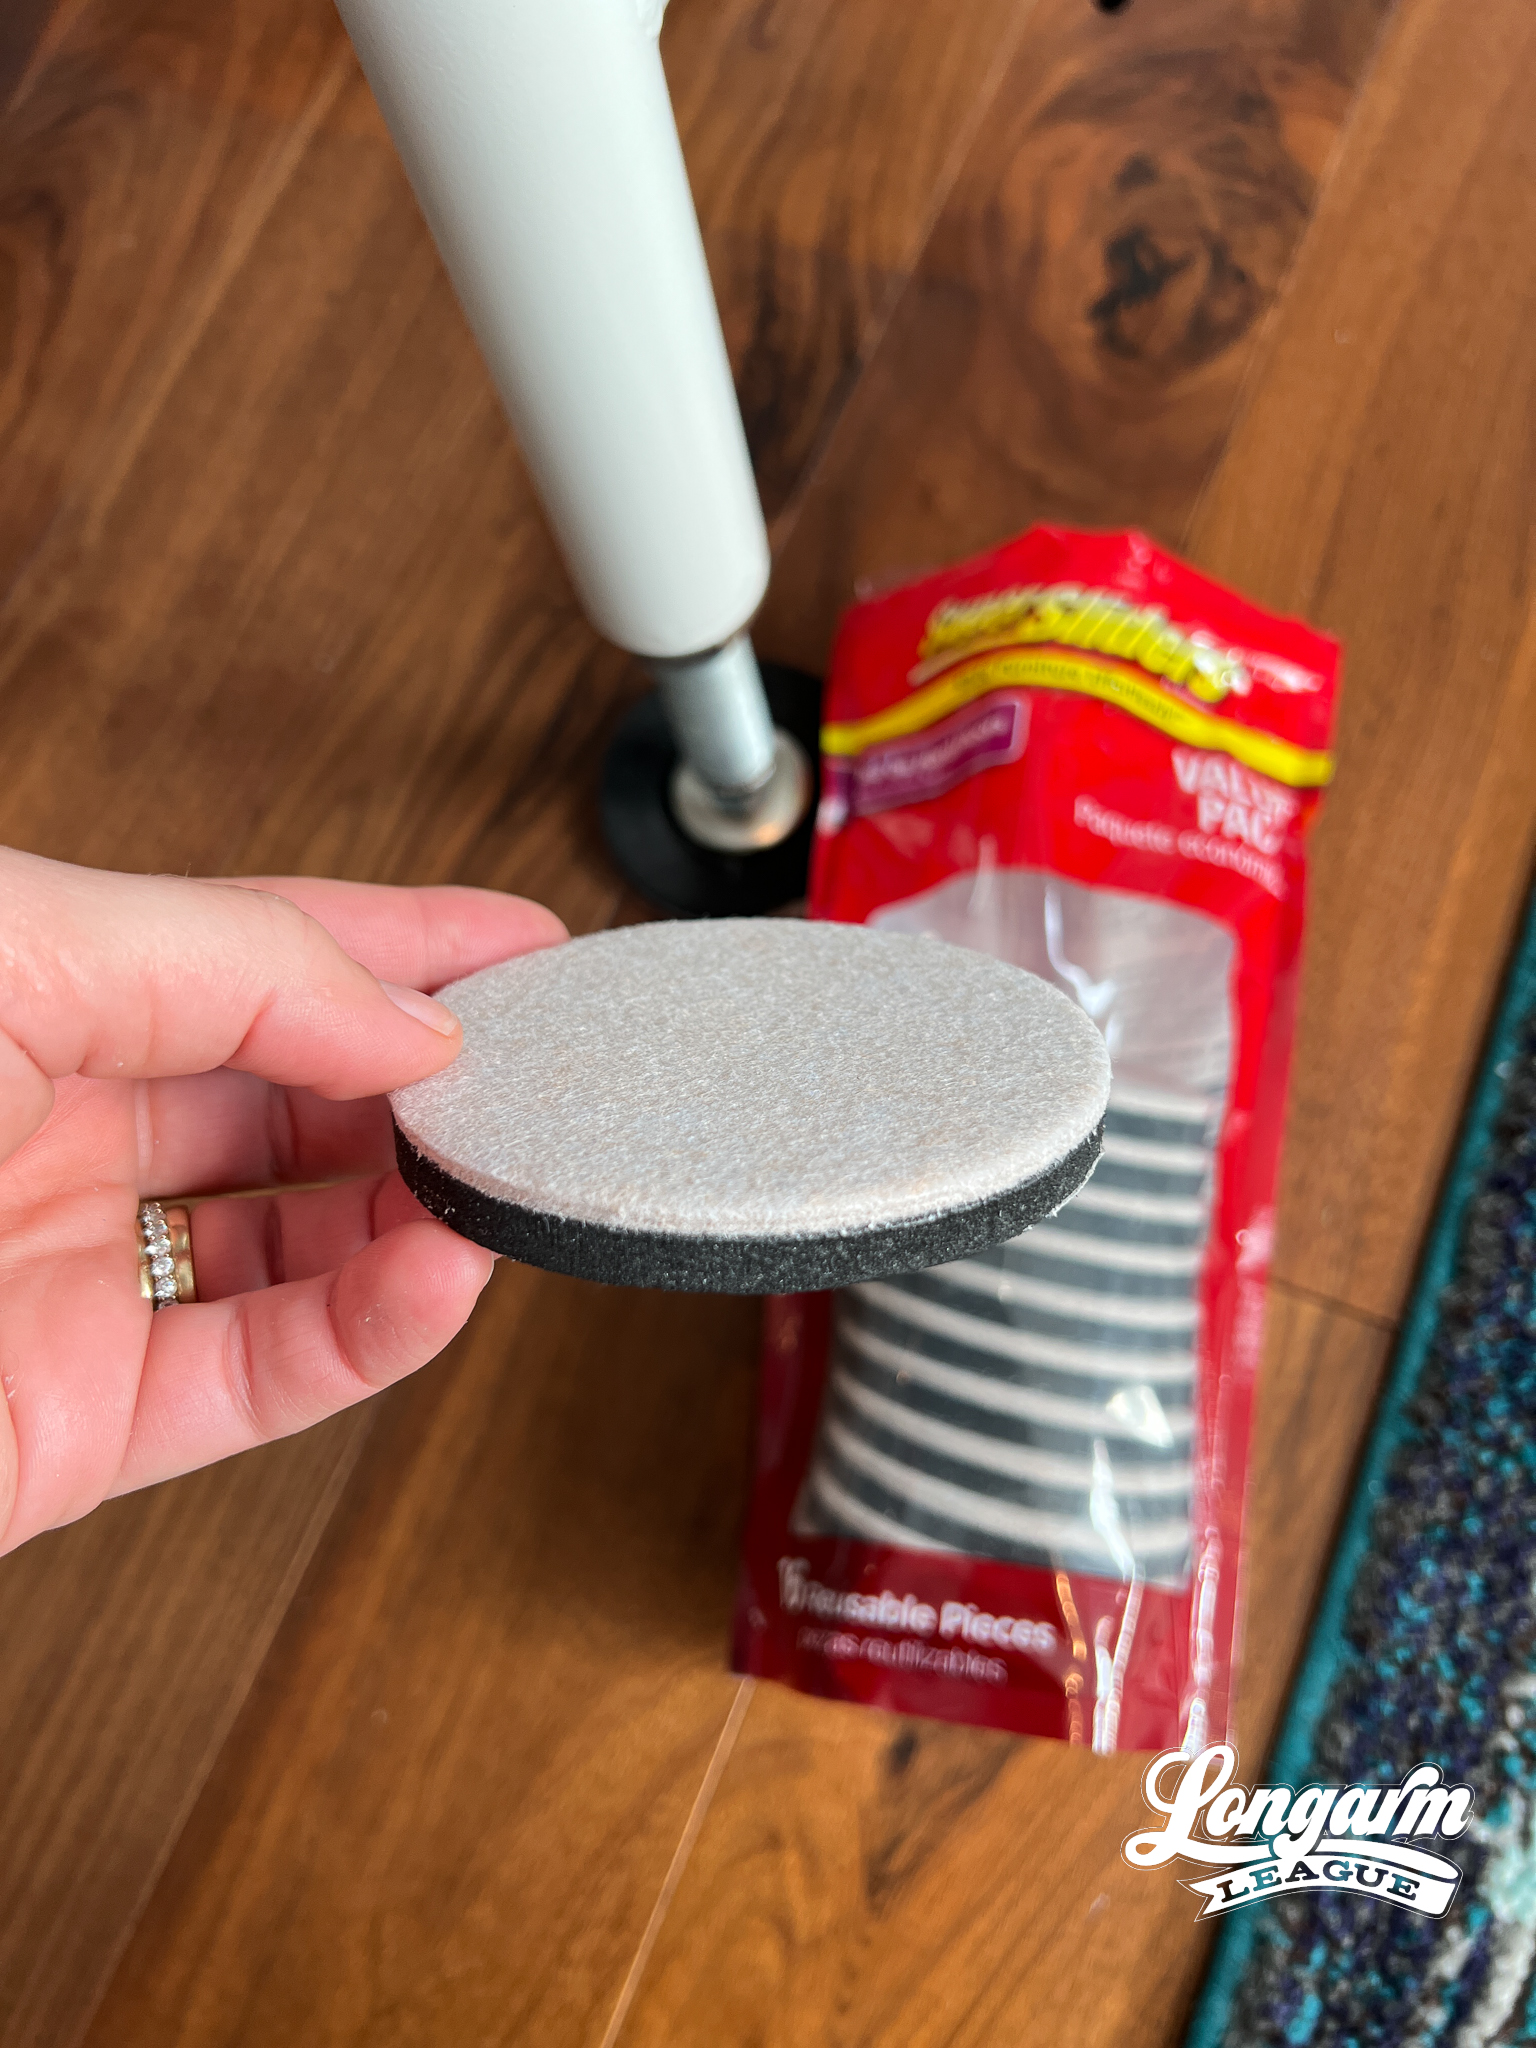
The picture above shows the layer that's against the floor. They should be placed white-side down when in use.
I was so eager to see if they would work that I slid each disc into place by myself instead of waiting for a hand from anyone else. It was difficult because my APQS frame is so dang heavy, but I managed to do it.
And then came the moment of truth...
The machine slid away from the wall pretty easily! But not so easily that it's moveable if you simply bump up against the machine. It takes some force, but it makes an otherwise impossible job alone very doable.

My plan was going to work!
I have two storage units under my longarm table that house scrap fabric, small tools and thread. As you can see by the photo above, I also have an air compressor under my longarm. I'm mentioning this because if you have hefty furniture under your longarm machine, it might not be a big advantage to slide the machine out of the way if you only have more "stuff" to contend with under the frame. But, if you're like me—the reason we use that space for storage is that we thought it would never move. "We" were so young and naive back then! All to say, there might be some creative ways to rethink your storage if the possibility opens up to move your frame.
In my case, the other items move easily and without damage to the floor, so I go ahead and slide those after I slide the frame away from the wall.
Making a Design Wall
Adding the furniture sliders was the easiest part. I needed a design wall, too, and that required some googling and more online purchasing (which I'm very good at).
I used this article from Aqua Paisley Studio to model my design wall. If you're interested in making one for yourself, I'd highly recommend reading through that tutorial. I'm going to include the materials I used for reference below, but visit the original post for the step-by-step directions.
Since I knew I could slide my longarm, I decided to slide it all the way out of my sewing room so that we would be able to work on the clean, wide open floor space of my sewing room when making the design wall. I have French doors for my studio, which made it possible to slide my longarm into our living room temporarily. This route was easier than contending with the cats and inevitable cat hair that my batting (used in a later step) would encounter in any other part of the house. 😹
Josh is in the background of the next photo either texting his friends about how much he loves moving his vinyl records out of the way so we can work on "fun" projects together around bedtime with unexplained urgency, or he's downloading dating apps to find his next wife.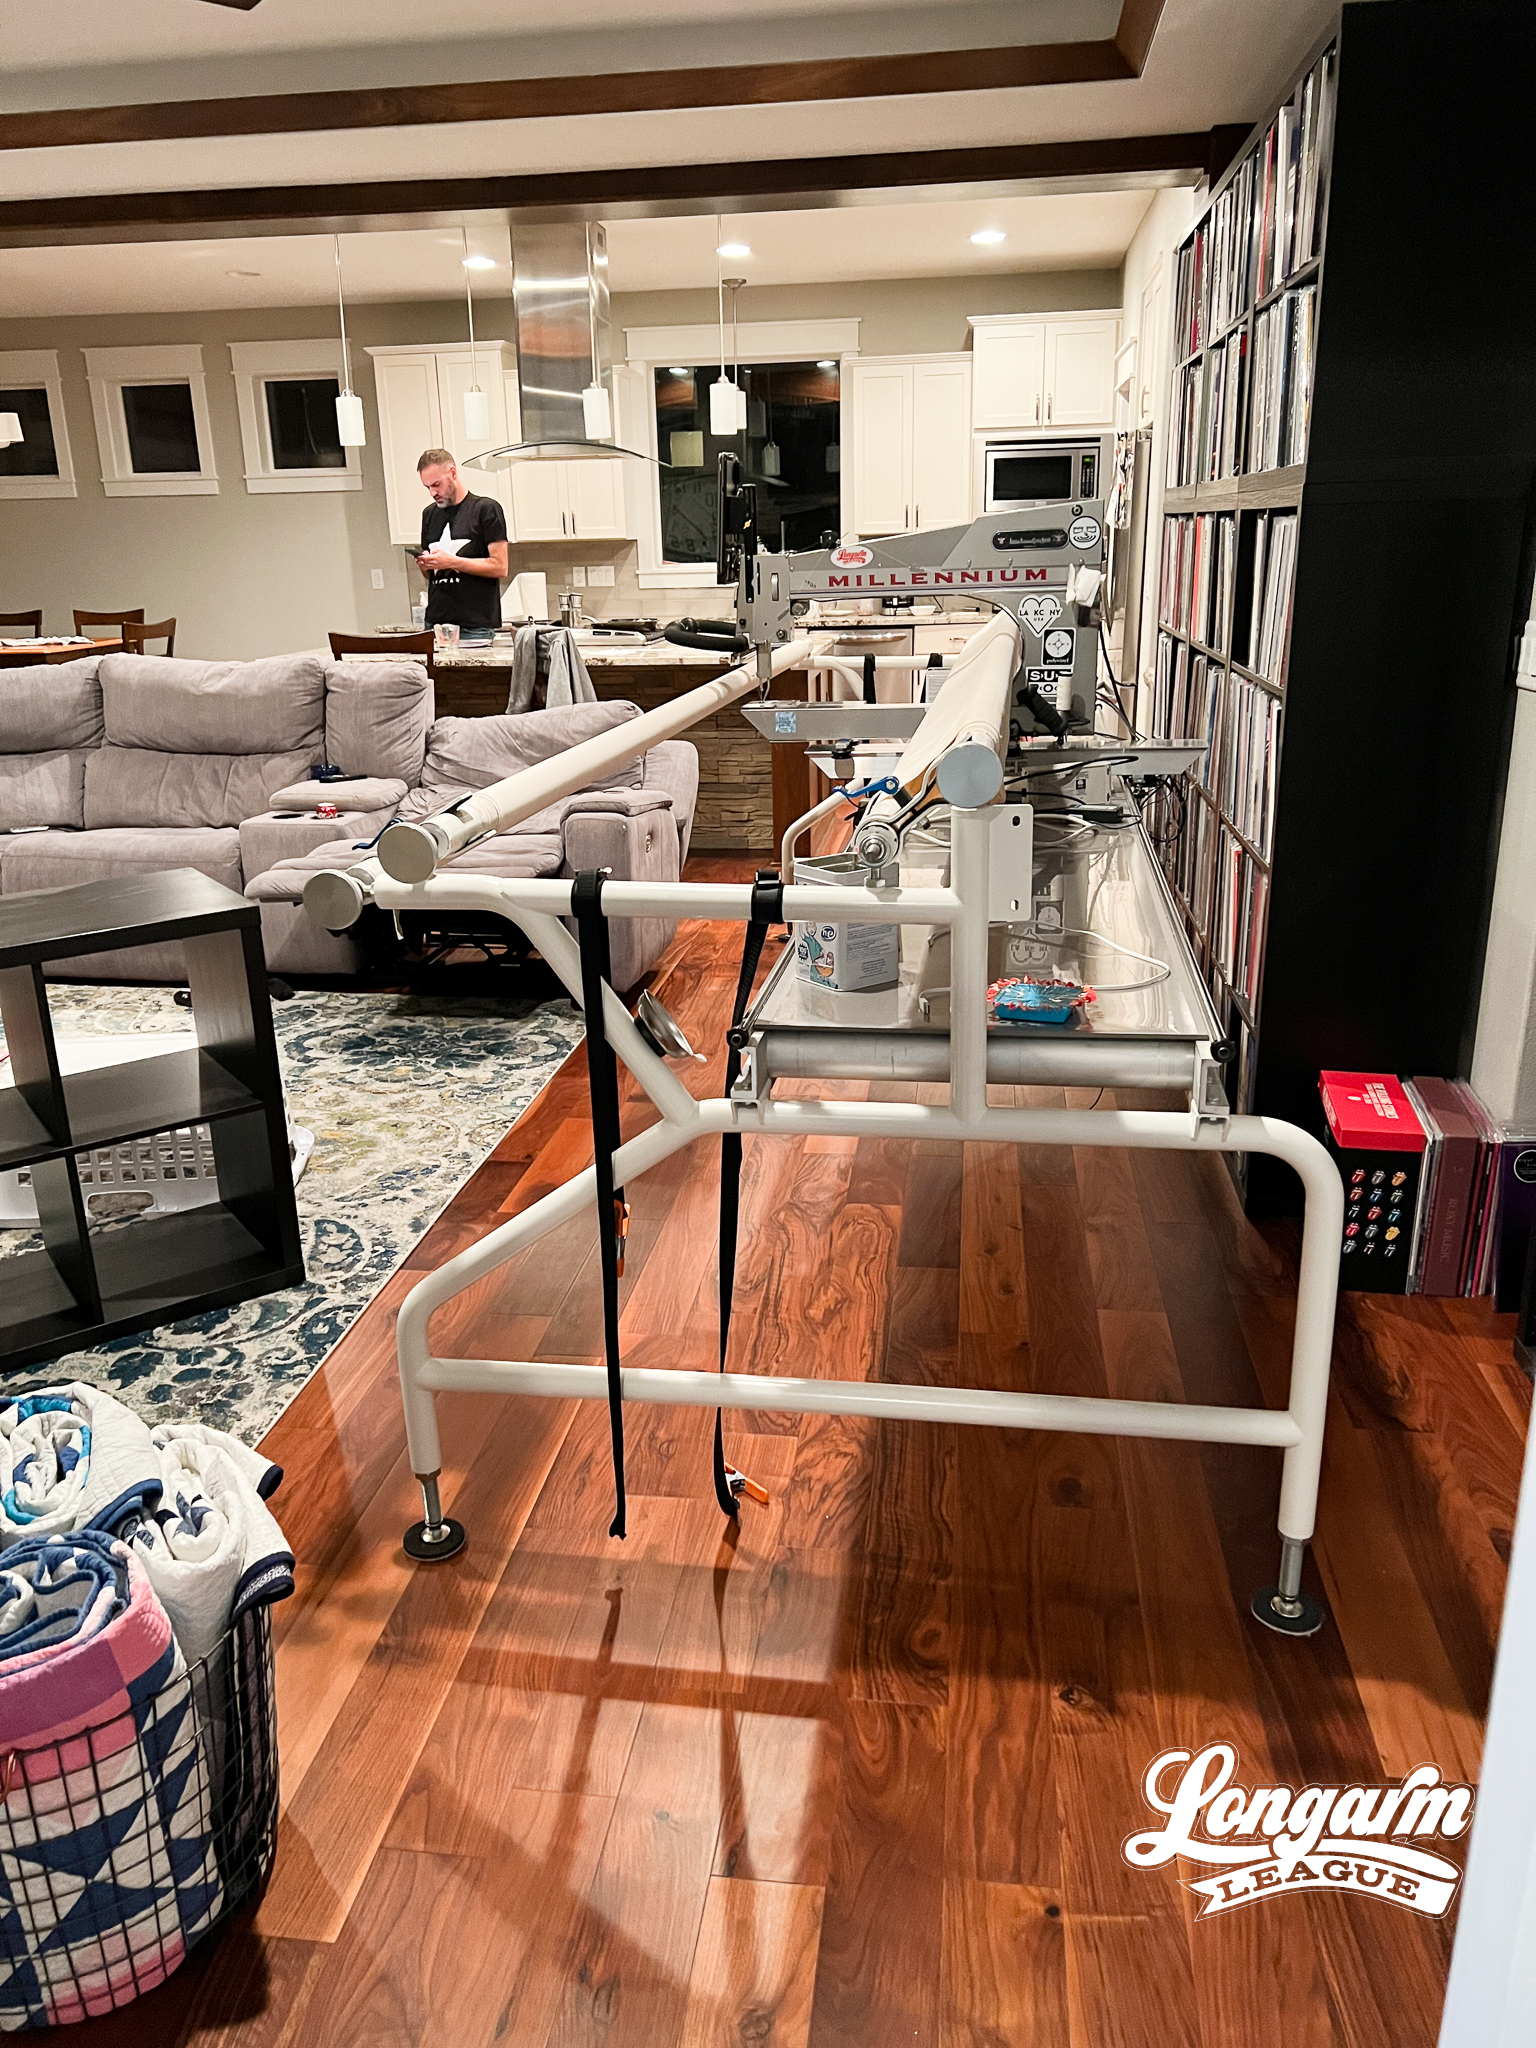
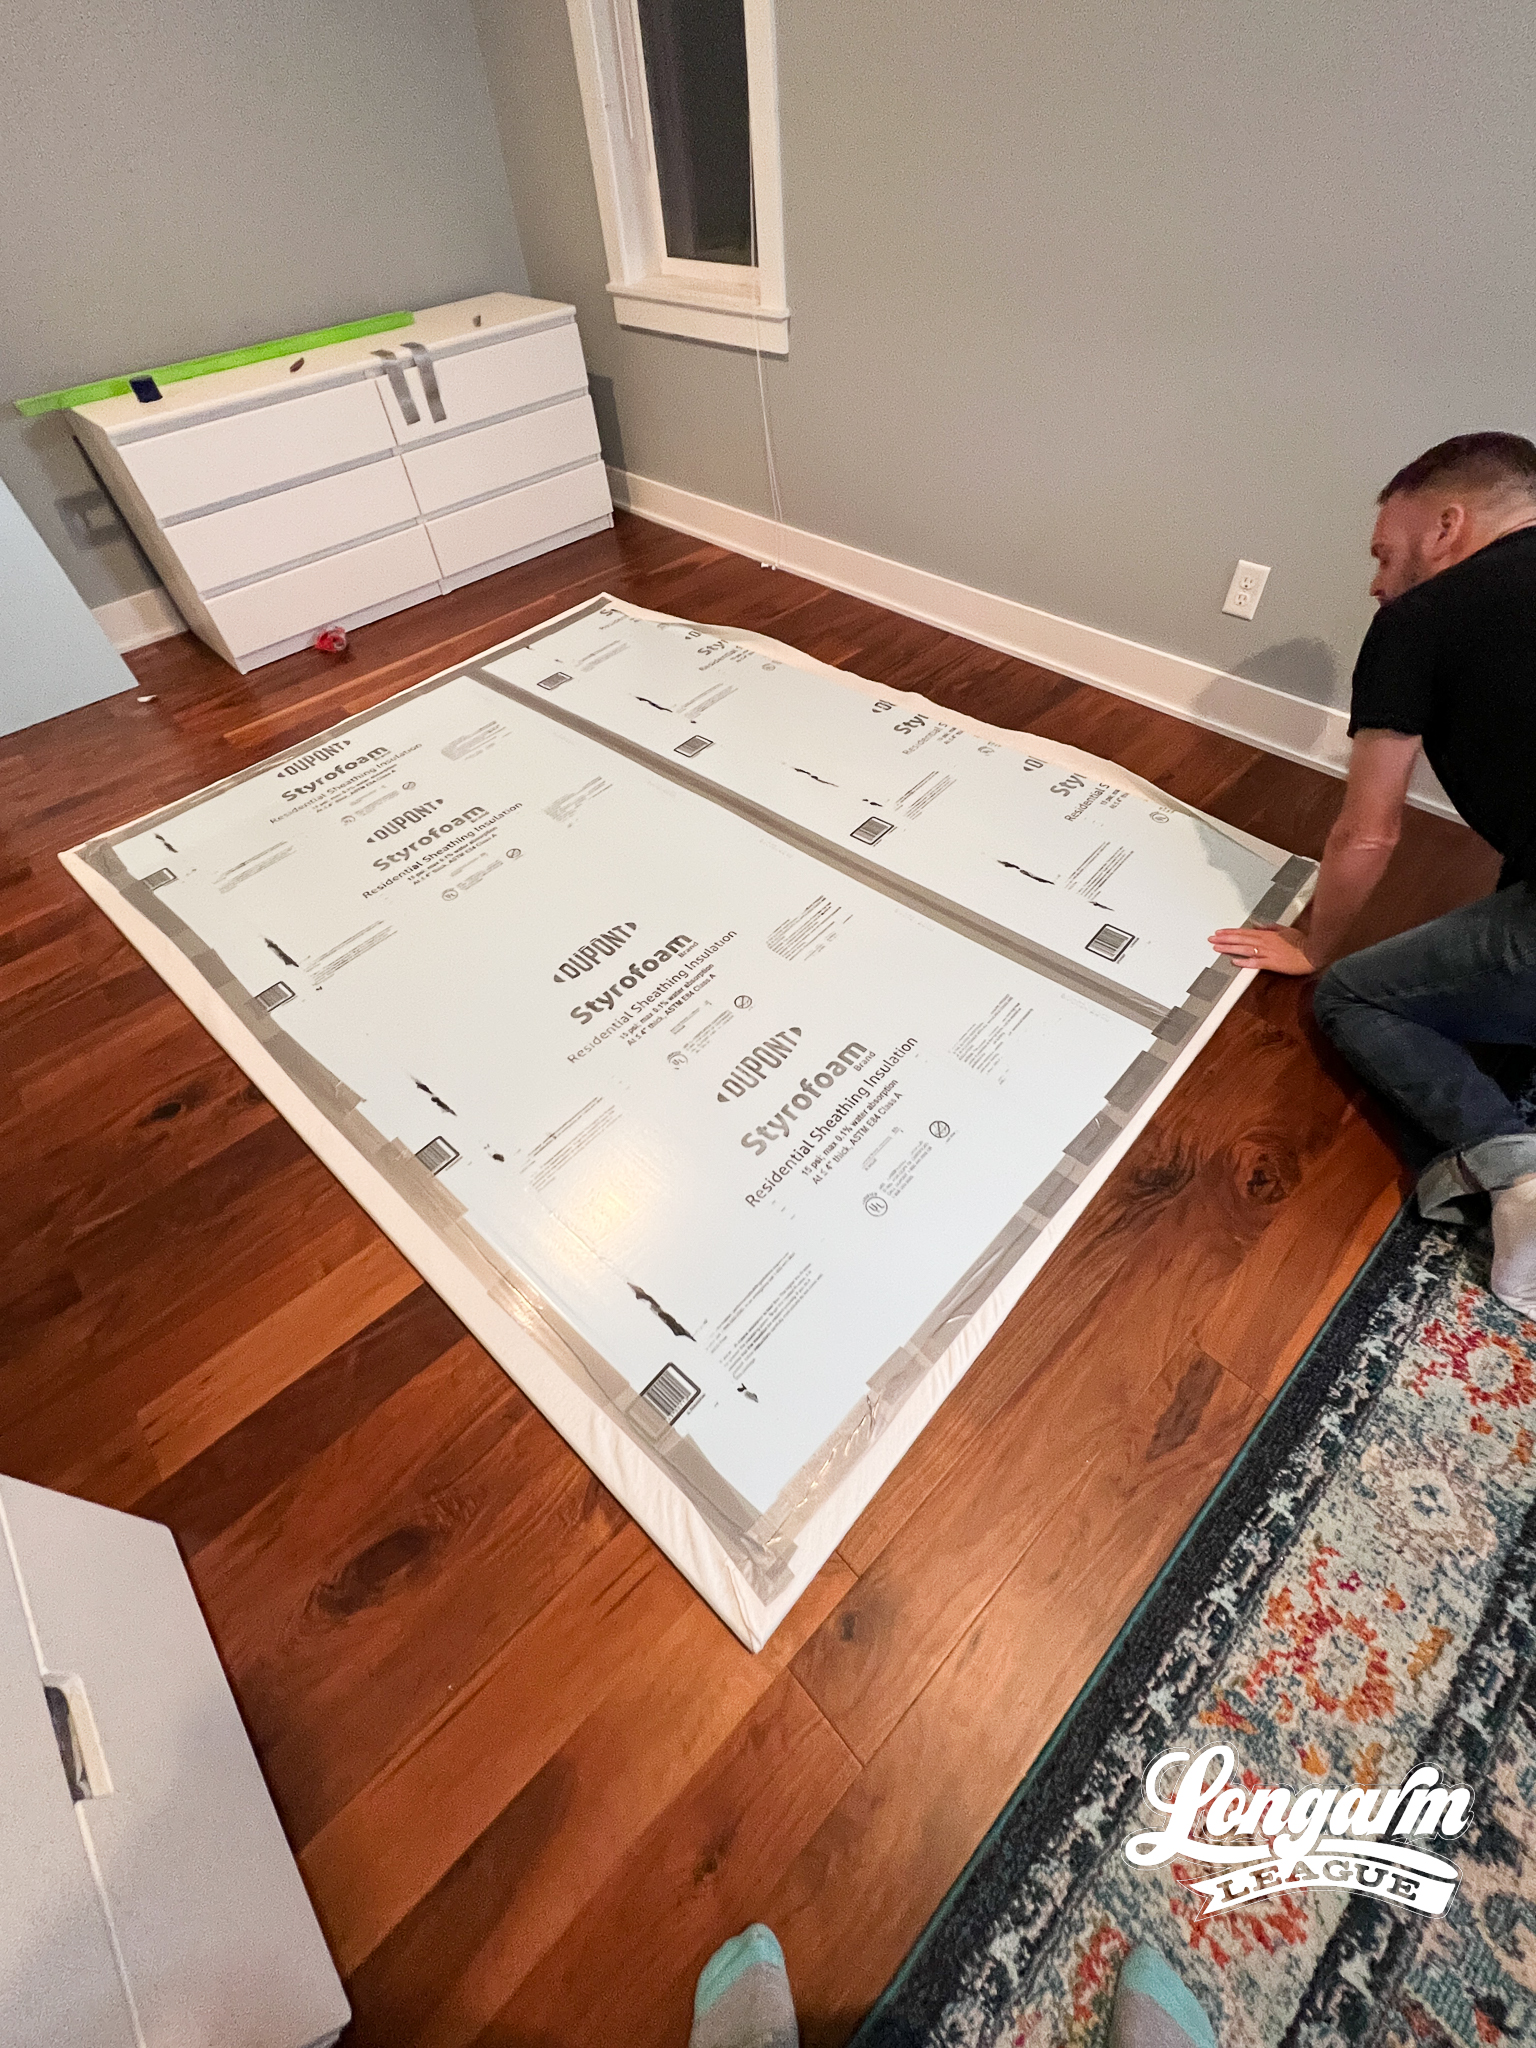
Back to the design wall. I purchased two Styrofoam insulation boards used for garage doors from the Lowe's website. It was free and easy to pick up the order from the store, so that's what we did. We're about 20 miles from our nearest Lowe's. Here's a link to the .78" thick 8'x4' boards. They were about $18 USD per board at the time.

As per the Aqua Paisley Studio blog post, we taped the insulation boards together using duct tape on the back and clear tape on the front (to prevent shadowing through the batting).

Next, Josh scored one of the boards to cut it down to the size I wanted for my particular space—8' wide by 6' tall.
I didn't want the design wall to cover the extremely crucial electrical outlet on that wall and thought it'd be too much trouble to cut the board and batting around the outlet, so we planned for it to be positioned just above the outlet, about 16" off the floor. It also didn't make sense to extend the design wall so high that I couldn't reach the top without a step stool.

Next, we used the 80/20 natural batting that I already had on hand from Quilters Dream to create the surface of my design wall. I had a can of spray adhesive that was about 10 years old with about 5 squirts left. Did I mention that I was in a hurry to get this design wall up already? The spray adhesive made a mess, but it did help secure the batting in place just enough so that we could smooth it out and secure it on the back side with duct tape.
I regret not snapping some pictures of this next step, but the Aqua Paisley Studio blog post has pictures that you can refer to, if needed.
I bought a 12-pack of Large Command Picture & Frame Hanging Strips (Amazon affiliate link) and attached all 12 pairs to the back of the board. Four were positioned across the top, another four were placed in the middle, and the last four were attached along the bottom of the design wall.
We marked the wall of the room so the design wall would be centered between the windows and with the top edge aligned with the top of the windows. Then we removed the adhesive backing from the Command strips and stuck it into place. We applied as much consistent pressure as possible to the strip sites without denting the Styrofoam boards.
It worked beautifully! And even though I don't want it to move for a long while, it's satisfying to know there would be no marks should I decide to take it down.

We moved the longarm back in place. I decided to tuck my air compressor between my storage units under my frame so that it's not as visible on the end. It's still under my table.

I stuck some blocks on the design wall to test the hold. It worked as expected.
I snapped a few more pictures the next morning, you know—because daylight. You can see the frame pushed back into "quilting position". That just means that it's as close to the wall as it can get while still giving the machine head full range on the carriage without bumping into the wall.


Functionality
Four months and several quilts later, and the design wall still feels very secure.
When I'm sewing patchwork and using the design wall, I'll angle one end of the frame away from the wall to give me enough clearance to maneuver back there comfortably, which is what the photo above shows. I've found that it's not necessary to push the whole thing away from the wall when all I need is access to a small area.
Typically when I sew, I don't quilt on the longarm at the same time, but really—I could do both if I wanted to.
When I'm not using the design wall, I keep my machine as close to the wall as possible so that I have plenty of room to move around the rest of my room easily. Otherwise, the frame jutting out into the room makes it feel a bit cramped.
I keep the furniture sliders under my machine all the time now. I haven't noticed any issues with alignment when quilting or any other drawbacks to having the legs of my frame propped up.
I hope this gives you an option if you are in a similar situation with having a wall that you can't utilize effectively.
I absolutely love having blocks displayed on my design wall! It makes me want to sew more and adds color to the room.
By the way, the blocks shown here are from my Plaid-ish 2 quilt from Kitchen Table Quilting, which I wrote about more here.

Jess Zeigler
Longarm League Commish & Owner of Threaded Quilting Studio, LLC.


