
Modra E2E Digital Longarm Quilting Design
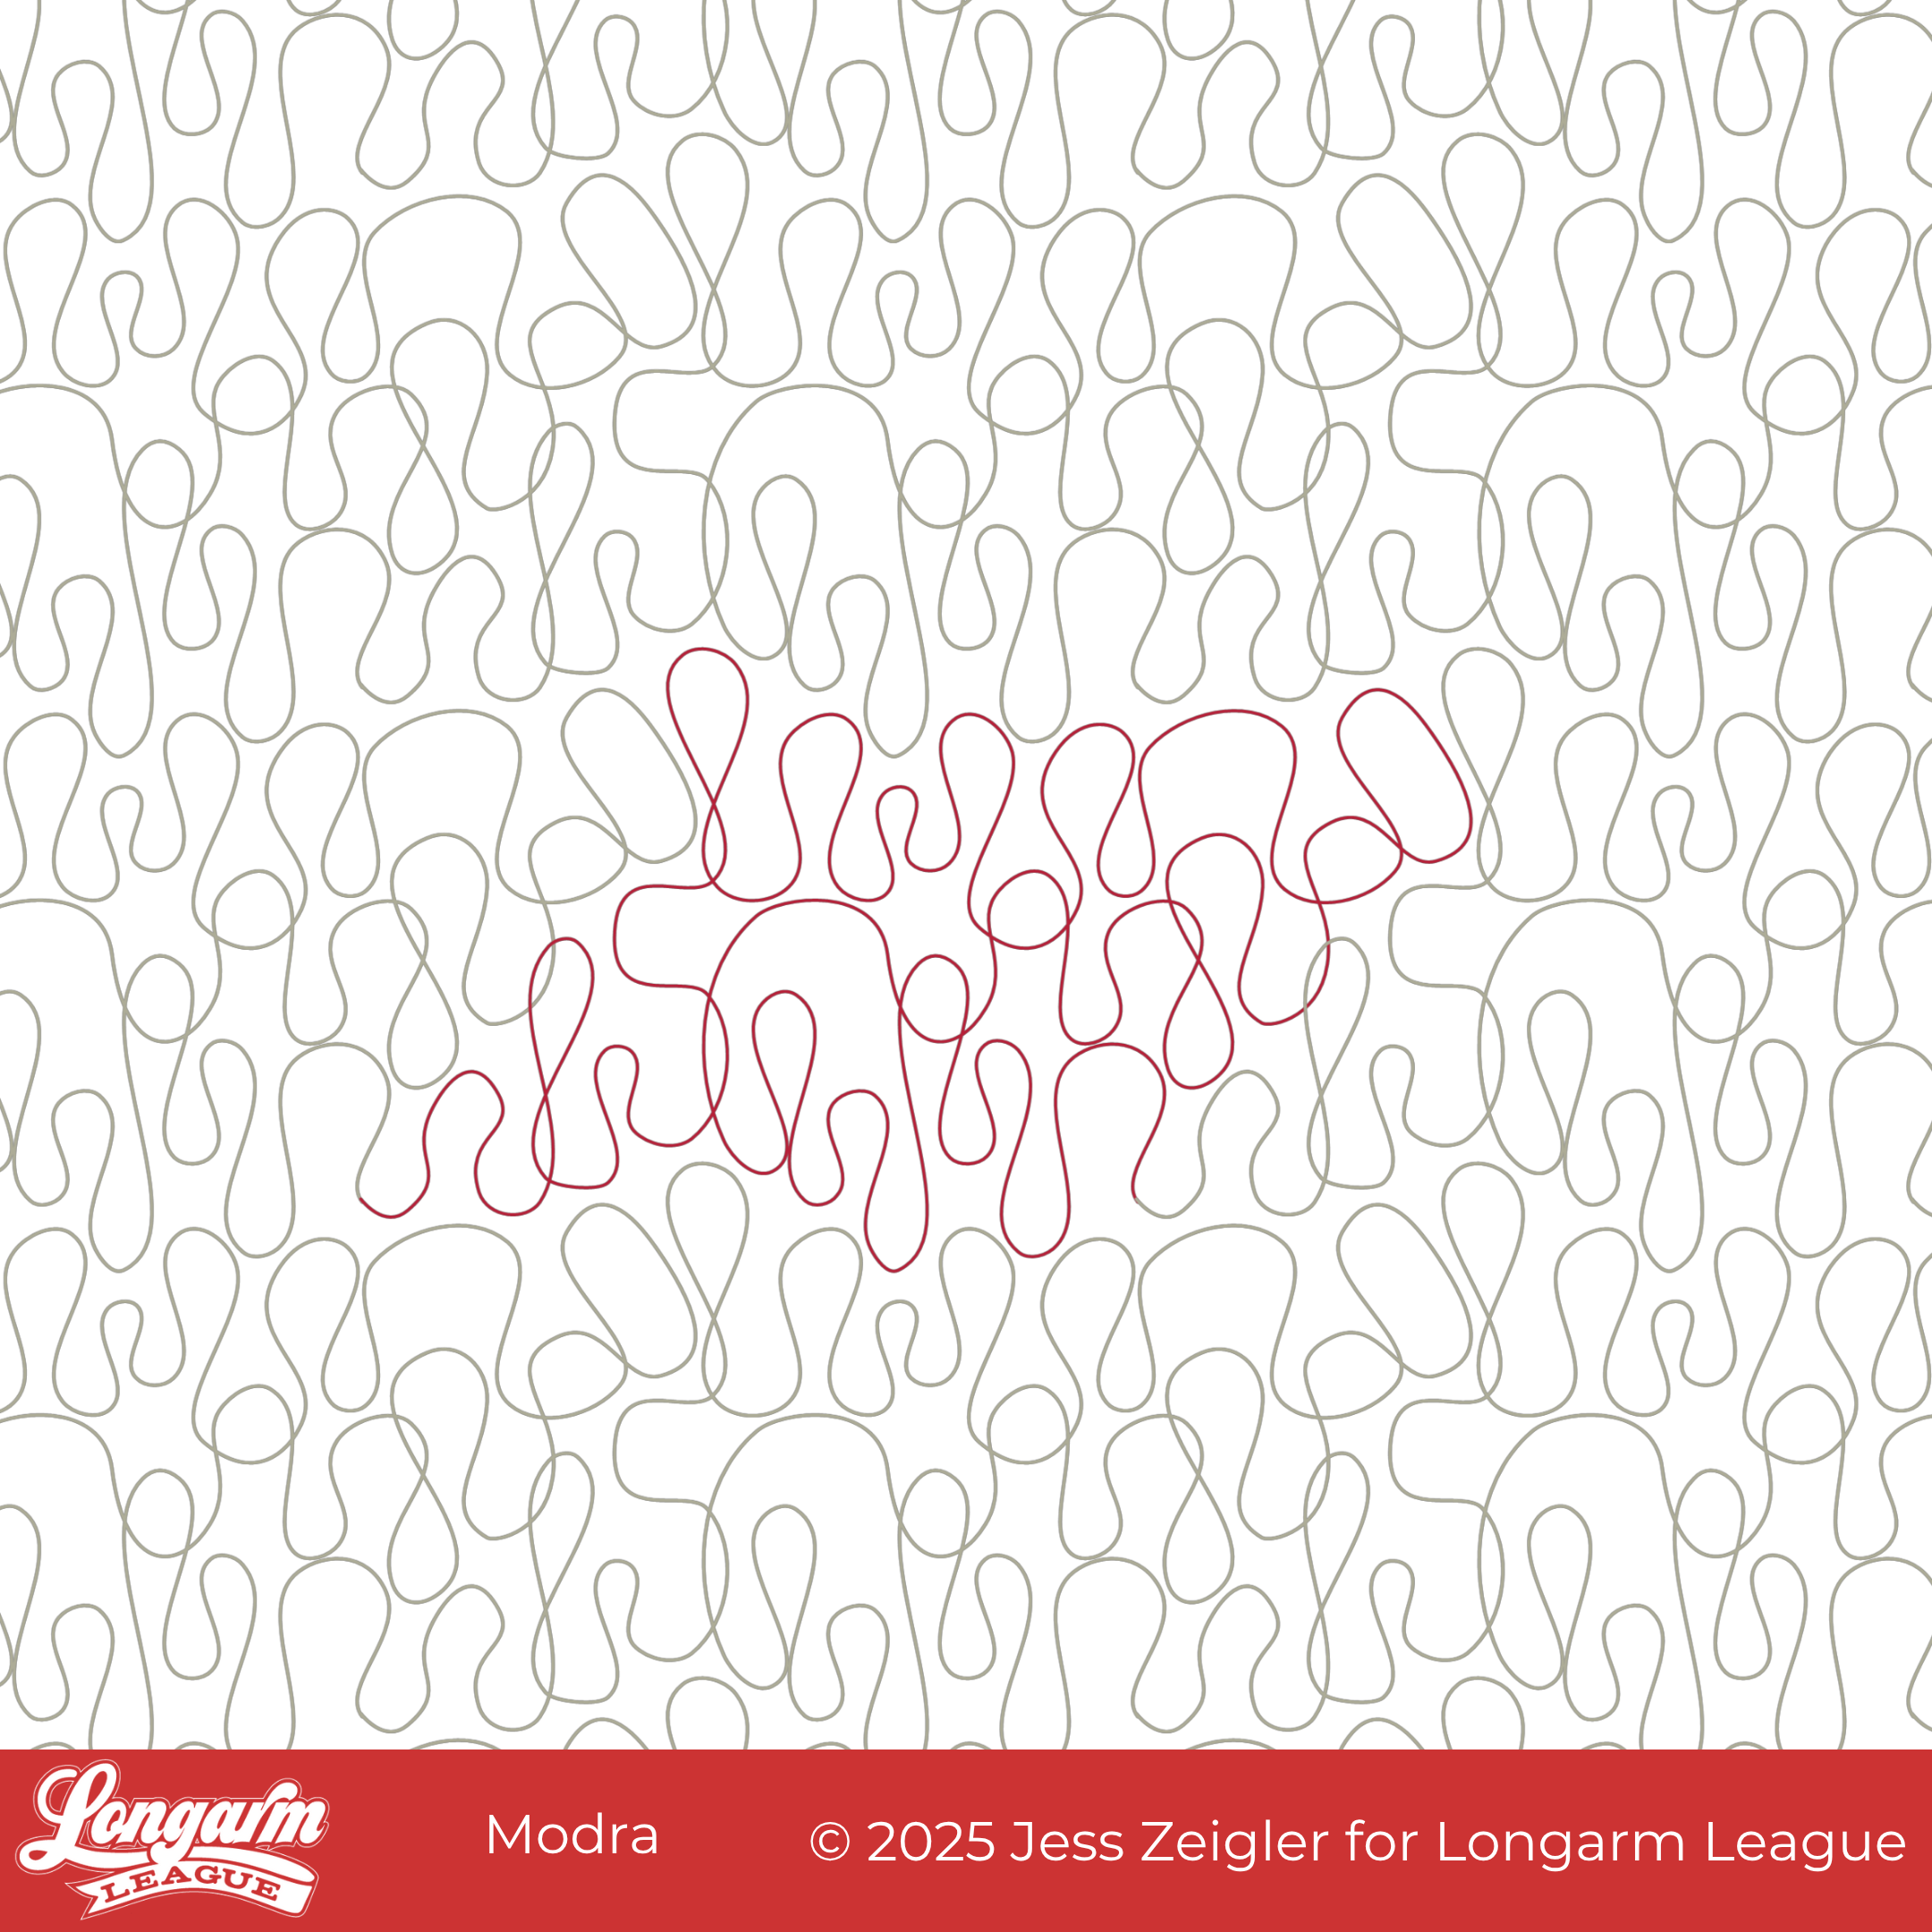
Feeling groovy? Our newest edge-to-edge design brings a healthy dose of retro rhythm and abstract movement to your quilts. Meet Modra, a modern meandering classic in the making.
This design originated as an interpretation of a city skyline—if you can believe it—with all rectangular shapes and mostly 90º angles. I wanted different sizes and shapes of "buildings", but when it looked very sharp and uninviting, I changed the line nodes to smooth in my software and was delighted! I loved the "ribbon candy" of it all, maintaining the irregular intervals and sizes.
I couldn't help but think it hinted at a mid-century look. It's quirky but polished, free-flowing but intentional. There are places where the stitch path overlaps slightly.
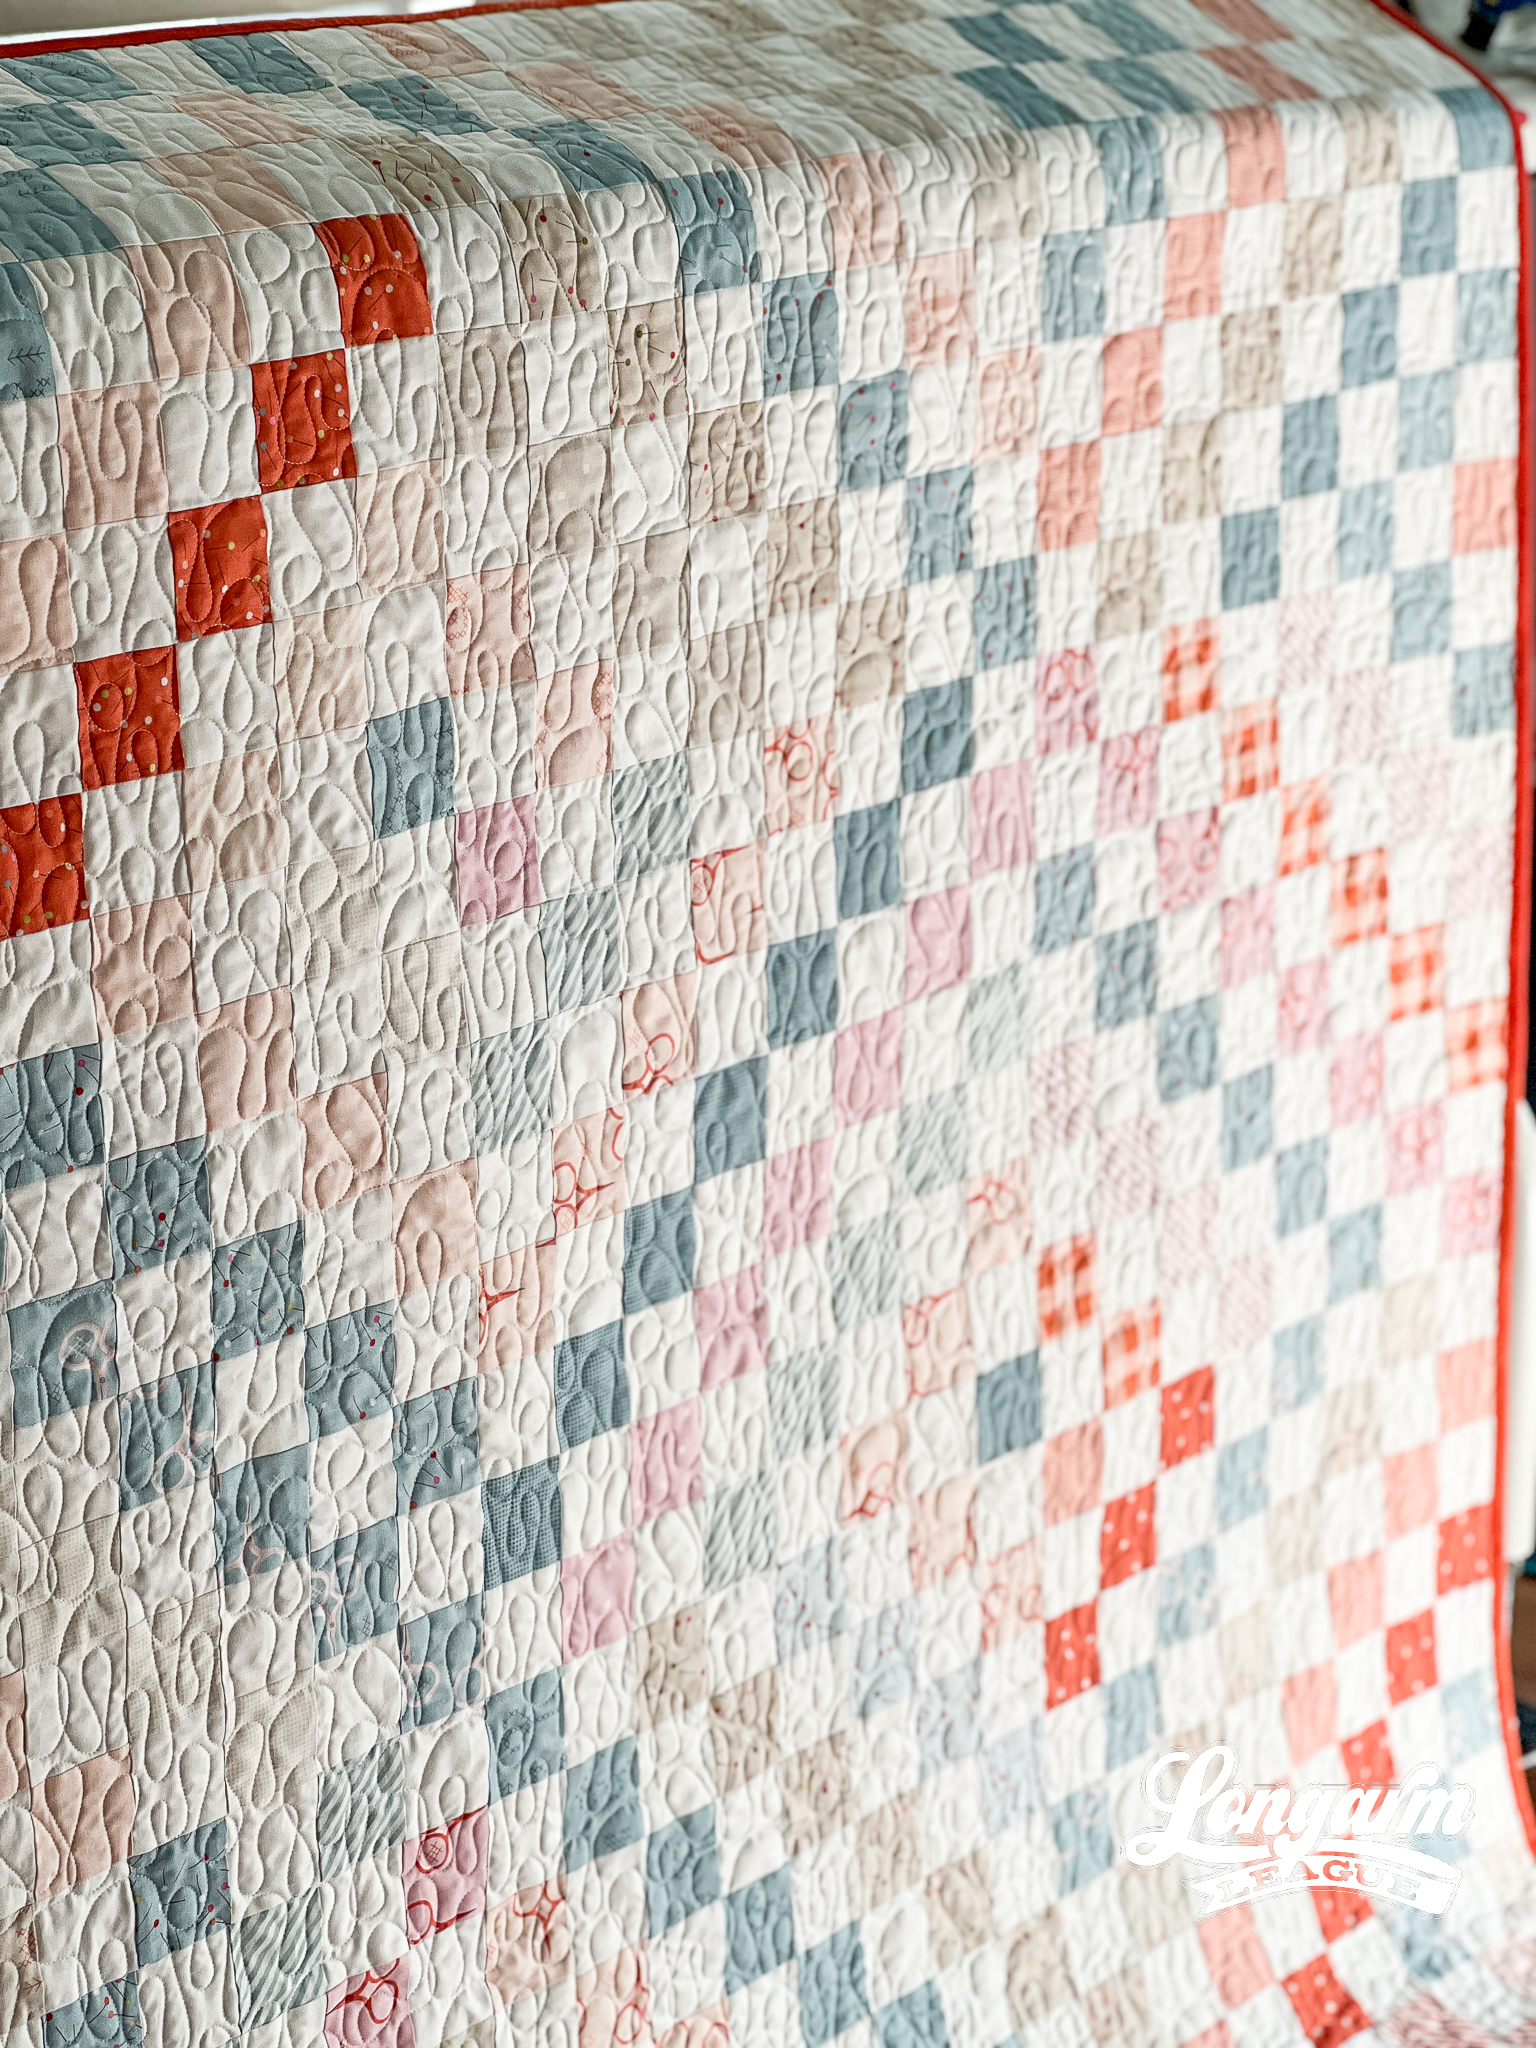
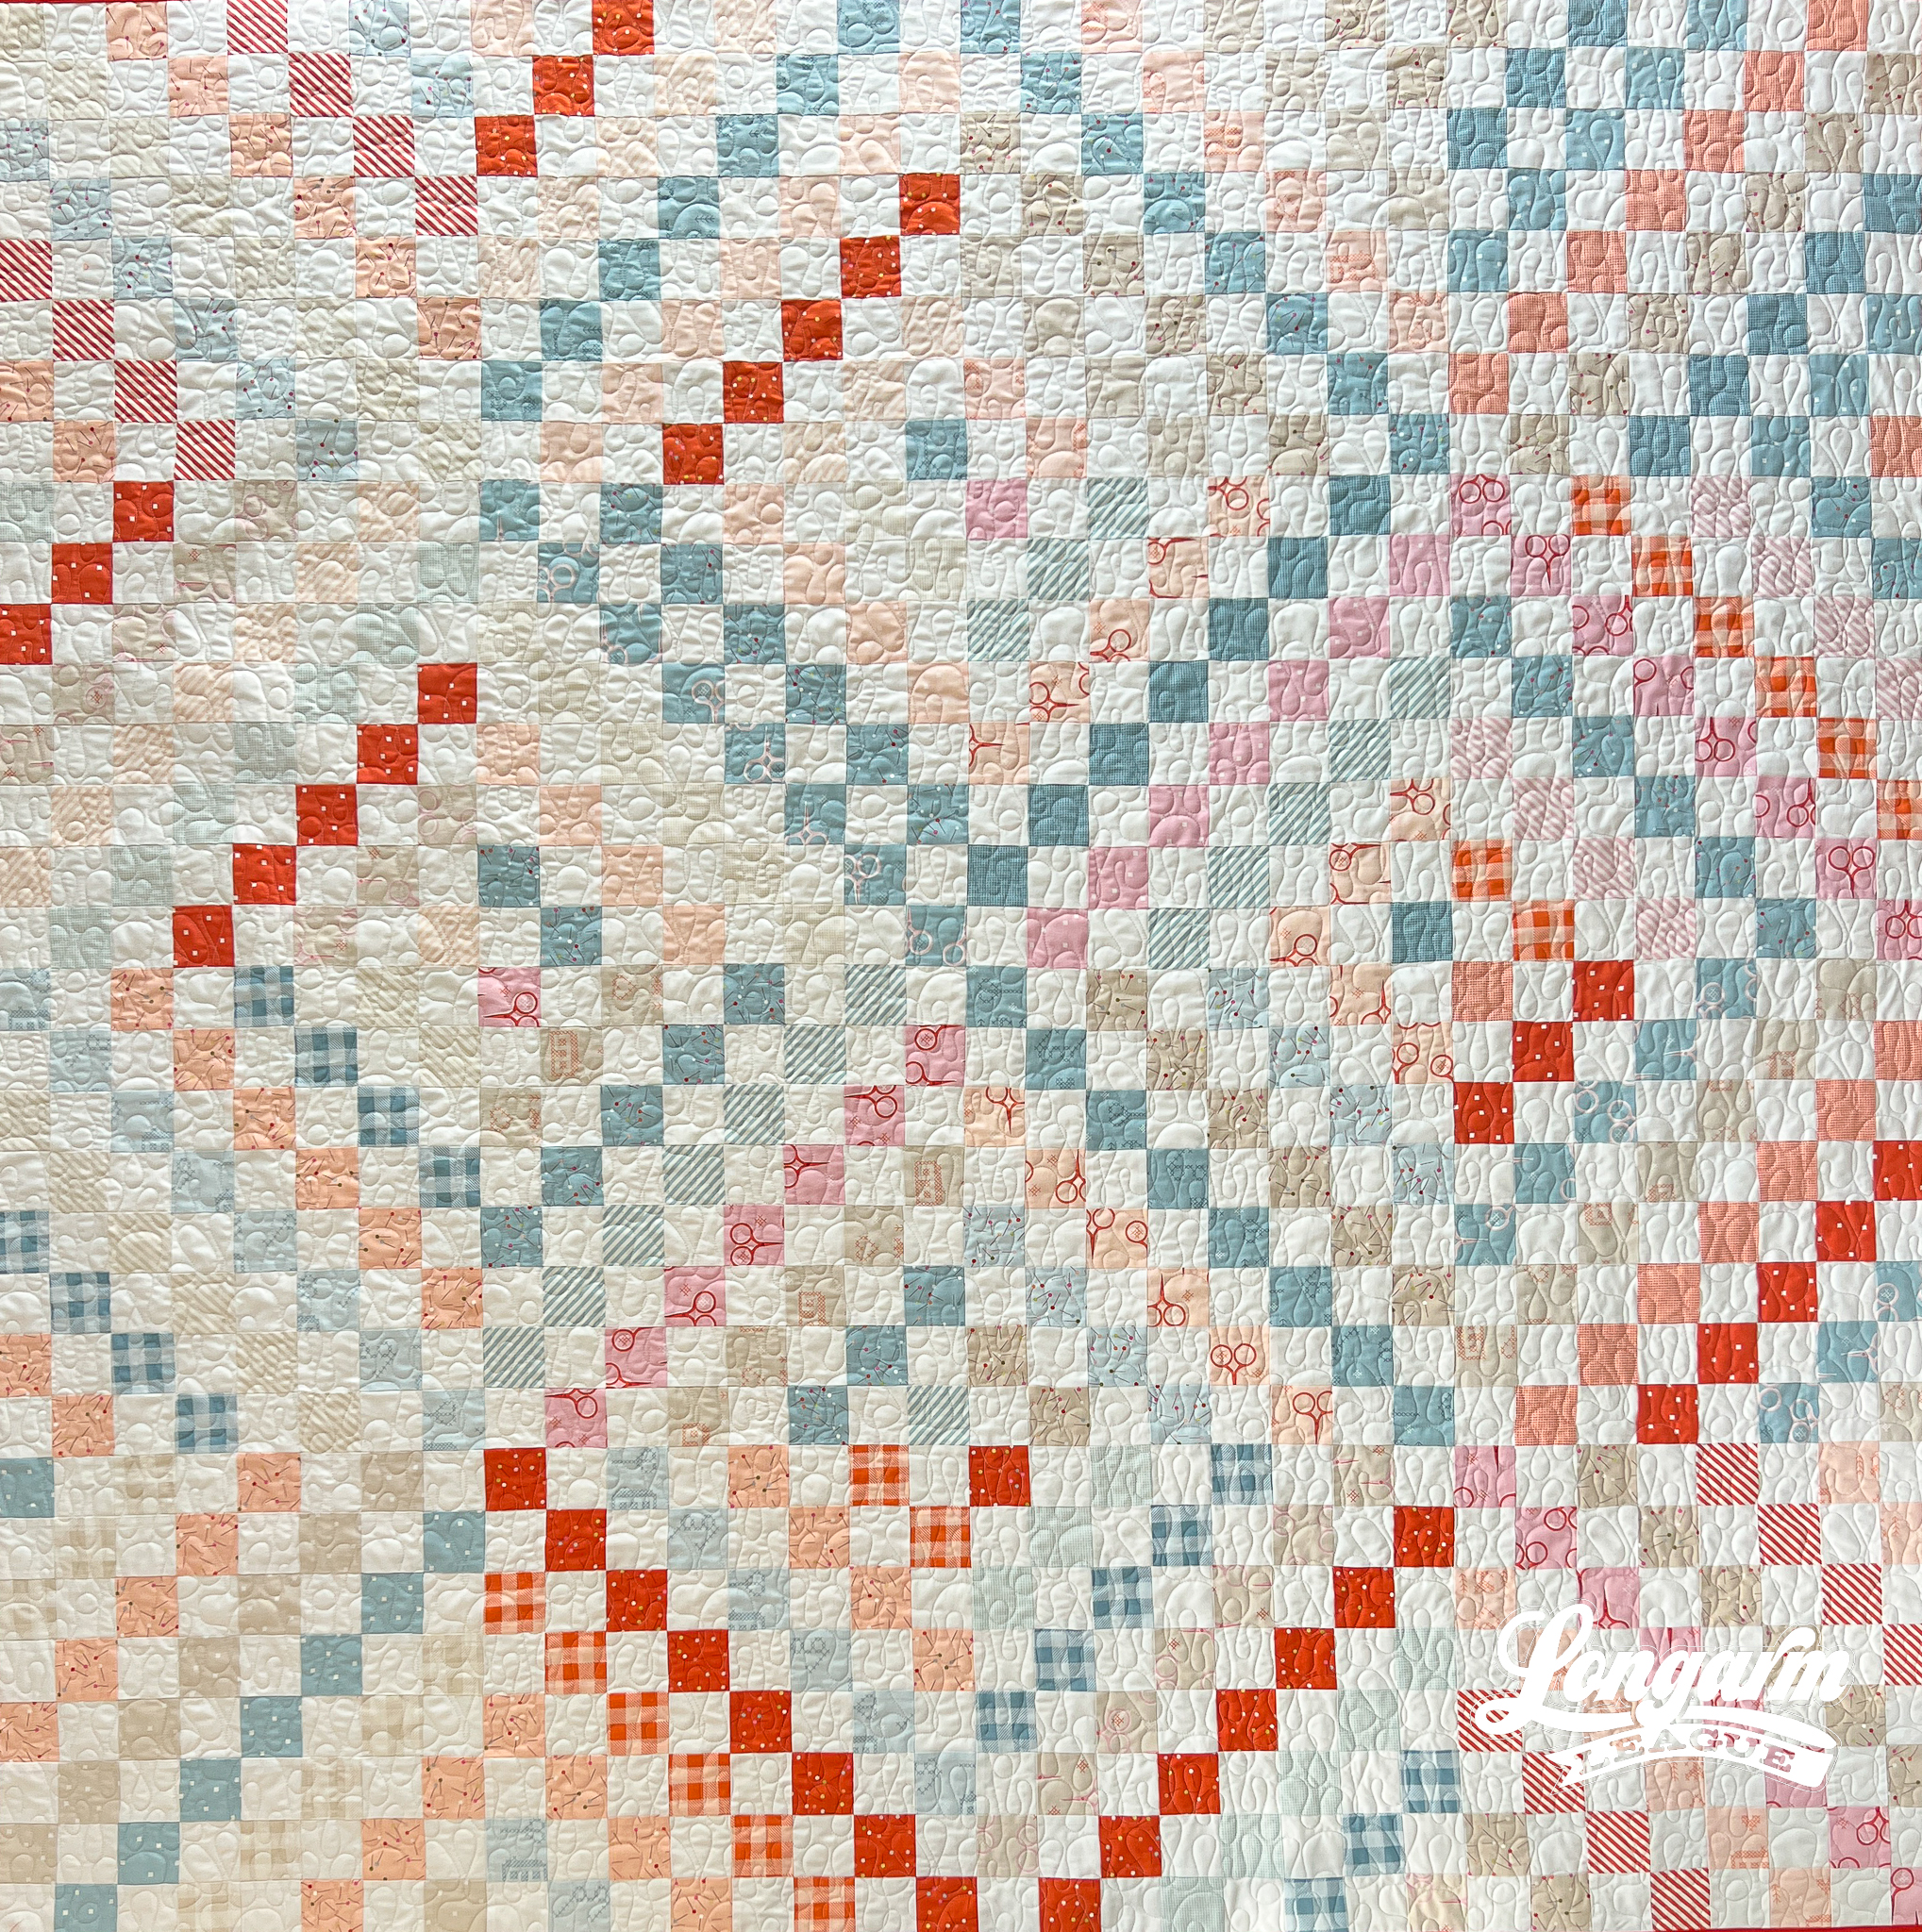
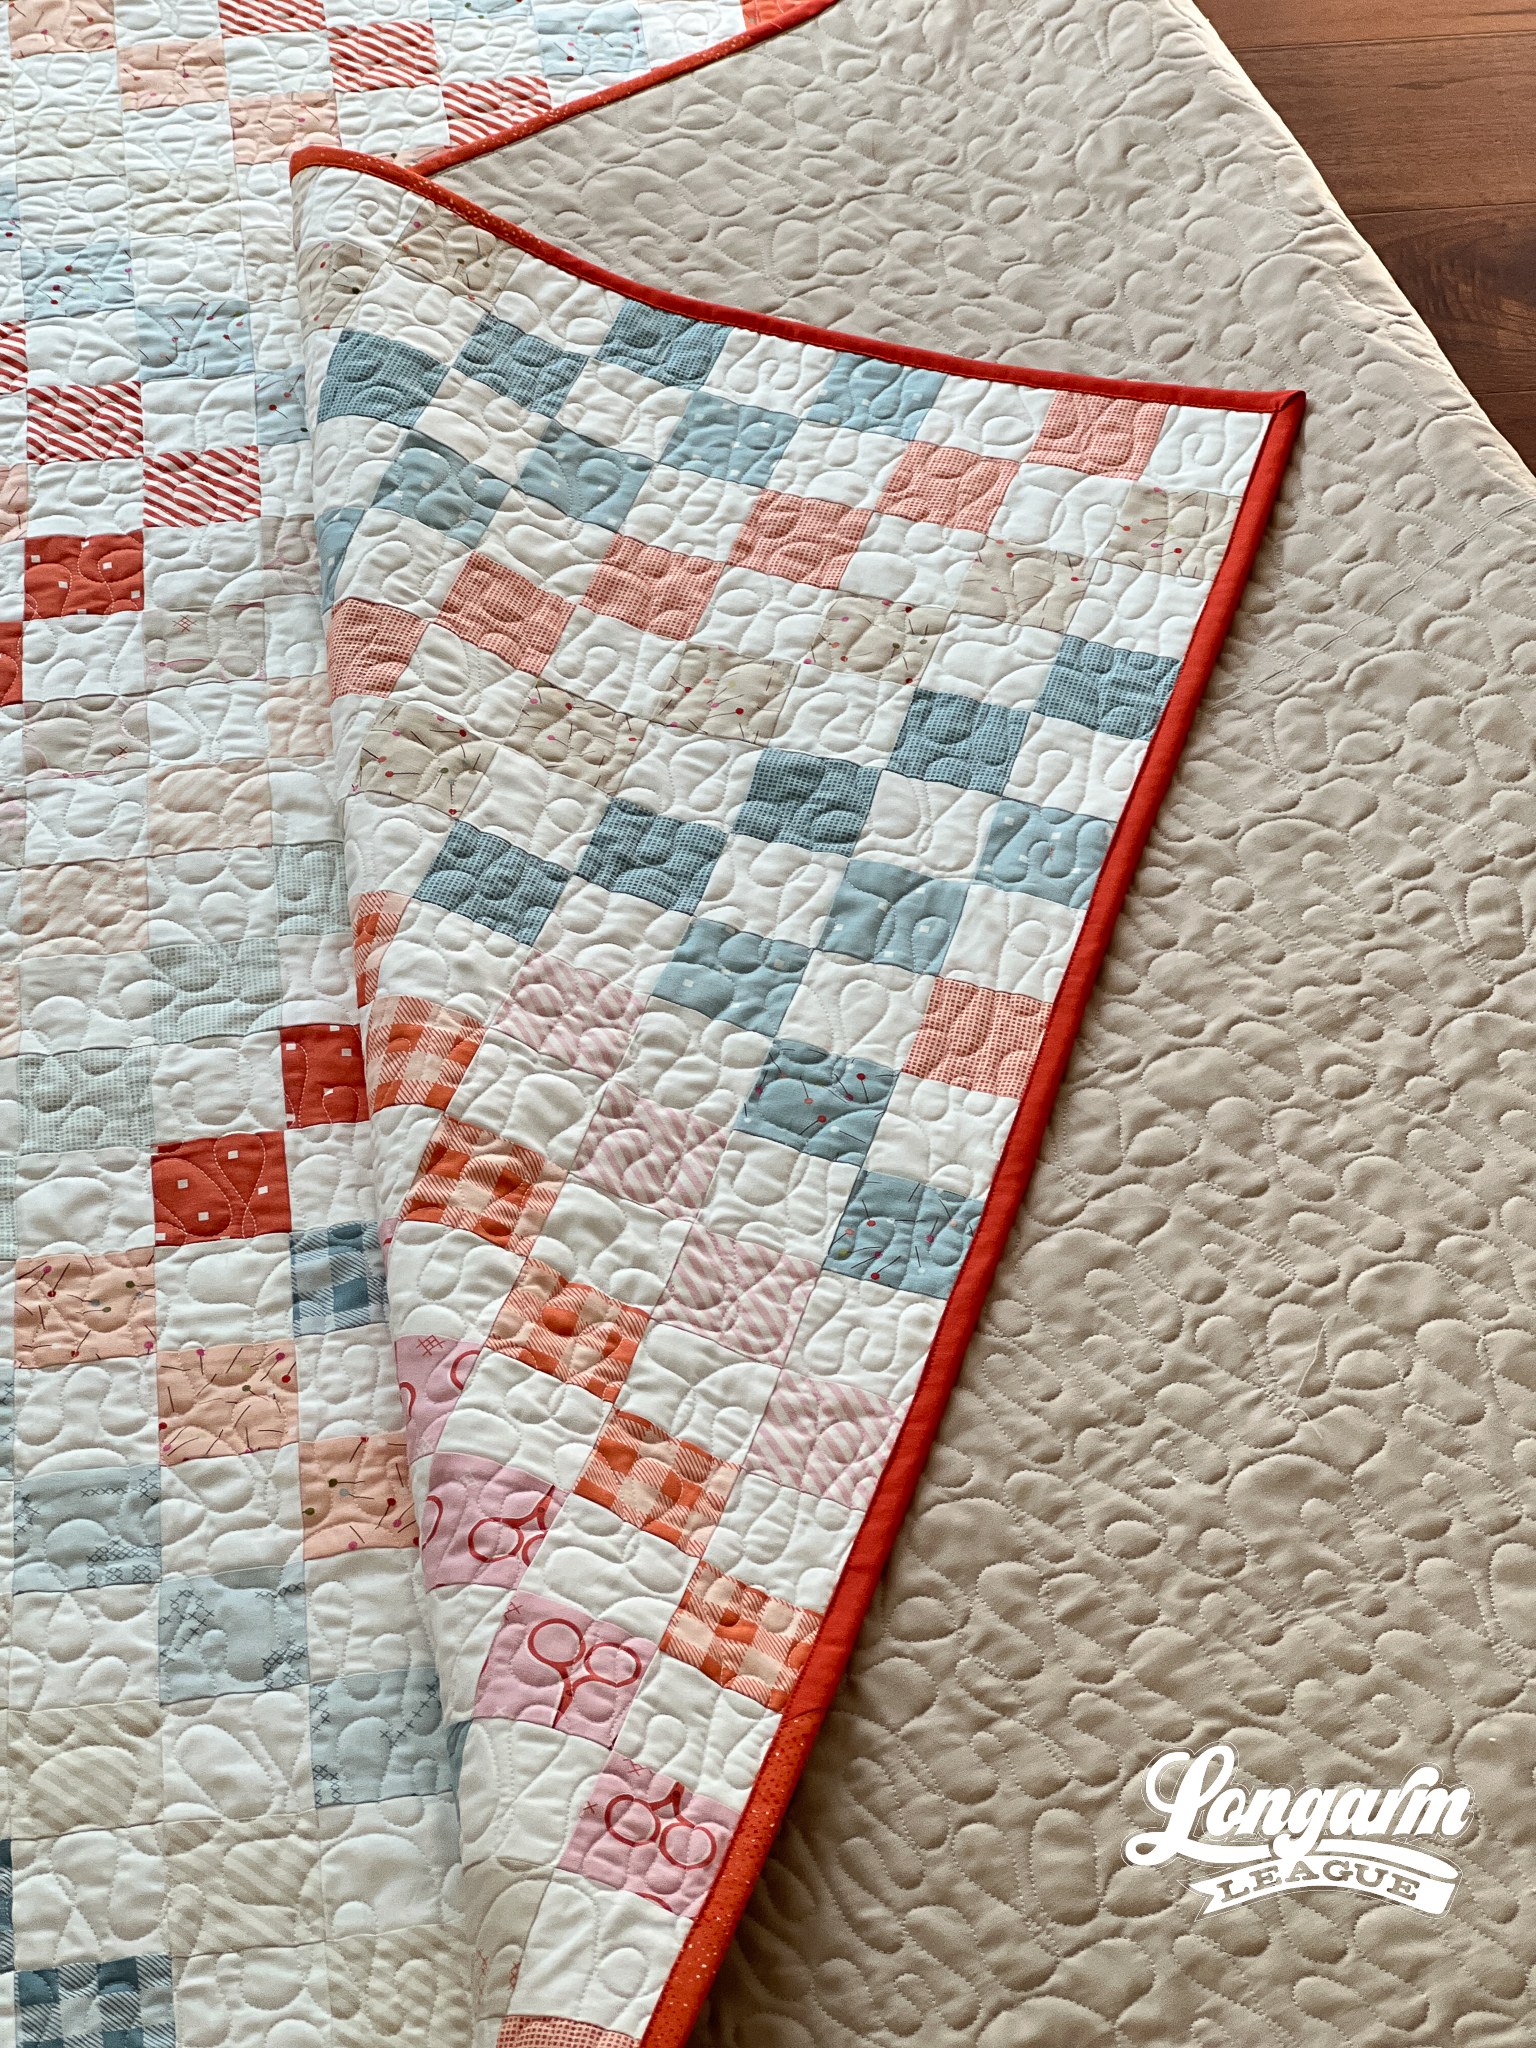
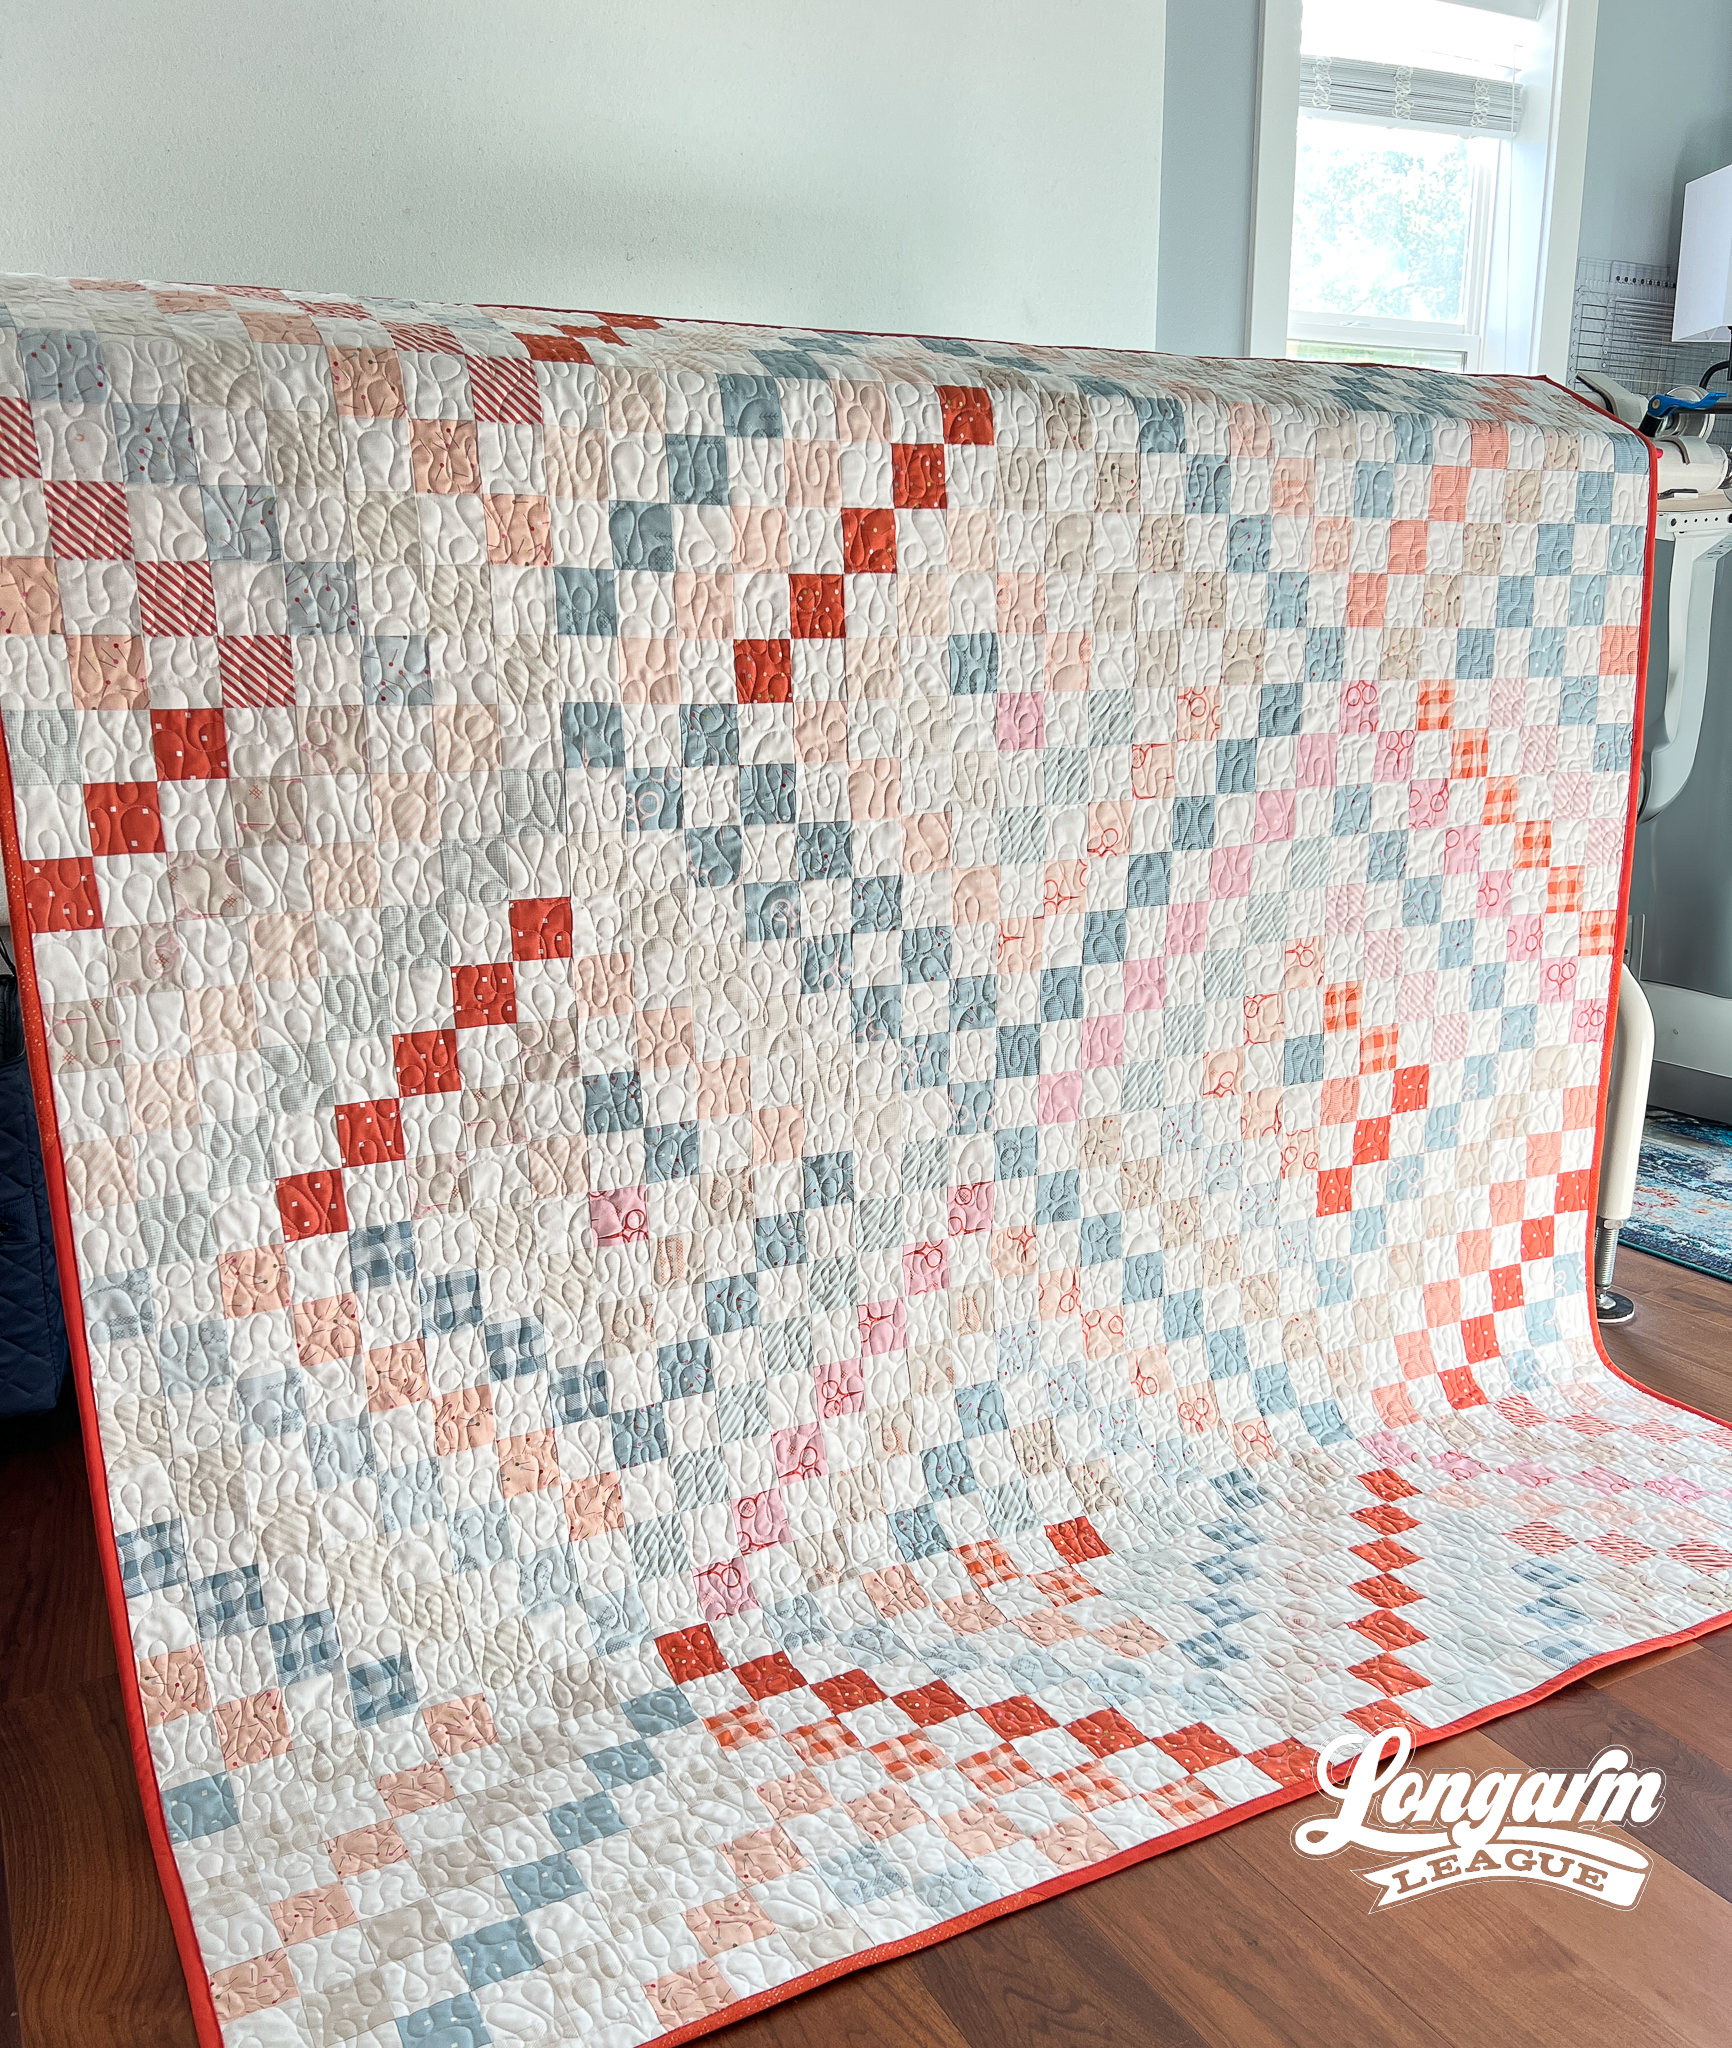
I chose to quilt Modra on this quilt top because of the variation of the lines. I generally don't like to put simple repeated E2E designs on a quilt made of only 2" squares. I prefer some variety when the patchwork is uniform.
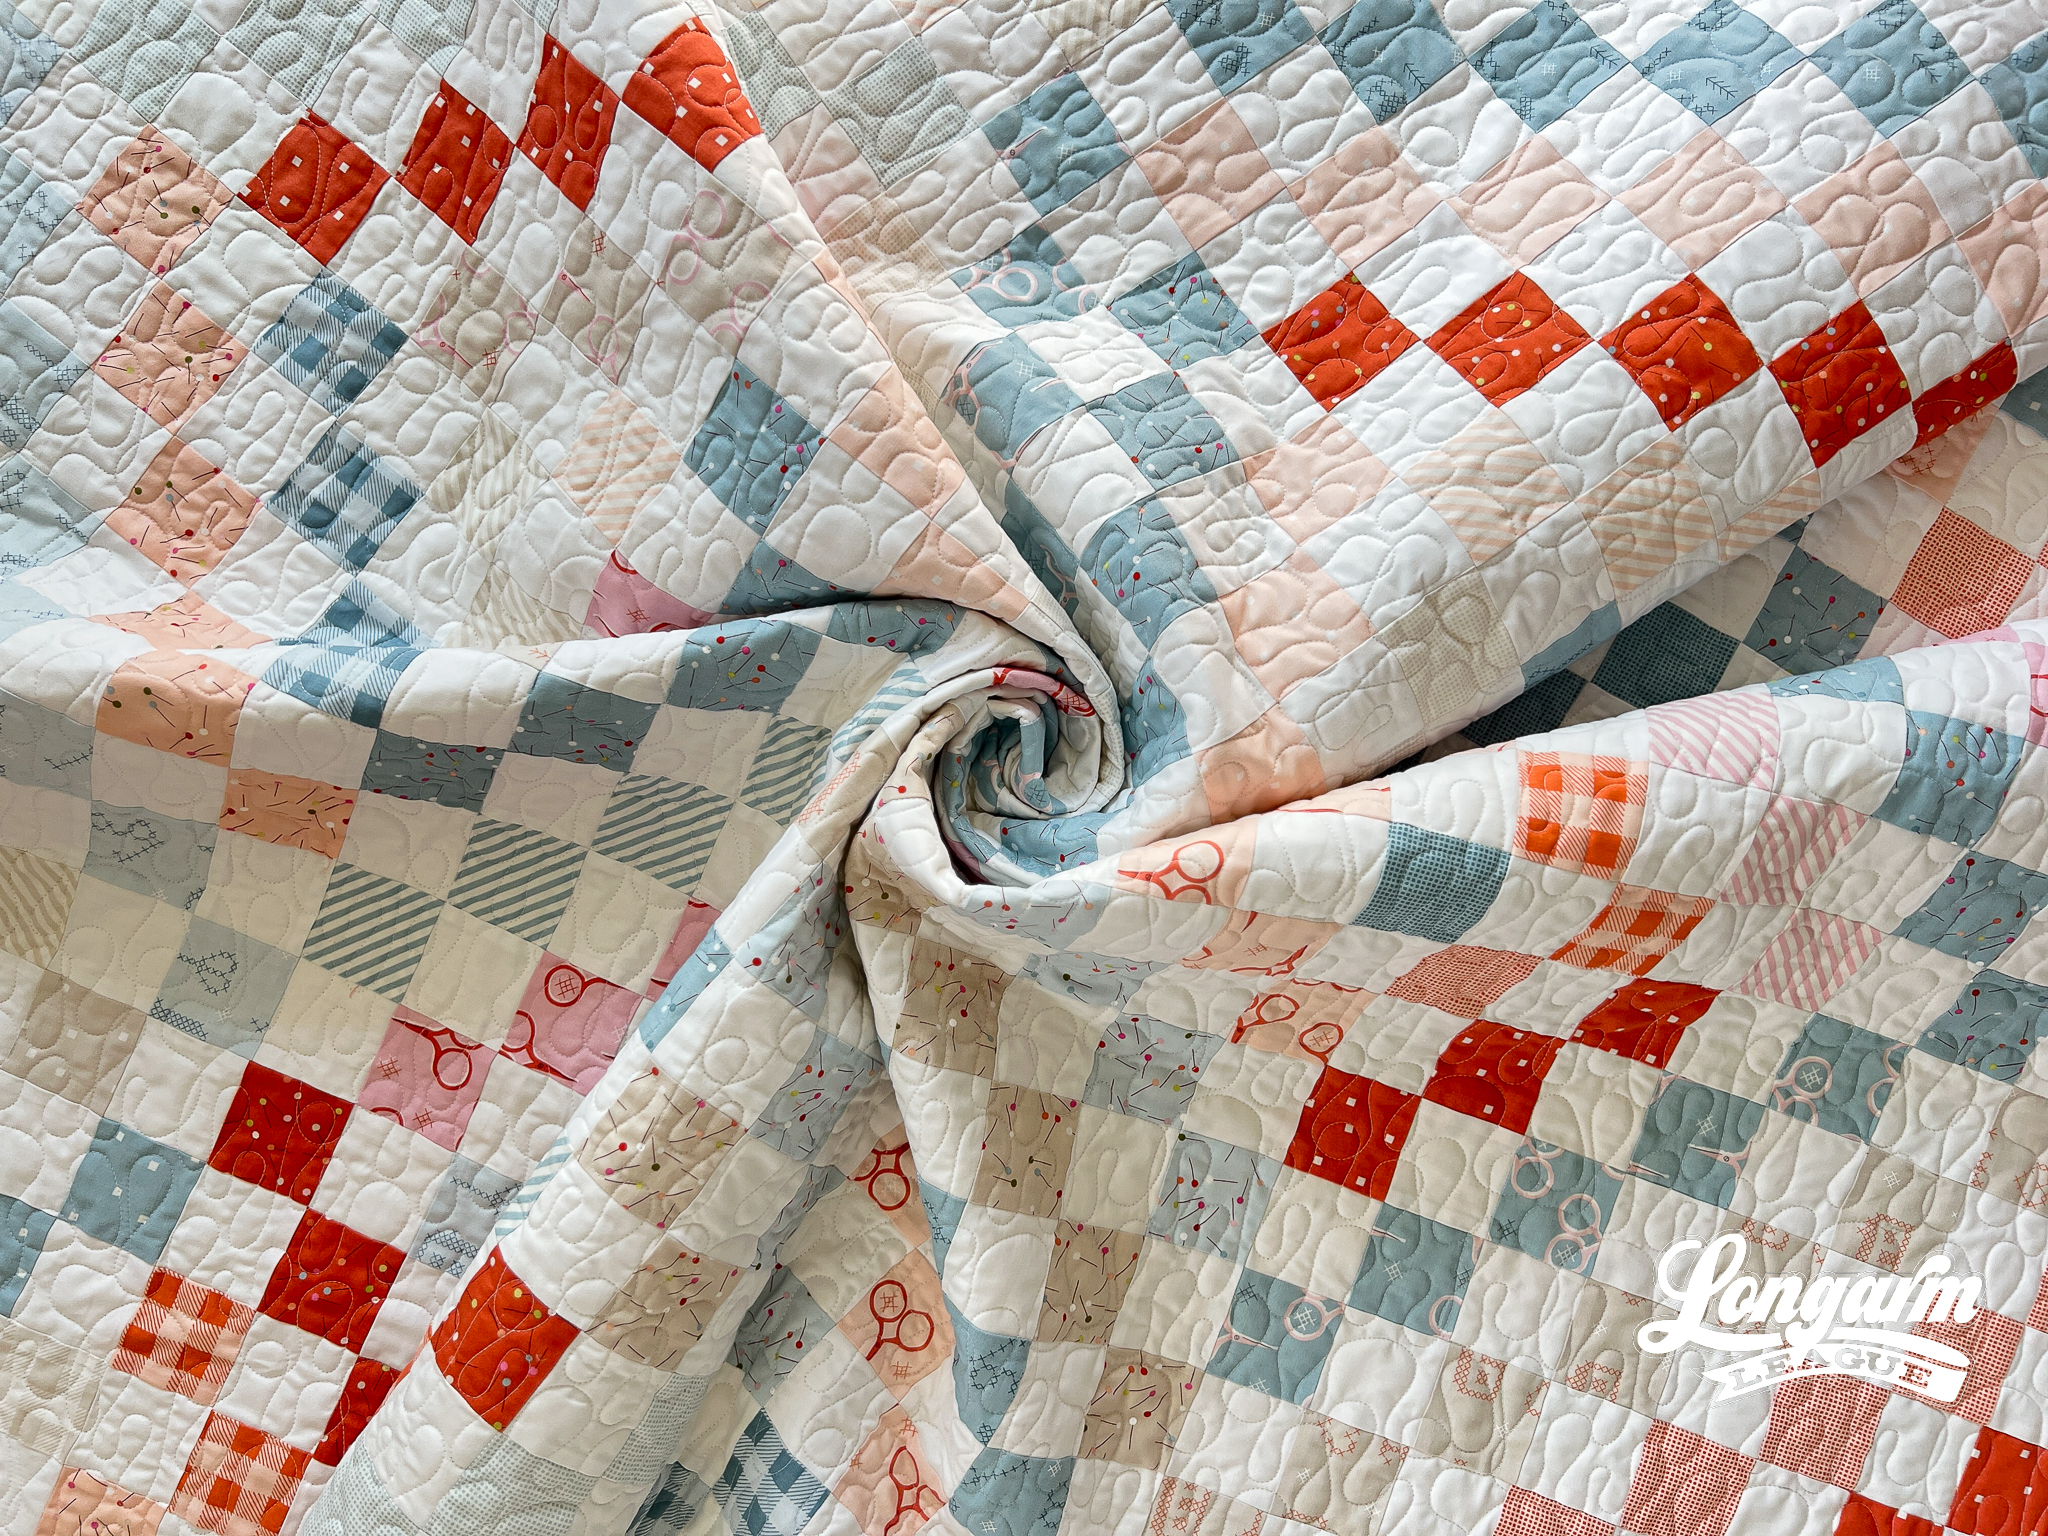
Modra stitches like a dream with no points, backtracking, or sharp turns. Just smooth, loopy motion all the way through. Because of the overlapping lines within the repeat, any unintentional overlapping from row-to-row will not stand out in the least. This makes it truly carefree to stitch out! No alignment stress whatsoever.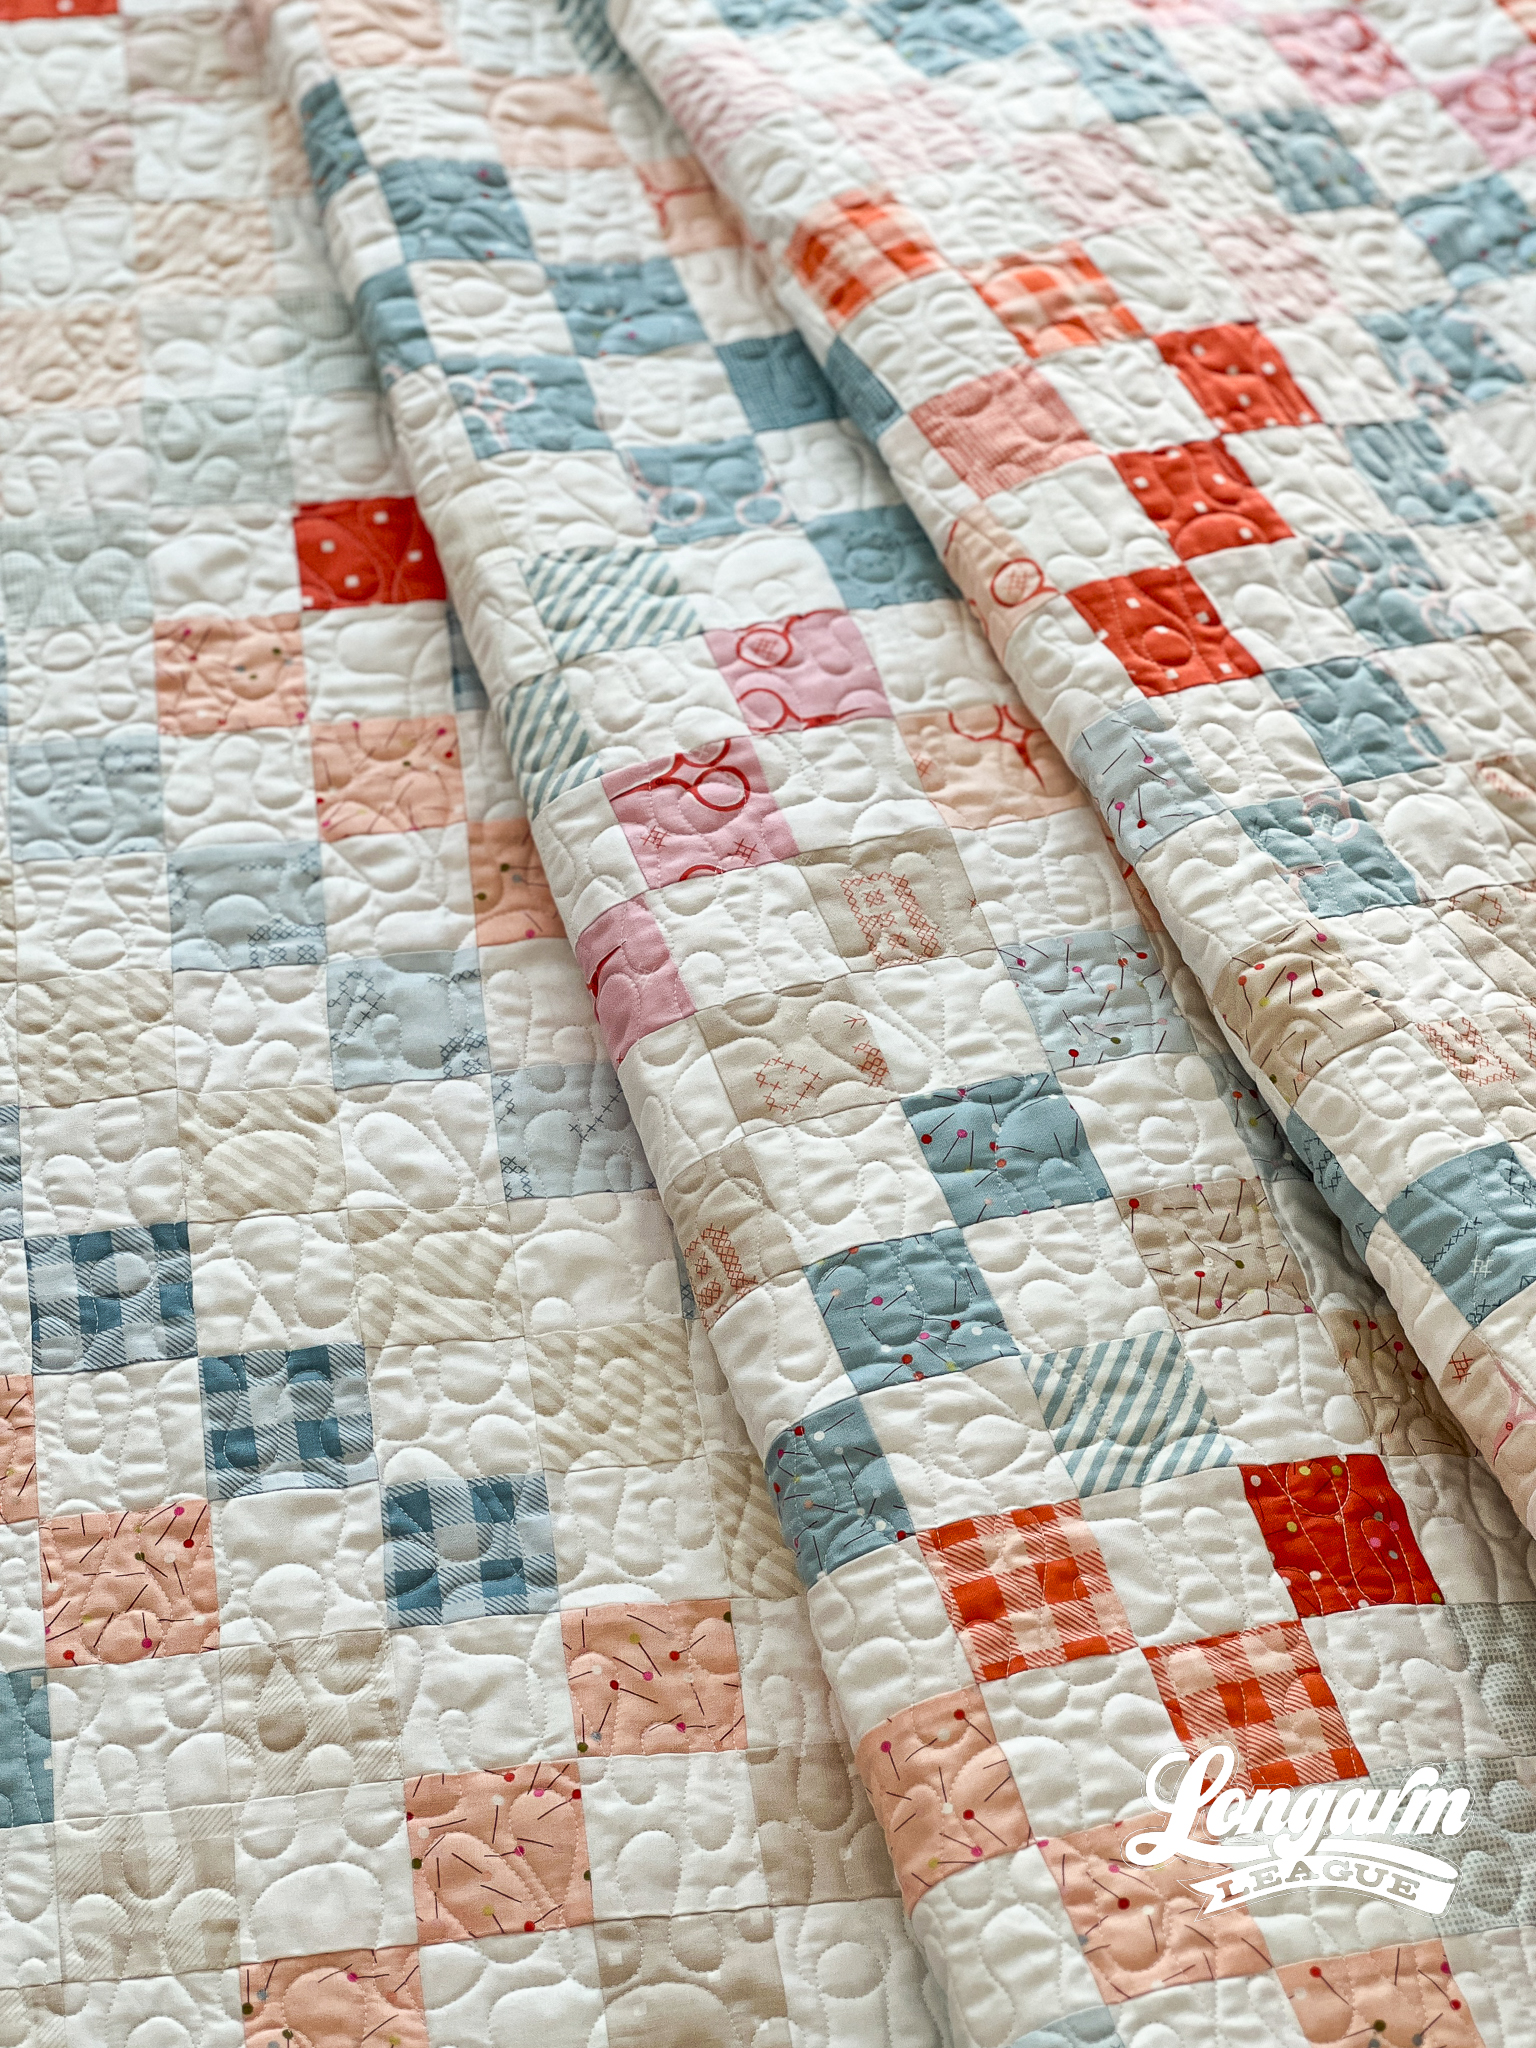
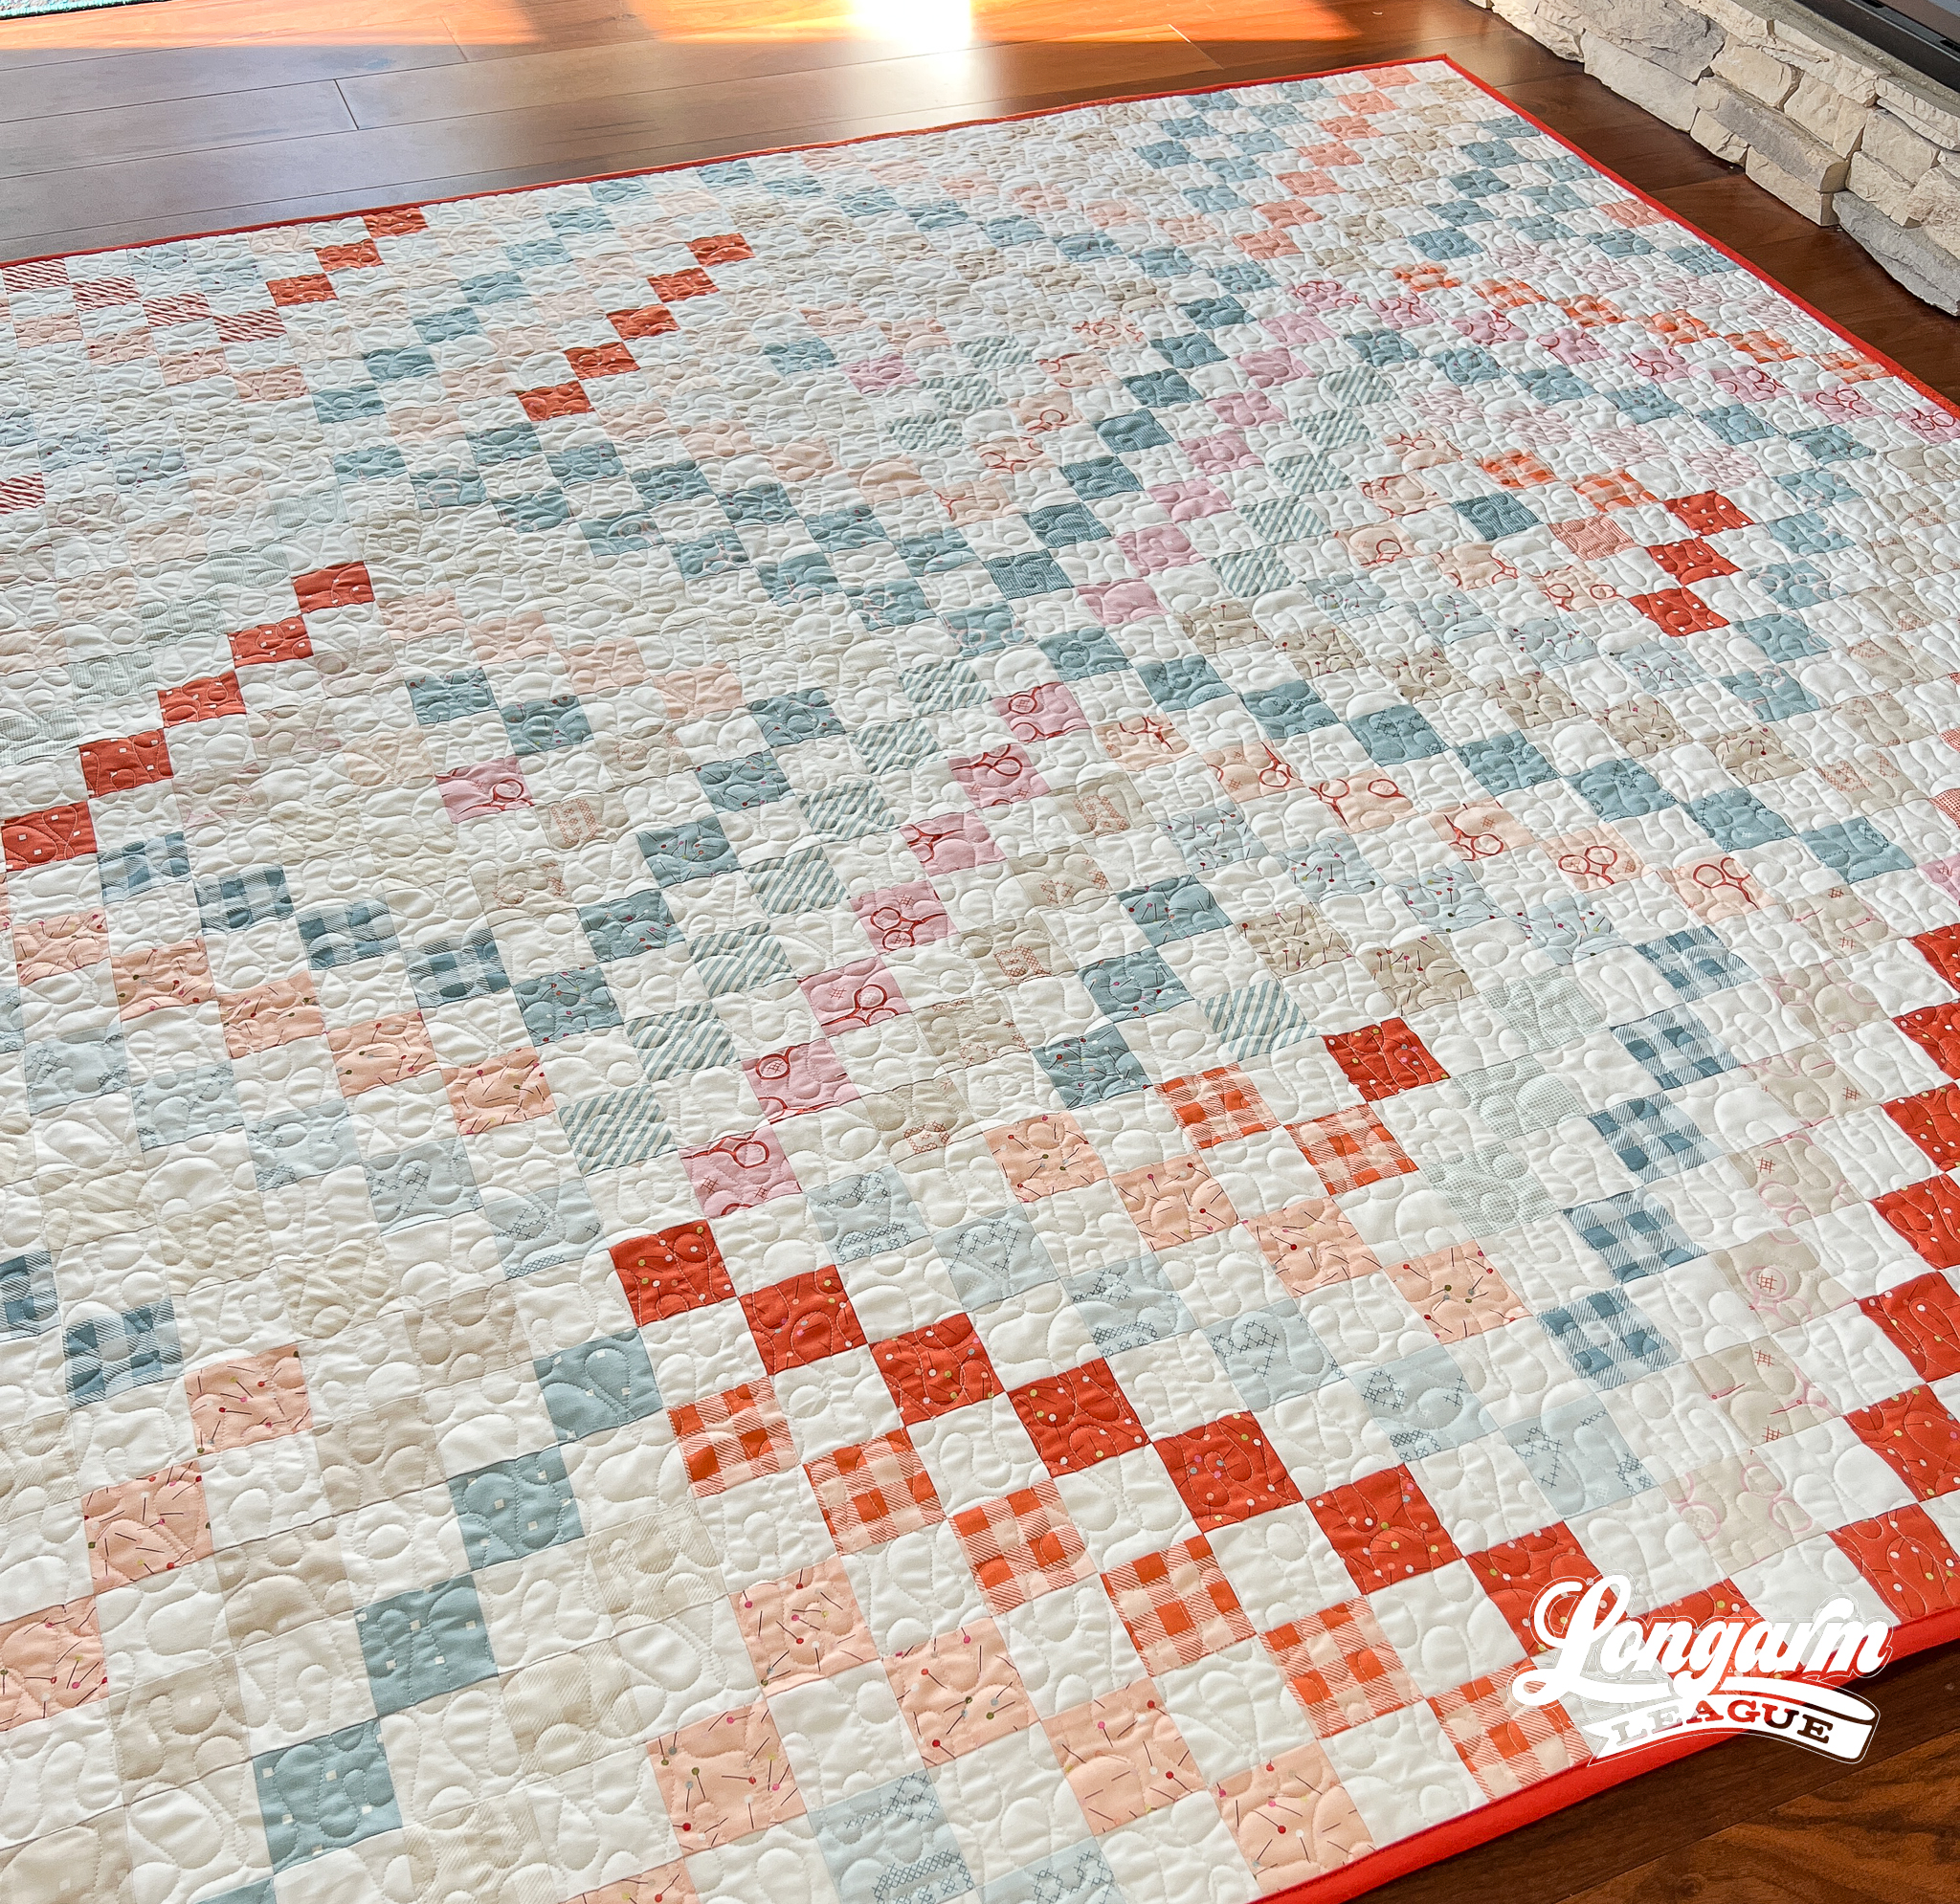
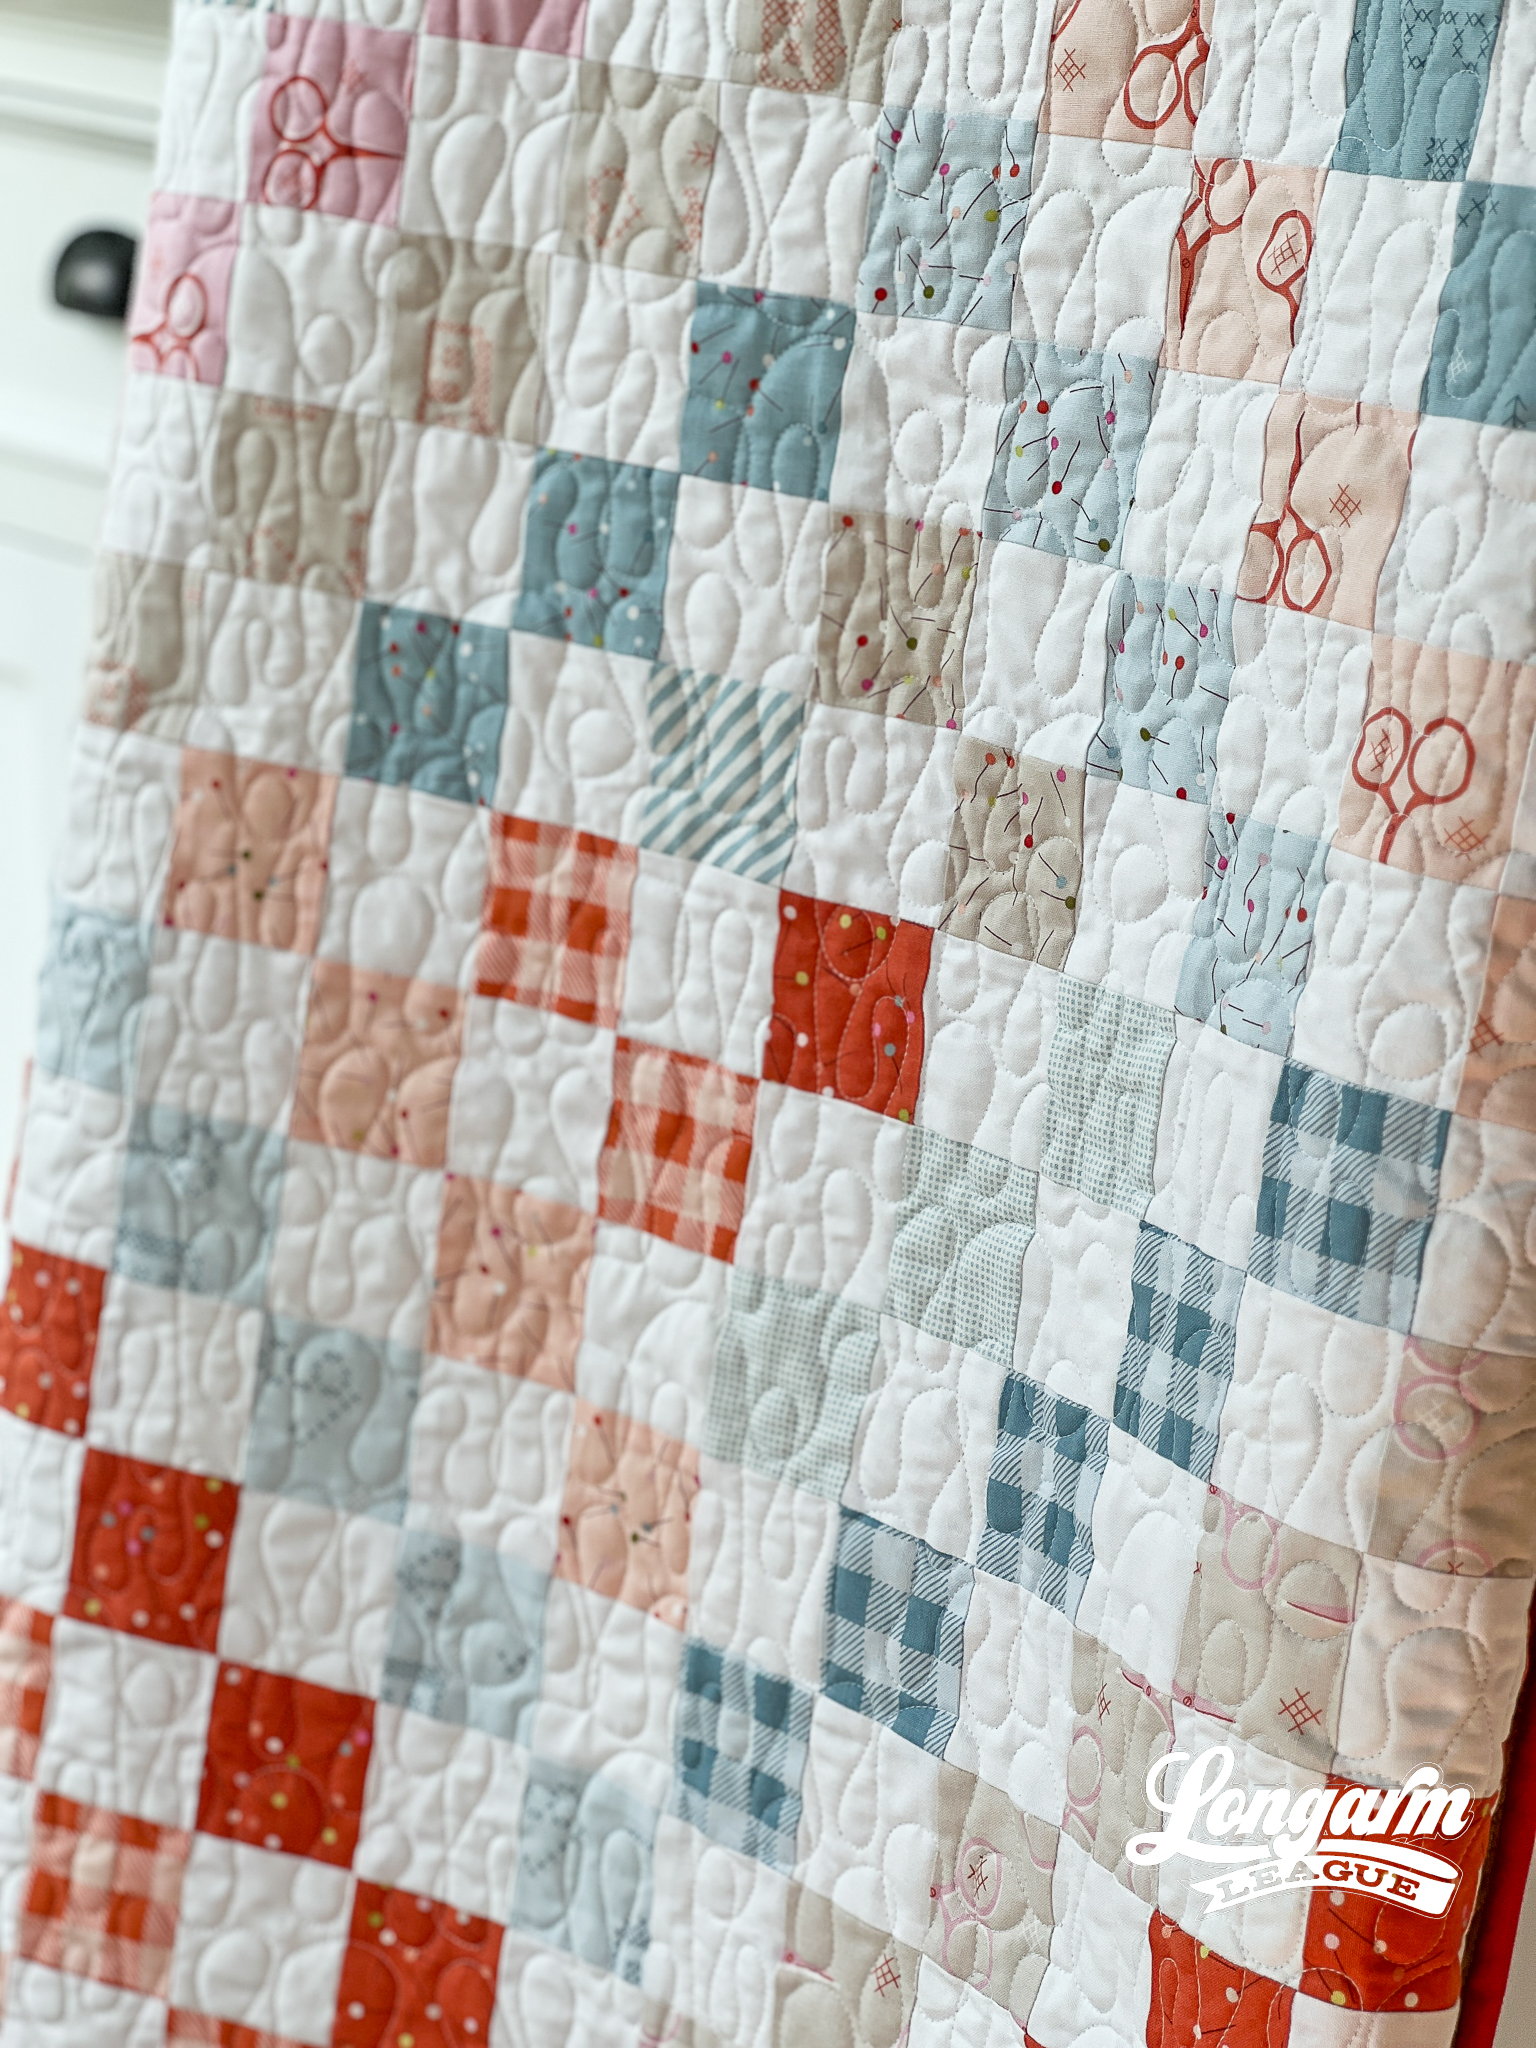
The result is a quirky and fun look that also has an organic, hand-guided quilting vibe.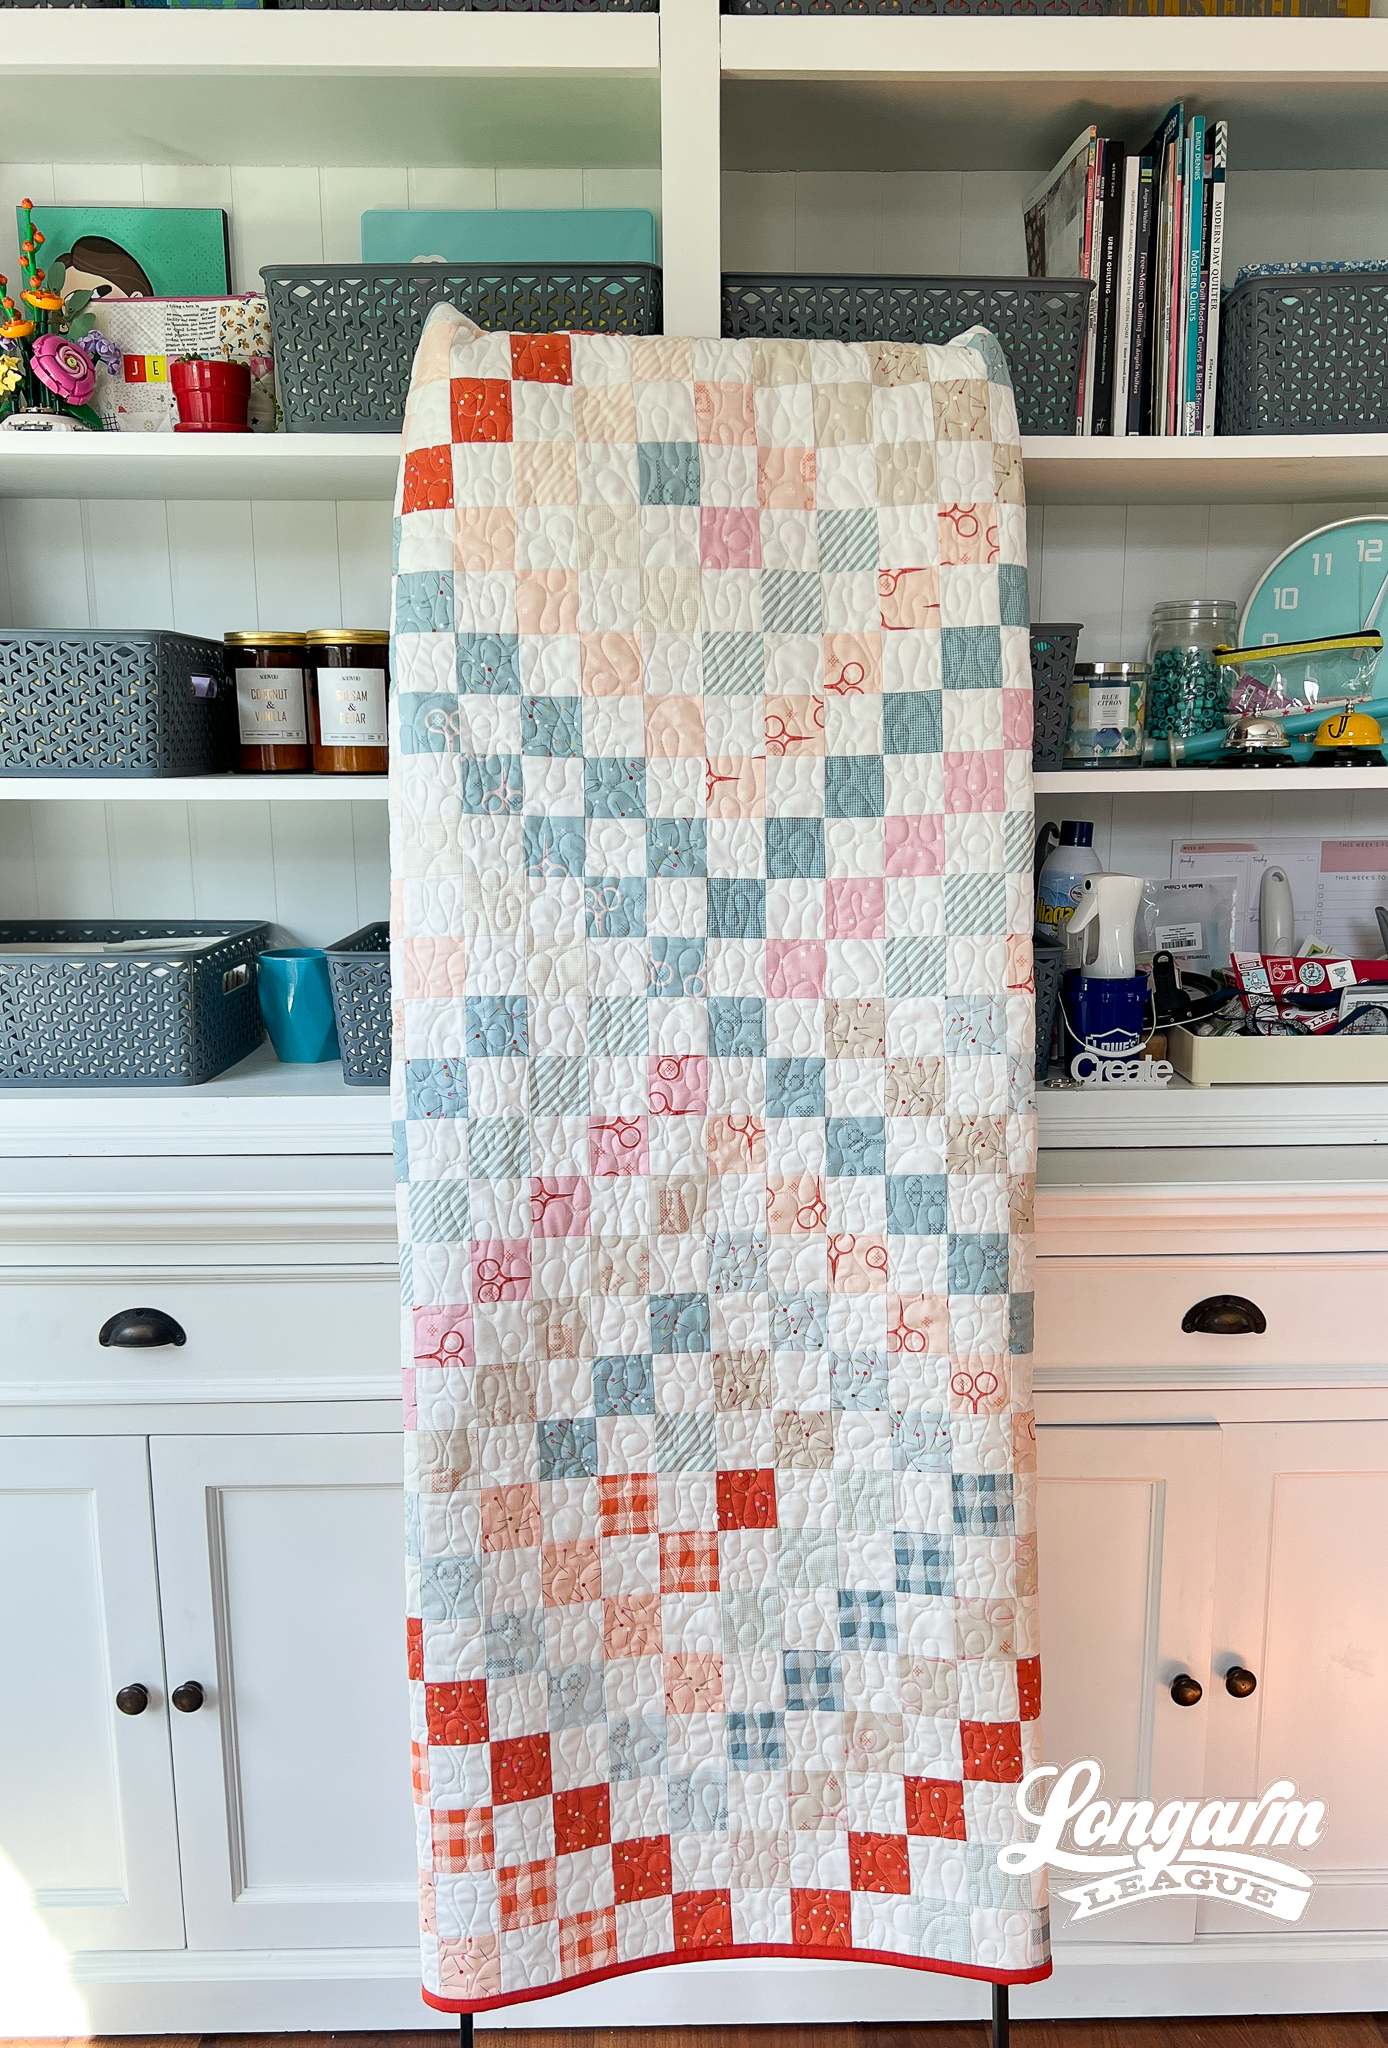
The Quilt
Quilt Pattern
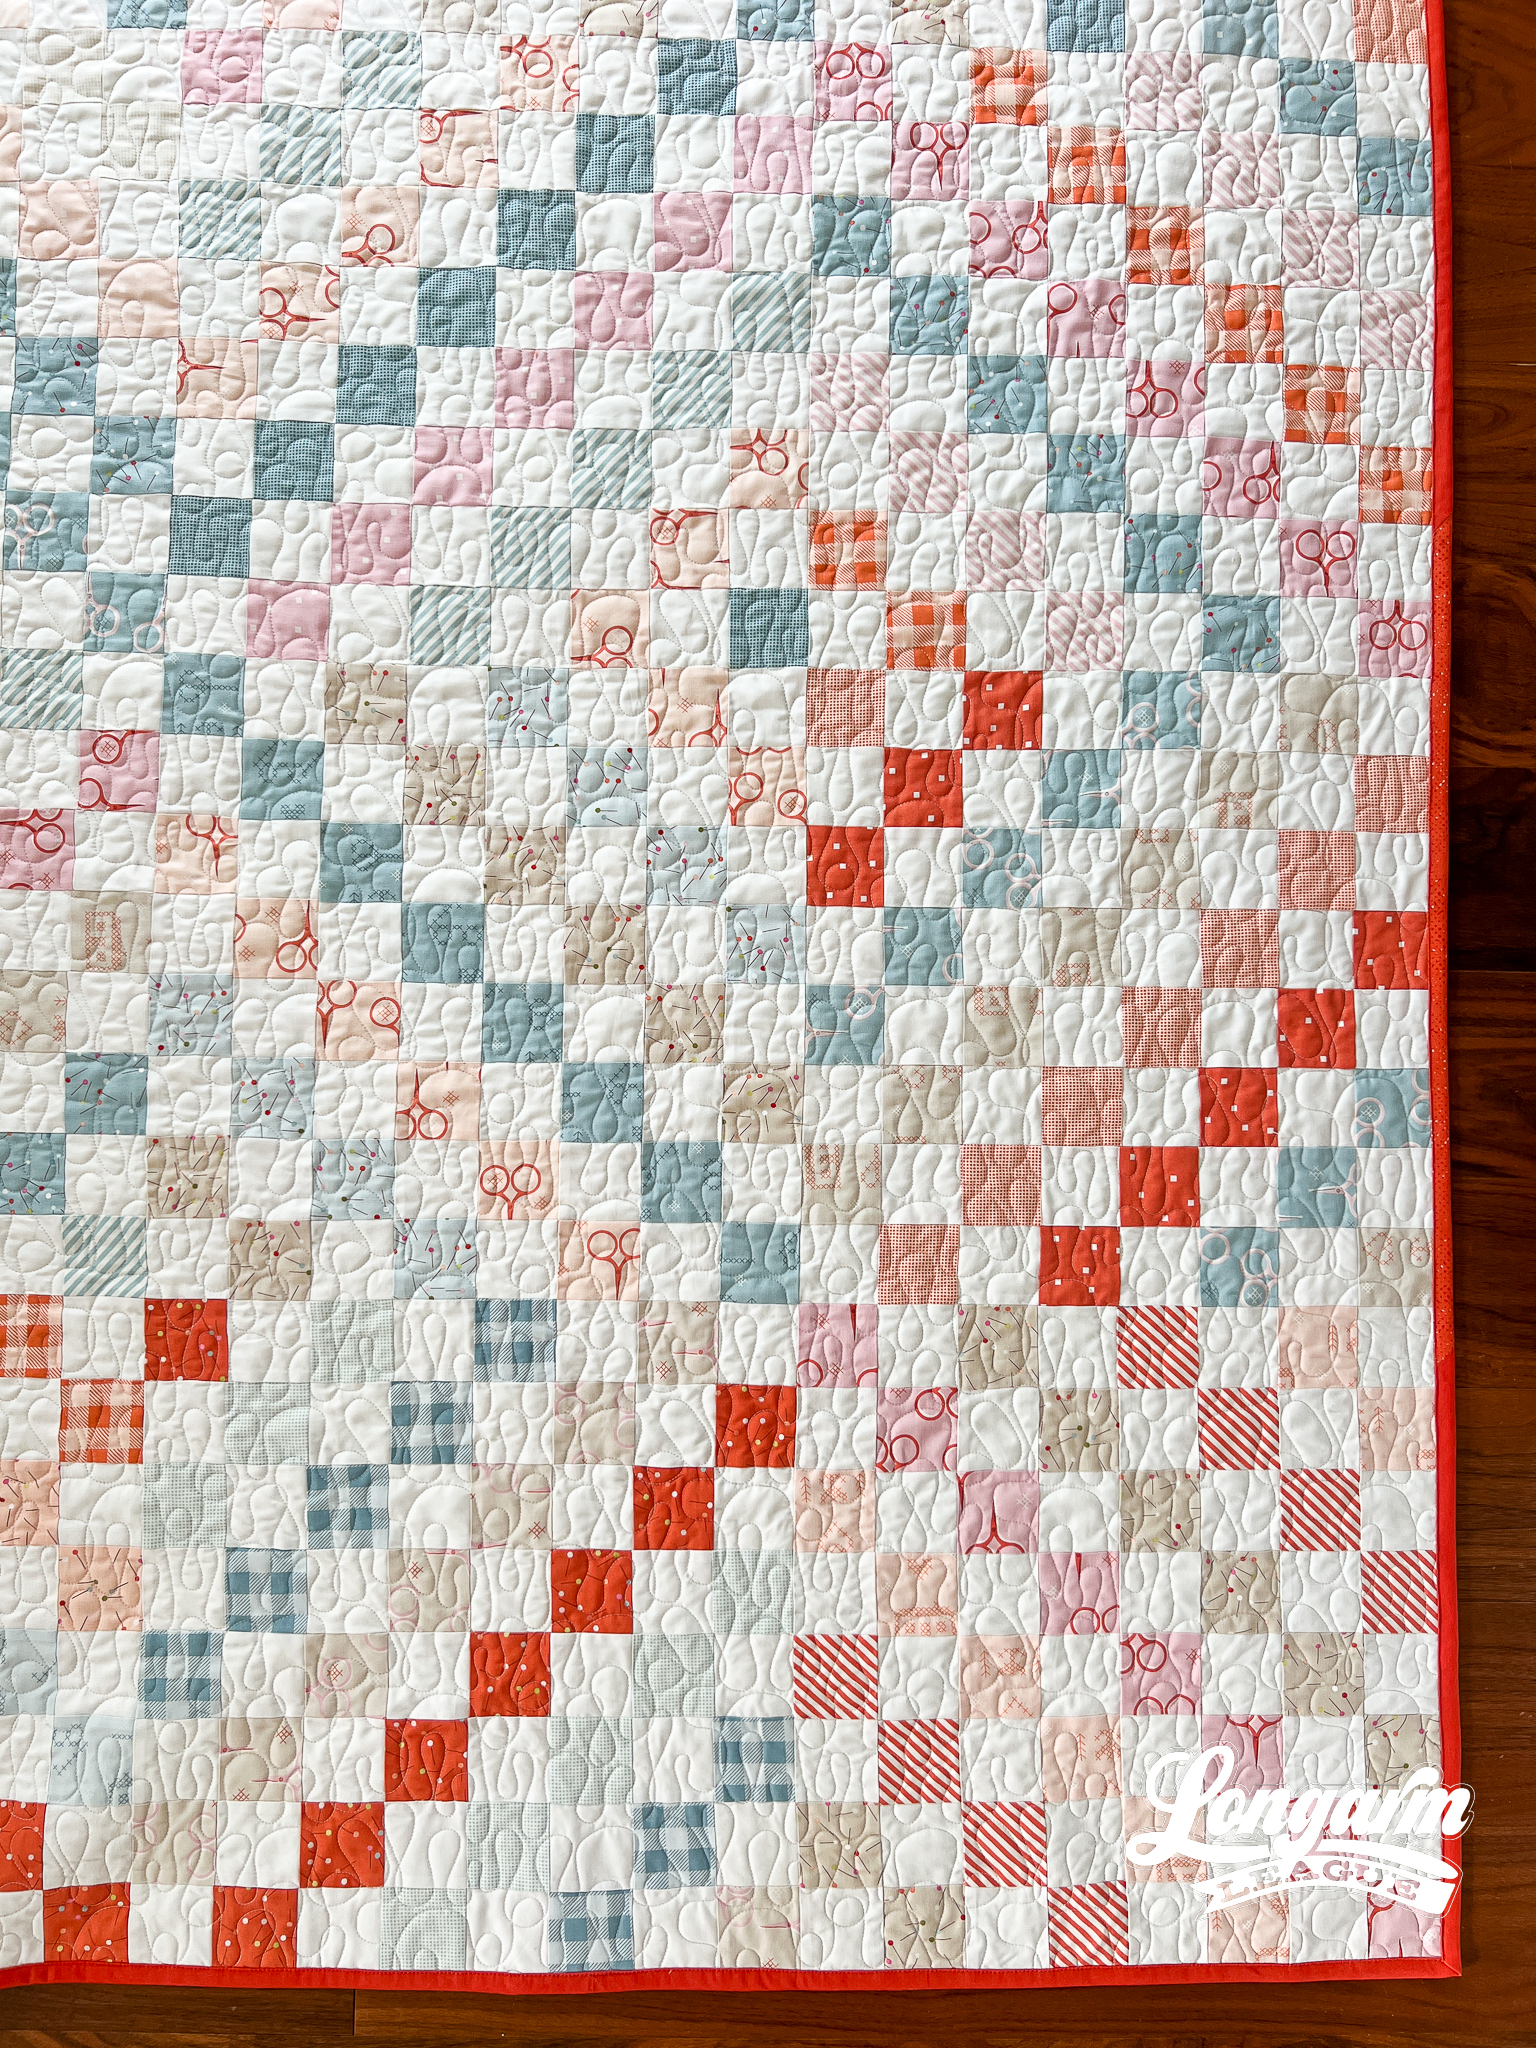
This is a Scrappy Trip Around the World quilt. It's not the first one I've pieced, but it's the first one I've quilted. I'm still waiting for the right pantograph or inspiration for the first one, which is "unhinged" scrappy. As in, I used strips from my scraps without a single care about fabrics matching or working within a certain palette. It's wild, free, and fun.
In fact, because the first one was so satisfying, I wanted another crack at it, but with a more curated look, and what I'd hoped to be a better pressing strategy. Well, we checked the box for the curated look, but we failed miserably with the better pressing.
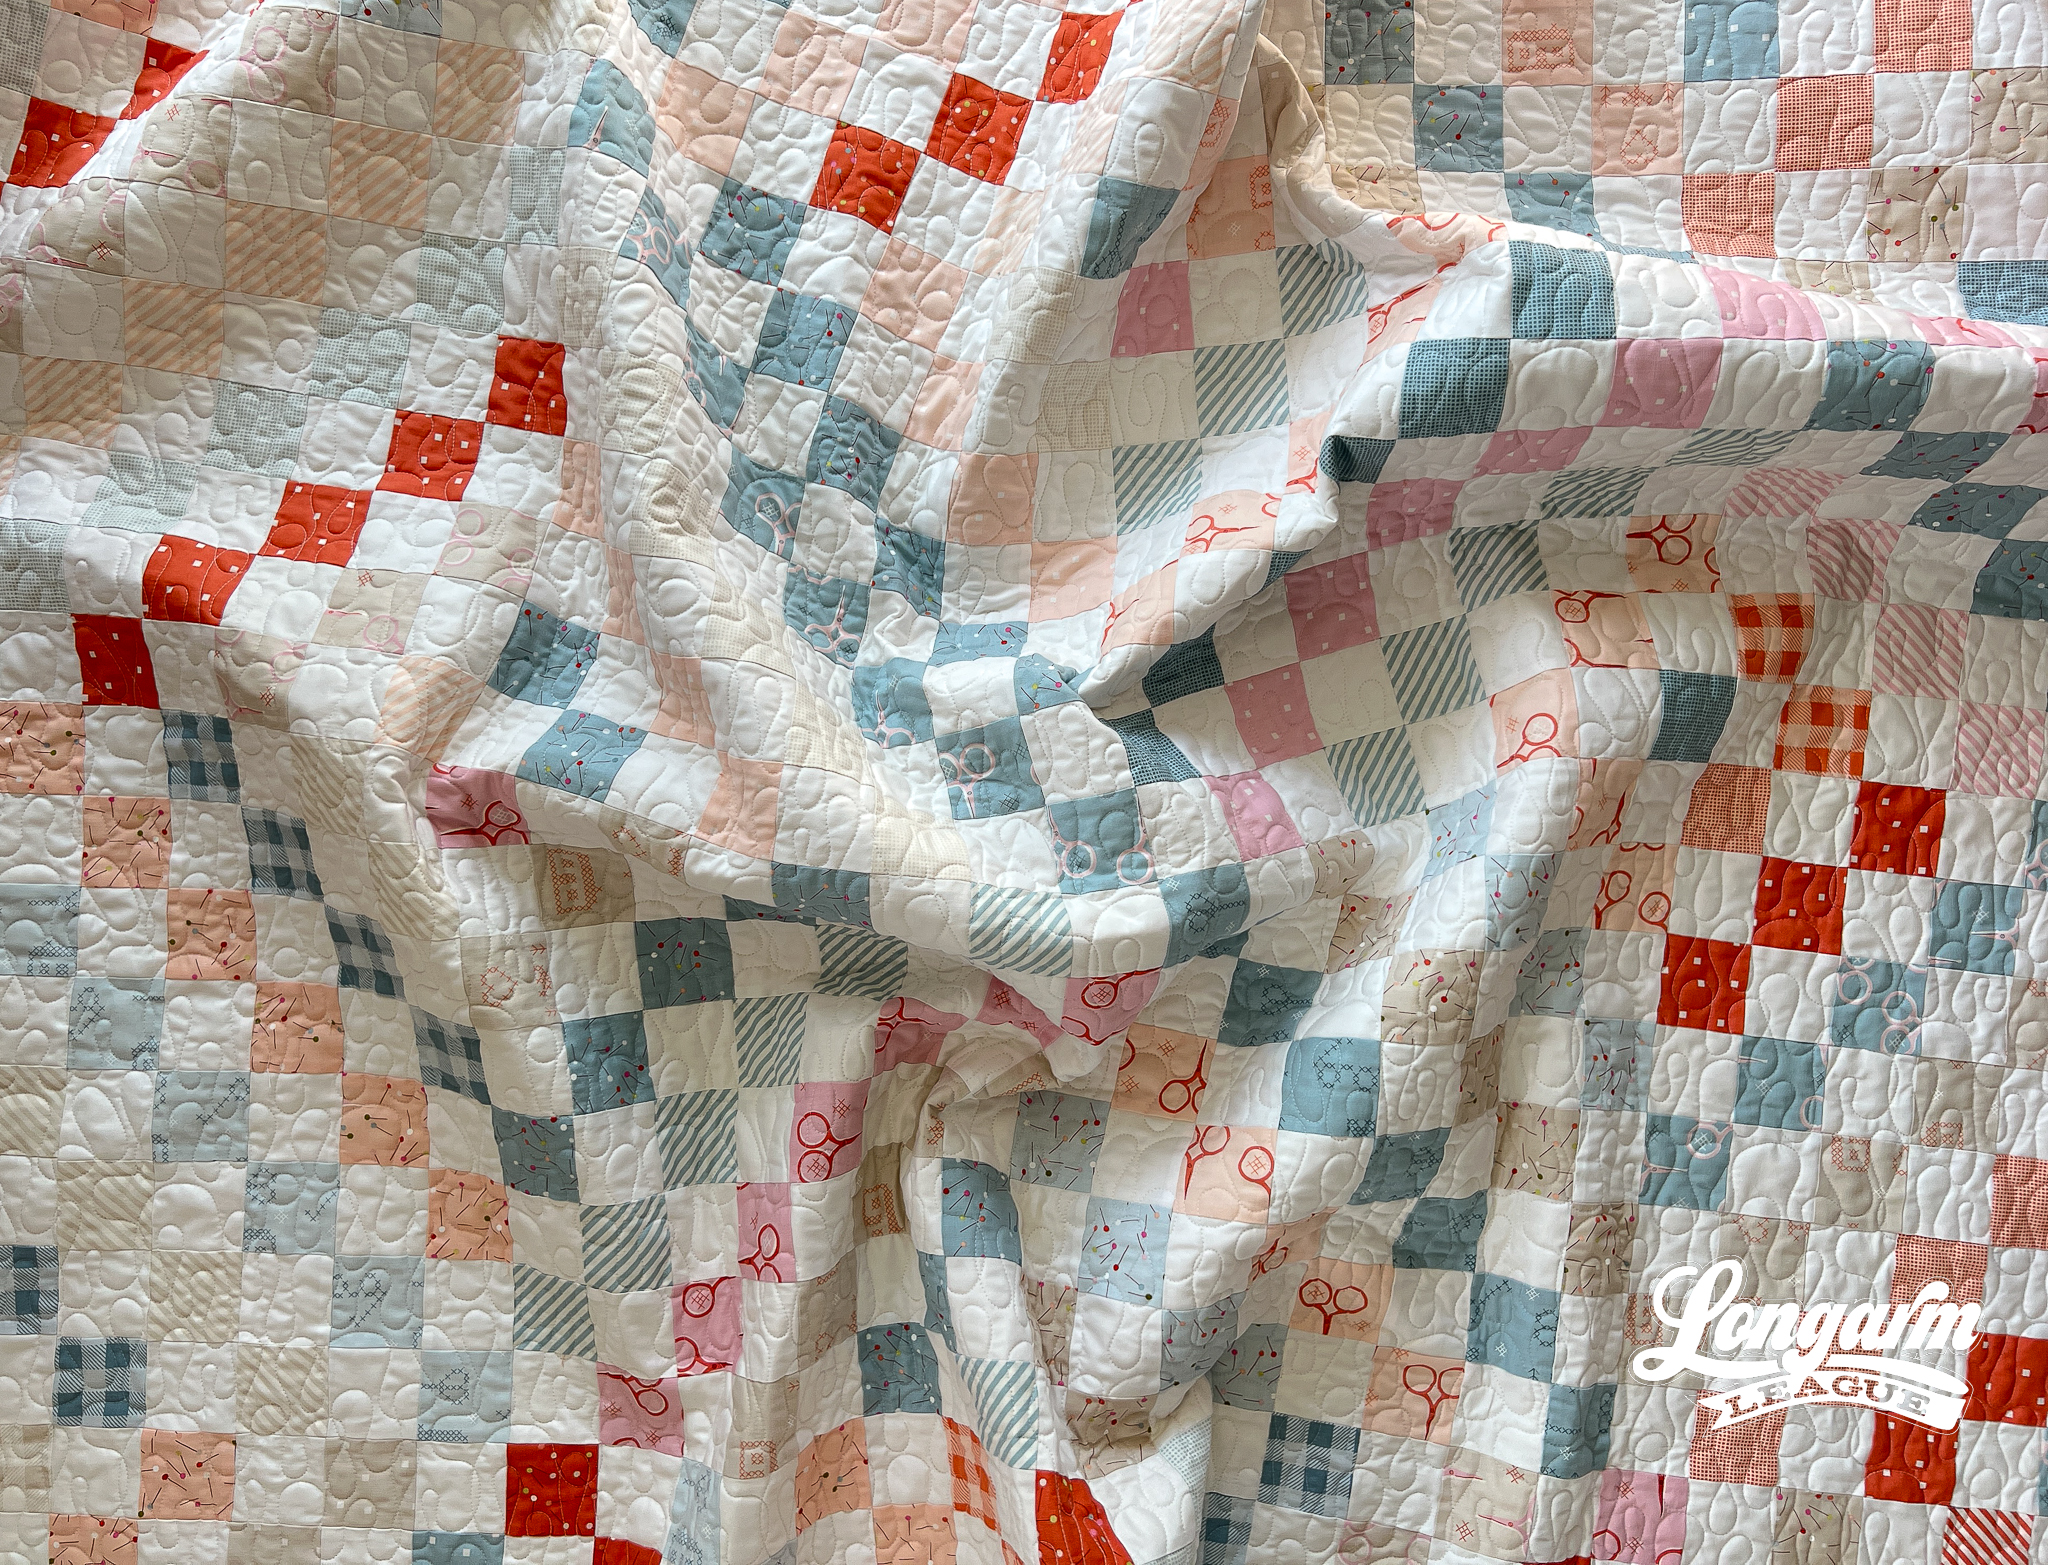
If you decide to try your hand at a Scrappy Trip quilt—and I highly suggest you do—please begin with Ma Tante Quilting's YouTube tutorial. It was published after I finished this quilt; otherwise, I would have used it for guidance. Shelly of Ma Tante Quilting will show you the trick for pressing success, so you won't have to struggle with seams going every which way when it's time to assemble the top.
You see, it was ALL fun and games for me until the blocks needed to be sewn together, and then I panicked when I realized that not only had I gotten it wrong again, my seams were even more unruly than the first time I made it. Instead of unpicking anything, I just mashed the seams down and moved onto my next project. I was sewing at a retreat and it was well past midnight and I was the only one still awake. So, the underside of the quilt you see here is NOT cute, but it also didn't cause a major crisis when I loaded it up on my longarm and quilted it. So, *SHRUG*. It's done, and I love how the quilt turned out. There are more important things than perfectly flat quilt tops. (But if mashed seams stress you out, check out the YouTube tute.)
The fabulous tutorial linked above sources other blog posts, explains how to achieve certain looks, and offers nifty tips to keep you organized. It's seriously such a good video that will make you feel confident and inspired to start a Scrappy Trip, whether it's your first or thirteenth! Here's the link again because I really want you to watch it.
Fabrics
As I mentioned, I was aiming for a curated look with this quilt, so I used a jelly roll of the Make Time line by Aneela Hoey for Moda Fabrics. I also took a risk and ordered a 2.5" precut roll of plain white fabric, just to cut down on the hassle of cutting strips from yardage. It worked out fine, but if I had it to do over again, I probably would have just cut the dang strips myself because I forgot that I don't care for the pinked edges and fluffy lint that comes with them.
The Backing
I bought a wide bolt of Kona Parchment a long time ago to use for backings and had accumulated a bunch of remnants after trimming quilts. I felt like a hero for piecing this backing together with 7 or 8 seams! I chose this fabric because the color coordinates better with the tan prints on the front.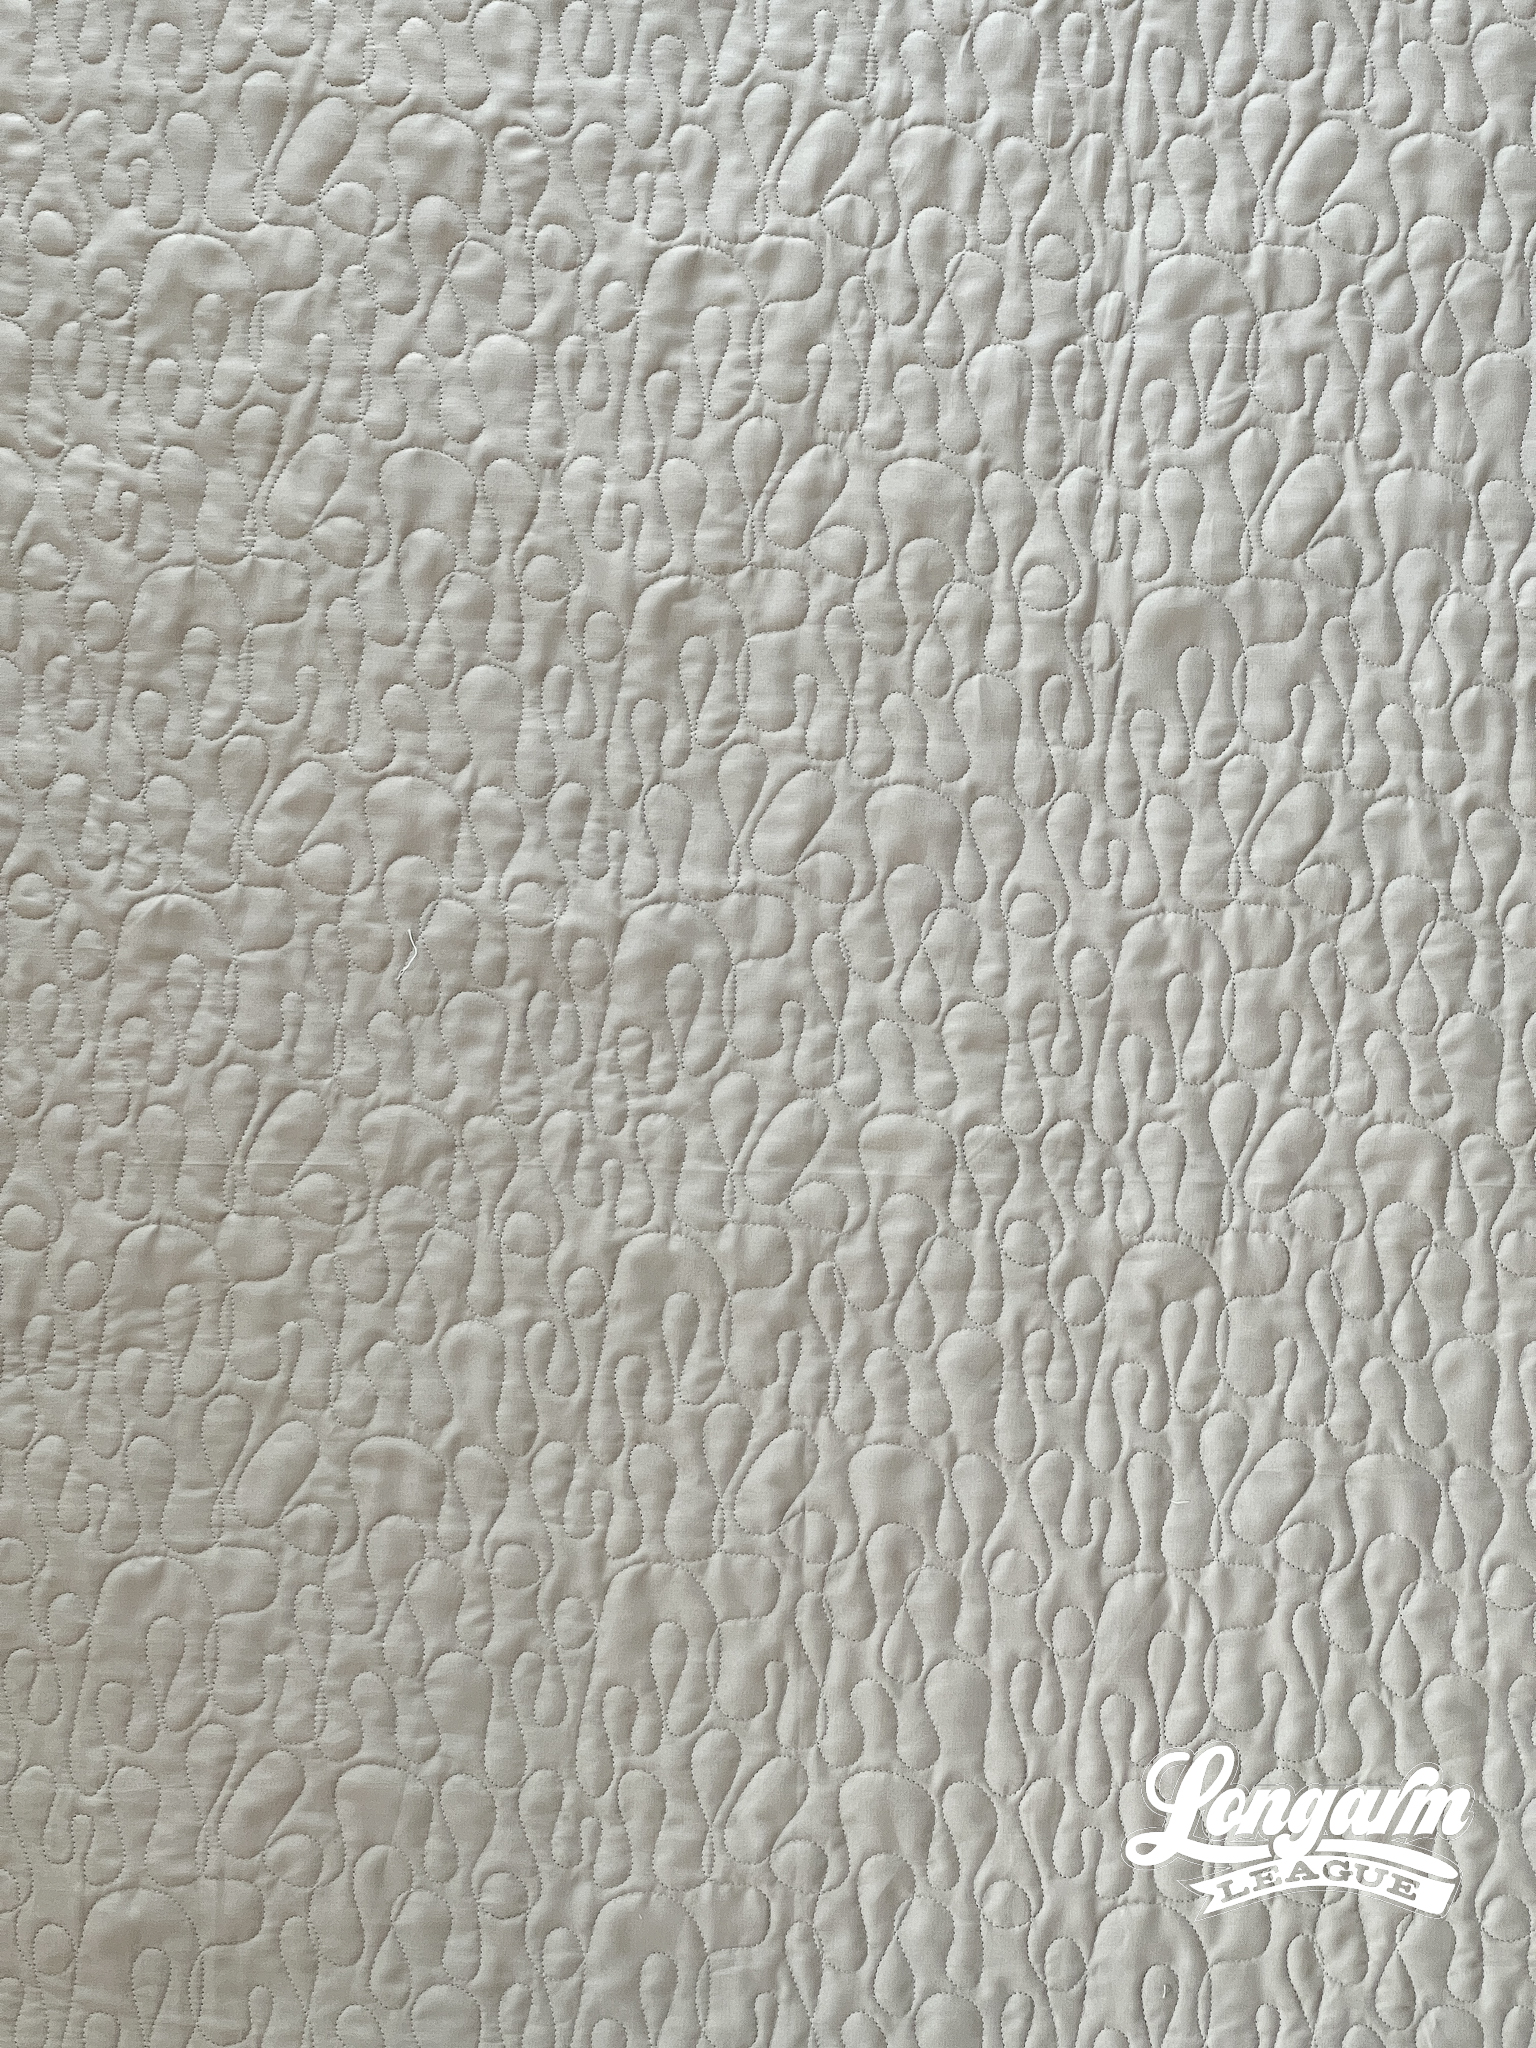
The Quilting Details
Difficulty Level
I gave this design an "easy" rating in terms of difficulty to use. It is a bit dense when stitched at the dimensions I used, but the alignment is very easy. No offsetting is necessary and there is no backtracking.
If you'd like to view the stitch path, a screen recording is available at the top of the blog post that shows its progression.
Scale
For this quilt made of 2" squares, I wanted the quilting to be on the dense side of things, so I scaled down from the default dimensions.
Here are the sizing specifications for how I set up this quilt using my Intelliquilter (63" x 63" quilt size):
Row height: 5"
Gap: -1.024"
Pattern height: 6.024" (measurement from top to bottom of the repeat)
Offset: none
Backtracking: none
Here's a look at the included PDF: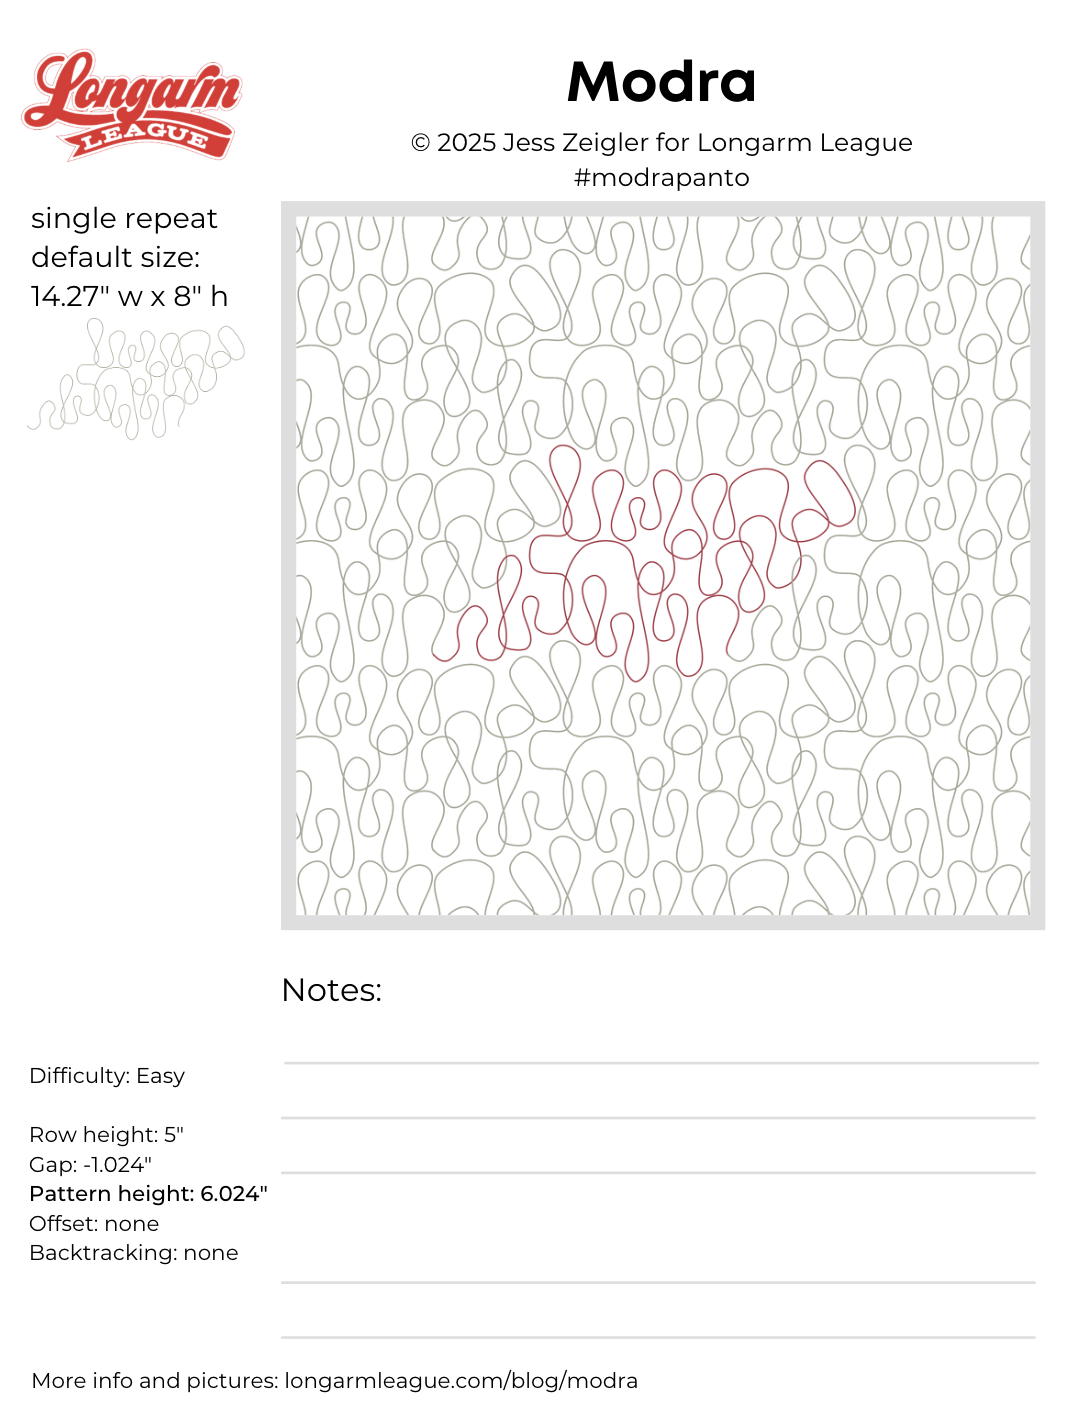
Interested in getting new digital pantograph designs like this one on the day they're released (and at a deep discount)? Sign up for our Digital Panto Club and get them delivered directly to your inbox on the first Wednesday of each new month.

Jess Zeigler
Longarm League Commish & Owner of Threaded Quilting Studio, LLC.


