
Unpicking an Entire Quilt
Project Origins
When I was designing quilting patterns for my Threaded Quilting Studio site, I had a major infatuation with feathered star blocks and quilts. I wrote a foundation paper piecing pattern for the No Y Seam Feathered Star block.
I also wrote the Fierce Feathered Star block which uses the principles of the No Y Seam Feathered Star but uses ordinary sewing methods with no paper piecing.
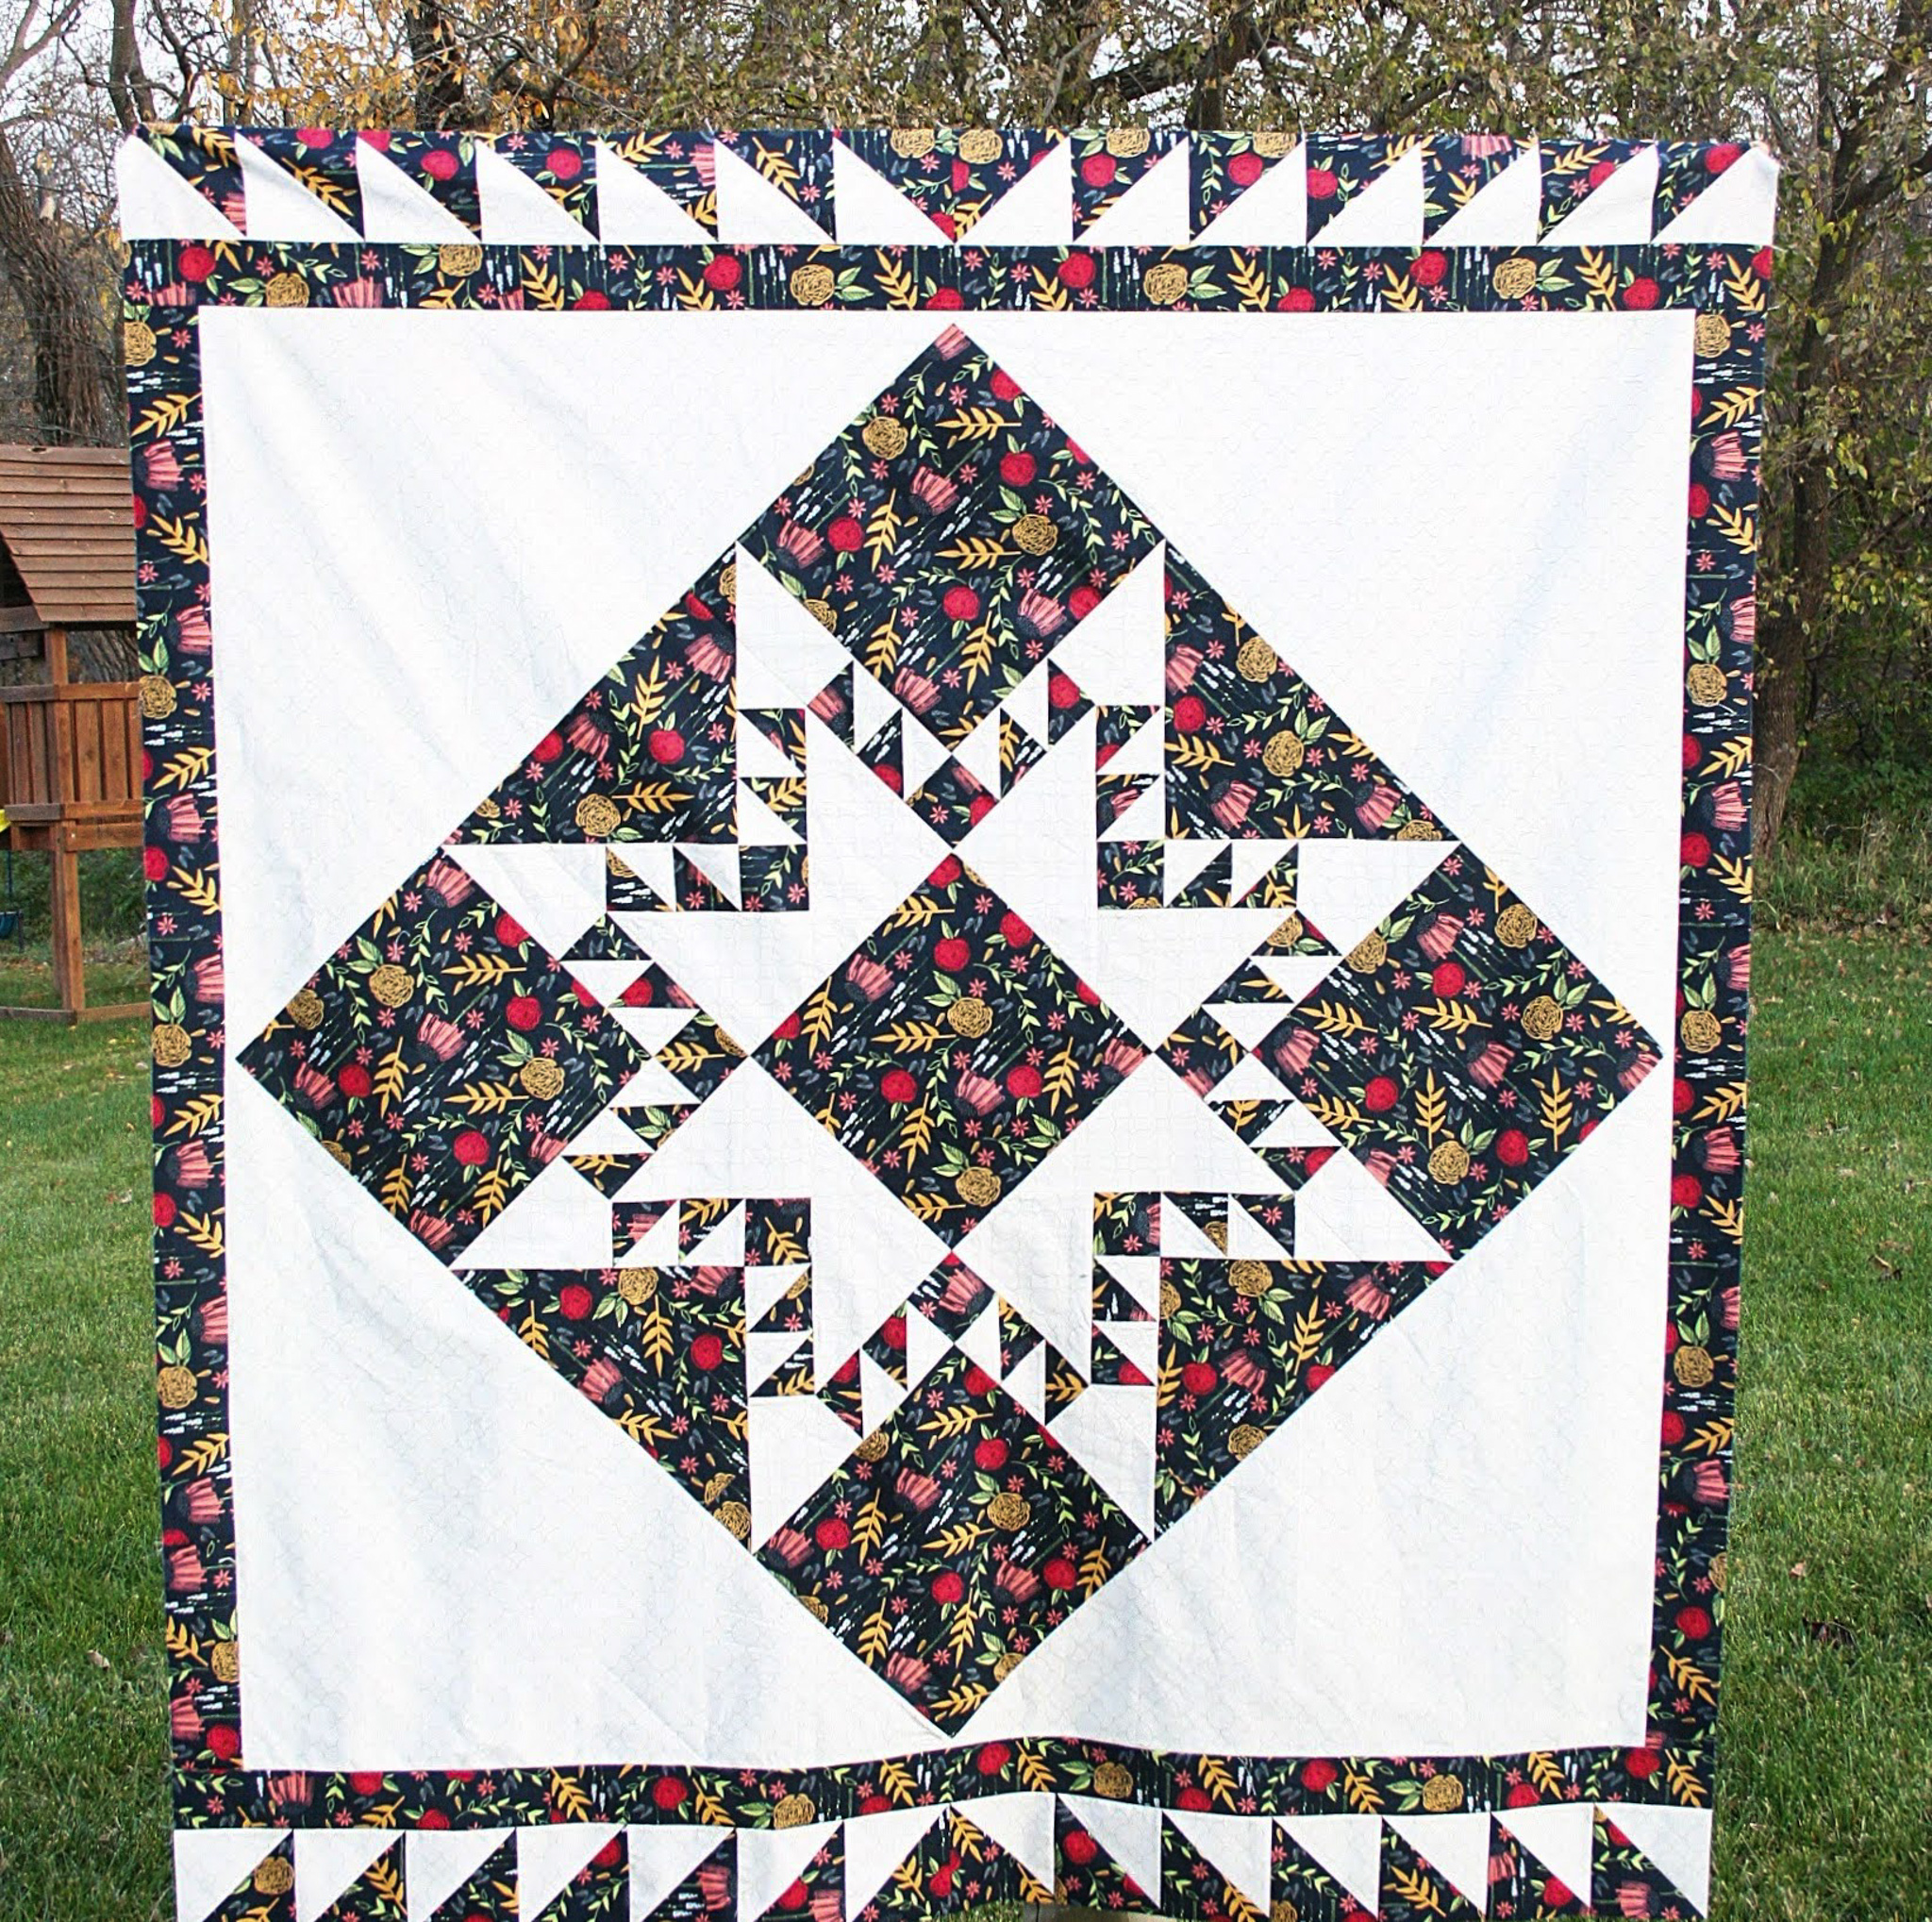
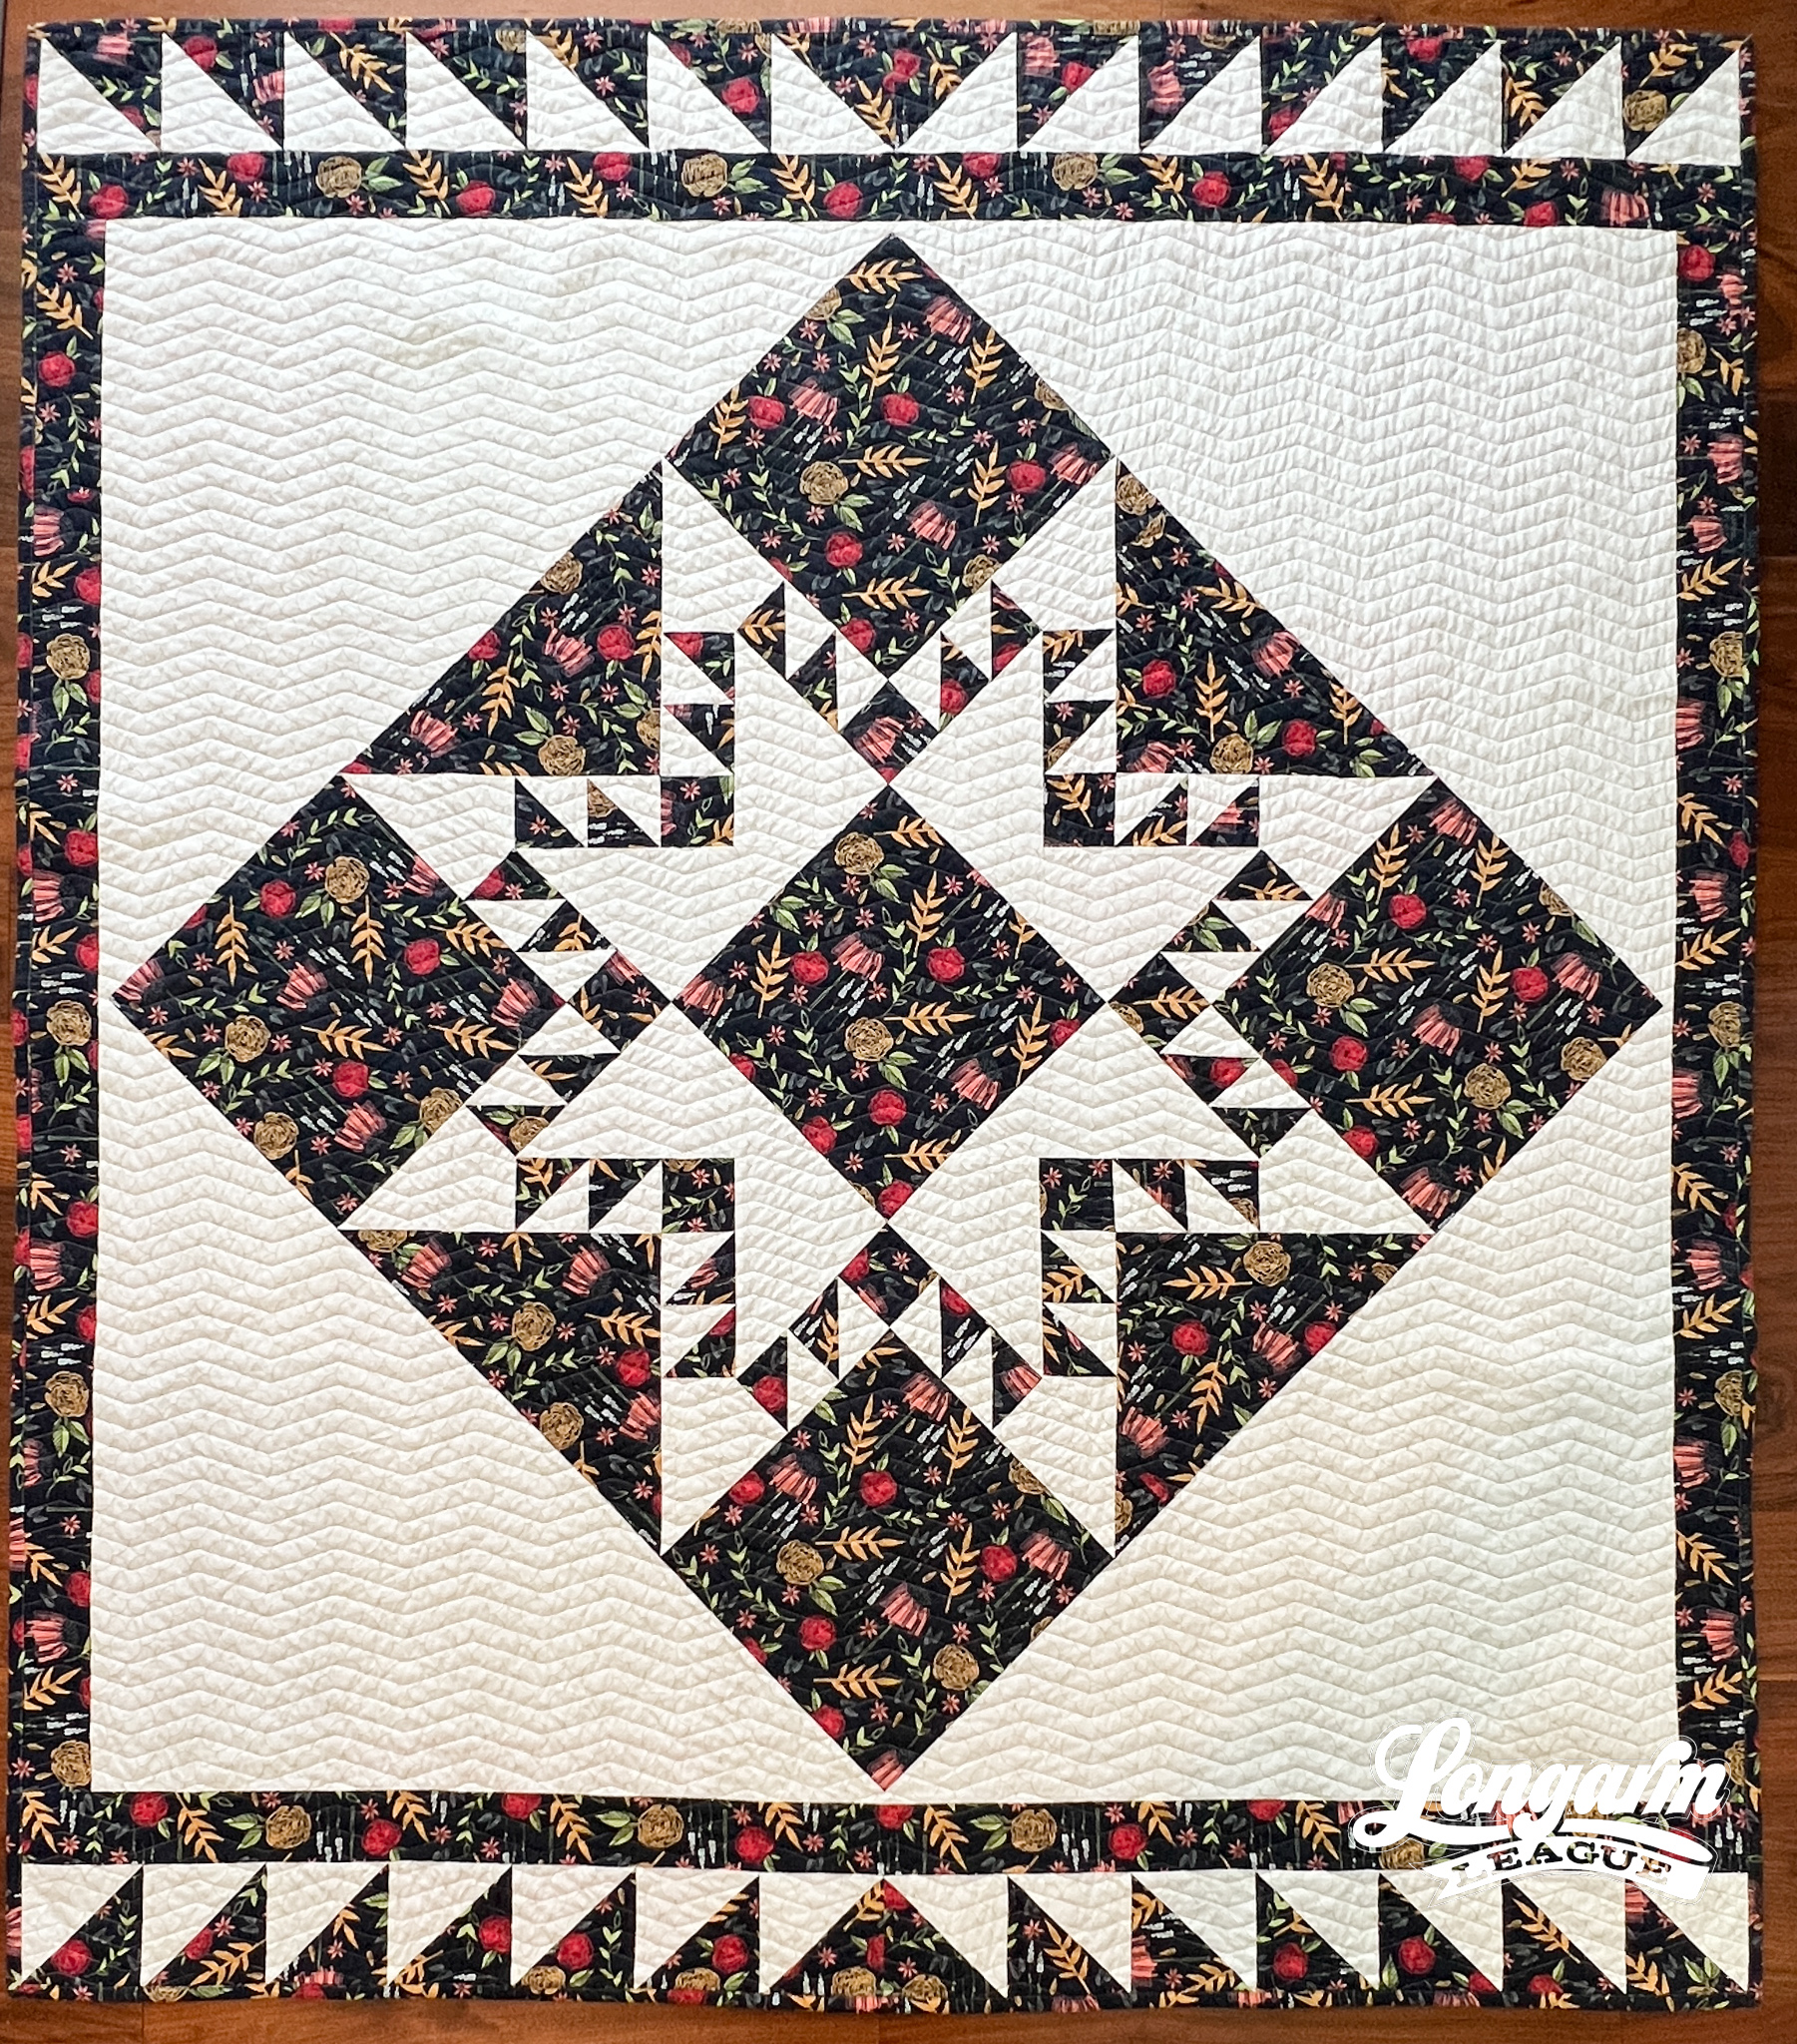
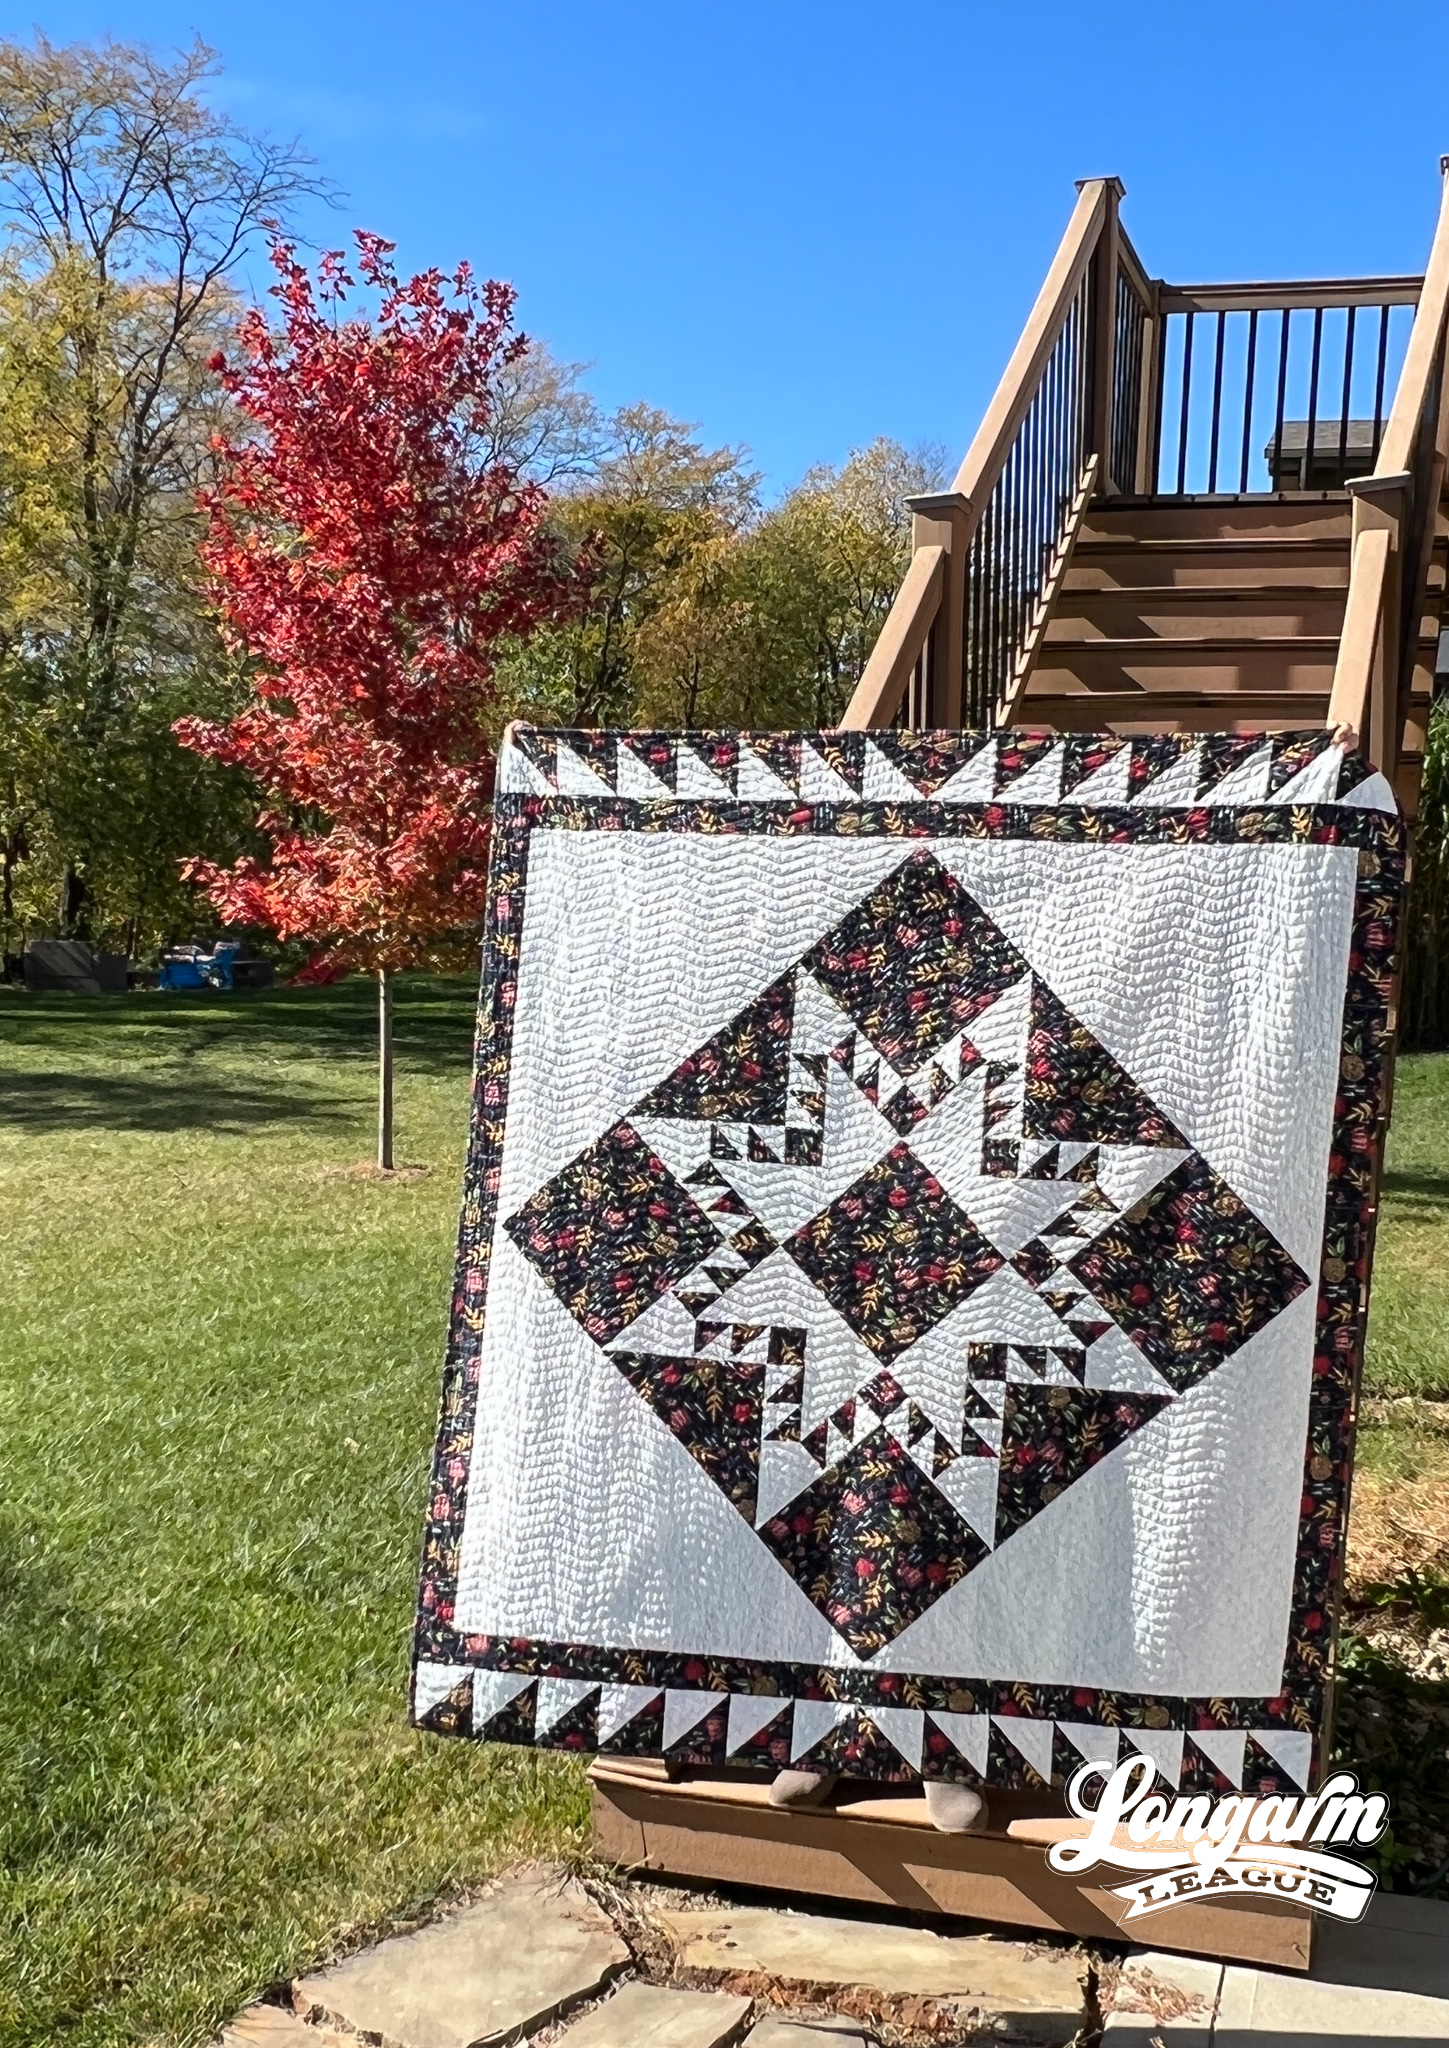
I loved the idea of making a two-tone version of the Fierce Feathered Star block and quilt and so I designed and made this lap quilt you see pictured throughout this blog post. Back in 2018, I wrote a tutorial for adding setting triangles and borders to the single large (36" square block) Fierce Feathered Star block here.
At the time, I had been offering my edge-to-edge computerized quilting service for just over a year. I decided to use the pantograph Woven Wind from Apricot Moon Designs for the quilting. I don't know if I'd ever used the digital pantograph before, but I think I sized it a little smaller than I should have. 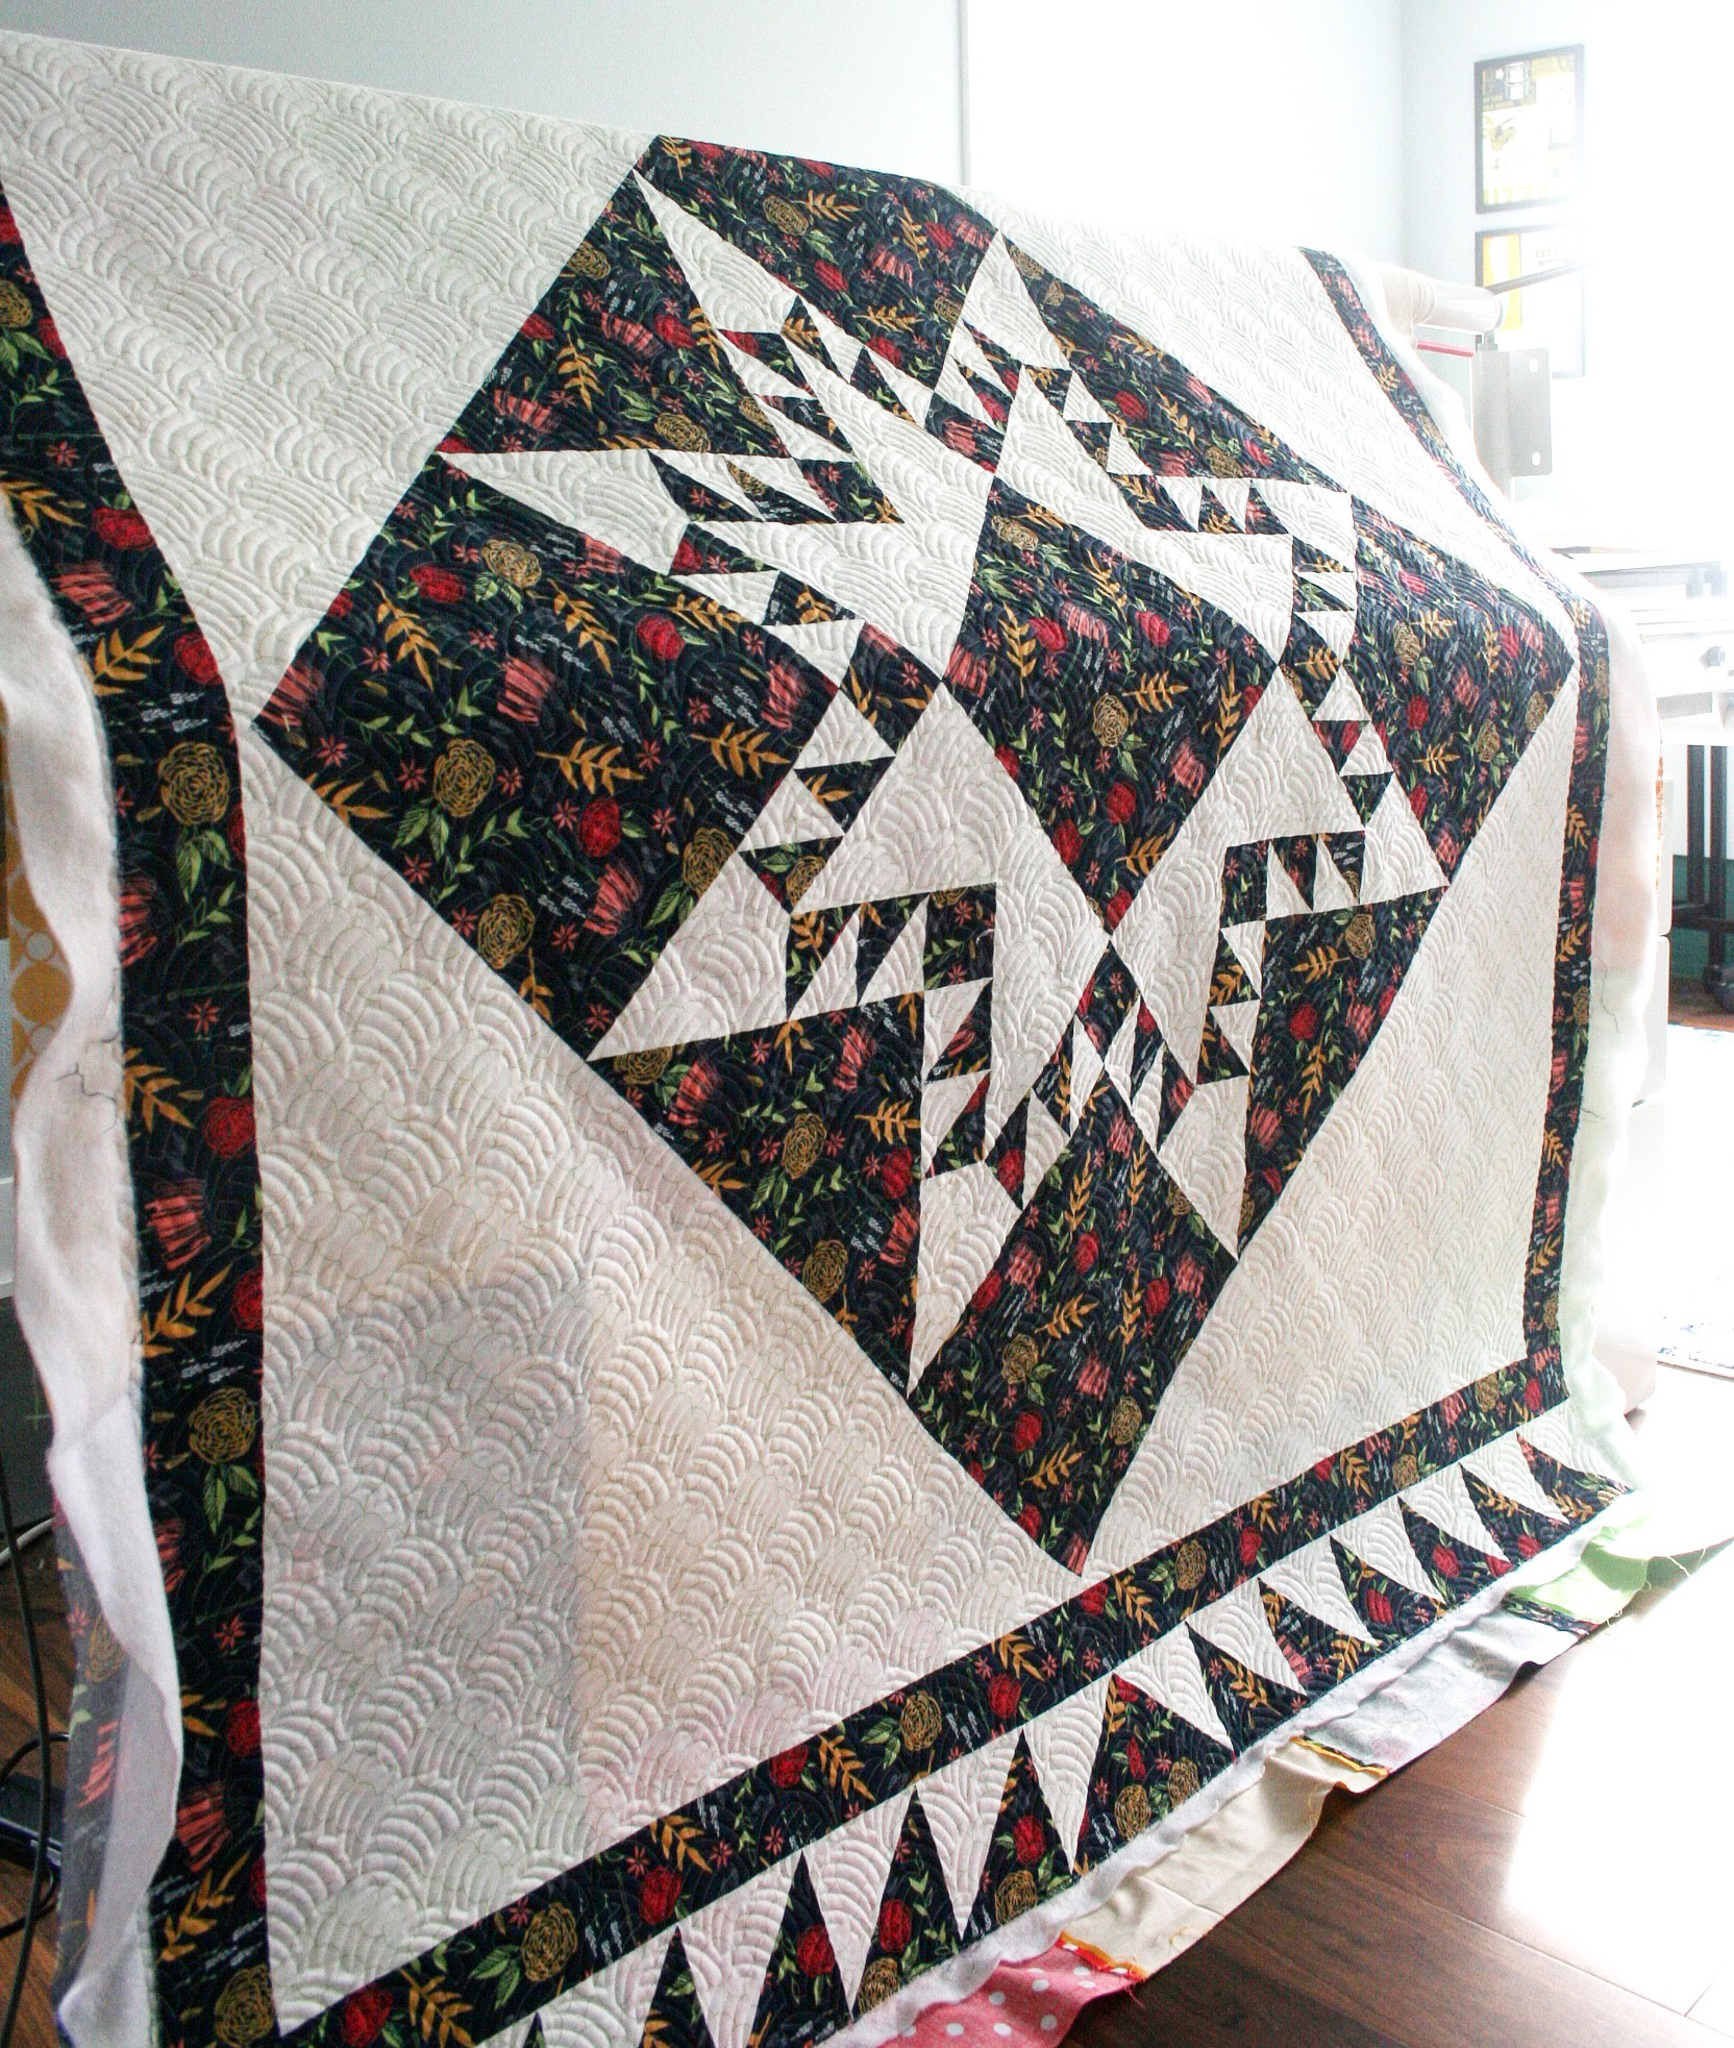
I've used the Woven Wind design a number of times after this, increasing the sizing of the design. It's a wonderful, easy to use design.
But I didn't do anything more with this quilt. I never trimmed it or bound it.
Why Unpick?
Earlier this year (2022), I was finishing up some UFOs and I remembered that I had this project that was SO CLOSE to the finish line. Only... something was nagging at me. Why didn't I want to bind it?
What would make me like the quilt more? What would happen if I took out all the quilting stitches and re-quilted it with another design? How long would that take? Would it damage the fabric? Would it look okay when I was done?
Really, when it came down to it, I became so curious about all of the questions stated above that I decided to take the stitching out. I could have just bound it and moved on, but I thought perhaps other folks would be curious about this process, too.
Method of Unpicking
In the last year, I've also tried "skinning" a quilt. I bought a sharp scalpel and unpicked a different quilt from between the batting layer and backing layer. I wanted to take out the stitching for a failed pantograph design that I had tested out and didn't end up liking. Because the sample was made of solid fabrics that I didn't care about, I didn't worry about damaging the fabric.
I spent hours trying the skinning method and never felt like I had good-enough control. I might have been a bit quicker, but I also inadvertently nicked several holes in the backing fabric. Some quilters only to the skinning method if they know they can replace the backing fabric. If there are rare fabrics or a pieced back that you wouldn't easily be able to replace, I would not recommend the skinning method.
With this project, I did want to preserve both the top and backing fabrics as much as possible, so I used the "Natalia Bonner unpicking method", which means that Natalia demonstrated this for a YouTube video, and that's where I learned it. I don't think Natalia claims to have invented the method.
Obviously, since the quilt had been quilted four years prior, it wasn't mounted to my longarm frame. I was able to sit comfortably at a chair with the quilt spread out on a flat surface. I listened to podcasts and audiobooks while I unpicked and it was honestly enjoyable for me to let my mind wander. Don't hate me for saying this, but I found it meditative. The more I learn about myself, the more I realize that I like tedious tasks, but especially ones in which I can tell I'm making slow but steady progress.
When I unpick stitching, I like to keep a kitchen bowl near me to collect all the threads. I personally like to keep the top thread in a continuous length, as much as possible. In the past, I would wrap the top thread around my forefinger because it was so quick and easy to maintain tension on the top thread. But, it can result in cutting off circulation and soreness if you keep wrapping long enough. Instead, I've become better at repositioning the top thread in my fingers and using my other digits to maintain tension instead of wrapping my finger. You can see this in the video above.
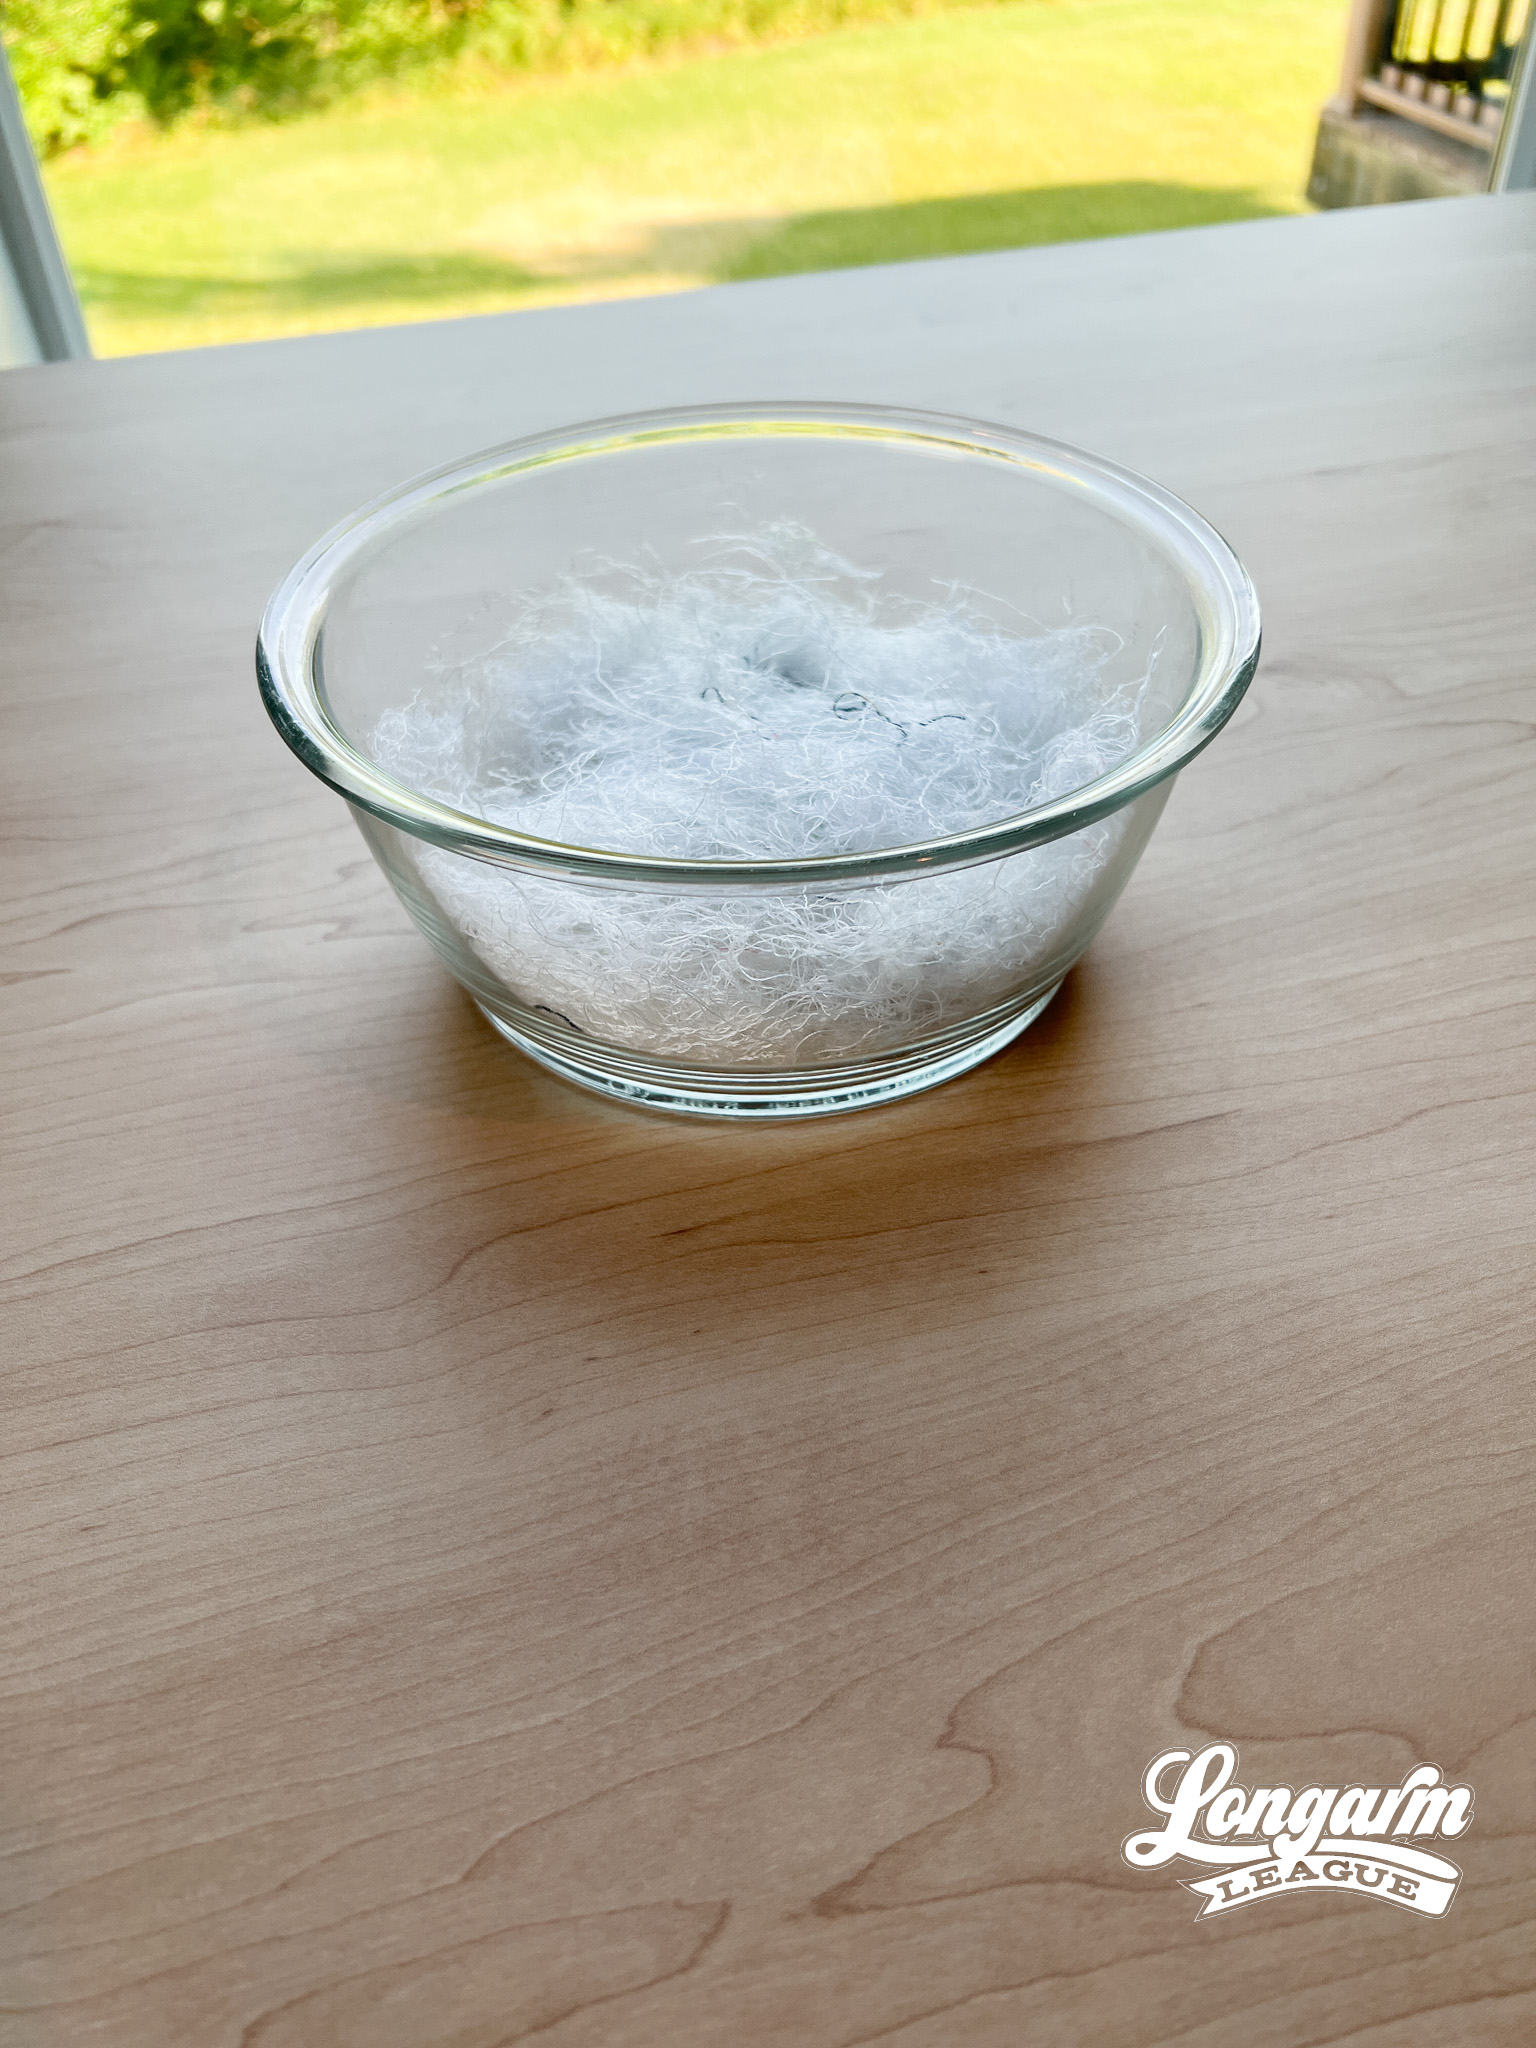
After I've undone a pass of stitching, I go over the area to gather up all the random bits of bobbin thread that have been cut end up on the top of the quilt. This helps me contain the mess and "clear" the workspace for the next pass. You can always count on wearing at least some of the thread, though, no matter how careful you are!
How Long Did it Take?
Since I was embarking on this project "for science" I used my phone's stopwatch every time I sat down to work. This helped me track 20 minutes here, 2 hours there, over several days to get an accumulated total. As you can see from the screenshot, my total time was close to 16 hours!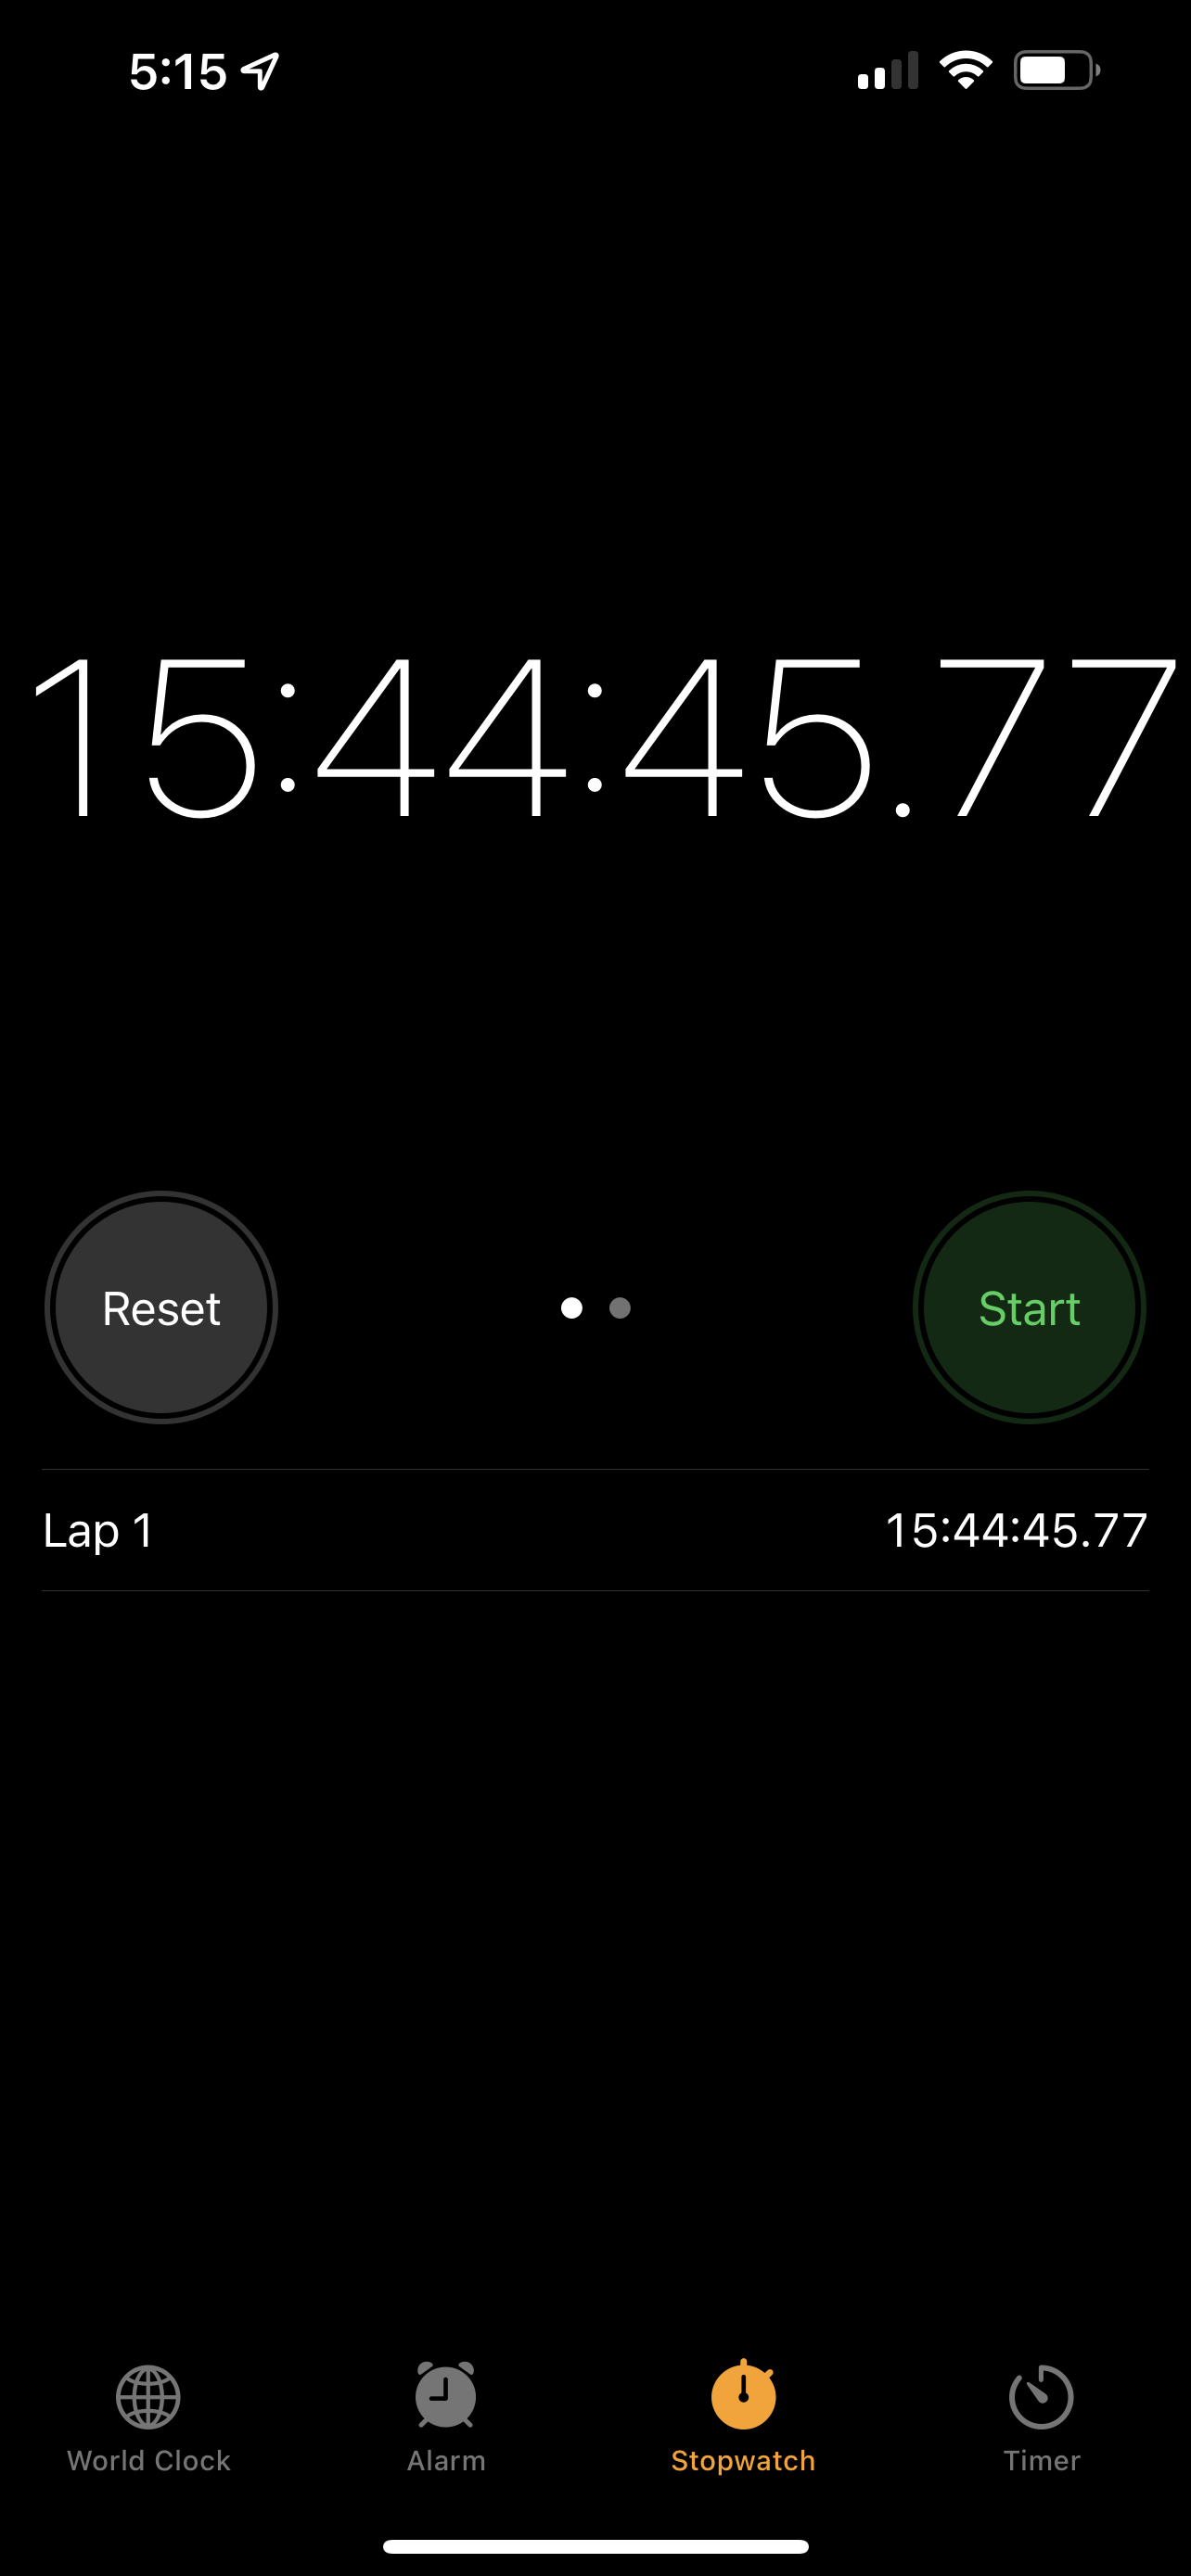
I should have made a prediction before I started, but I didn't. It felt like the unpicking was going quickly because the design did not have any backstitching. There were several pivot points, but it wasn't a tricky design to take out. My quilting tension was good throughout the quilt, which actually worked to my disadvantage when removing the stitches! :)
Reloading the Quilt
I took out all of the stitches within the perimeter of the quilt but I left in the basting stitches around the edges that I created when I originally quilted the quilt. I attempted to load the sandwiched-and-basted three layers using only the take-up bar and belly bar of my longarm frame. I didn't get very far before I realized that the quilt layers had shifted enough that it wasn't going to work to re-quilt it without taking the three layers completely apart.
That was fine with me, though, as I had already put so much time into unpicking the rest of the quilt that undoing a victory lap wasn't a problem or even a big ask.
Problem Spot
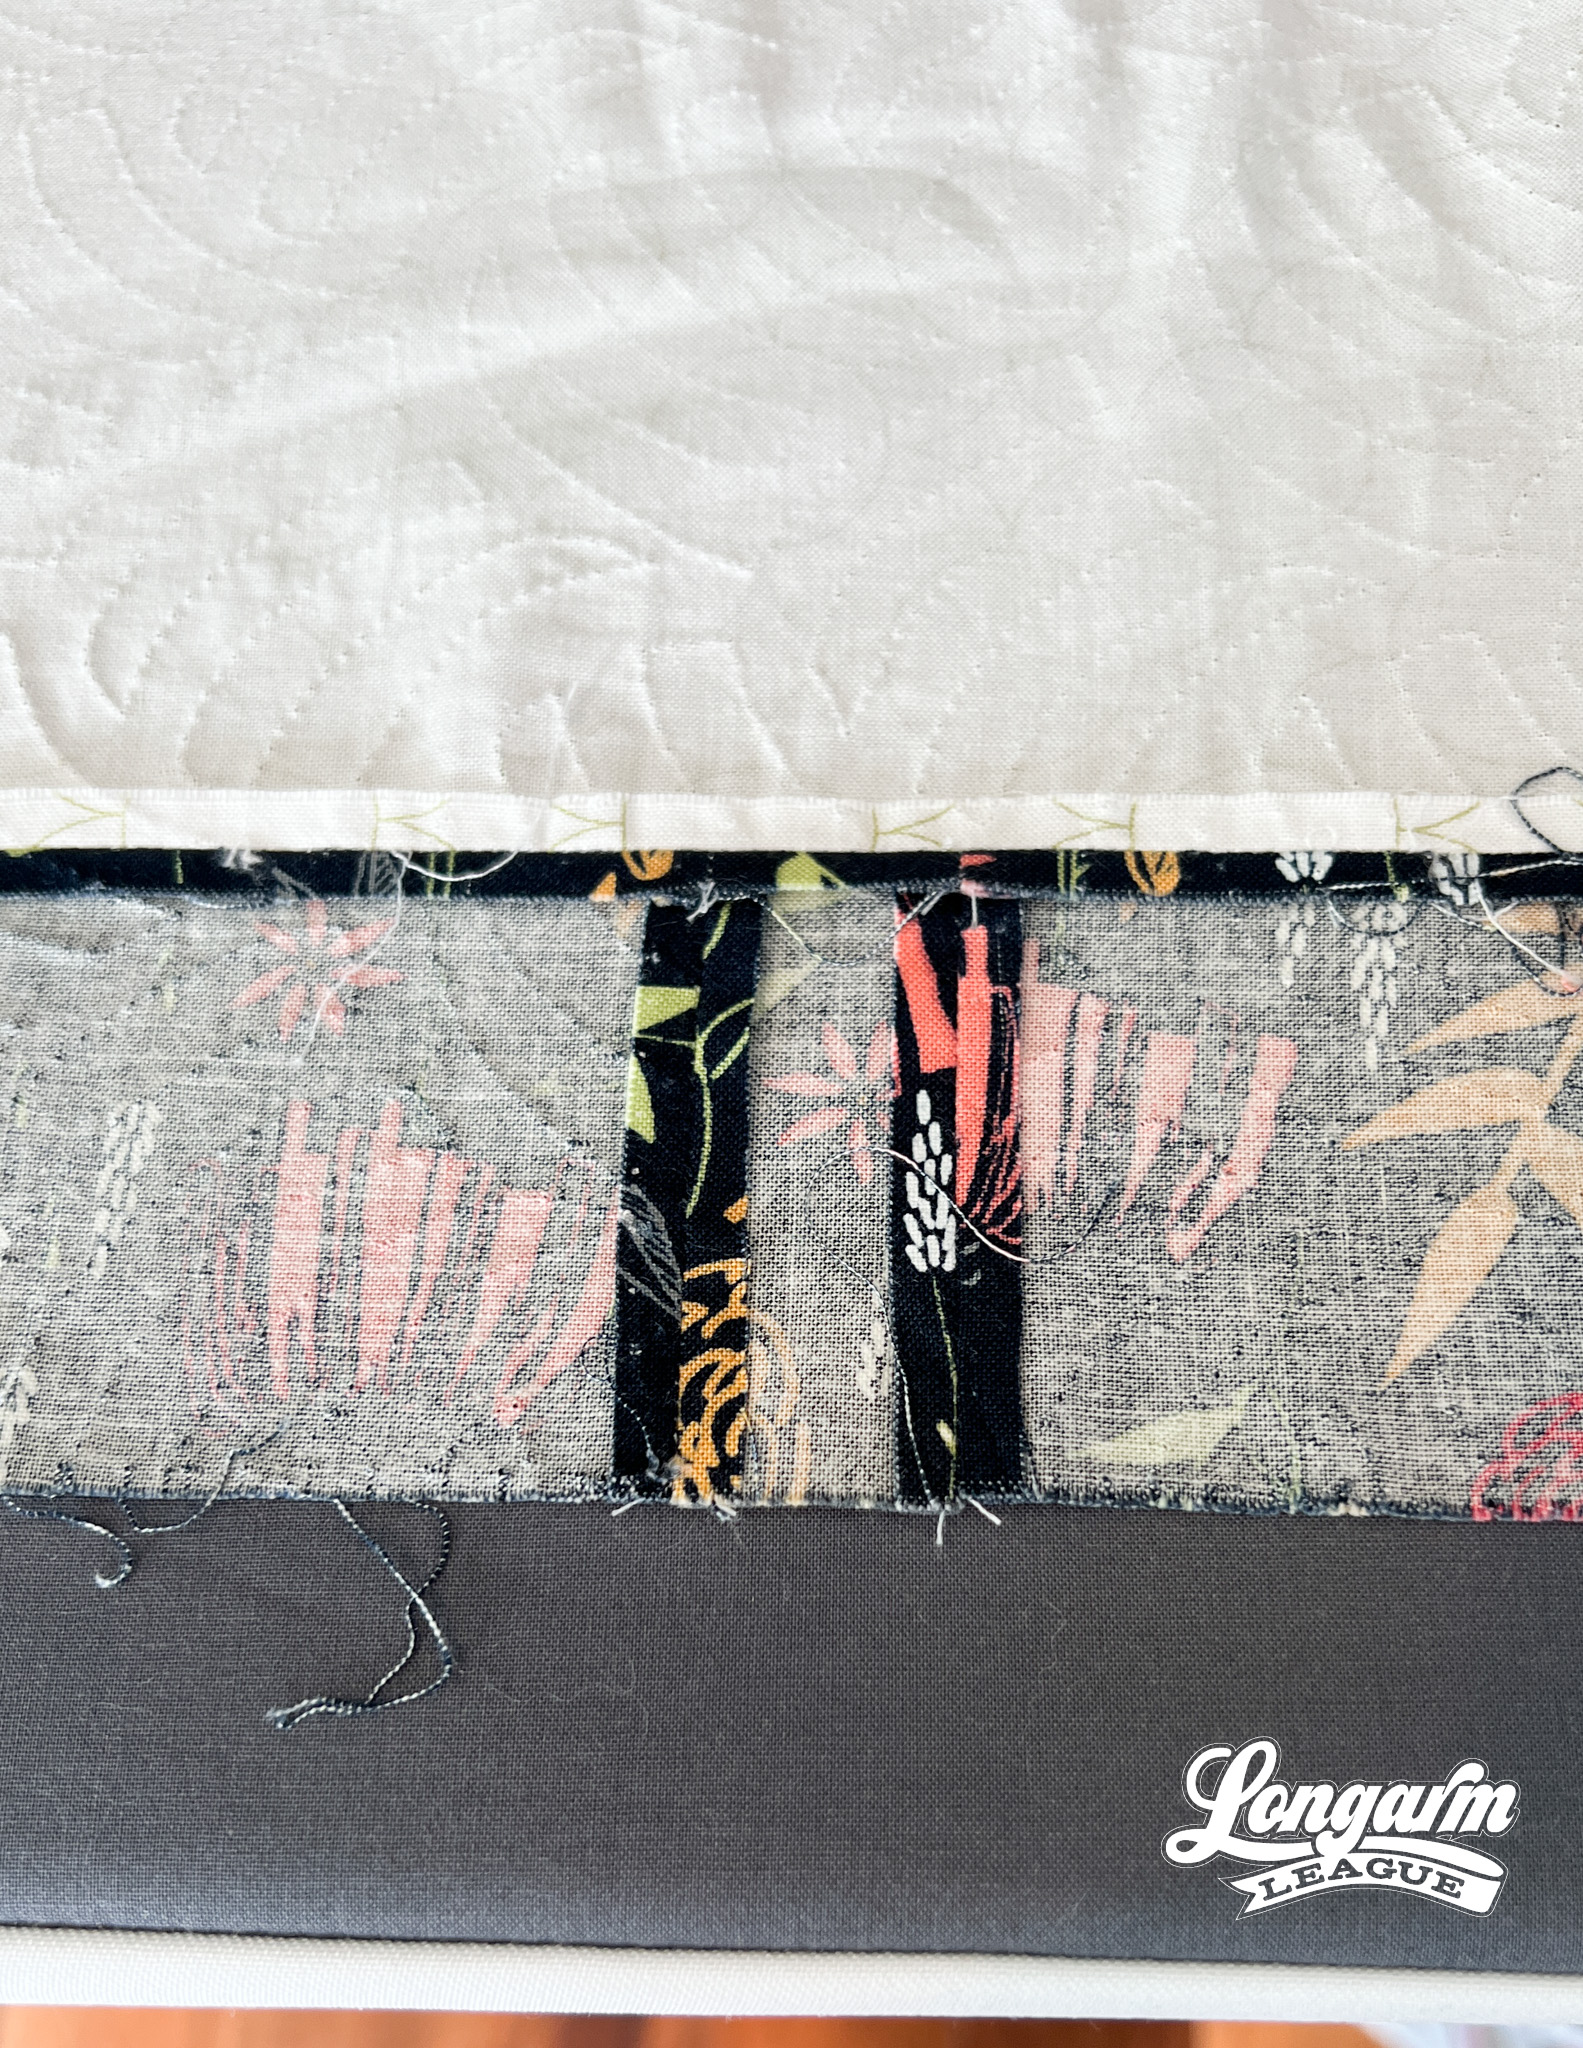
Separating all layers also gave me a chance to fix a little tear I created in one of the borders.
I remember visiting with a friend during some of the unpicking process and I blame being distracted for the small slice I put in the fabric. The photo above shows the only damaged part of the whole quilt. I unstitched part of the border from the main part of the quilt and then cut that little bit of damaged fabric out and replaced it with some of the original fabric - thankfully I had some left.
This photo shows the small repair from the back side. The little tear happened to be so close to a seam anyway, so I just needed a scrap of fabric to replace it.

Choosing a New Quilting Design
For "selfish" reasons, I wanted to choose a Longarm League pantograph for the new quilting design, and I also wanted to pick a design that we hadn't recorded a stitch-out video of and one that we didn't have many good photos of. I also wanted to pick a design that was less dense than how I spaced the previous design.
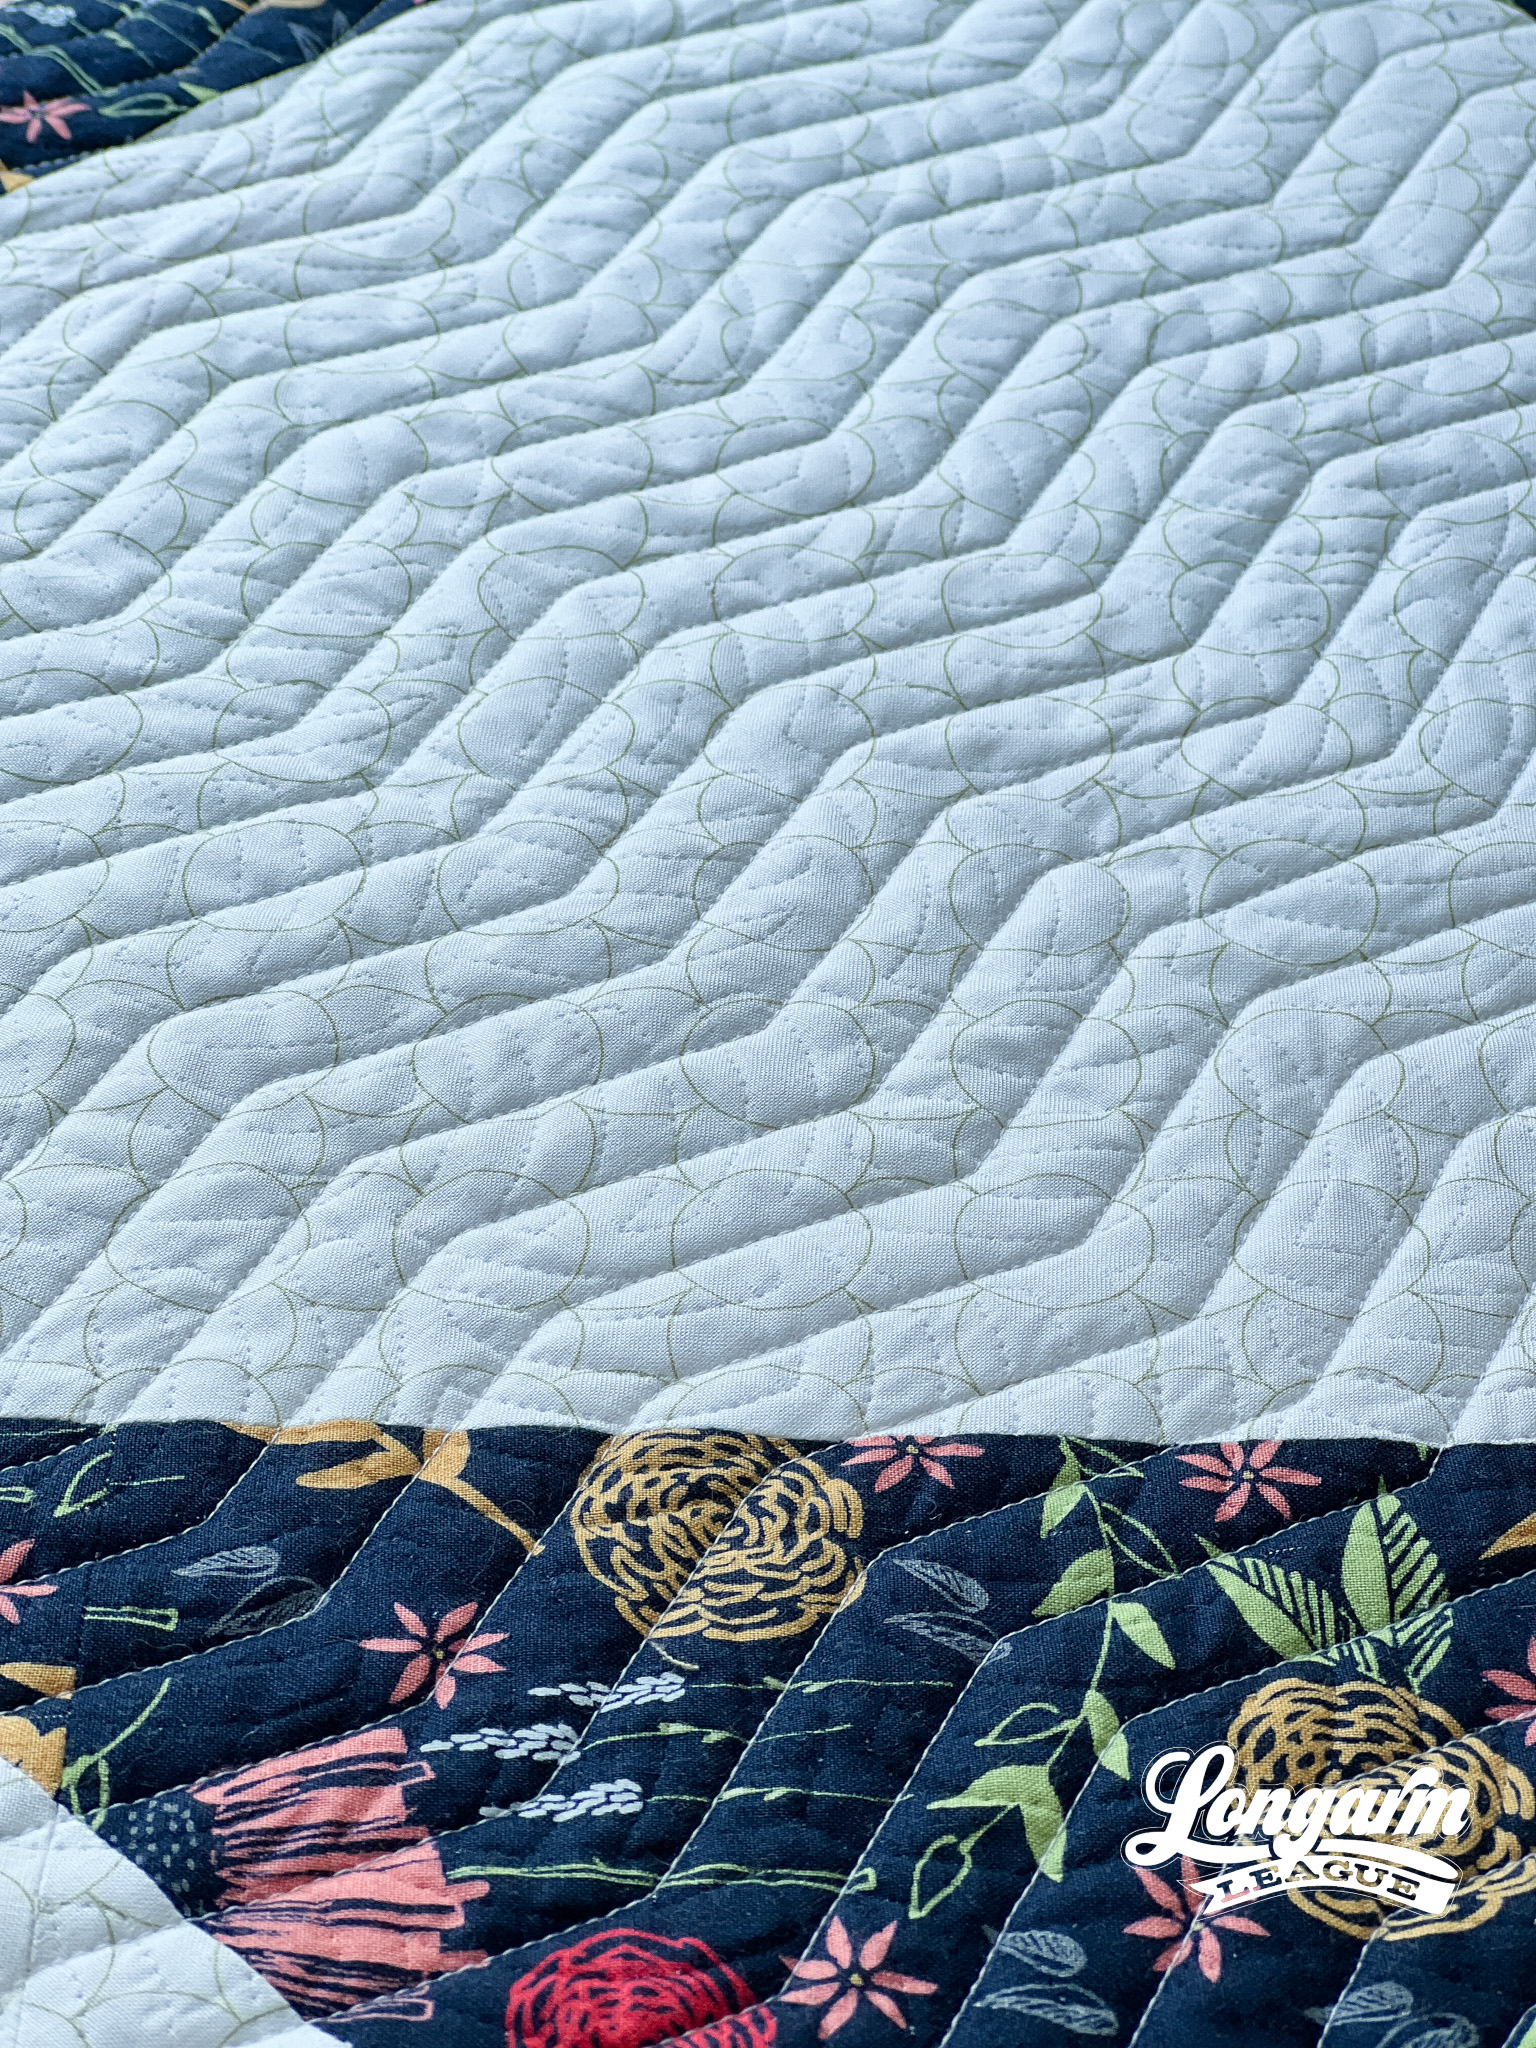
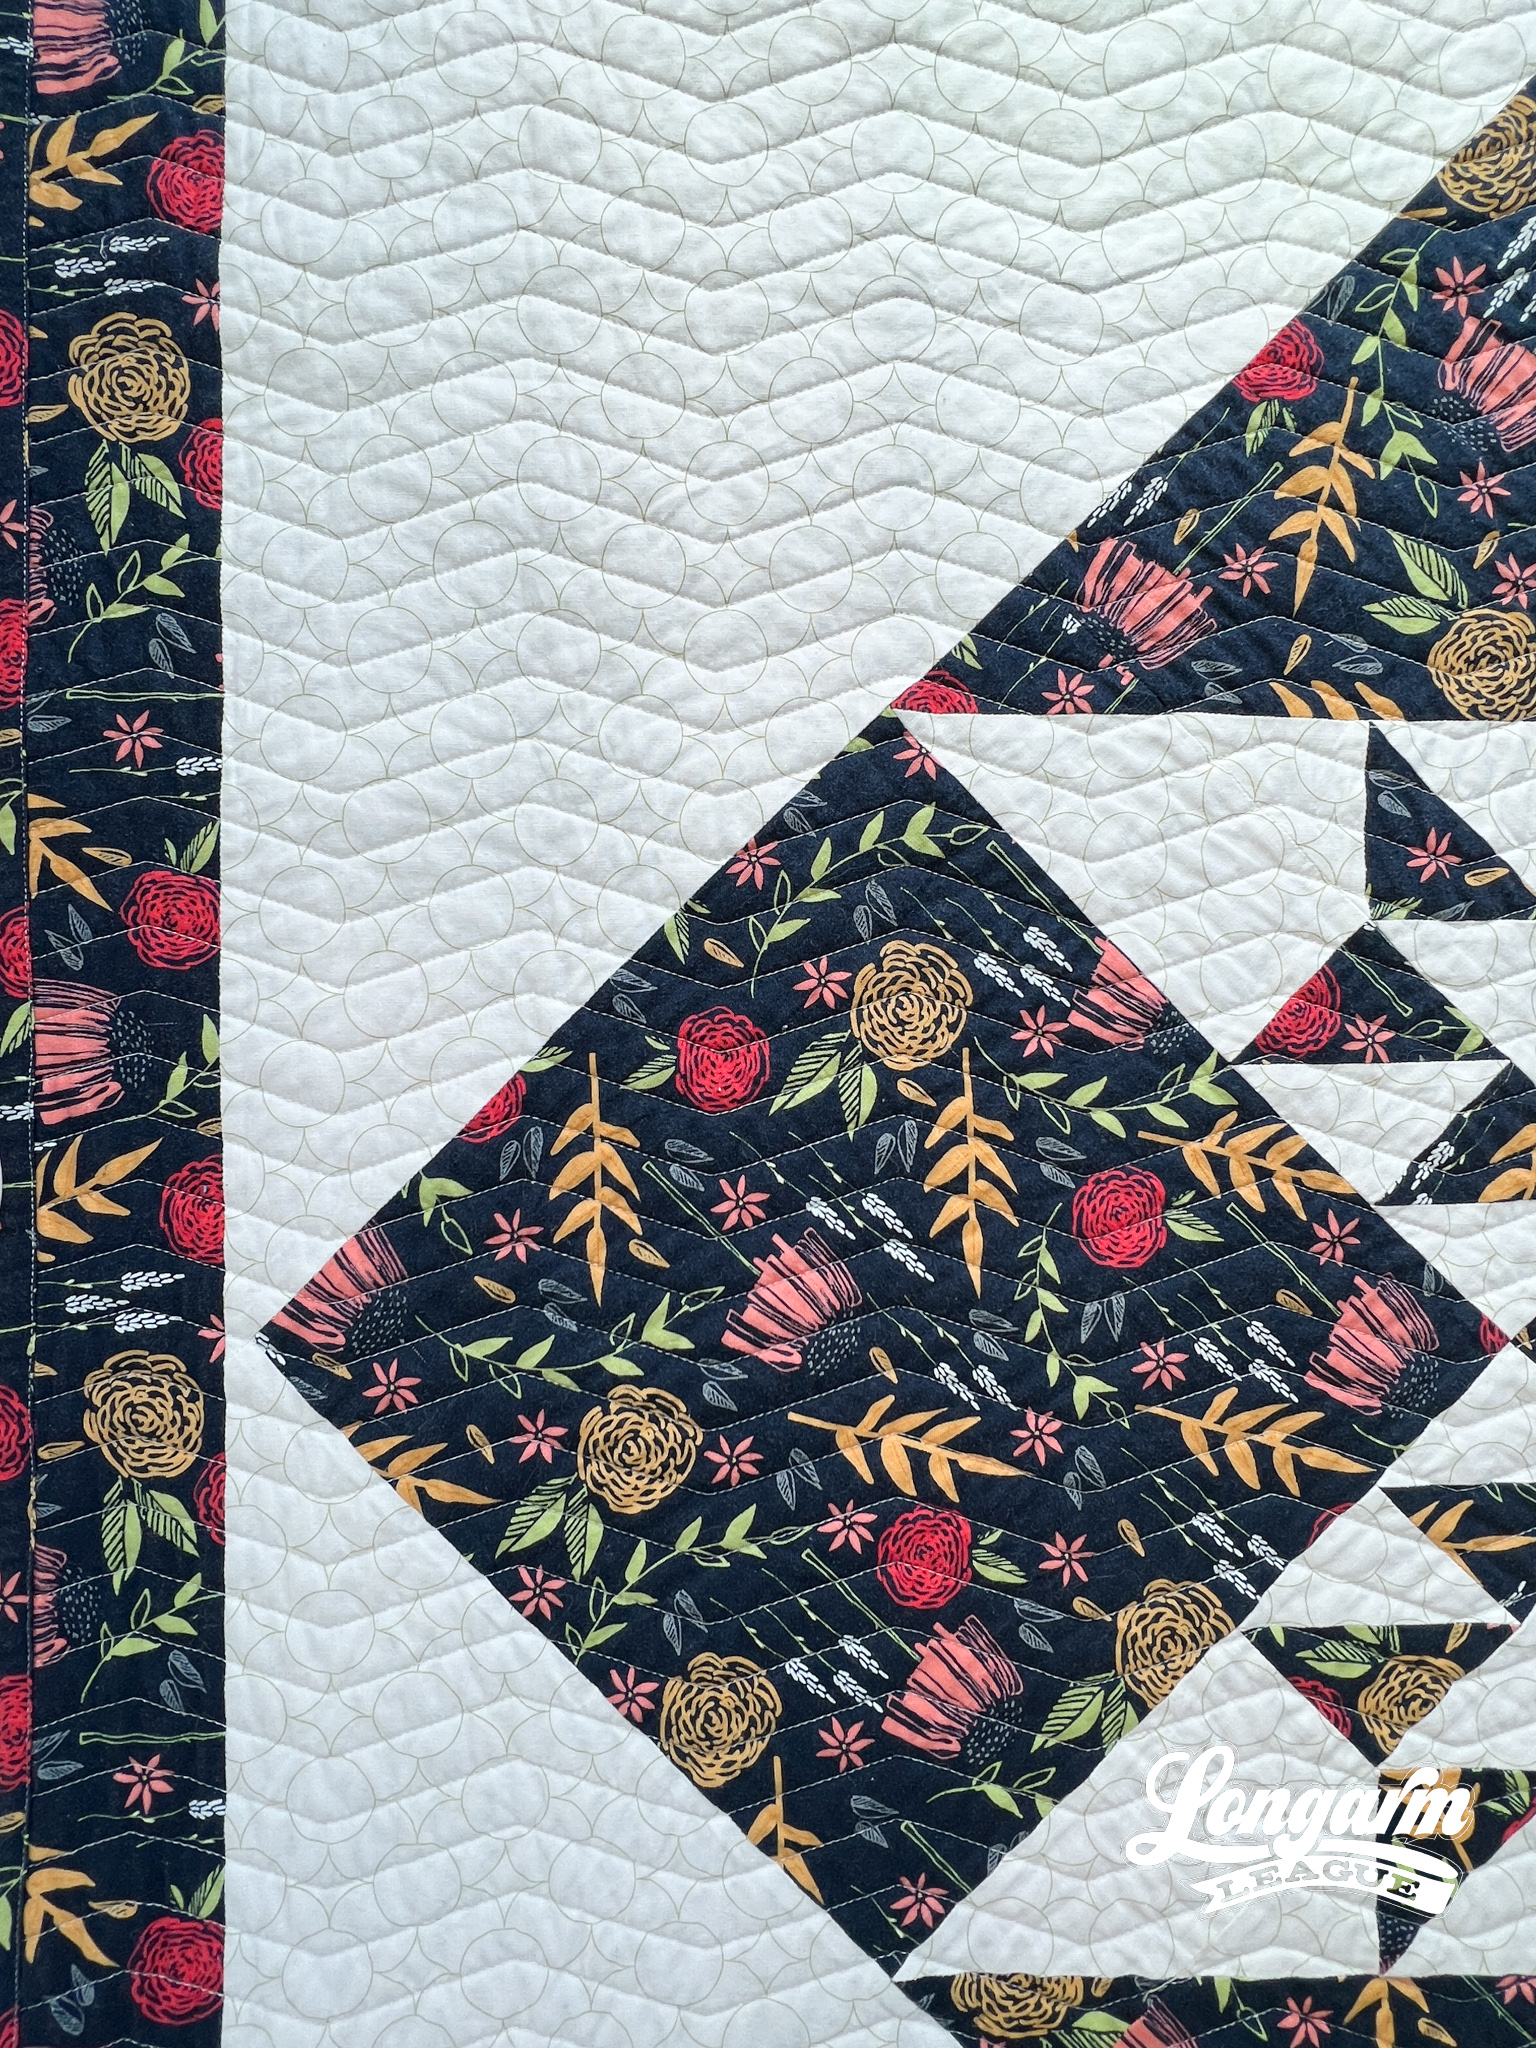
Rumble was the design that I settled on.
If you watch the video at the top, you can see my machine stitching Rumble at the 1:17 minute mark. I could have easily alternated to stitch the lines from left to right and then back right to left, but I didn't. That would have been a lot less work for me to clip and restart the sewing at the left each time.
The quilt top is 54" x 62.5" and here's how I set up Rumble:
Row height: 0.75"
Pattern height: 0.75"
Gap: 0
Offset: none
You can see how others have used the #rumblepanto here. It's a great one to use if you need a design that'll let the piecing be the "star" (literally in this case). I think it's a great alternative to the Good Vibrations pantograph design, if you want to change it up.
Washing to Remove Needle Holes
As you might have noticed from the video, after the unpicking was complete, there were significant holes in the fabric. When I separated the layers and saw the back side of the quilt top, I was surprised by how significant the holes looked.
I ironed/pressed the top from the back side with steam and that flattened the pockmarks out. I didn't apply friction to close the holes as I might've otherwise if I knew I wasn't going to wash the quilt after. With hindsight, I don't know if the step of ironing was necessary, but maybe it made the reloading process a bit smoother?
I didn't do anything special to the batting at any point of this process, I just reused it from the original quilt.
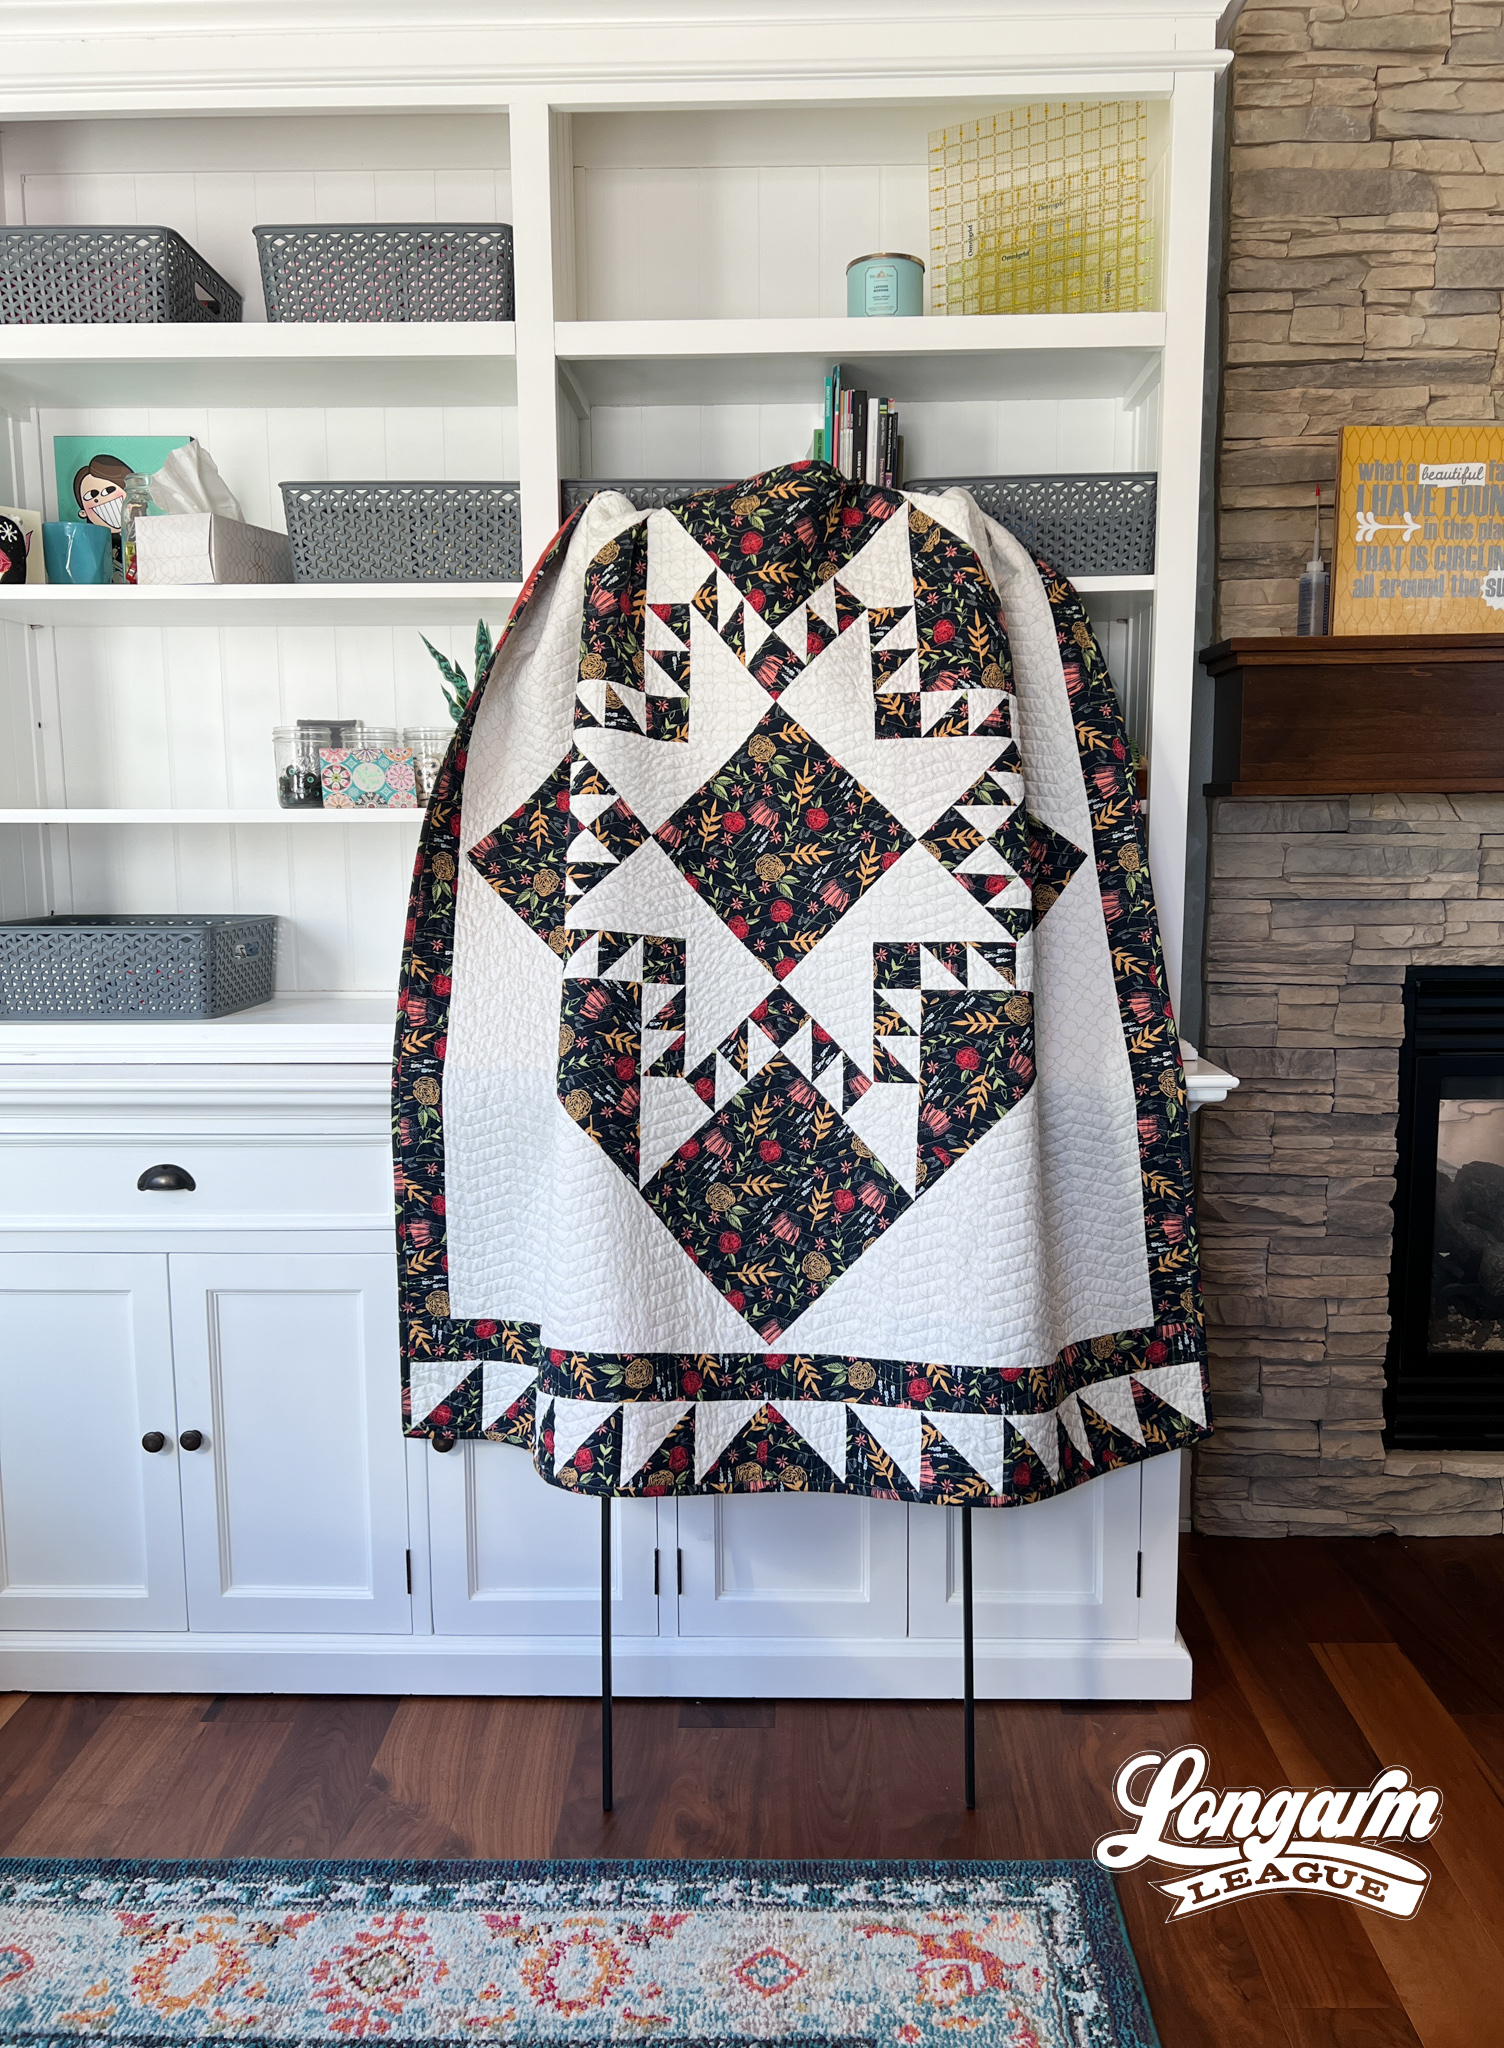
Here's a picture of the quilt top after it had been quilted again, but before I put it in the washer.
After the binding was done, I washed it with cold water on the gentle cycle with a tiny bit of detergent and then mostly air dried after it was done. I can't remember if I fluffed it in the dryer or not. But all the fabric holes magically closed when I was done, which is great to know for the future! Here's what the quilt looks like after it was laundered.
For client quilts, you likely won't wash their quilt for them, but if there is a large section that you need to unpick as you are working on their quilt, you can assure them that the holes will come out in the wash. Otherwise, I suggest taking a damp, clean toothbrush or a bigger (clean) nail brush, and using gentle friction to heal up the holes.
Conclusions
I learned that the slow, steady, and safe unpicking method was how I felt most comfortable vs. skinning a quilt. There was a comment or two on my Instagram post here that referred to unpicking (presumably with a seam ripper) from between the layers as a suggestion, but I haven't tried that using only a seam ripper. Based on how I like to work, I would guess that I'd rather see where the stitches go and keep the top visible and layers together during the unpicking process. But as they say - don't knock it until you try it!
I'm glad I unpicked it for the exercise of it. I think I do prefer the more minimalistic quilting design for this quilt vs. the small, dense scale of what I picked before.
I would not go so far as to say that it's a whole different quilt or a STUNNING before and after, but I do like it more!


Jess Zeigler
Longarm League Commish & Owner of Threaded Quilting Studio, LLC.


