
Cottage Blooms E2E Digital Quilting Design

First, there was Peak Blooms.
Then, I took the center motif and incorporated it into an organic-looking edge-to-edge design with spirals called Bloomlet.
Now, the same center motif is in its simplest form yet: in a gently undulating, rhythmic string of petals. 
At a glance, I love how overall this design reads like juicy, rounded shapes. The texture is spectacular, even on a quilt top with busy prints like the one shown in this blog post.

It's fast to stitch thanks to its simple design and smooth stitch path.
There's enough space between the four-petaled motifs for some breathing room, and yet the staggered rows (the offset amount is 25% with this one) create an interesting, off-kilter dynamic that isn't perfectly symmetrical. I believe that helps give this design a charming, somewhat loose, home-spun quality.
I think this design would be great for quilts with busy prints, floral-themed tops, or when a client requests quilting with a loose or minimal density.
The Quilt
Quilt Pattern
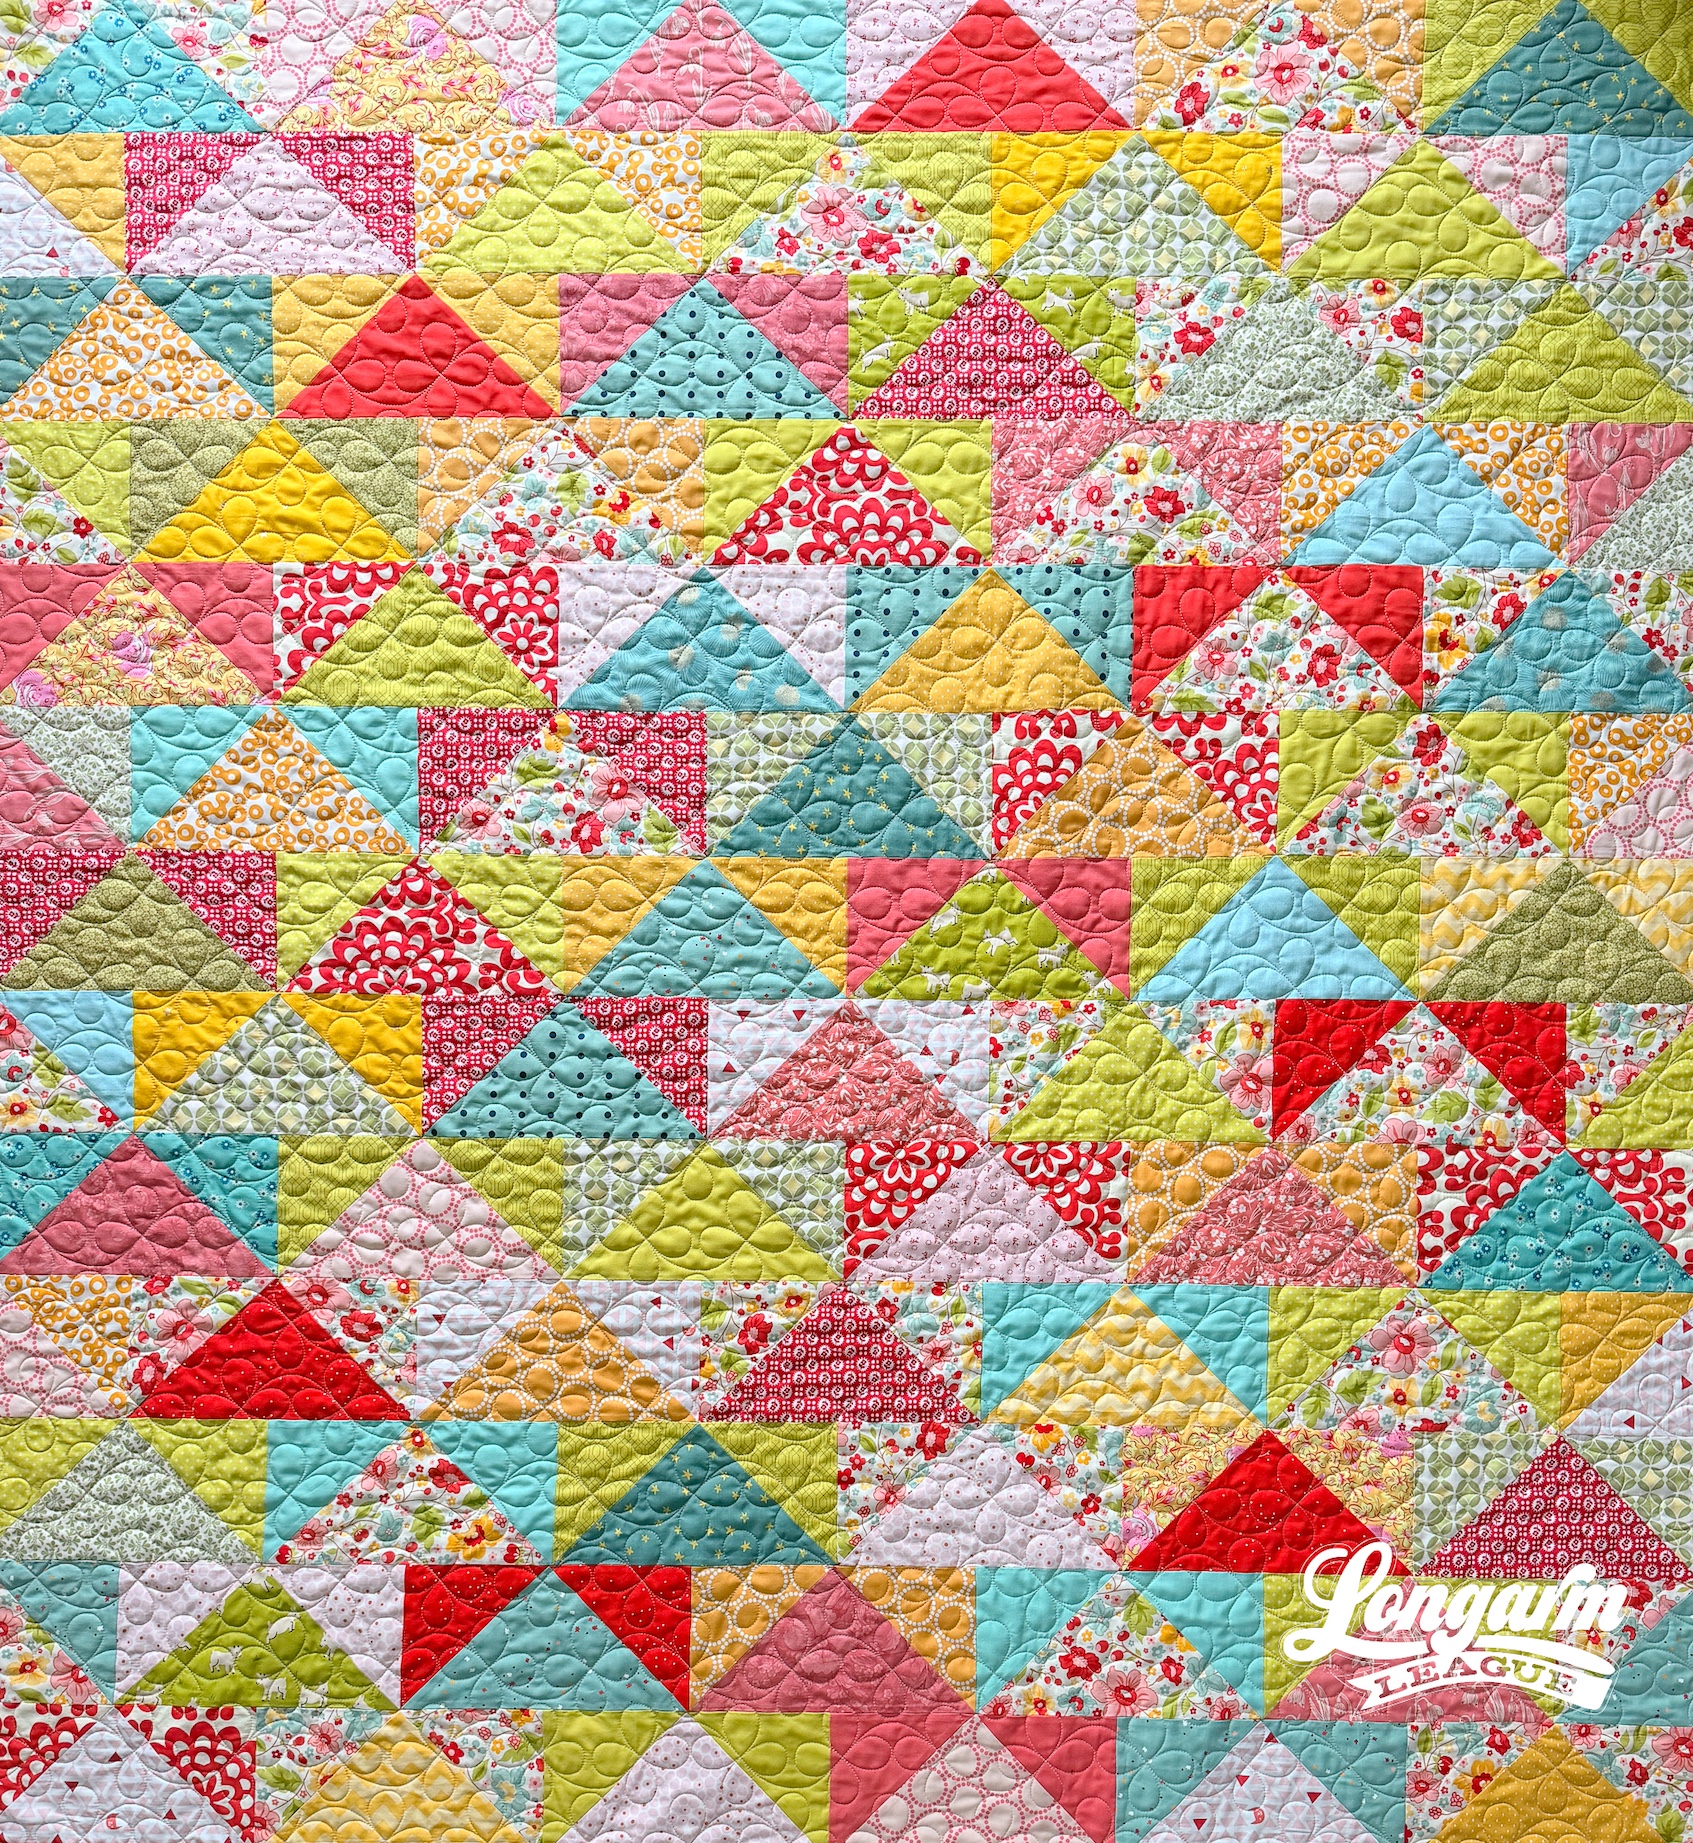
The quilt featured in this blog post is Patchwork Flying Geese by Quilty Love. I can't remember which pattern I bought recently in the Quilty Love shop, but there was a buy 2, get 3 offer at the time, so this was my impulse add-to-cart choice.
I have no regrets! :)
This was the final quilt I finished at the last retreat I attended. I am happy to report that I got it completed in one day! I'd had the fabrics cut ahead of time, but even so, it's a rarity for me to finish one so quickly. We had to leave the retreat one day earlier than planned due to an impending snowstorm, so I was especially tickled to have added this as a retreat finish.

I altered the pattern, not in style or layout, but in the way the flying geese are assembled. I've found myself happier with pre-trimming corners rather than making 4-at-a-time flying geese. "My way" results in likely more time and DEFINITELY more waste. So, this isn't me trying to sell you on a better way; this is me being quirky about flying geese. I do kind of love my substantial leftover pieces, which will turn into half-square triangles someday.
At the retreat, I made all my blocks and arranged them on a design wall until they were where I wanted them in the final layout. At this stage, I would normally web the top together, but that doesn't work when the blocks are in a staggered layout like this quilt is.
Emily Dennis (of Quilty Love, a.k.a. the pattern designer for this quilt) was sewing in the same general area at the retreat, so I asked her for tips on assembling the top when the rows are staggered. I'm glad I asked, because she suggested webbing every other row together, then cutting the rows apart. This is something I would have never considered!
I really liked this method. I could still quickly and efficiently organize blocks (one pile for odd rows and one for even rows) for easy chain sewing, without having to get out of my seat multiple times or break my threads often. Once I had the two piles of blocks webbed together and pressed, I cut the first row from each webbed unit and seamed them together. I kept going until the top was assembled. I'll definitely be doing this again when the situation calls for it.
Fabrics
This quilt features a hero fabric: the multicolored floral. This fabric had been lingering in my stash for quite a while. I believe it had the year 2012 on the selvege. I still adore this print, but I had a tough time incorporating it into a quilt until now.
I used the multicolored floral print as my guide and selected the other fabrics to coordinate with it. I doubt I would have curated this palette any other way. I was delighted that one of the fabrics that coordinated with the hero print was the old-school Amy Butler fabric that I've been hanging onto for a long while. It's the bold, large-scale, red-and-white print with mandala-like shapes. 
I love that this pattern enabled the use of otherwise hard-to-use fabrics, like large-scale prints. I would absolutely make this pattern again. It was freeing, fast, and fun!
Backing, Batting, and Binding

I was in a hurry to get this project quilted, so I used a wide backing (Silver Dapple Dots by Riley Blake) and cut the batting right off the roll (Quilters Dream Bamboo). I'd been on such a good streak of using pieced batting, but I am sure there will be other opportunities. And if the rolls of batting from Quilters Dream are as back-ordered as they are warning, I might have to piece my next batting out of necessity, because I used the last of my roll for this quilt.
When I finish binding a project, I keep any extra binding lengths to use again in a future quilt. It helps to cut the same binding strip width and use it consistently from quilt to quilt, which for me is 2 3/8", before folding it in half. It's surprising how often I can use these bits and bobs!
I chose a red scrappy binding for this quilt.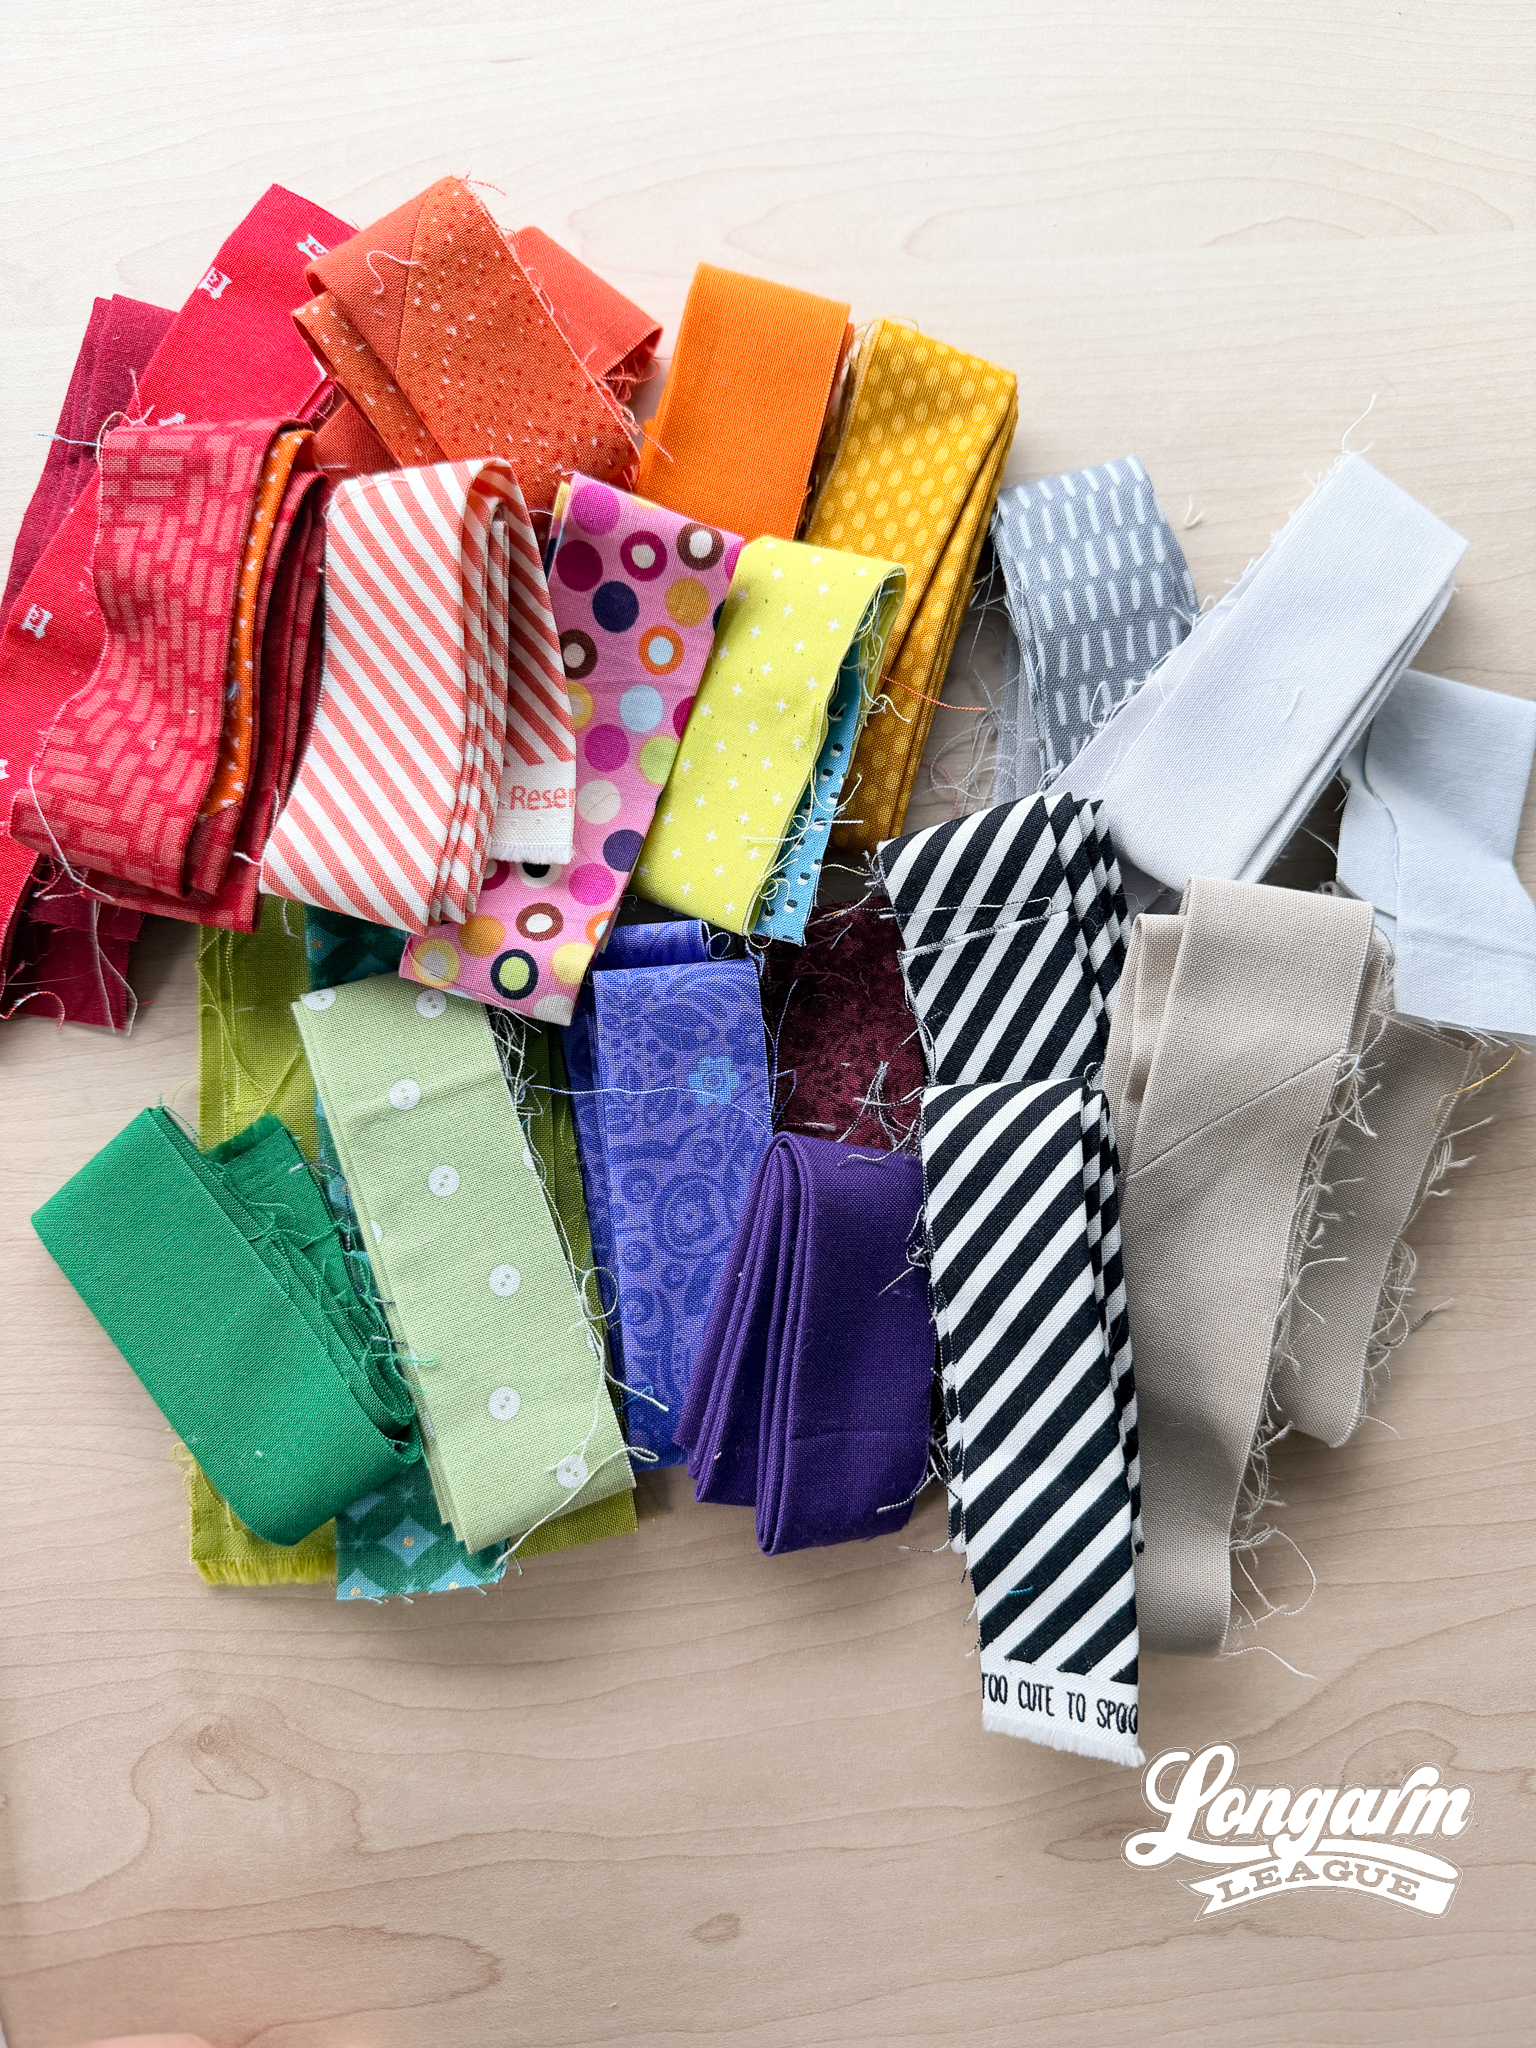

The Quilting Details
Difficulty Level: Easy
The trickiest thing about this design is remembering that the offset amount is 25%, which is different from most. Generally, if an offset is required with an edge-to-edge design, it's 50%. Not this one! To have the blooms tilt alternately, the repeating motif is a couplet rather than a single shape, which affects the offset amount.
Once your software is set up, the rows stitch quickly and easily, and aligning the quilt between passes is no problem. There's no backtracking in the traditional sense to disguise a transition without it being part of the design, but the stitch path does cross over itself in the normal flow of things. Again, it's nothing to worry about unless you have a thread break or run out of bobbin thread and need to restart your stitching exactly at the point of overlap. In that case, I would simply unpick until you are well within single-line territory and restart there.

Scale
At the dimensions I used for this quilt, the petals are approximately 1.5+" long by 1.25" wide. The quilt feels soft and drapey at this density. You could certainly go both smaller and larger, if you'd like.
As for the stitch path, there's a short video available at the top of the blog post.
Here are the sizing specifications for how I set up this quilt using my Intelliquilter (quilt size 60" x 65"):
Row height: 3"
Gap: -0.409"
Pattern height: 3.409" (measurement from top to bottom of the repeat)
Offset: 25%
Backtracking: none
Here's a look at the included PDF:

Interested in getting new digital pantograph designs like this one on the day they're released (and at a deep discount)? It now also includes online community access. Sign up for our Digital Panto Club and get them delivered directly to your inbox on the first Wednesday of each new month.

Jess Zeigler
Longarm League Commish & Owner of Threaded Quilting Studio, LLC.


