
Lloyd | Digital Quilting Design for Computerized Longarm Machines
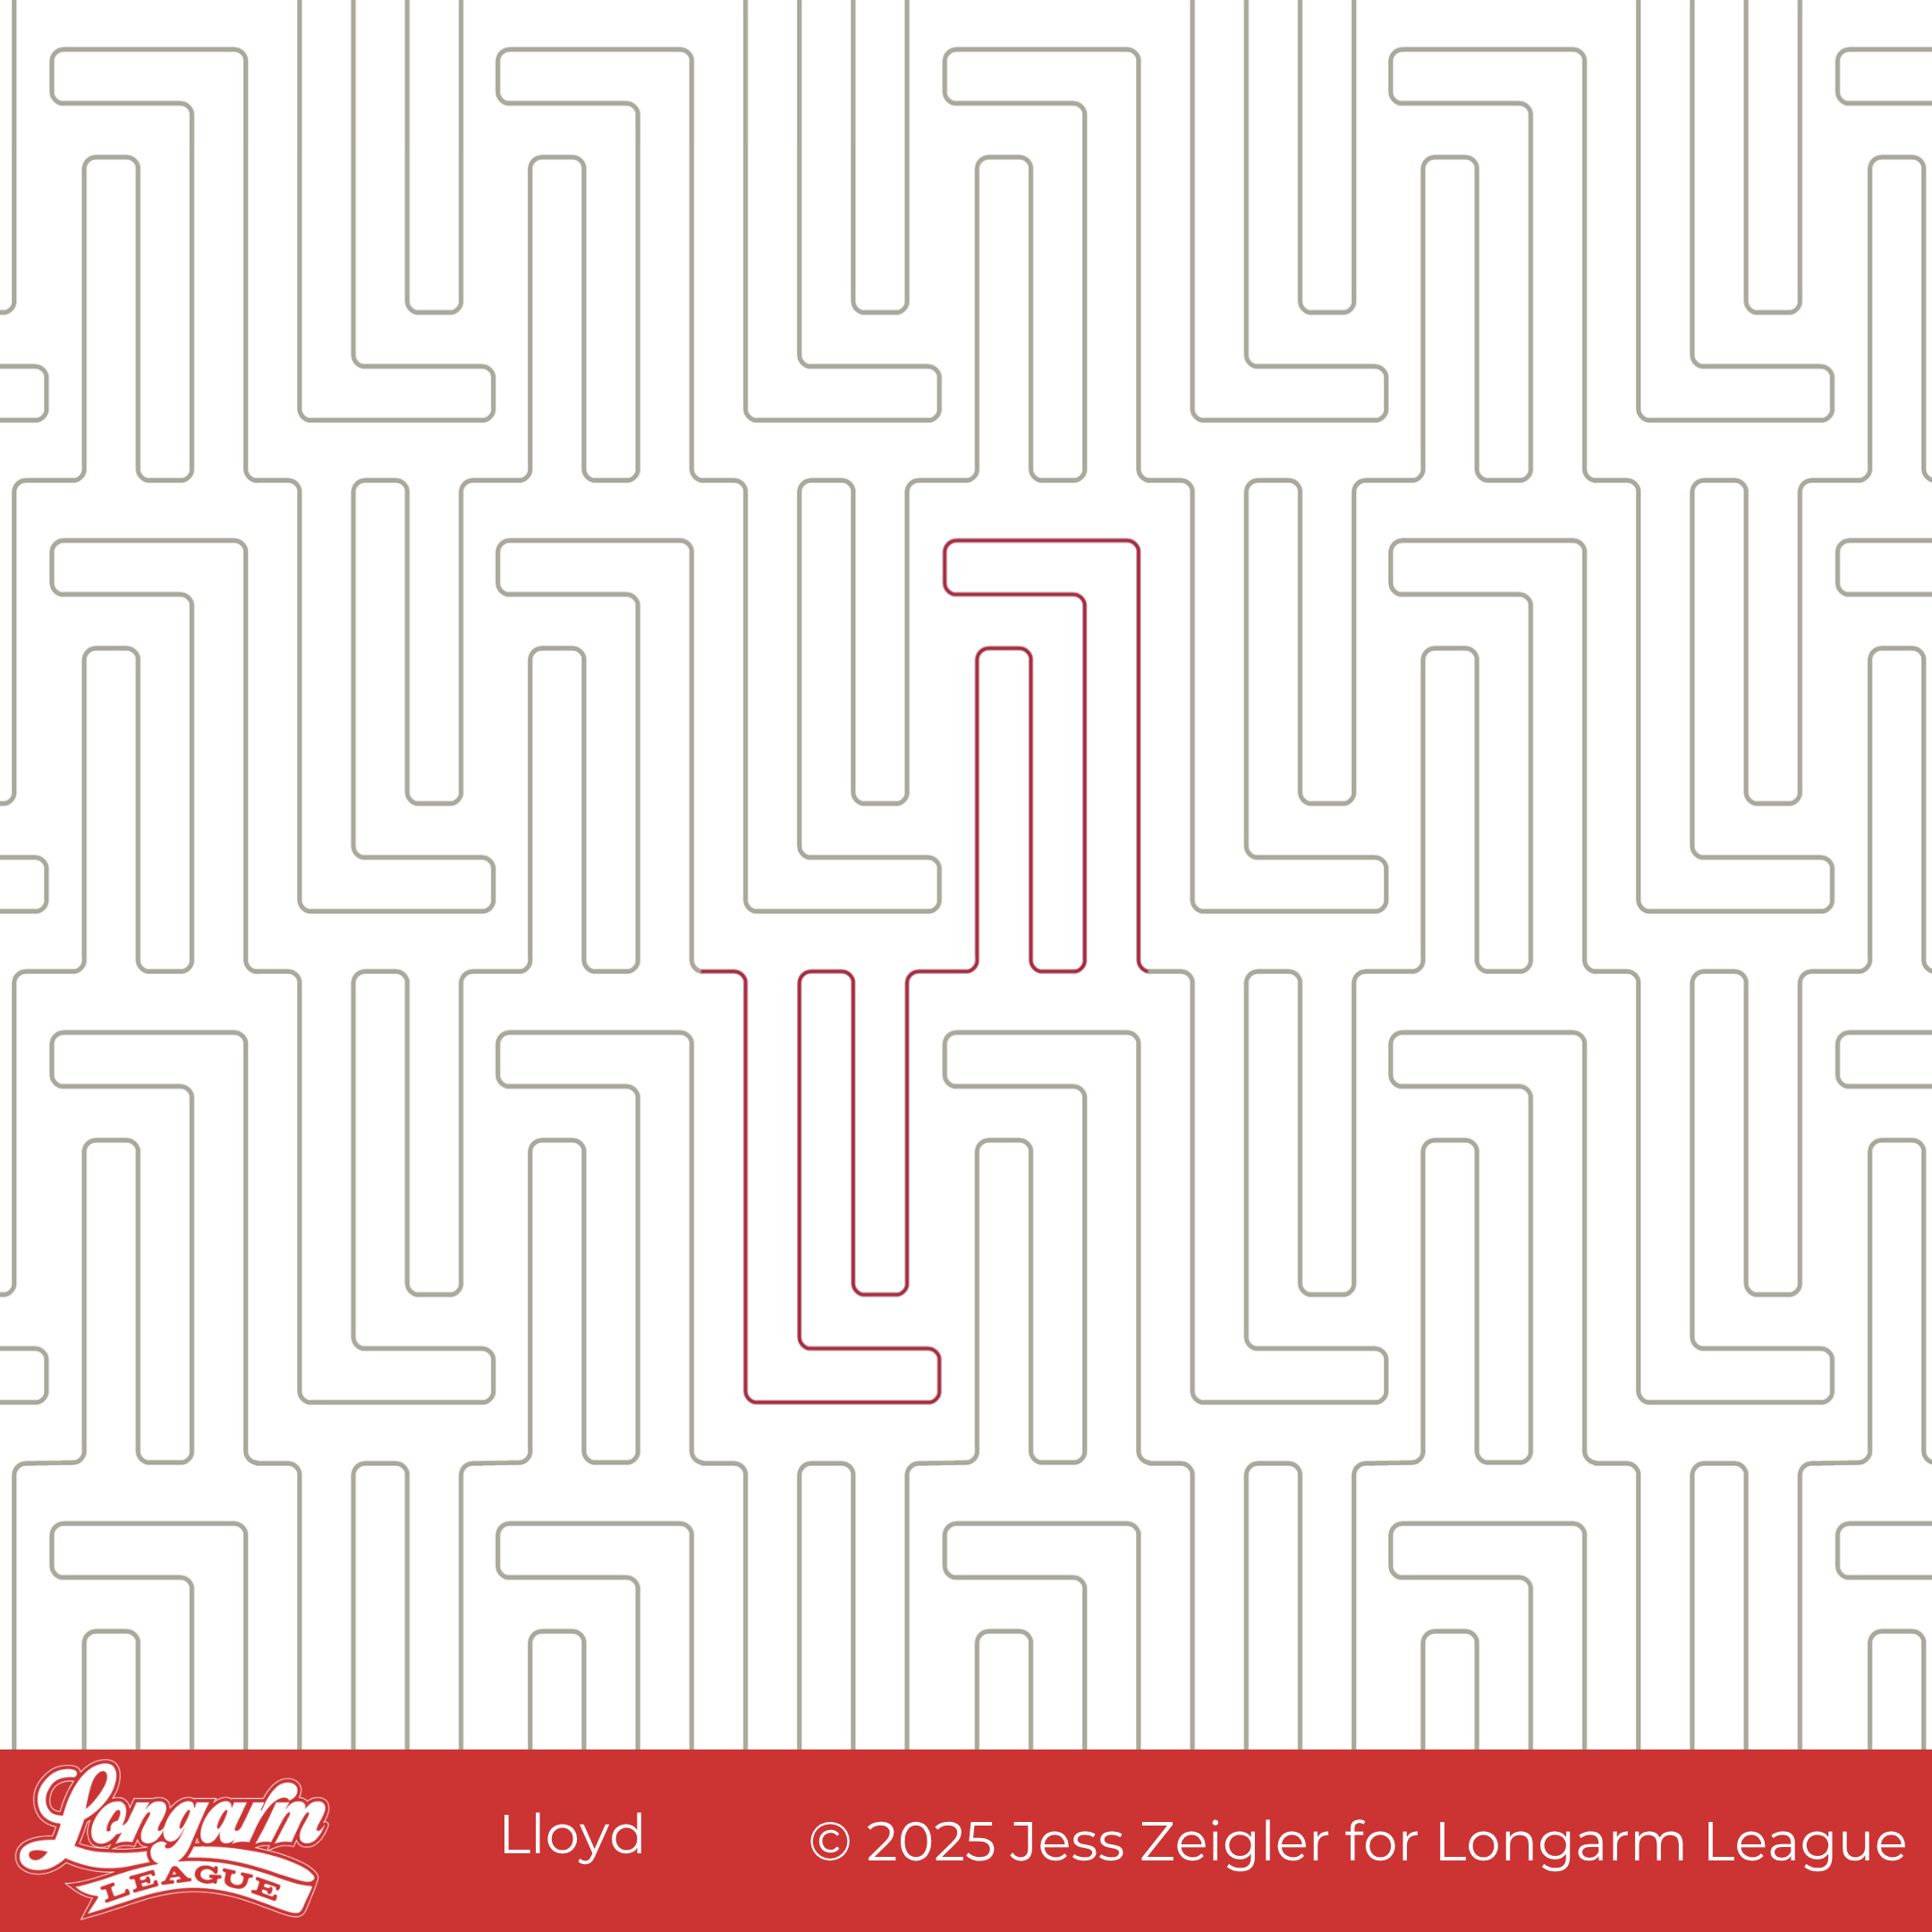
Geometric, architectural, structured, linear. This edge-to-edge design has a distinct vertical orientation; it's simpler than a maze, more complex than straight lines. Since the components resemble a capital letter L followed by a lowercase "l" (and then mirrored and inverted), I thought it would be fitting to name it Lloyd.
When Josh and I recently went away for a long weekend and stayed at an Airbnb on Lloyd Street, I decided now was the time to release it. I actually set aside the design I already tested and went ahead with this one. It'll keep for another time!
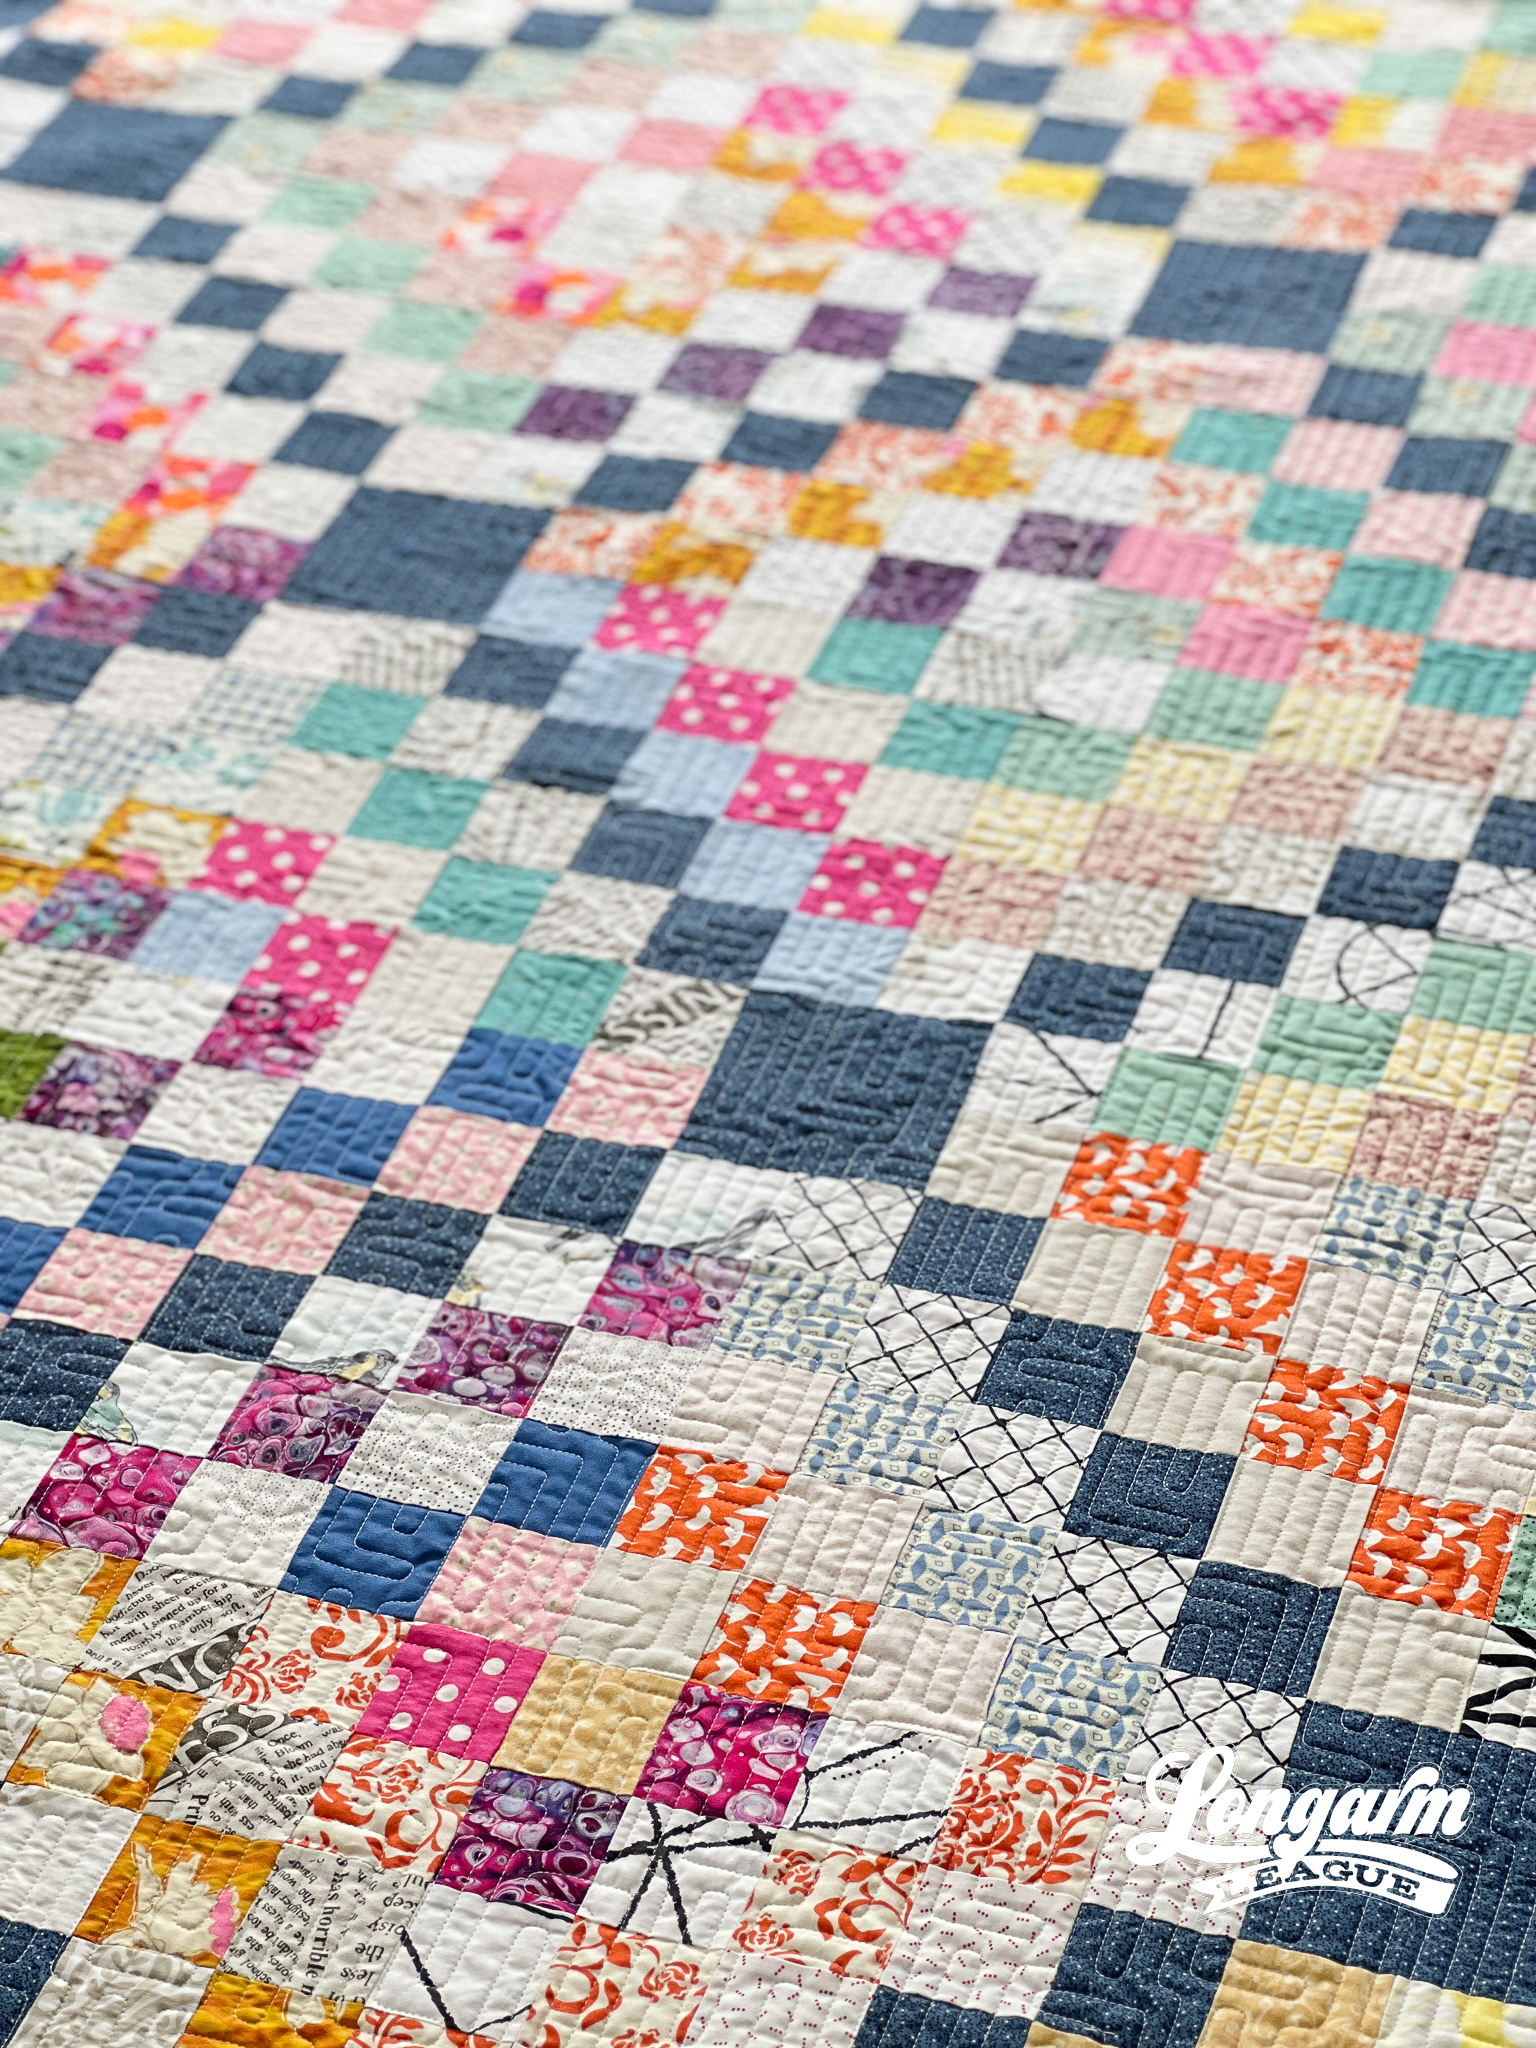
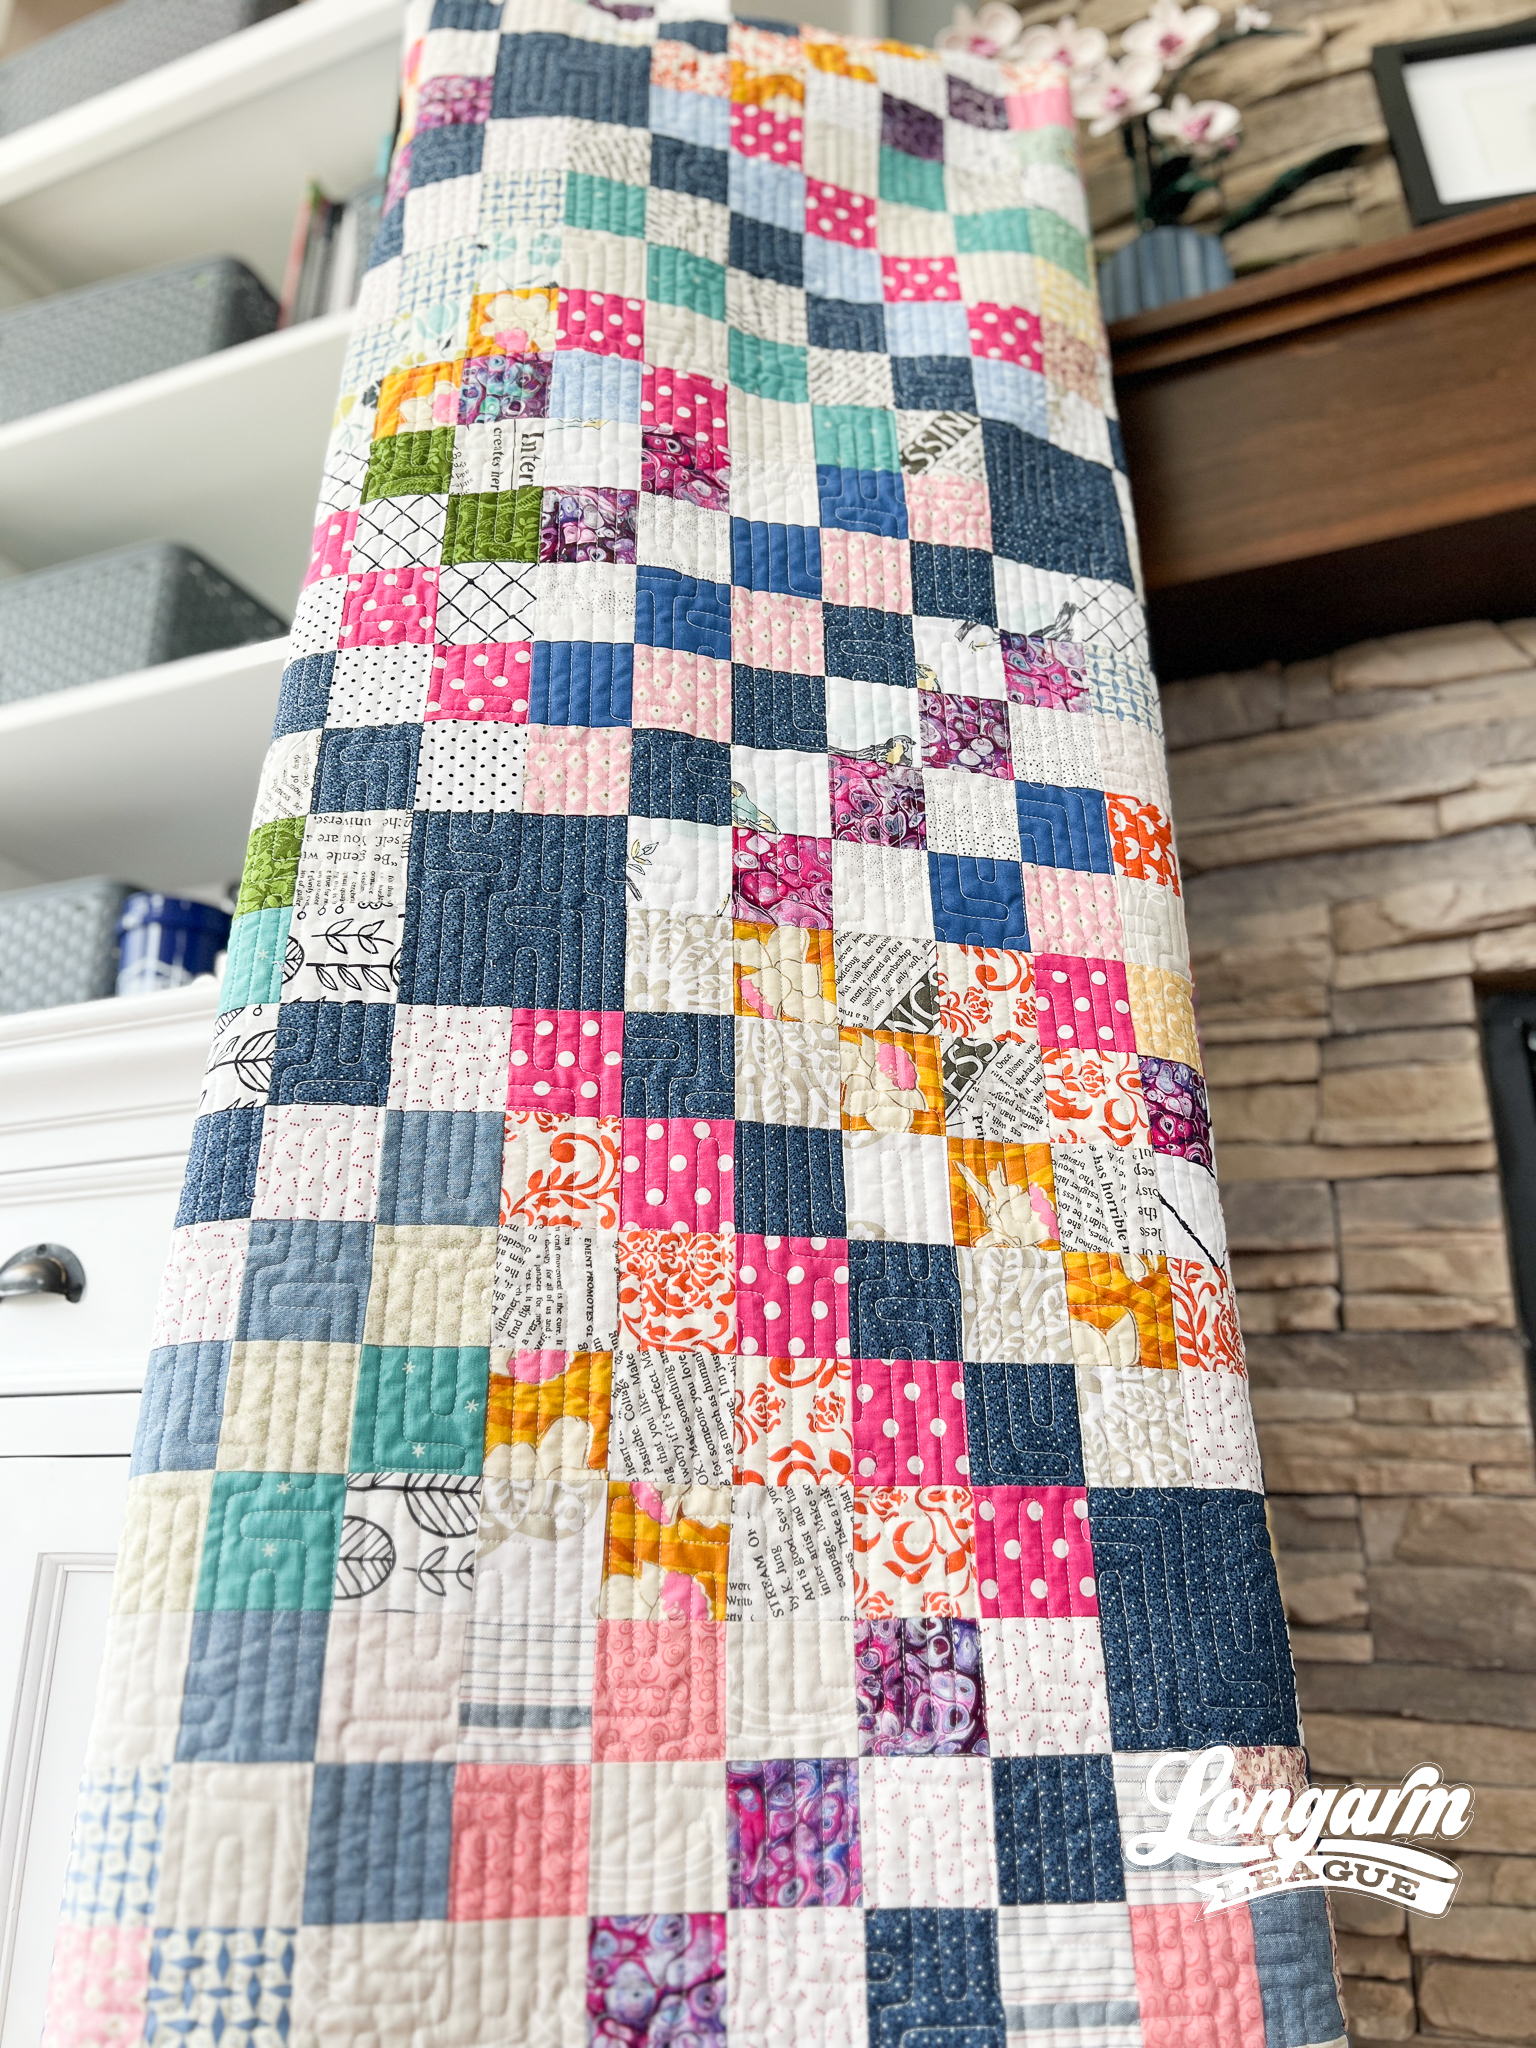
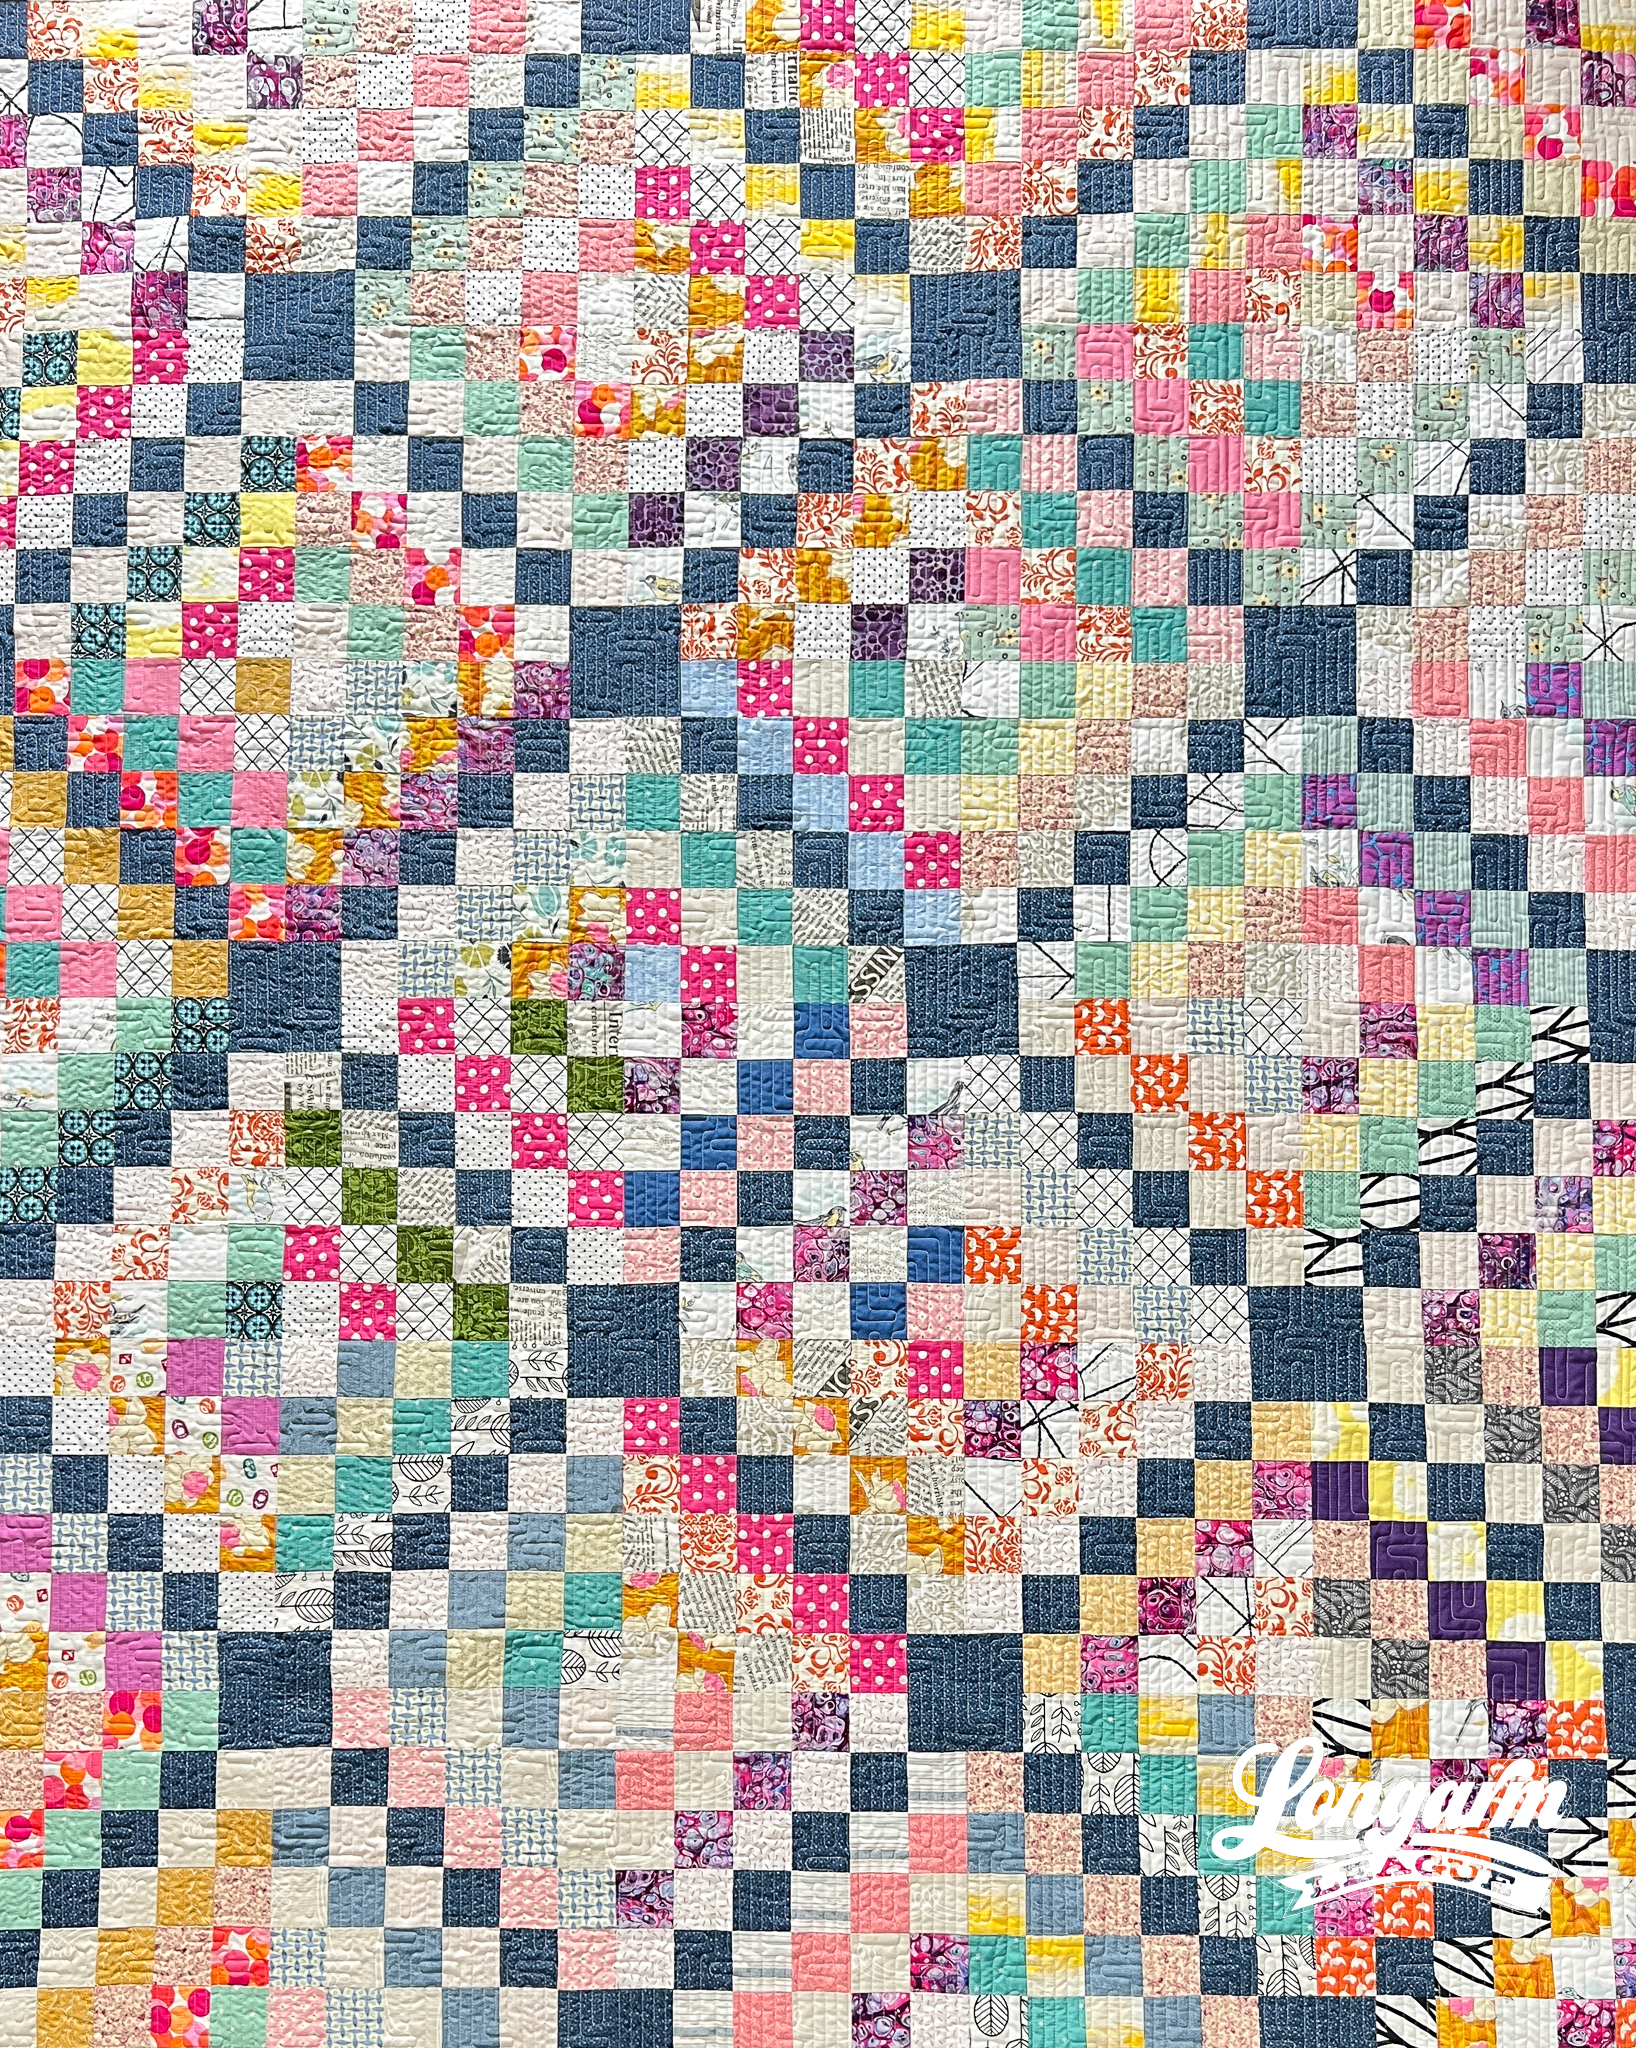
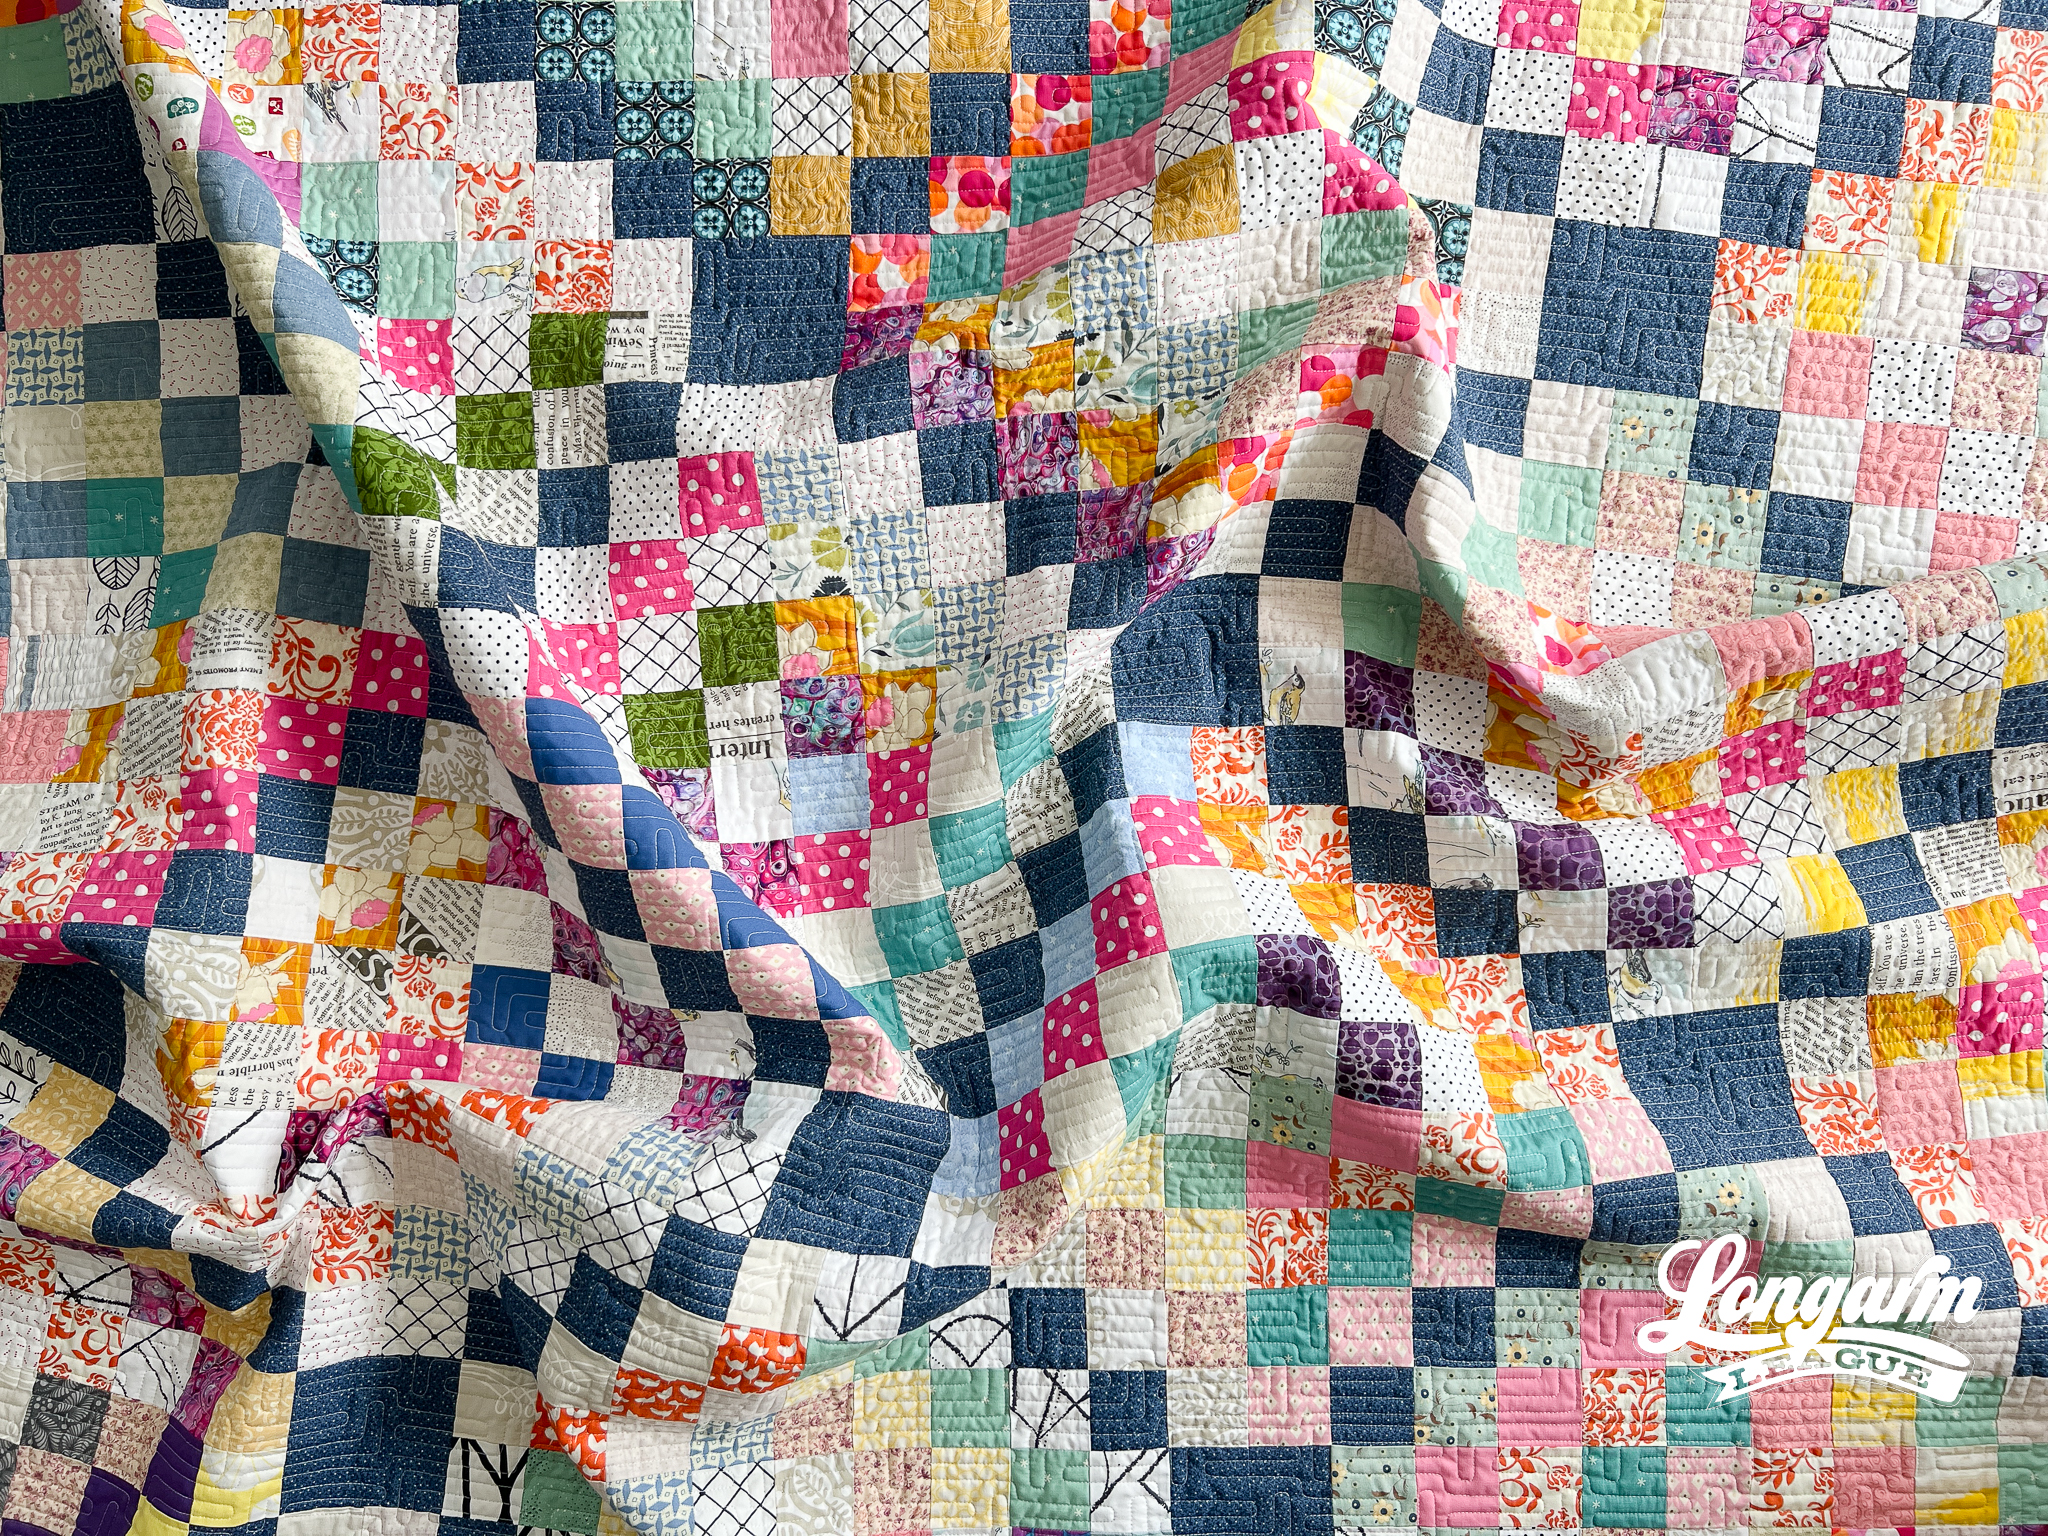
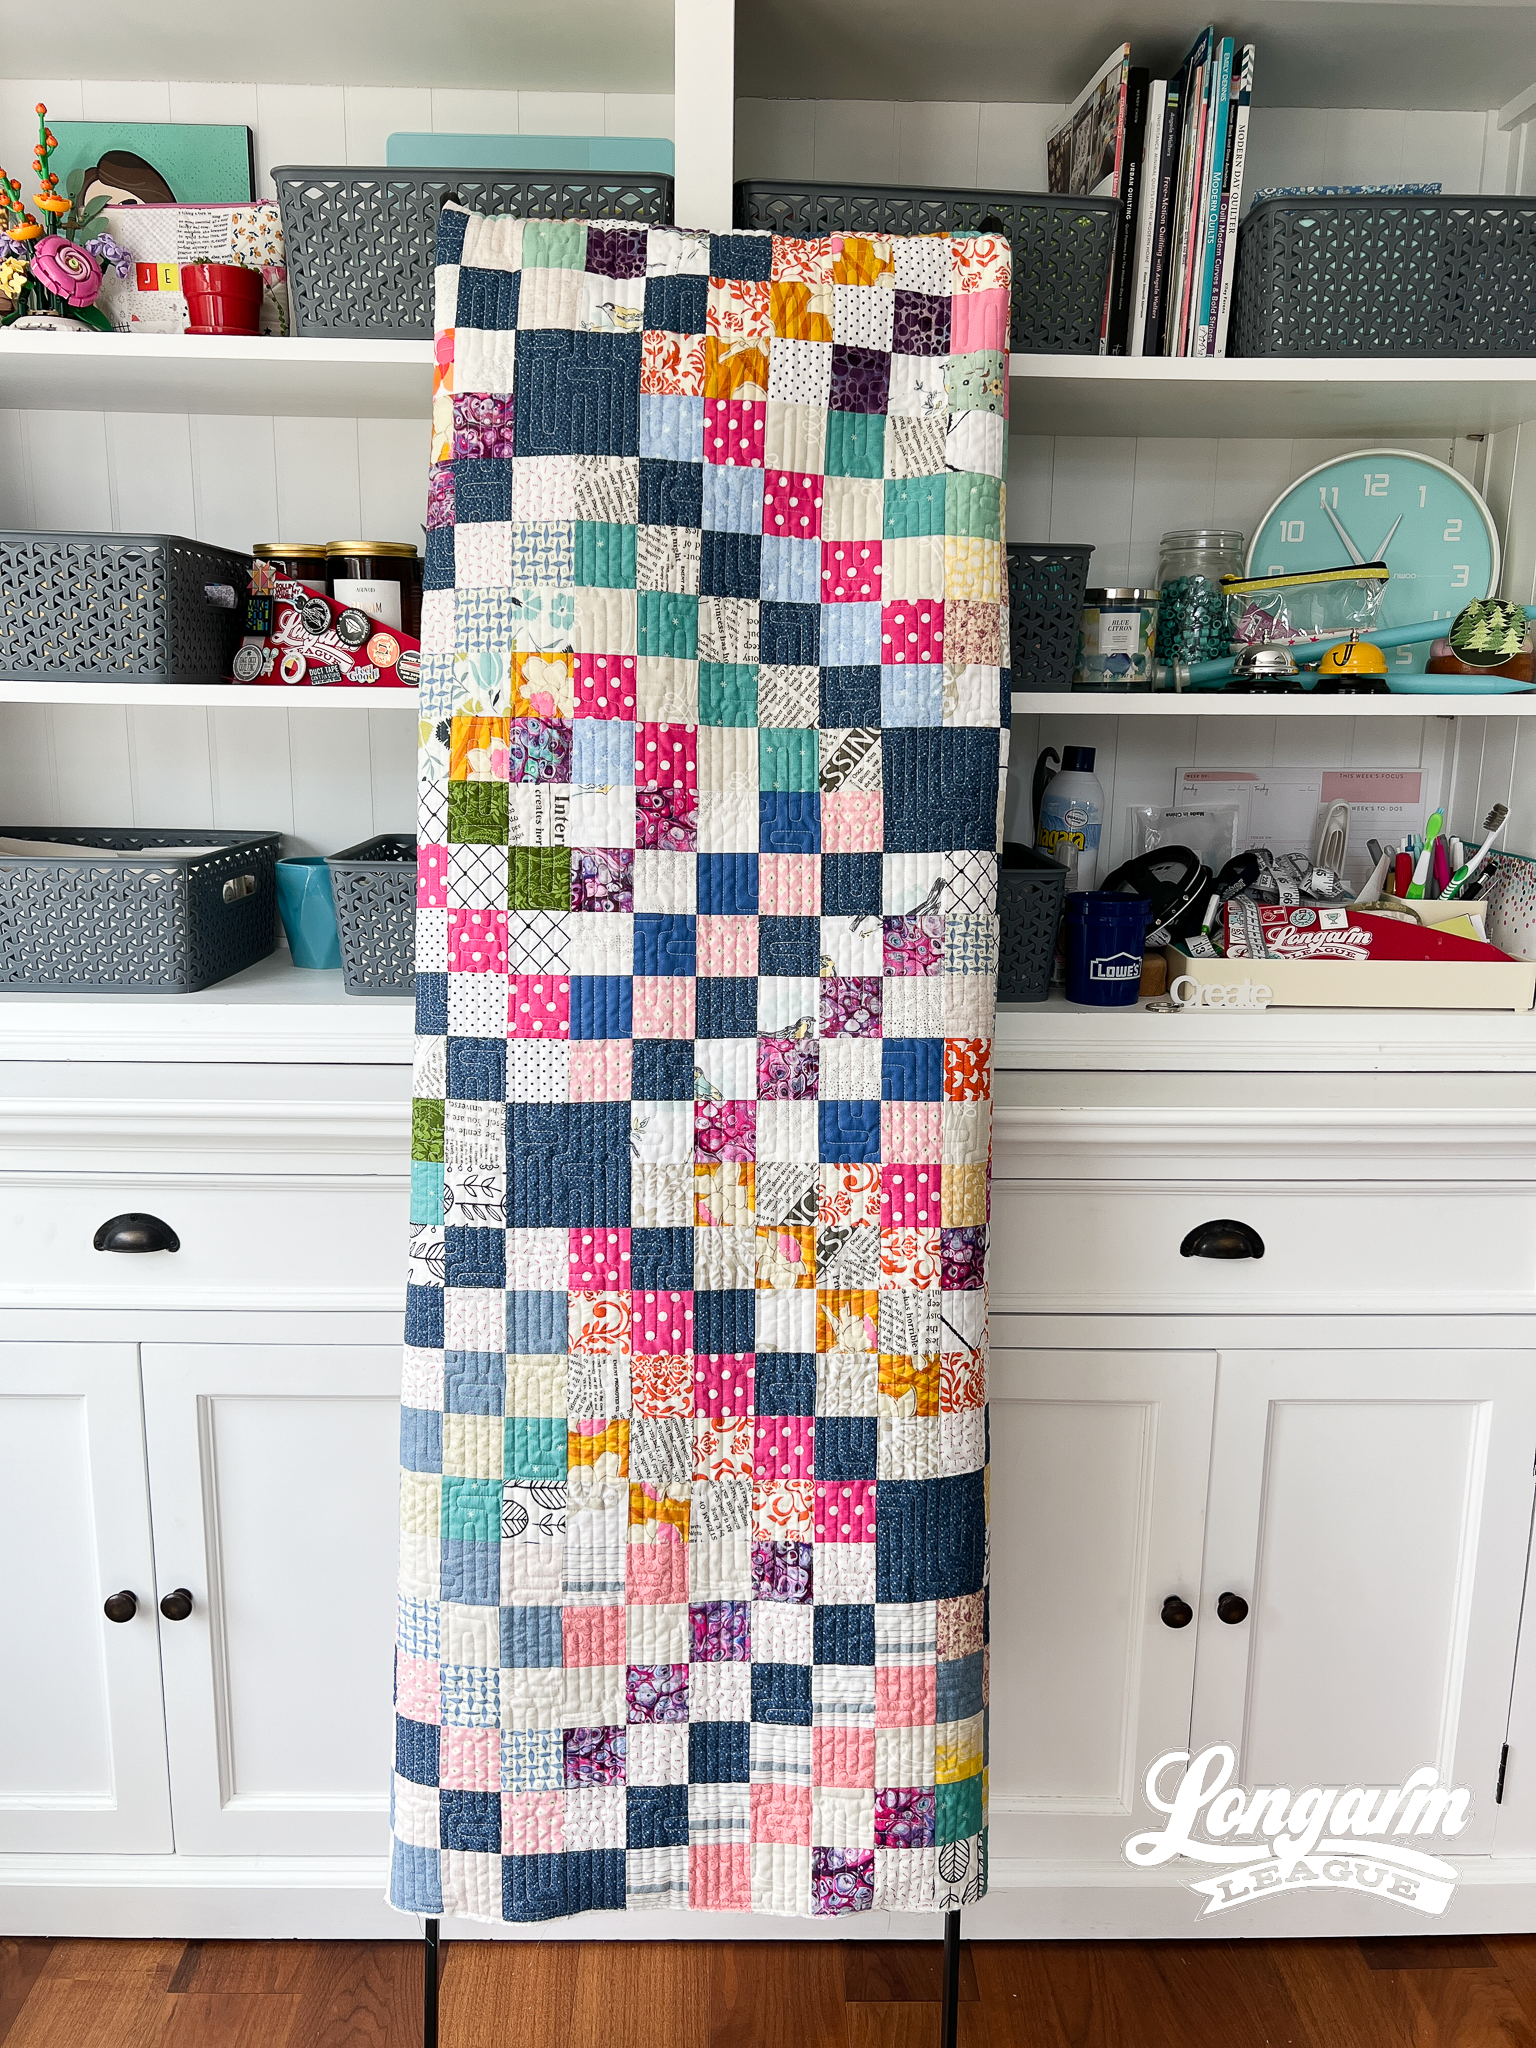
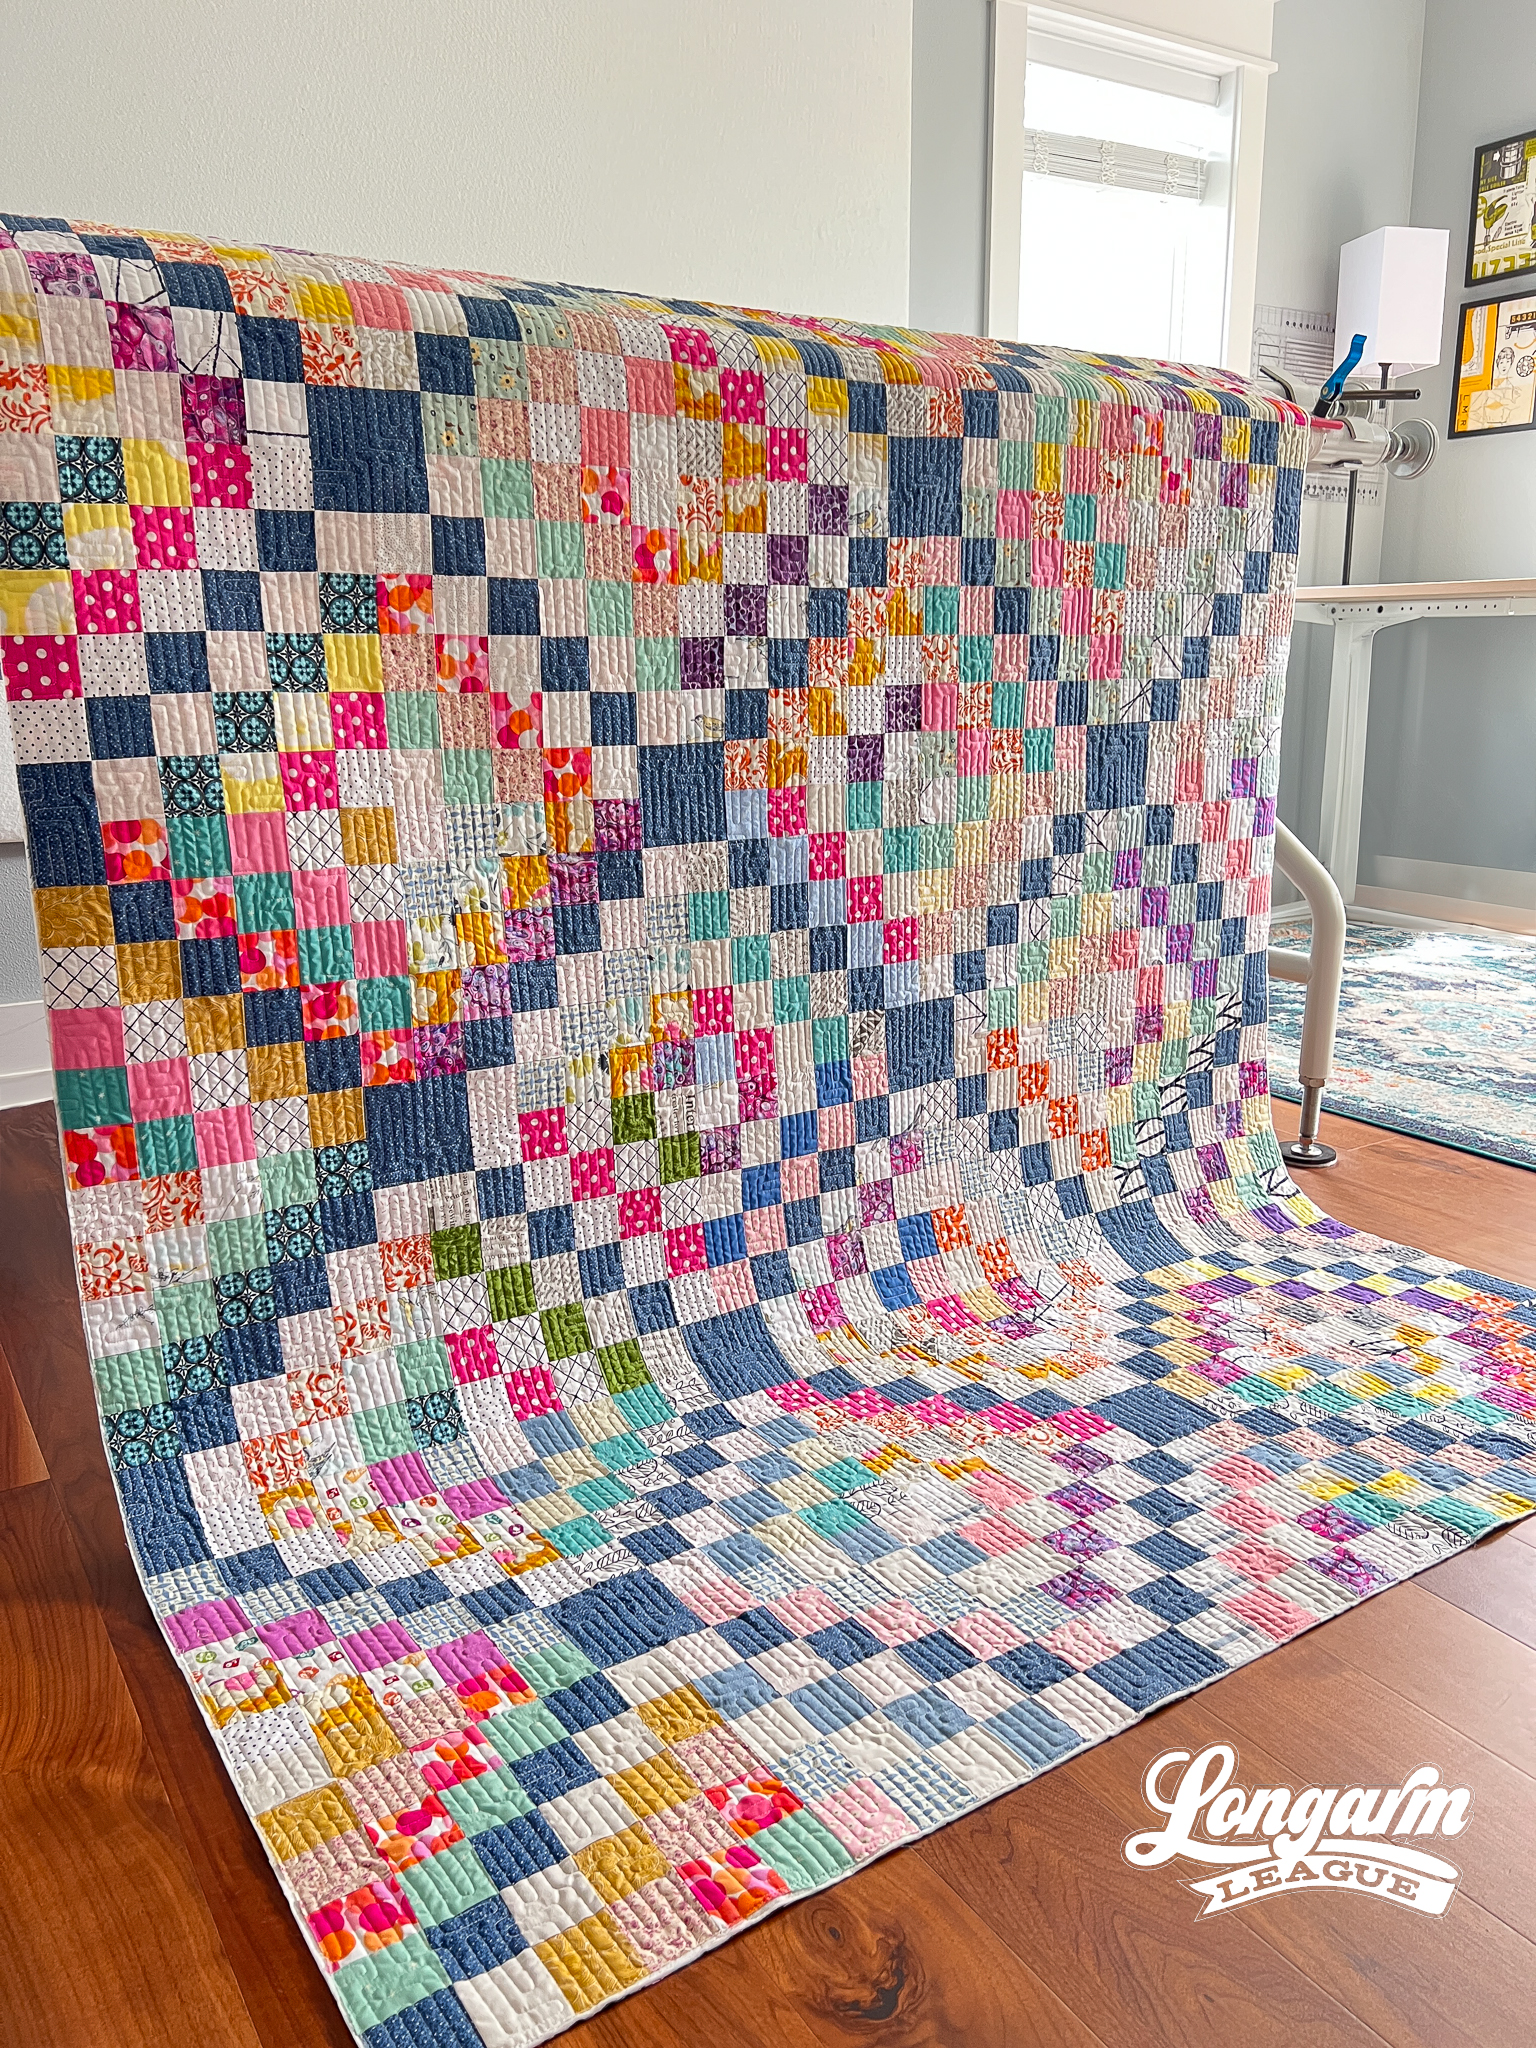
I was delighted by how the design gave this scrappy version of the Scrappy Trip Around the World quilt a unified and cohesive look. I love how it turned out!
As for the digital panto, I decided to round the corners of all the line segments, and I love how that simple element adds the slightest softness to an otherwise rigid and angular look. 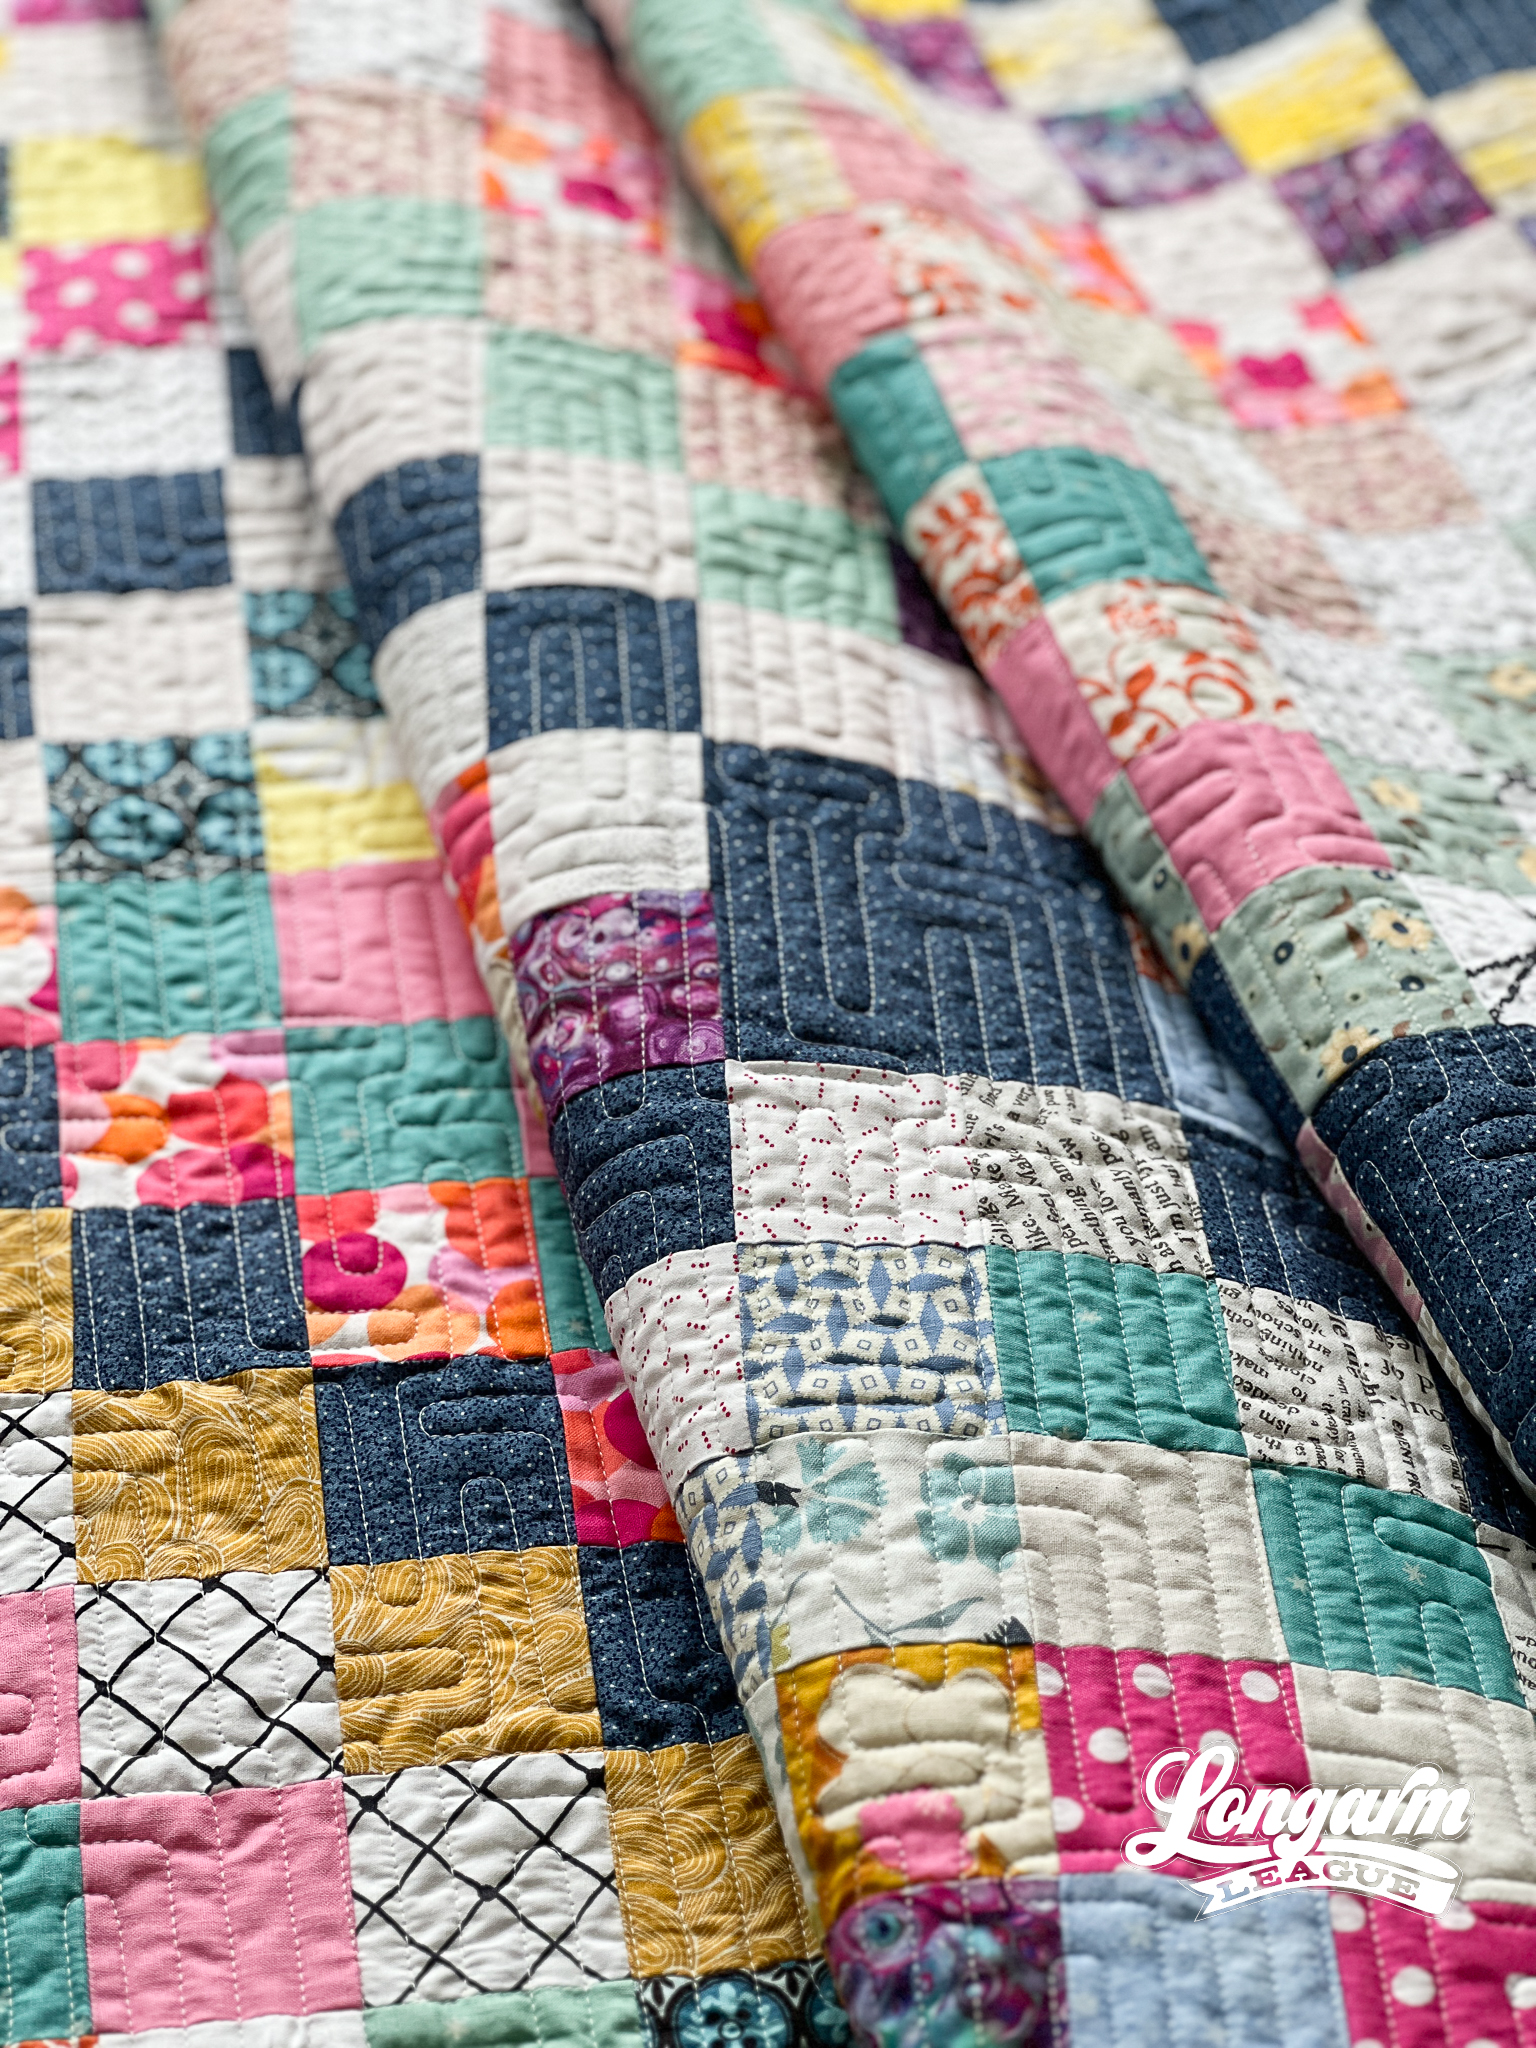
Lloyd would be great for quilt tops that feature vertical or linear elements or have a "masculine" aesthetic. Like I mentioned before, it worked great for this scrap quilt! Or, you could mount a quilt on its side to achieve a horizontally dominant look.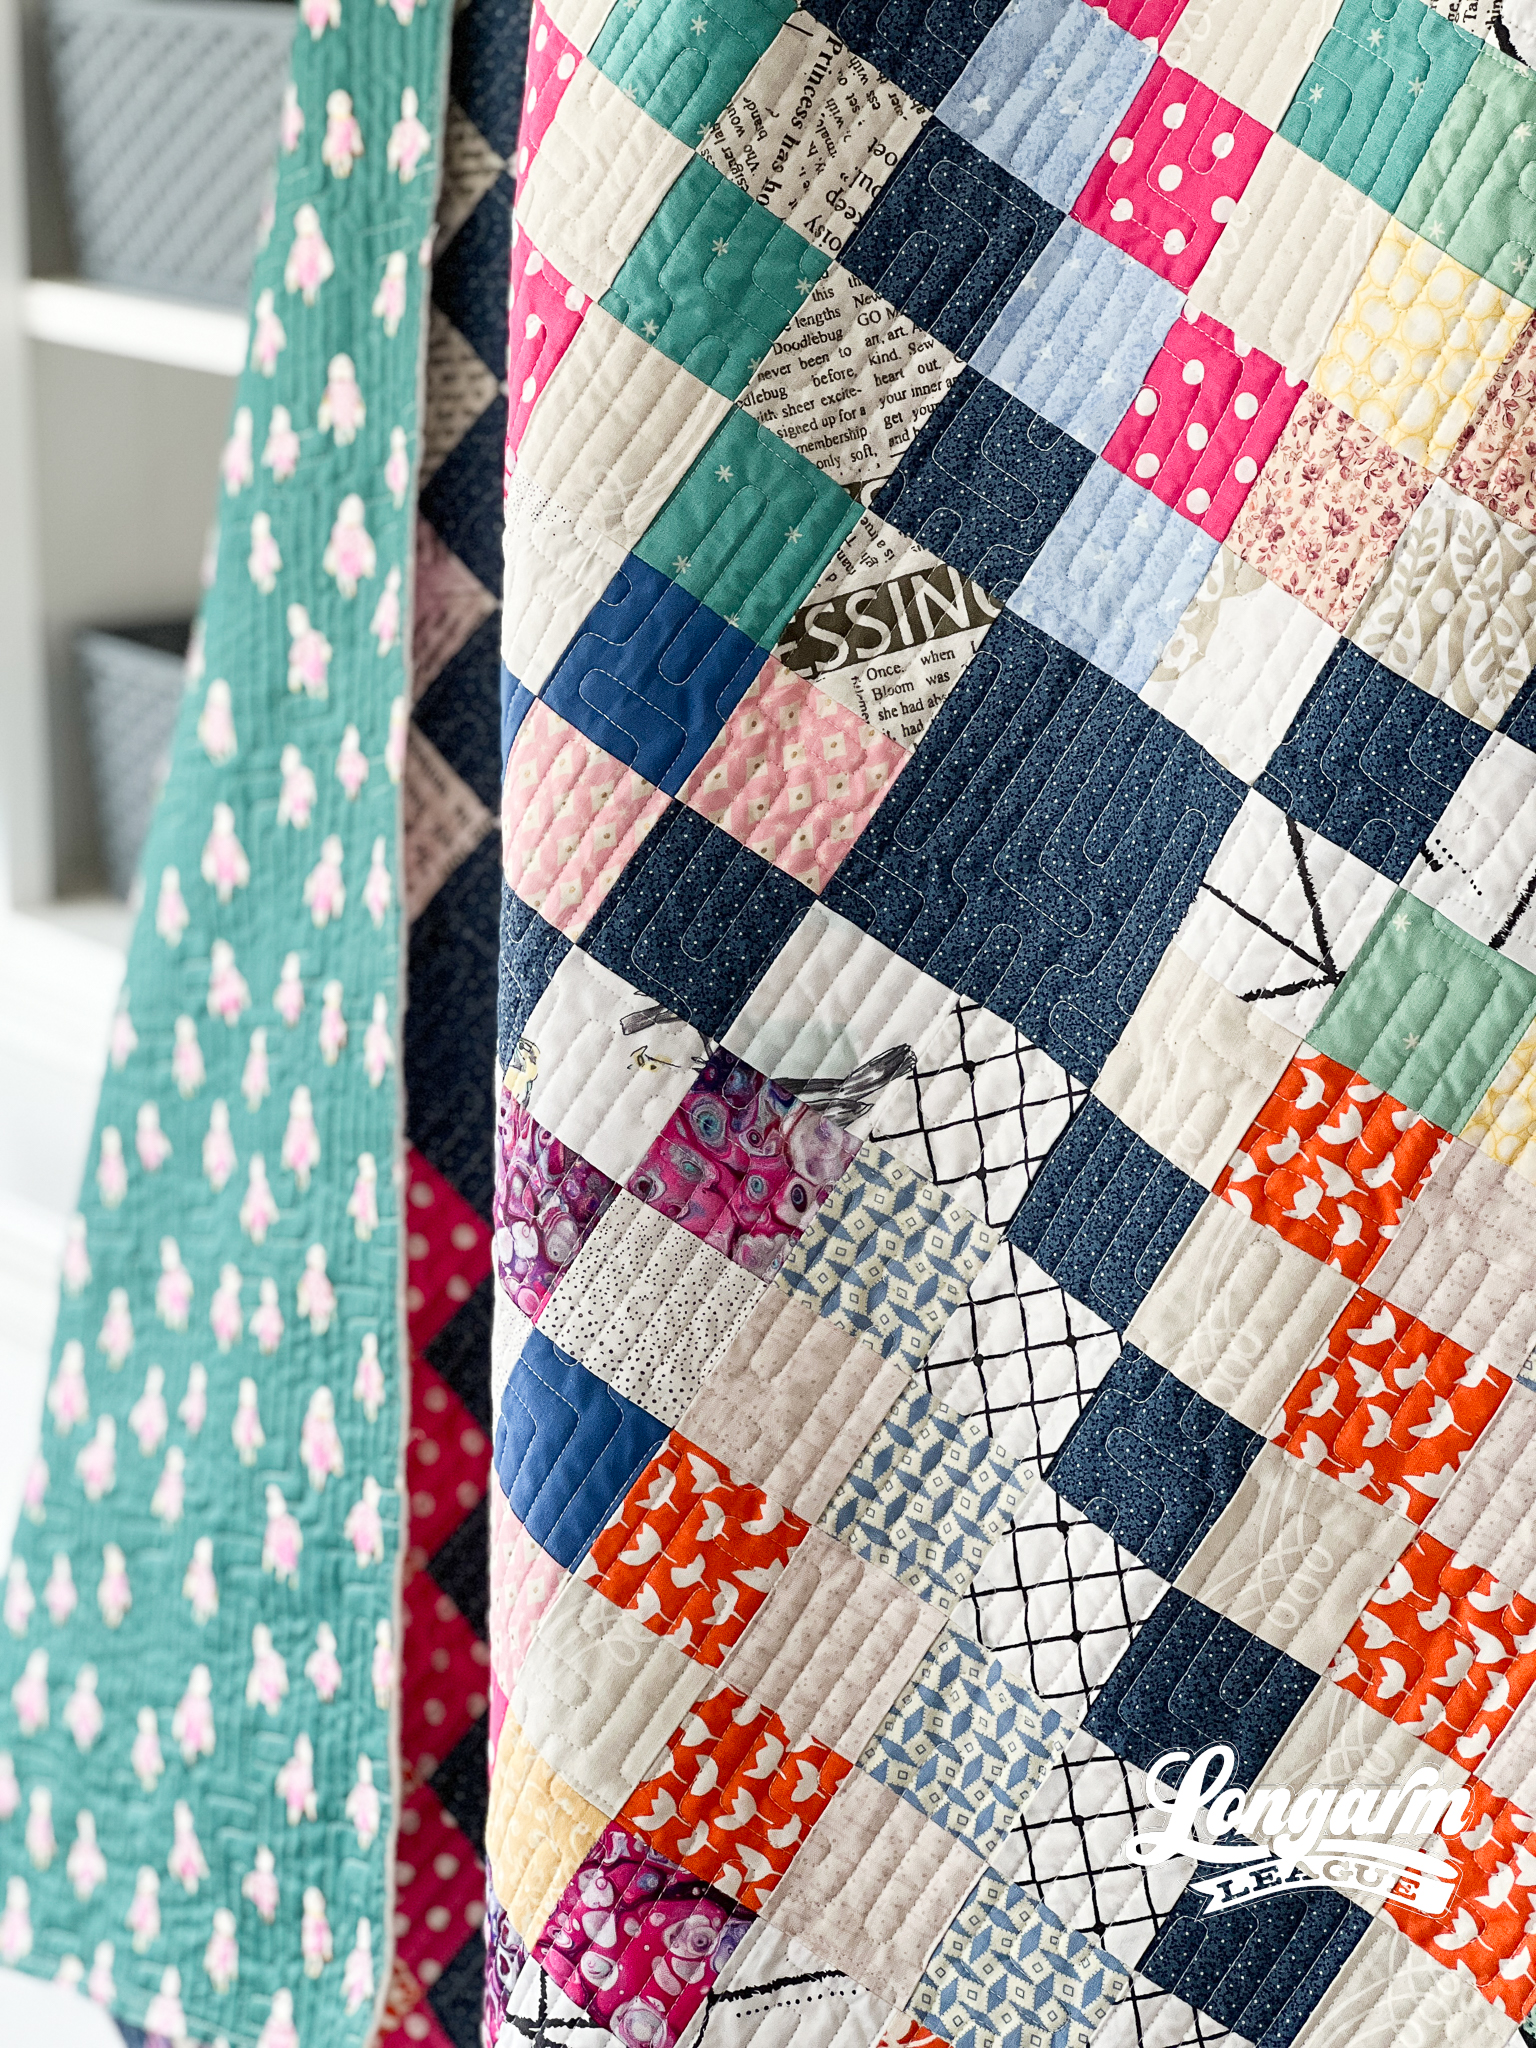
The Quilt
Quilt Pattern
This is the first Scrappy Trip Around the World quilt I made, and I used Quiltville Bonnie's tutorial, which can be found here. I enjoyed the process so much that I made another with a curated fabric selection.
It bears repeating from the last time I blogged about the curated Scrappy Trip: If you decide to try your hand at a Scrappy Trip quilt—and I highly suggest you do—please begin with Ma Tante Quilting's YouTube tutorial. It was published after I finished this quilt; otherwise, I would have used it as a guide. Shelly of Ma Tante Quilting will show you the trick for pressing success, so you won't have to struggle with seams going every which way when it's time to assemble the top.
The Fabrics
When I wrote my blog post for the Modra design, I referred to this as my "unhinged scrappy" Scrappy Trip quilt. I cared not about my fabric selection! There are some fun prints in this one that range from the whole twenty years I've been quilting. As I mentioned earlier, I love how the quilting brought the whole quilt together. This isn't the first time that I've finished a top and was ambivalent about it, but after quilting it, I fell in love with the whole character of it.
The Backing
I had quite a bit of yardage of this cute print by Heather Ross for Windham fabrics. I got it from a friend several years ago who was closing her online fabric shop and wanted to rehome it. I had no idea when I'd have the opportunity to use it, but I thought that it matched the quirky and fun theme of this scrappy quilt.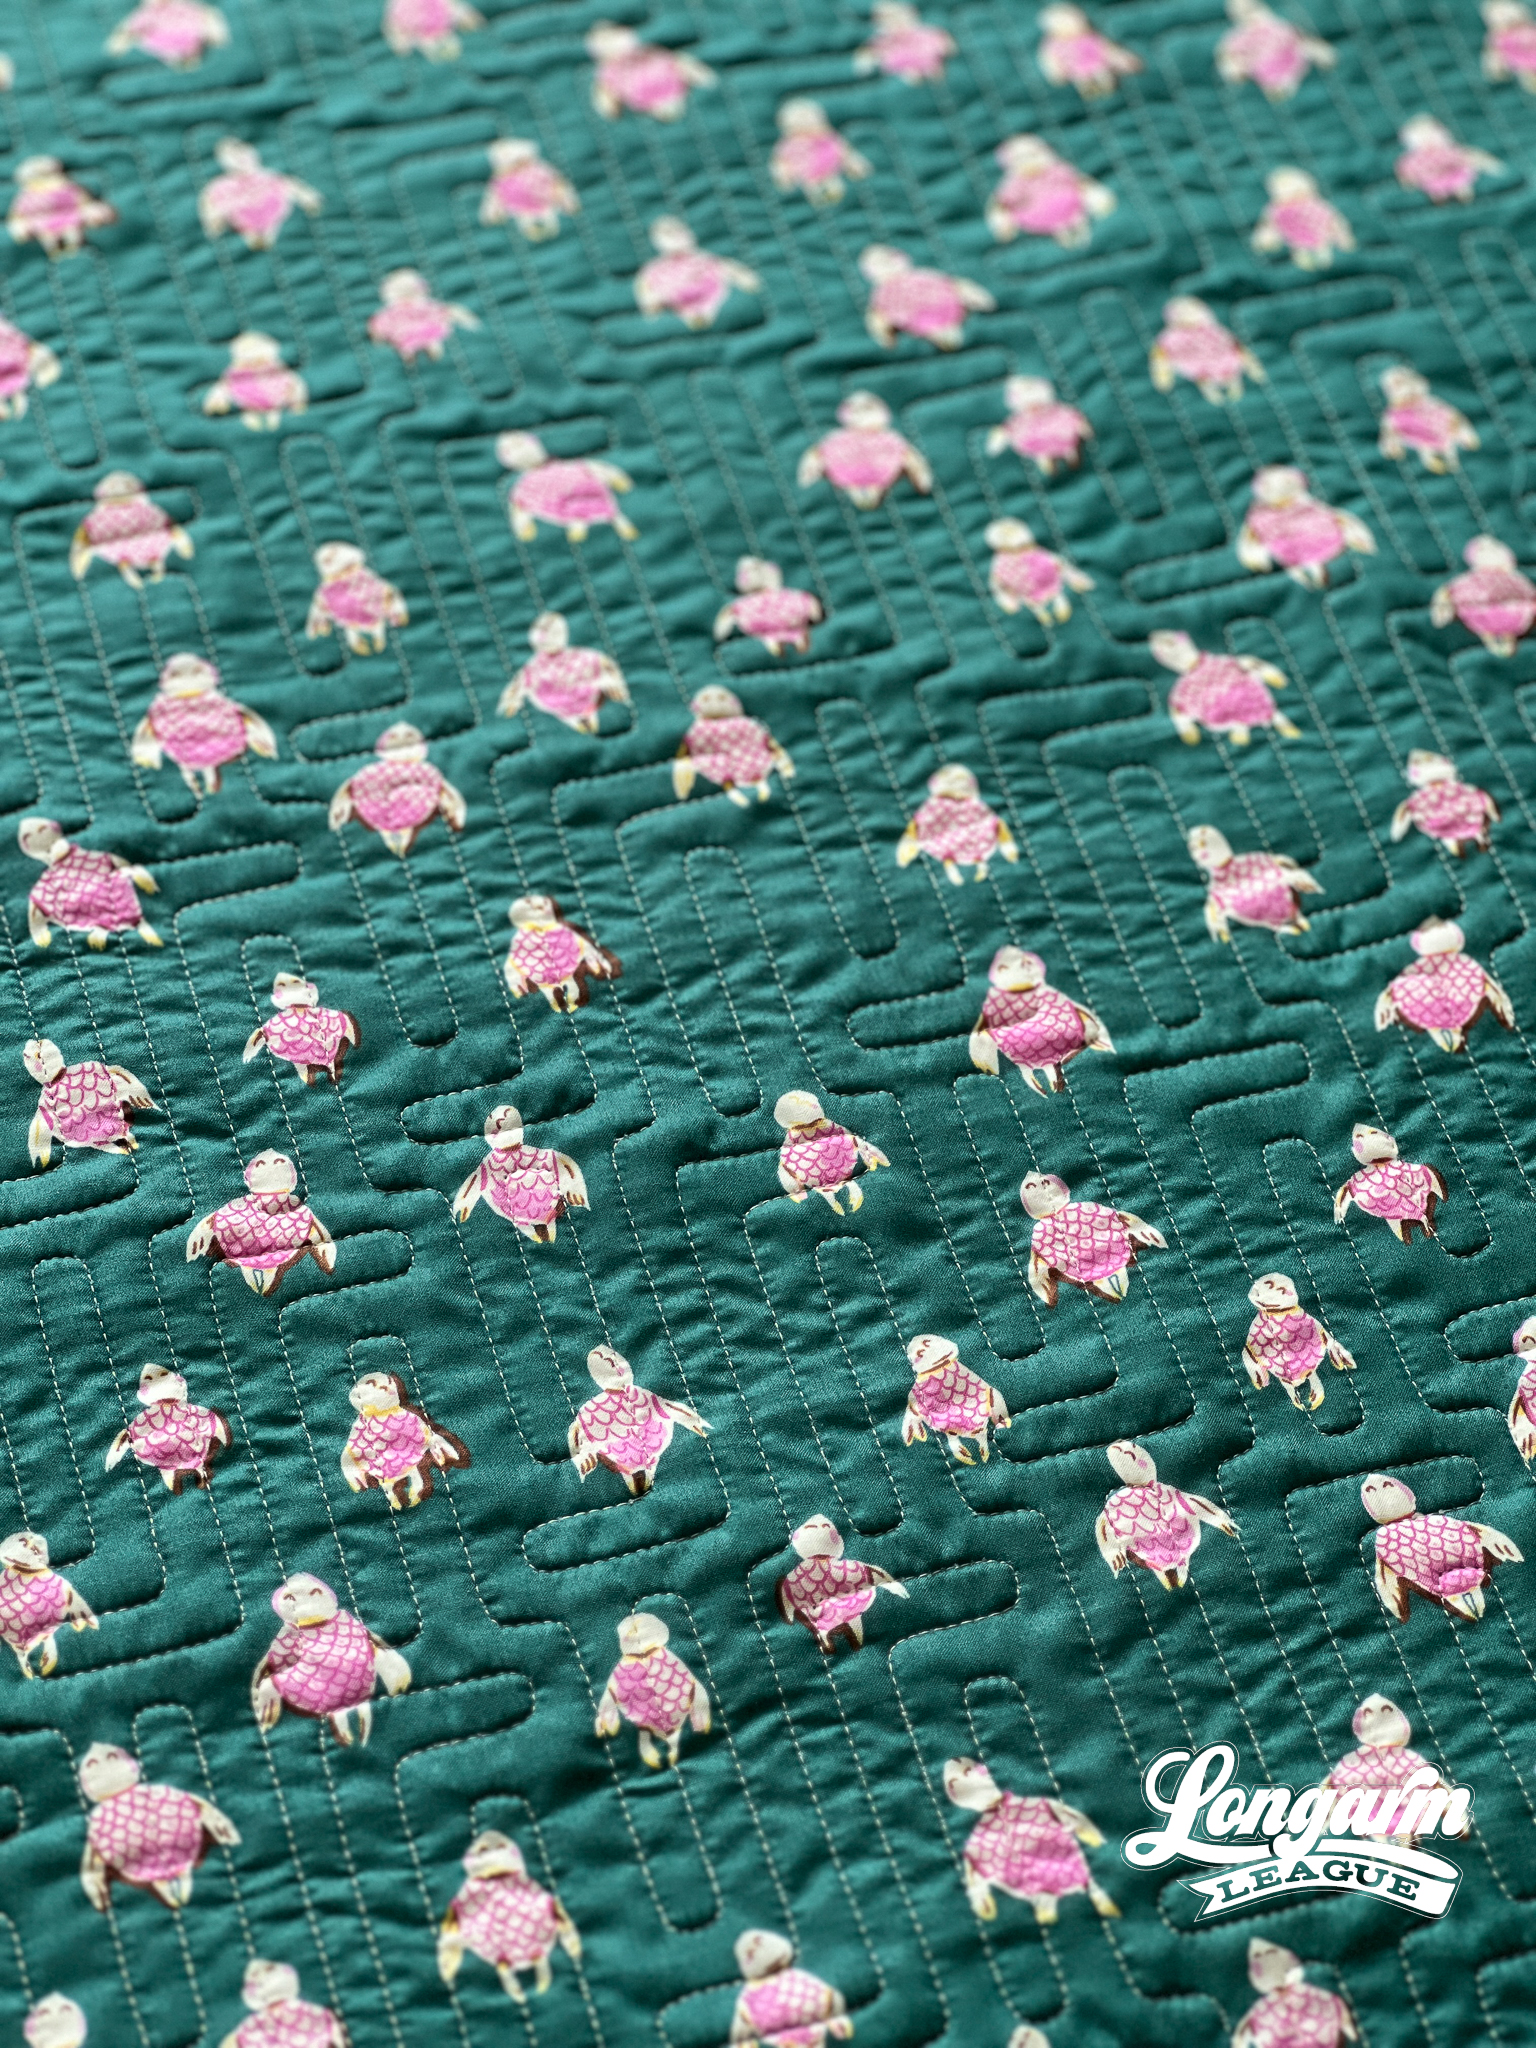
Would you believe this is the fourth quilt in a row that I've pieced and used frankenbatting? Like I mentioned in the caption of this Instagram Reel, I used to think you had to be surgically precise to piece batting together, but the more I do it, the more I realize how forgiving it is!
There were times I unintentionally overlapped the batting in this one as I zig-zagged my way toward Total Batting Reclamation, and still: You could never tell where the seams are.
I'm even more excited now to clean out my batting scrap cabinets that I've been cramming odds and ends into for YEARS! I could use that space for other things.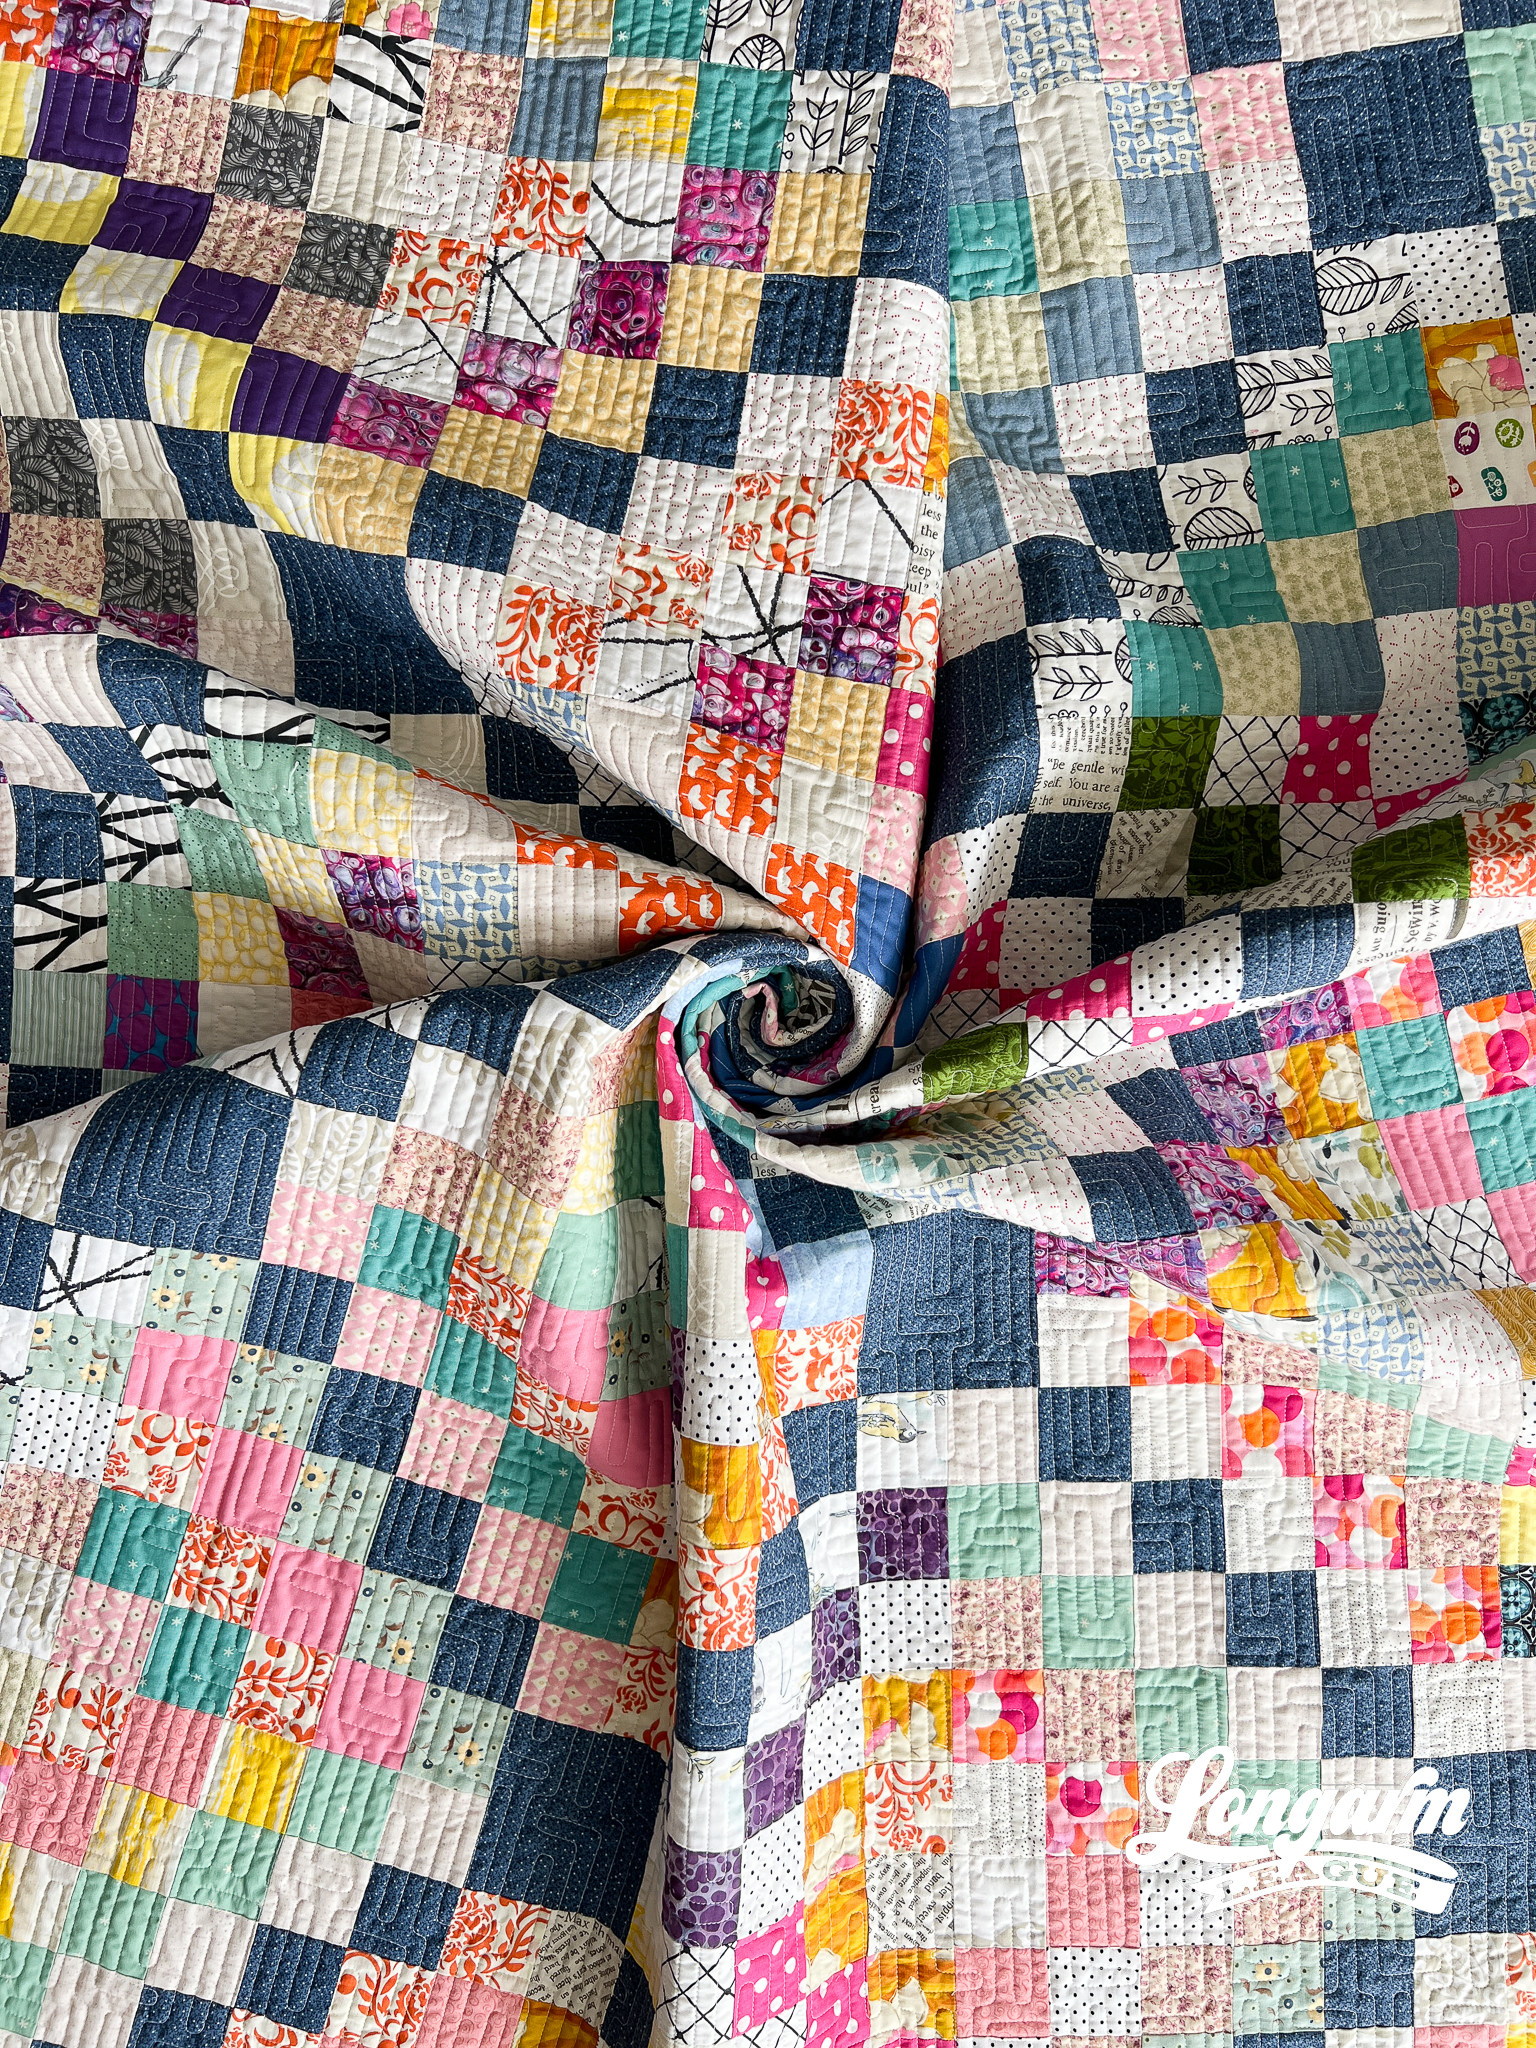
The Quilting Details
Difficulty Level
I gave this design an "easy" rating in terms of difficulty to use because there's no offsetting and no backtracking. Close the gap between the rows until it resembles the image that accompanies the design (the first photo shown in this blog post), and then start!
Scale
I scaled the design down from the default dimensions, partially because I regretted not scaling it smaller for last month's design! In other words, it was more a matter of paranoia than an explicit design choice. I generally prefer dense quilting for everything, so I'm happy with the result, but not everyone will want to quilt as aggressively. ;)
When I provide the dimensions in my blog posts and on the accompanying PDFs for this design and others, it's based on the size I stitched it out in, as shown in all the examples throughout the blog post. My goal is that you have a visual frame of reference so you can decide to go bigger or smaller or use the exact measurements.
At the dimensions given below, the spacing between most of the lines was about 3/8" apart.
Sizing used in the sample (60" x 72" quilt size):
Row height: 3.5"
Gap: -2.864"
Pattern height: 6.364" (measurement from top to bottom of the repeat)
Offset: none
Backtracking: none
Here's a look at the included PDF: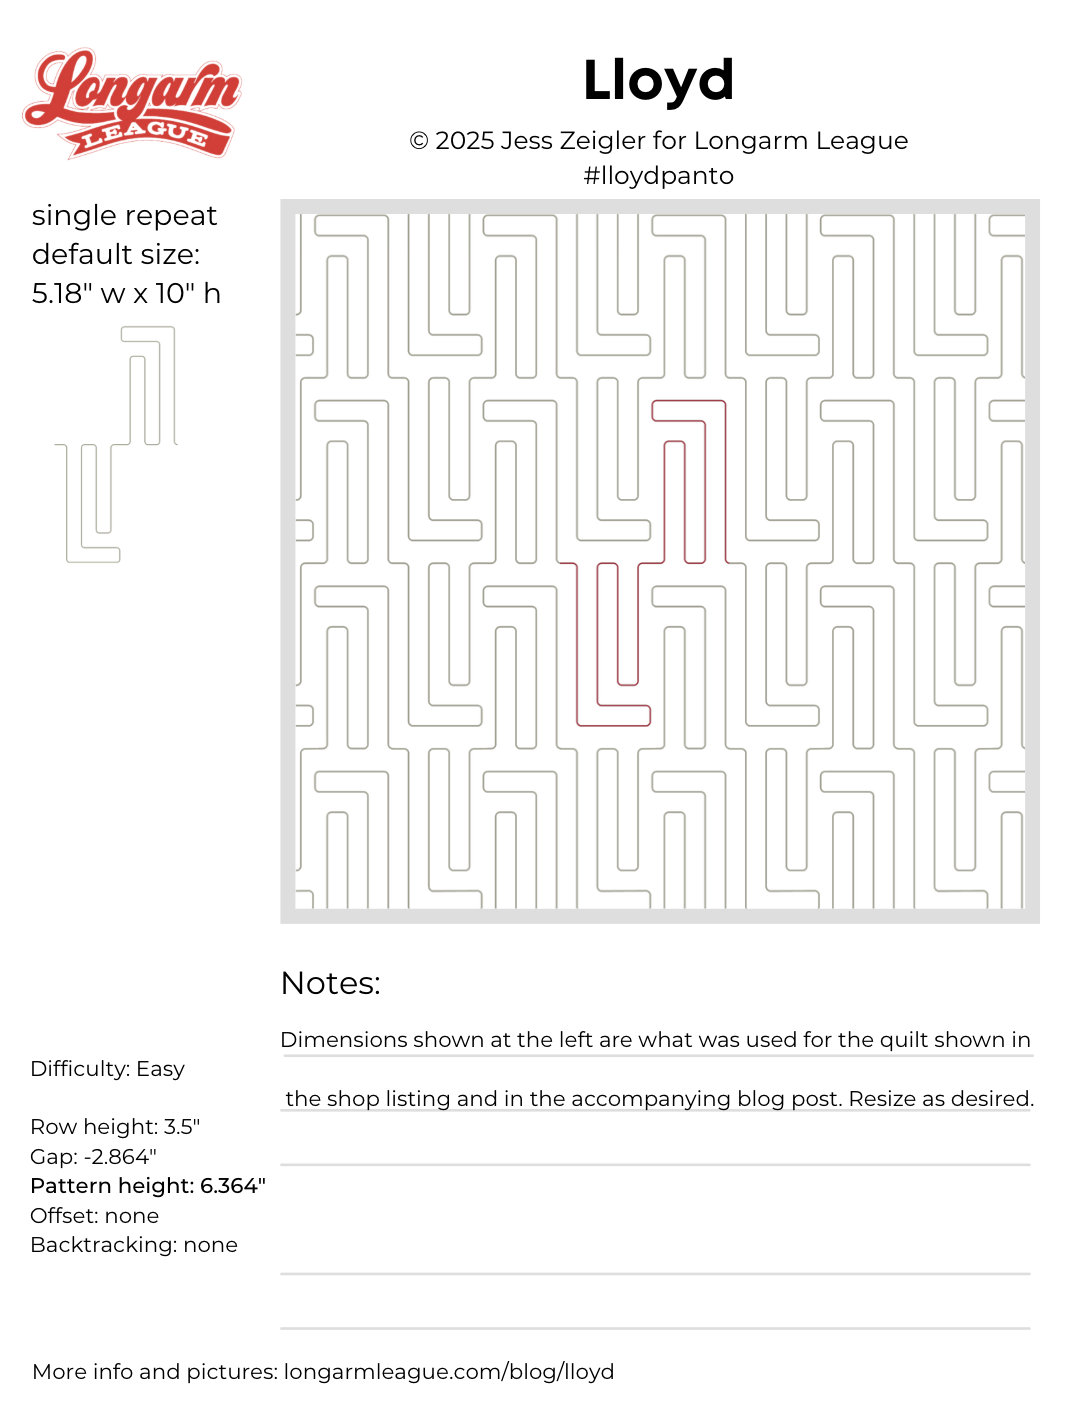
One More Usage Tip
Since I scaled this design down, I was a bit worried that the fabric might draw in/shrink up as I quilted it, so I decided to start every row at the left, instead of alternating the rows to maximize efficiency. Between rows, I didn't have to realign, but I did gently tug outward on the edges to coax them closer to their original position before quilting the next row.
For a better explanation of this common occurrence with computerized quilting, you can read this blog post. While I would not call Lloyd a "precision" pantograph, the density and vertical channels created by the quilting could cause placement to be off. If this happens, it appears as if the panto is "drifting" into the already-stitched rows. The blog post linked here gives more tips for counteracting the draw-up.
Interested in getting new digital pantograph designs like this one on the day they're released (and at a deep discount)? Sign up for our Digital Panto Club and get them delivered directly to your inbox on the first Wednesday of each new month.

Jess Zeigler
Longarm League Commish & Owner of Threaded Quilting Studio, LLC.


