
Mirror Edge-to-Edge Quilting Design for Computerized Longarm Machines
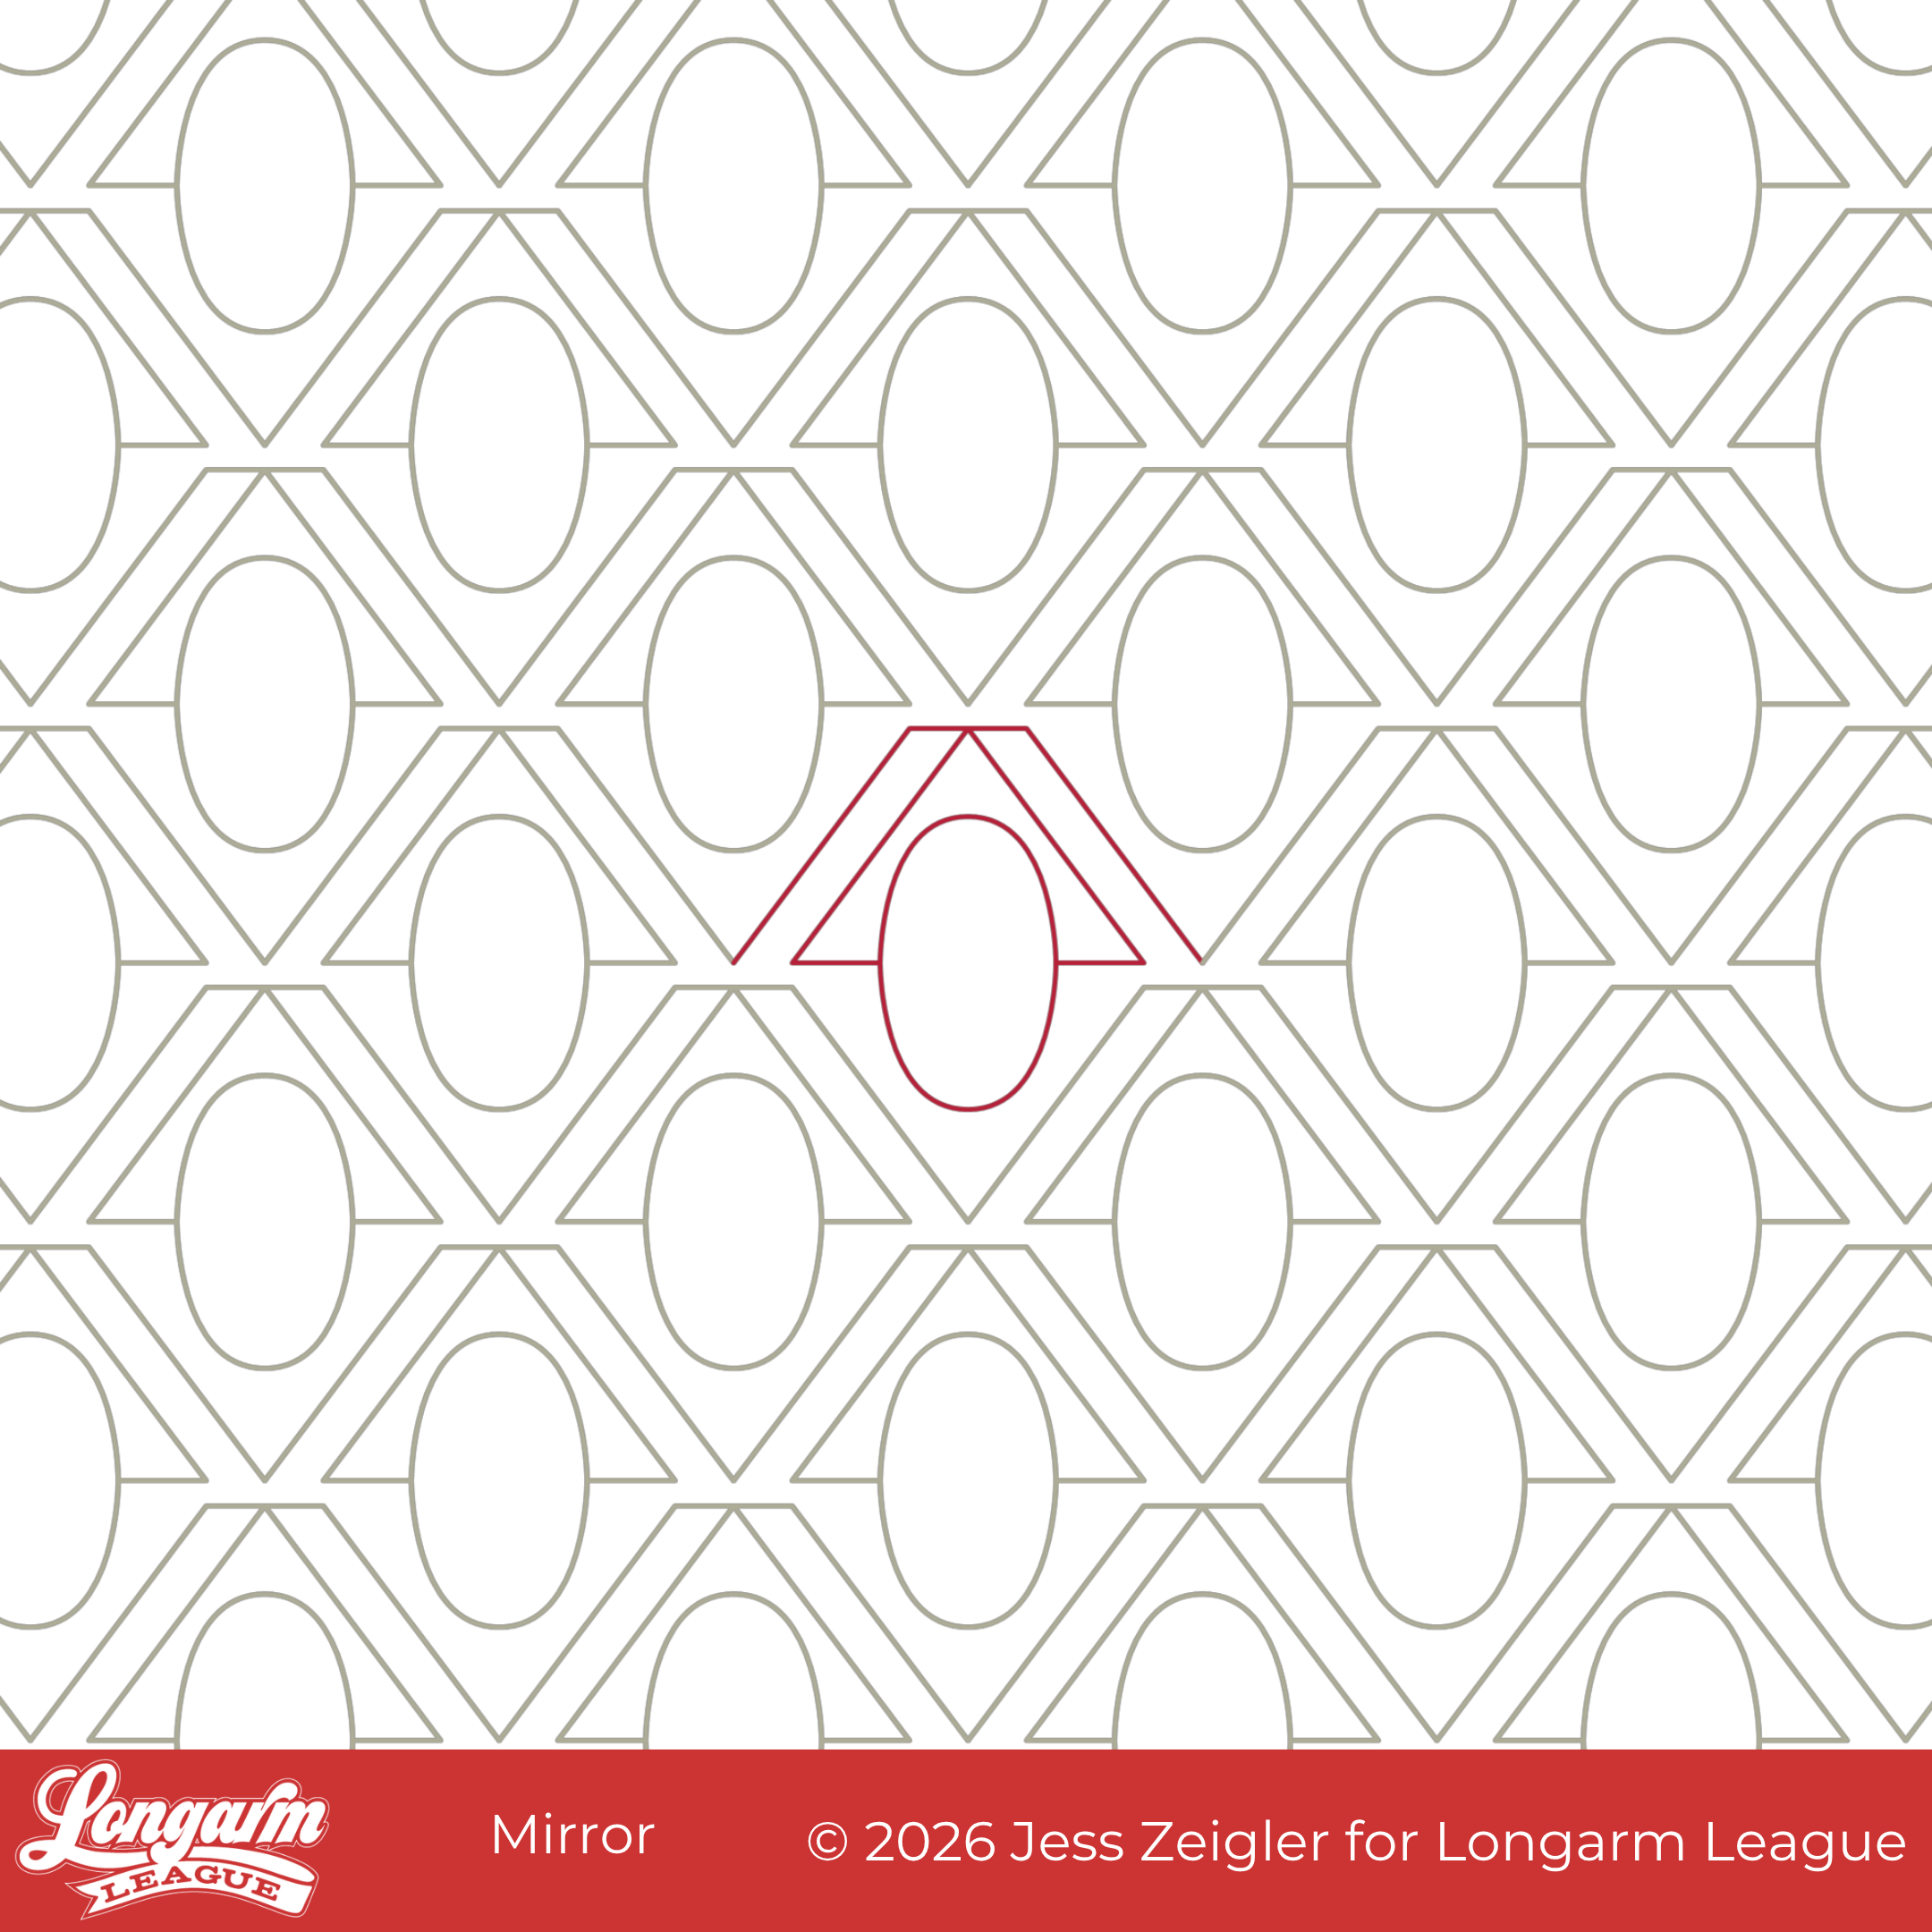
This design started with me trying to figure out how to do a "cheater" double cross-hatch design without making the rows match up perfectly. Brittany of Lo and Behold Stitchery featured this quilt, where she did the double cross-hatch quilting on her domestic machine, and I thought it would be great to have an alternative edge-to-edge design for longarm quilters that wasn't too difficult to execute, since cross-hatching is infamous for being hard to line up.
For a single-line cross-hatch version, I'm biased, but I think it's tough to beat the Rumble design with a 50% offset on a quilt loaded sideways. Here's what it looks like: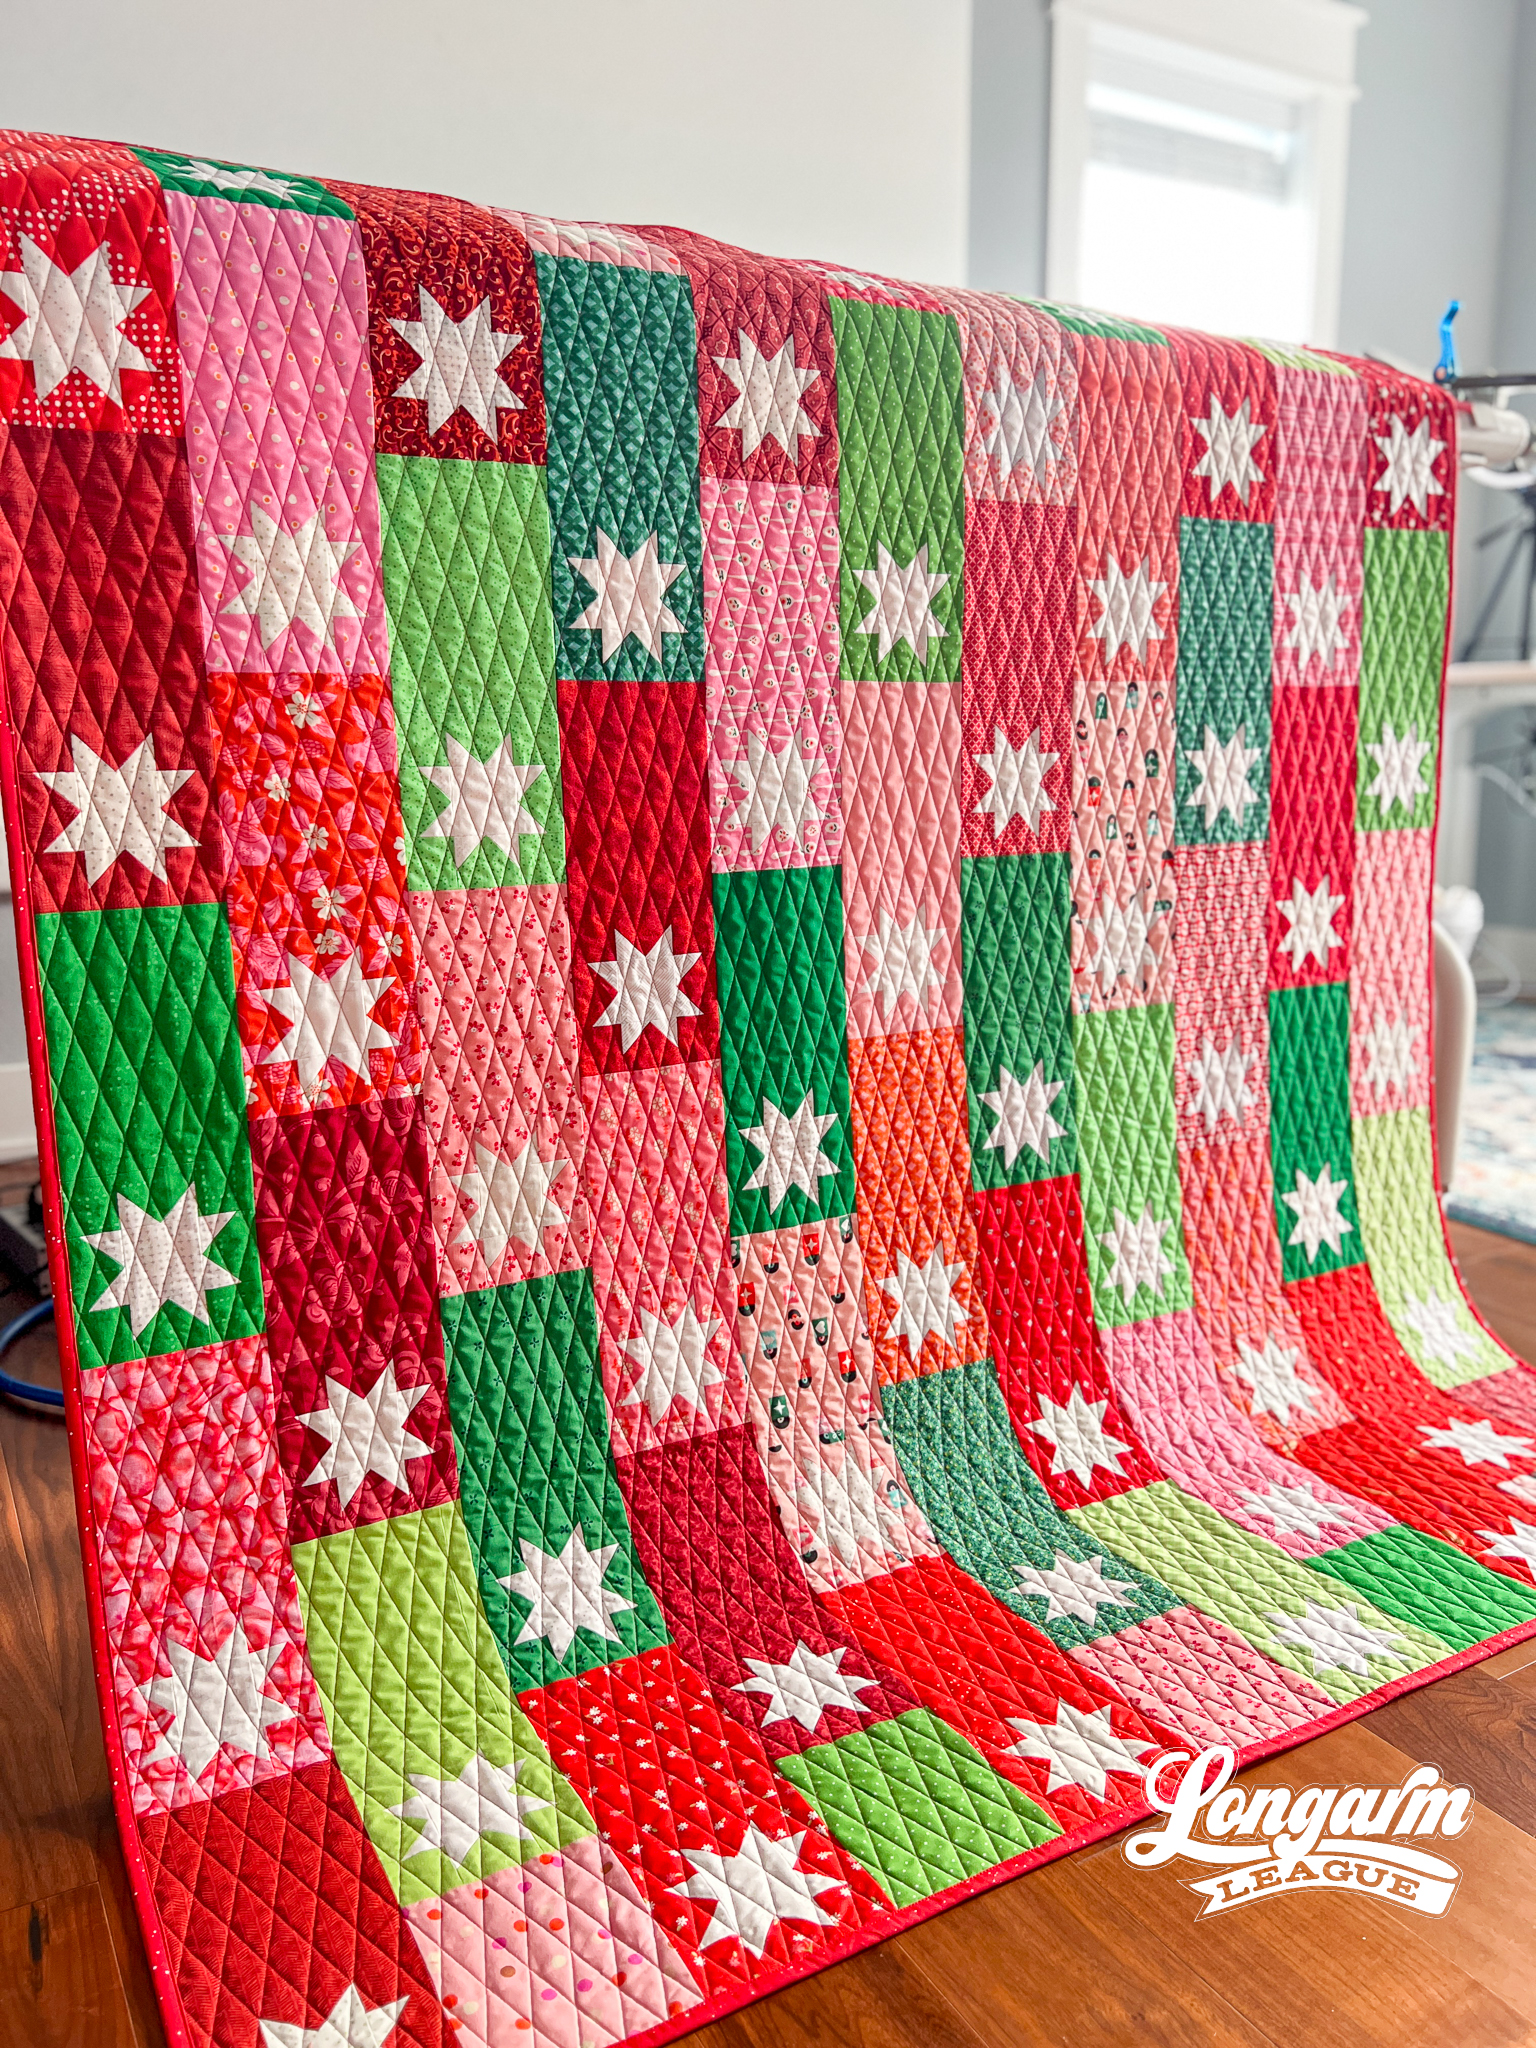
But, back to the double cross-hatch inspo!
I came up with a super simple repeatable design that wouldn't have to be lined up exactly because the rows wouldn't have to touch. I stitched out a small sample:
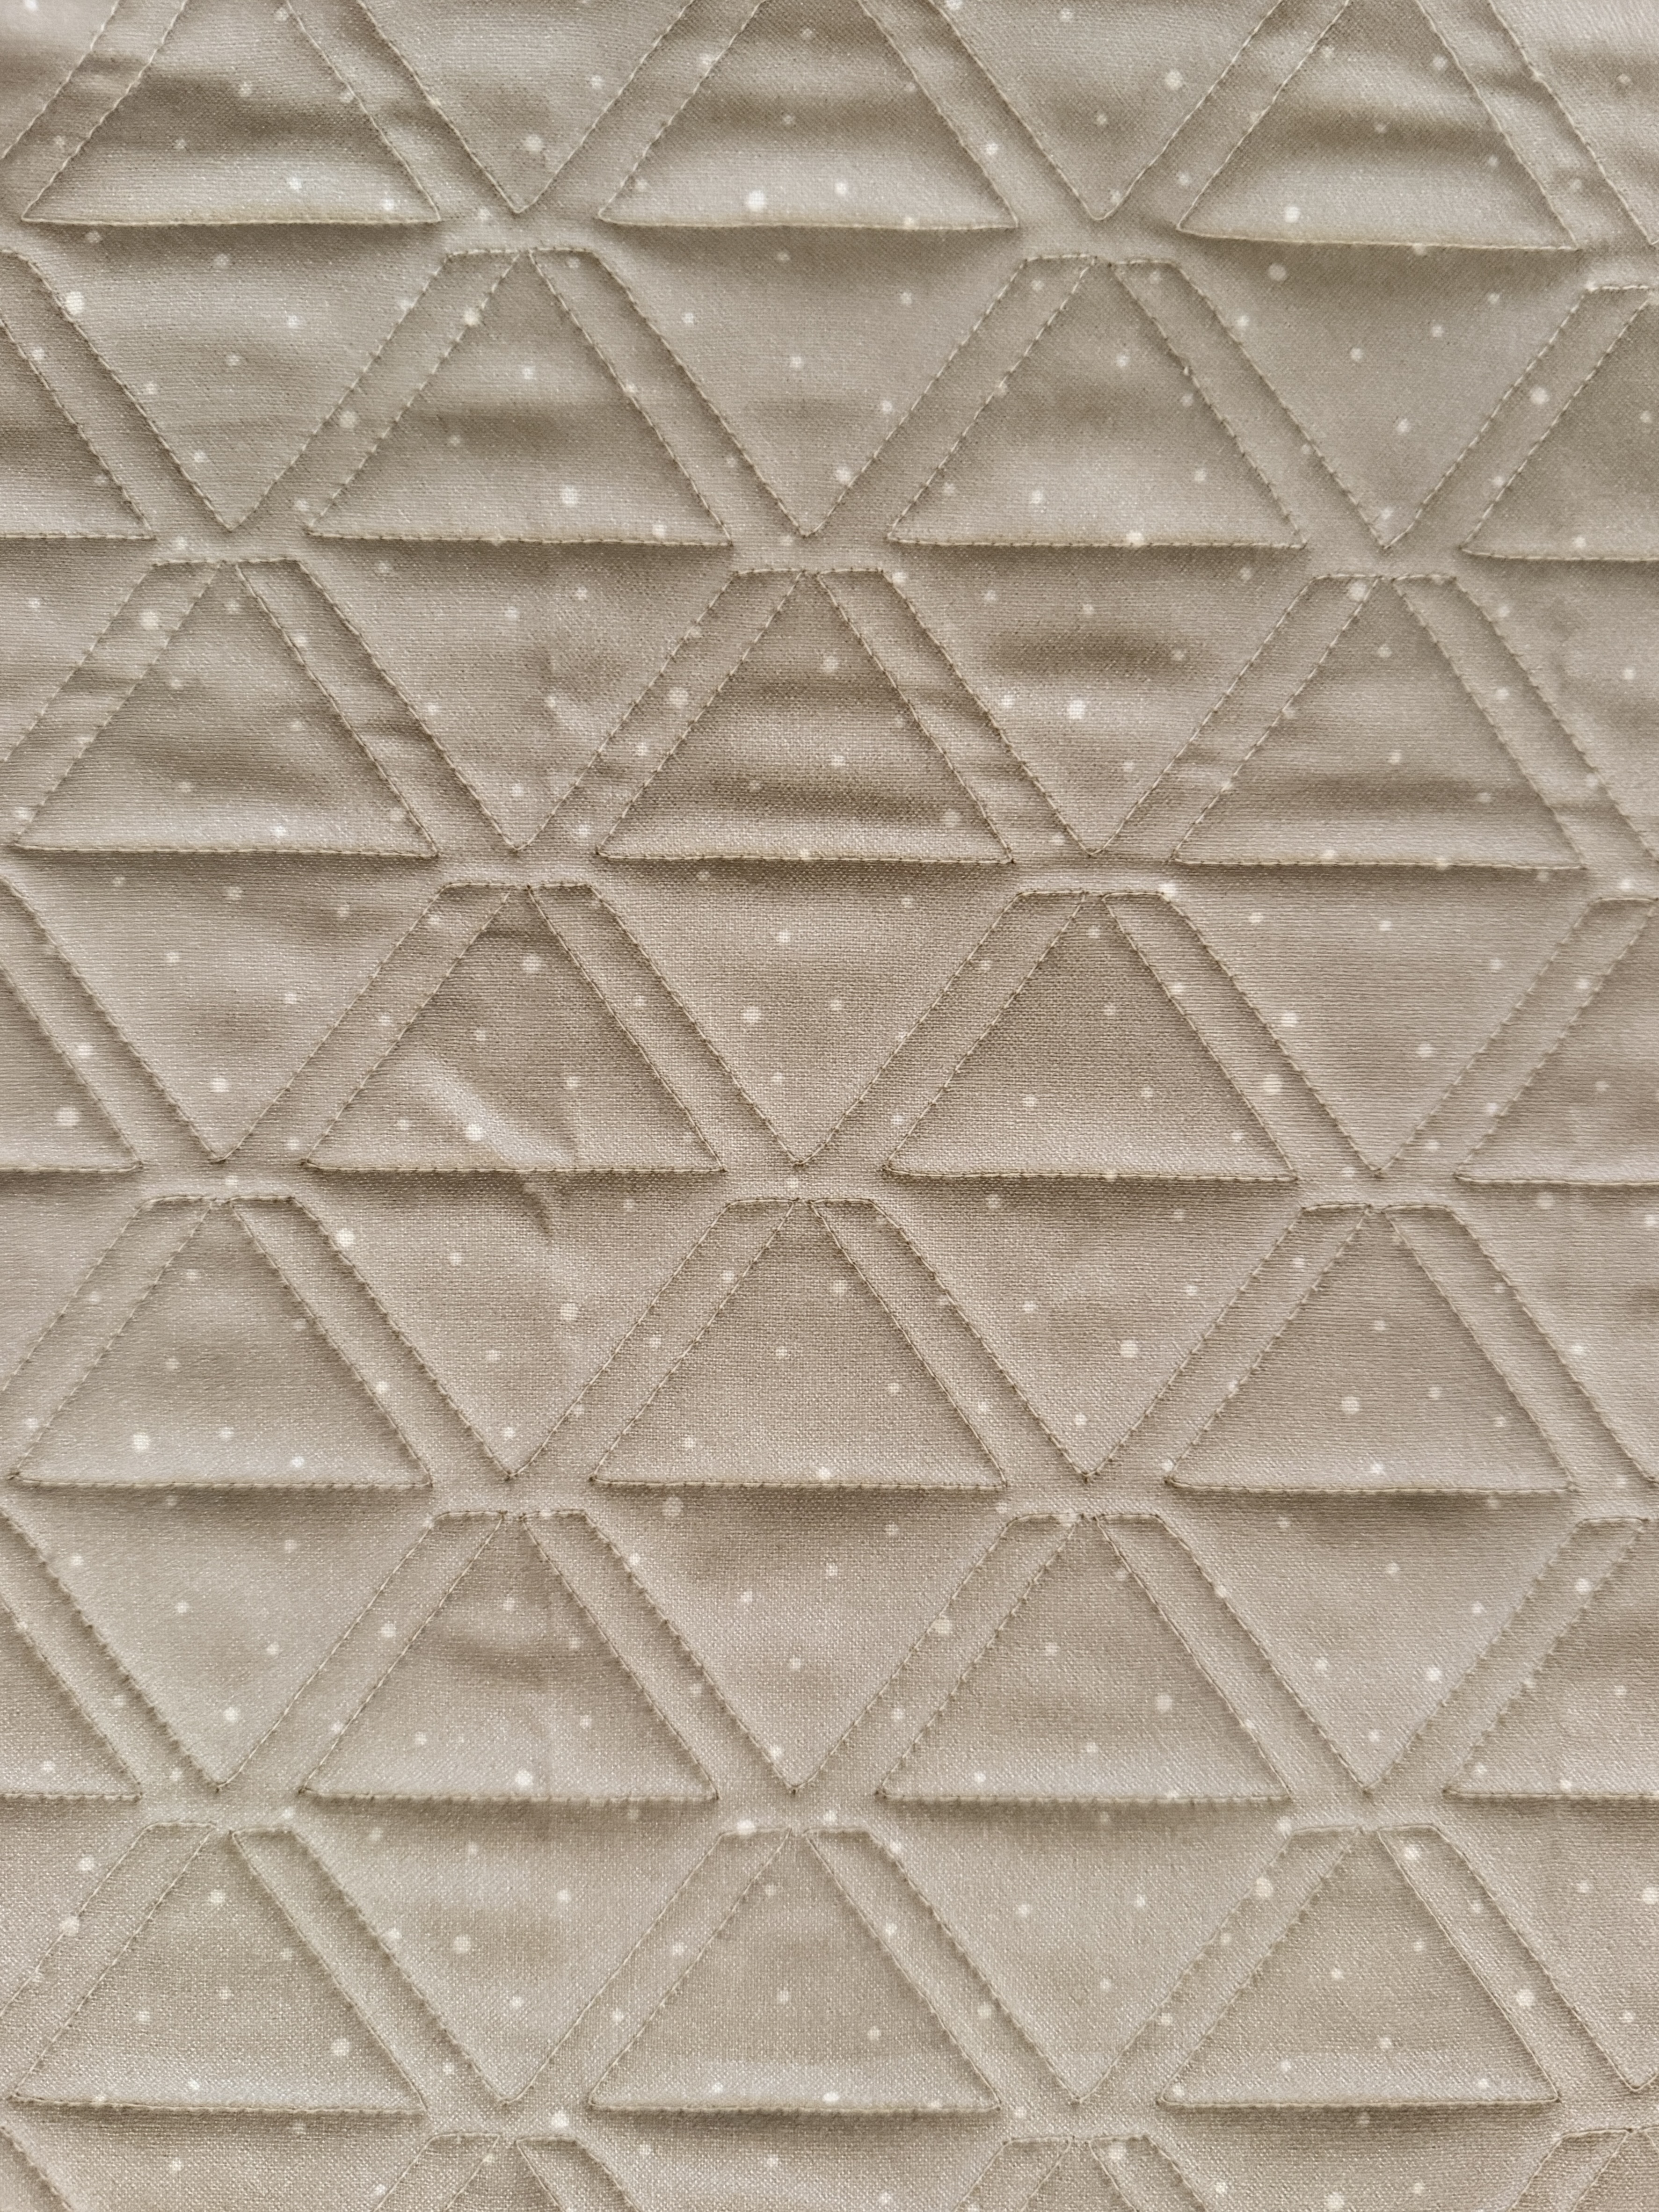
Before I put more work into preparing the design for release, I uploaded a photo to Google Lens to check for visual similarities. Several designs weren't exactly the same, but I found very similar triangular-based designs, so I decided not to release the one above. Instead, I went back to the drawing board software.
I knew I definitely wanted to keep the parallel diagonal lines that hinted at the double cross-hatching inspiration, but I decided to take that horizontal connecting line and make a bold oval shape in the center instead.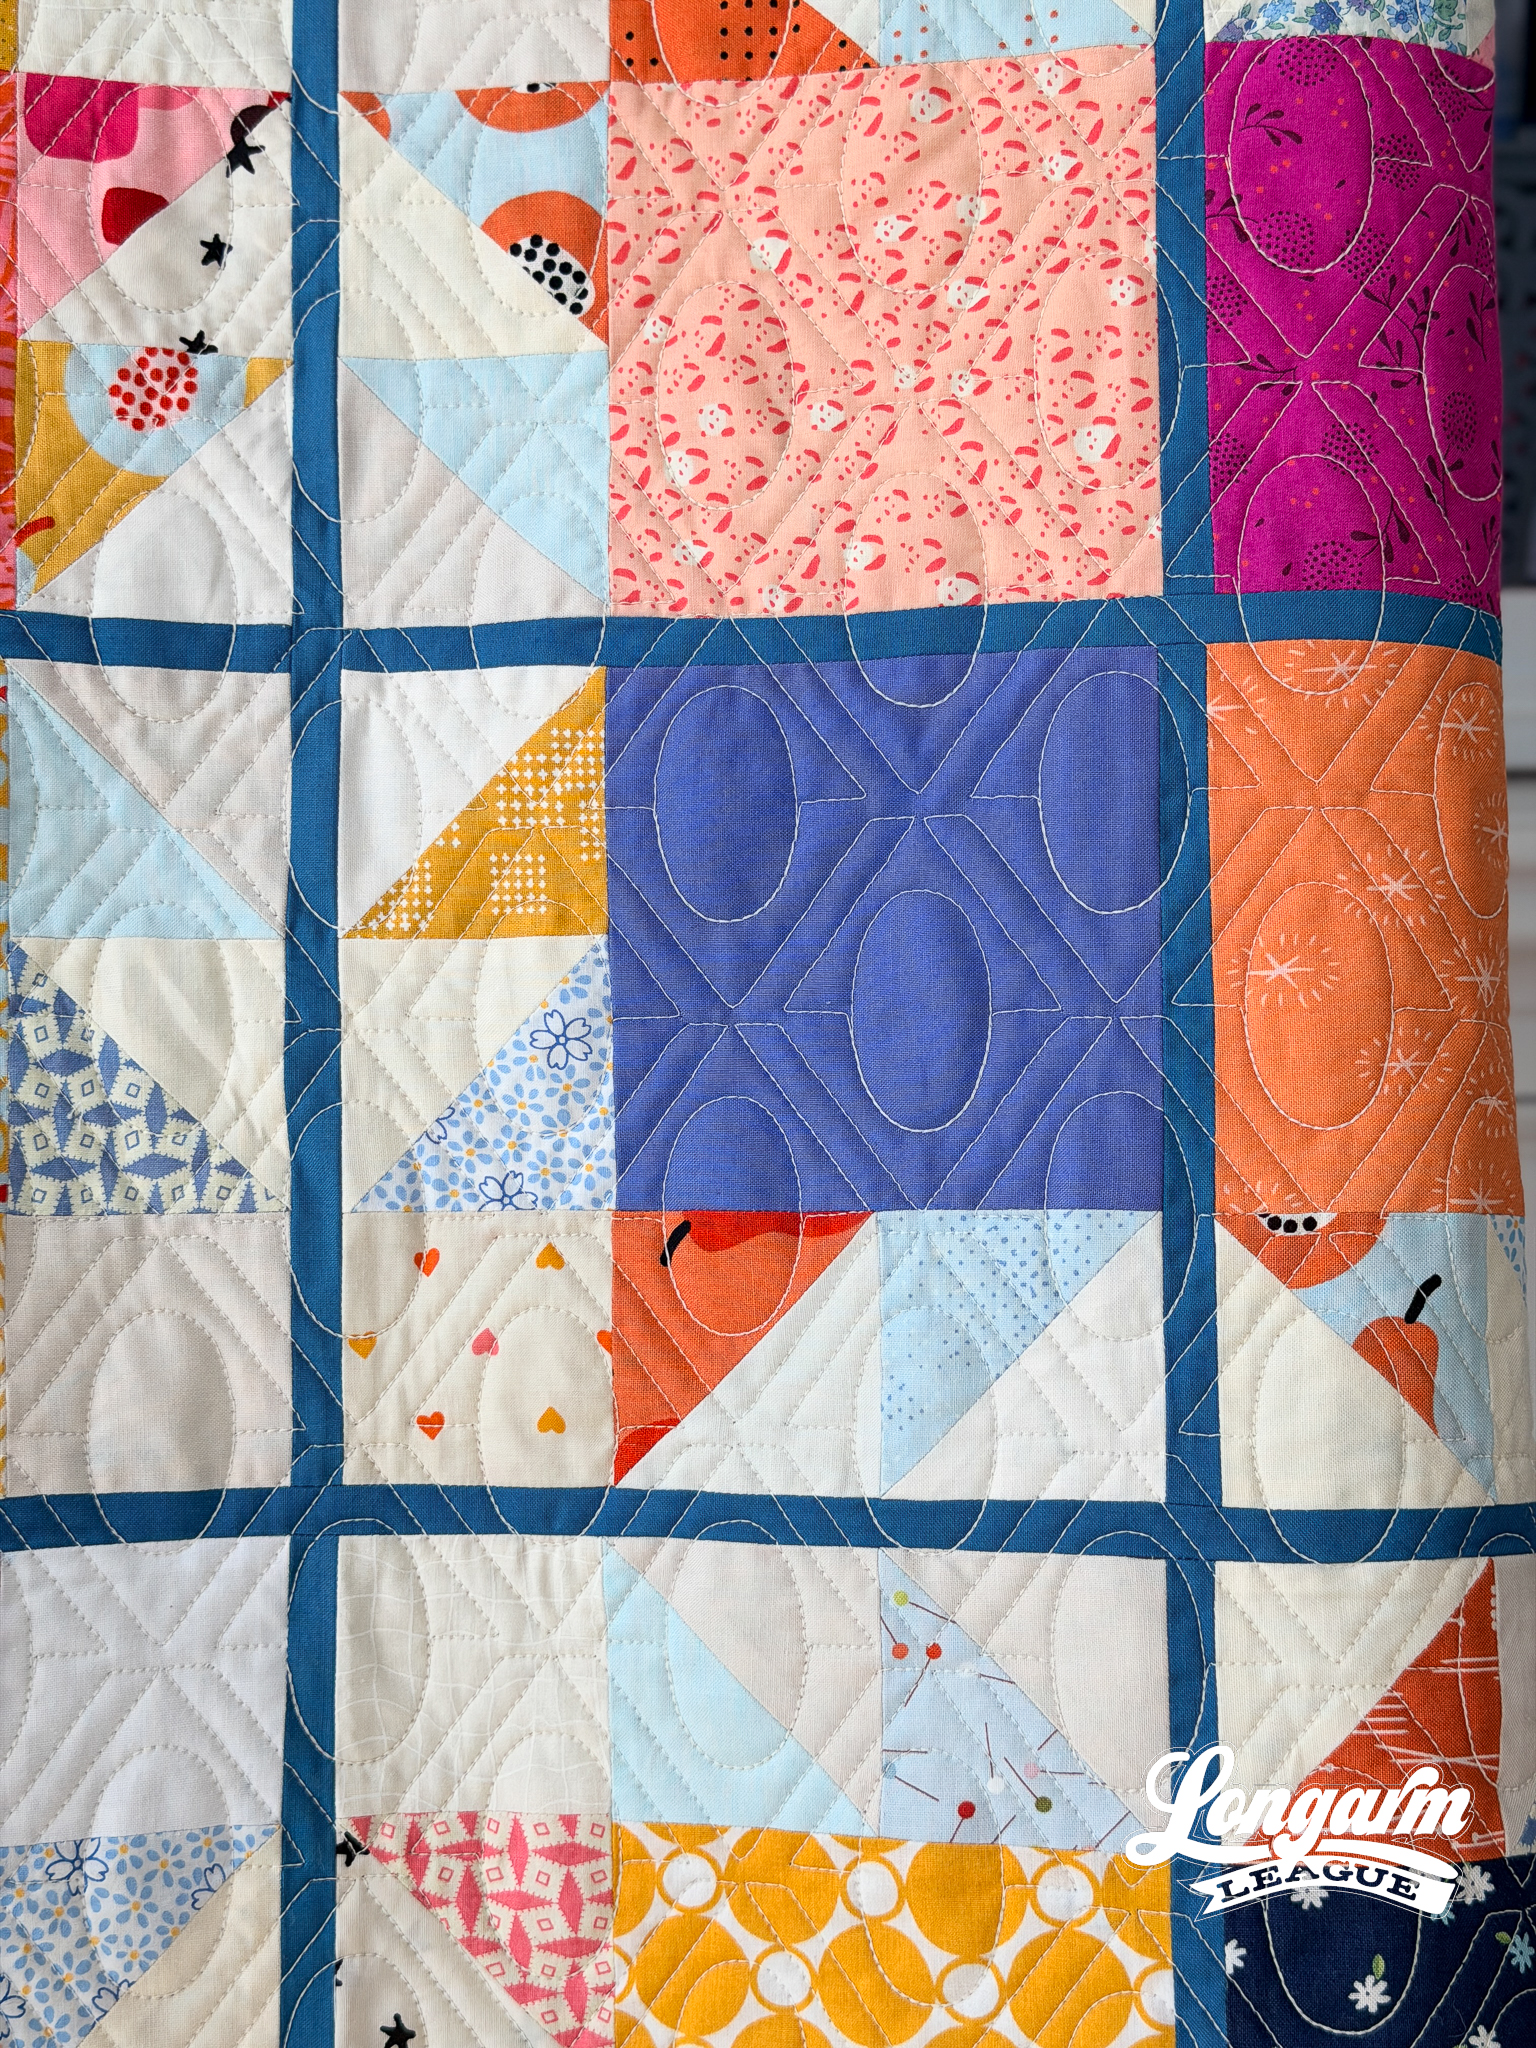
The oval shape reminded me of a mirror. Not a reflection like a mirror creates, but a physical hand-held or larger glass mirror.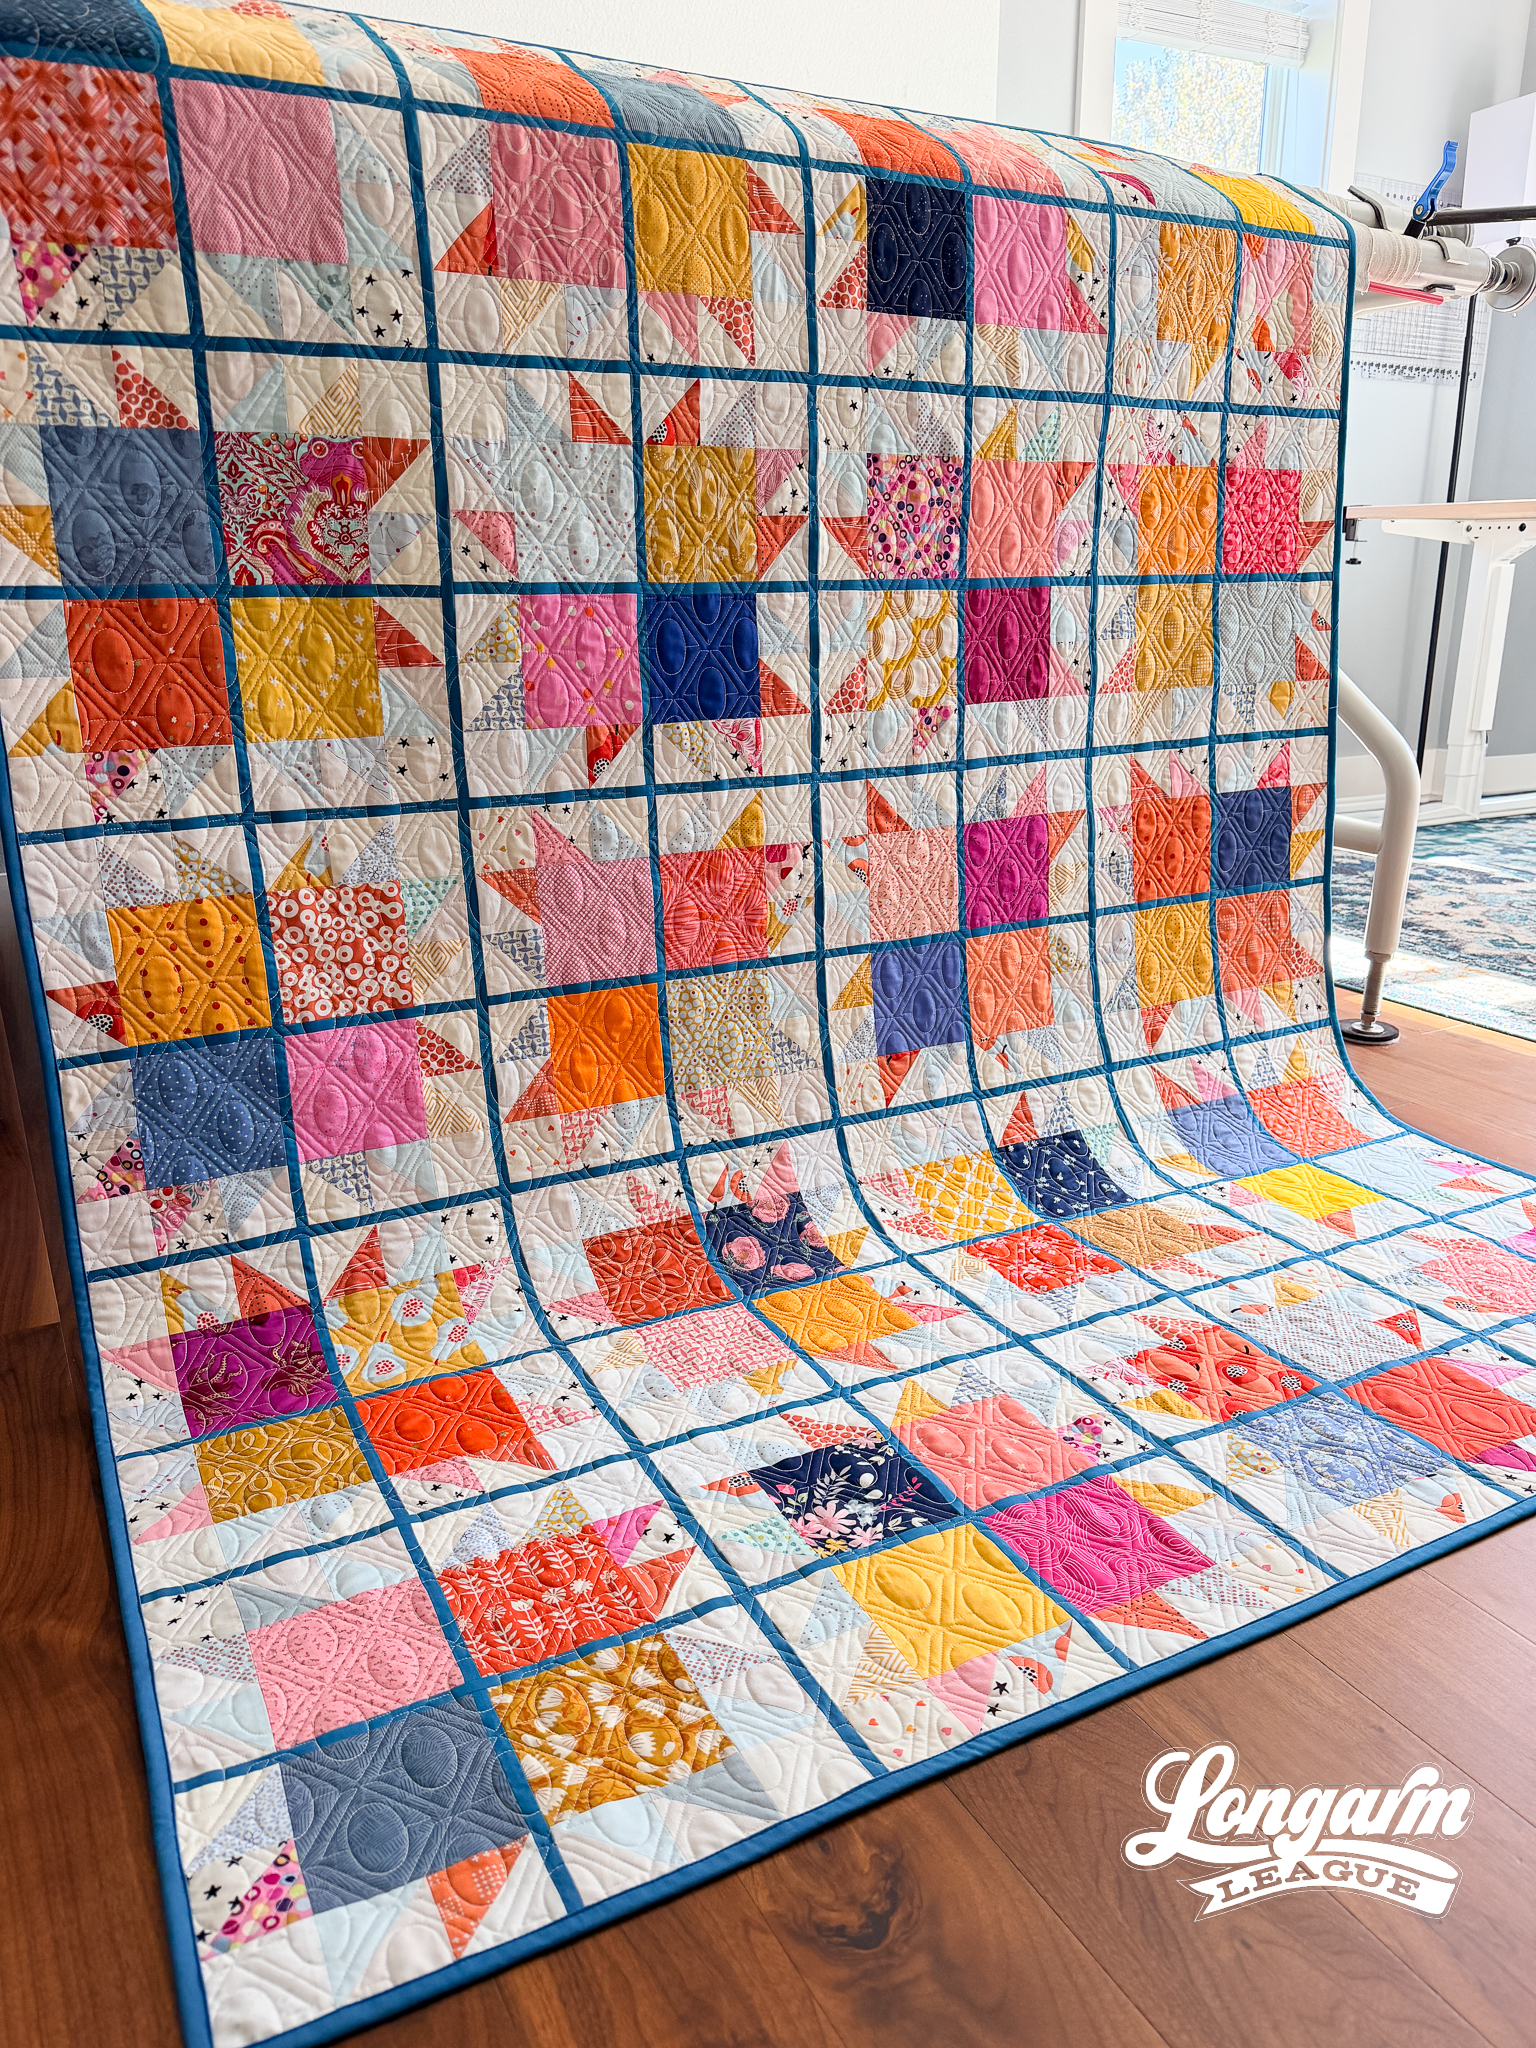
So, that's the backstory of how this design came about. I can't tell you how many times I think a design is going to be one thing, but then it morphs, changes, takes a turn, and looks quite a bit different from the original idea.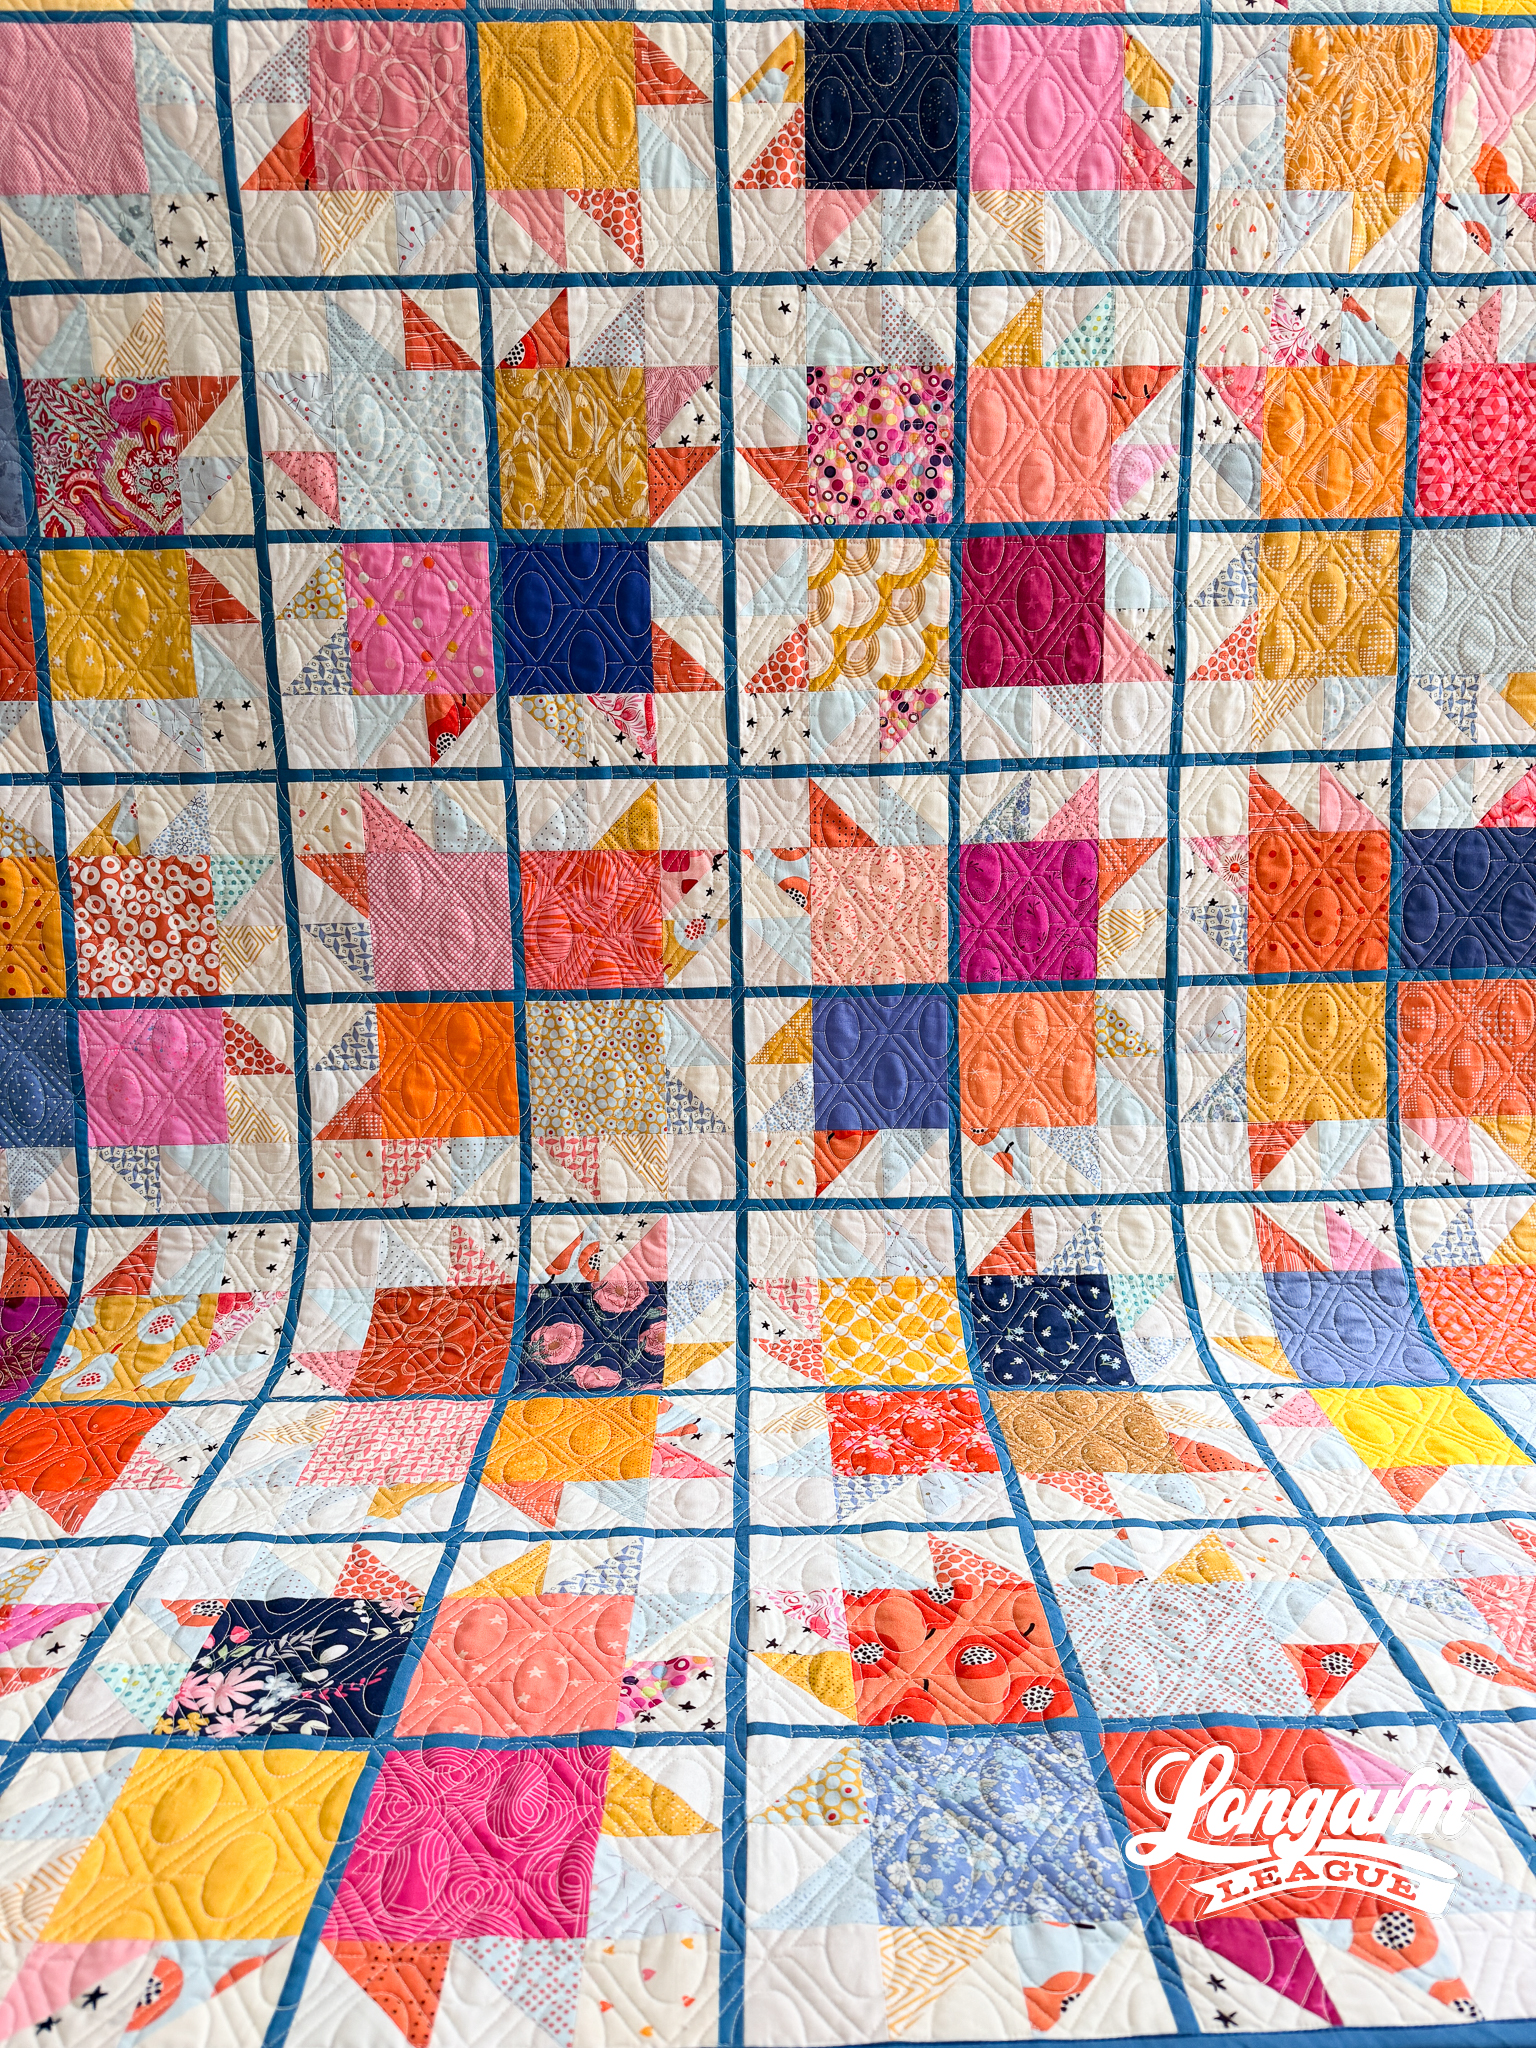
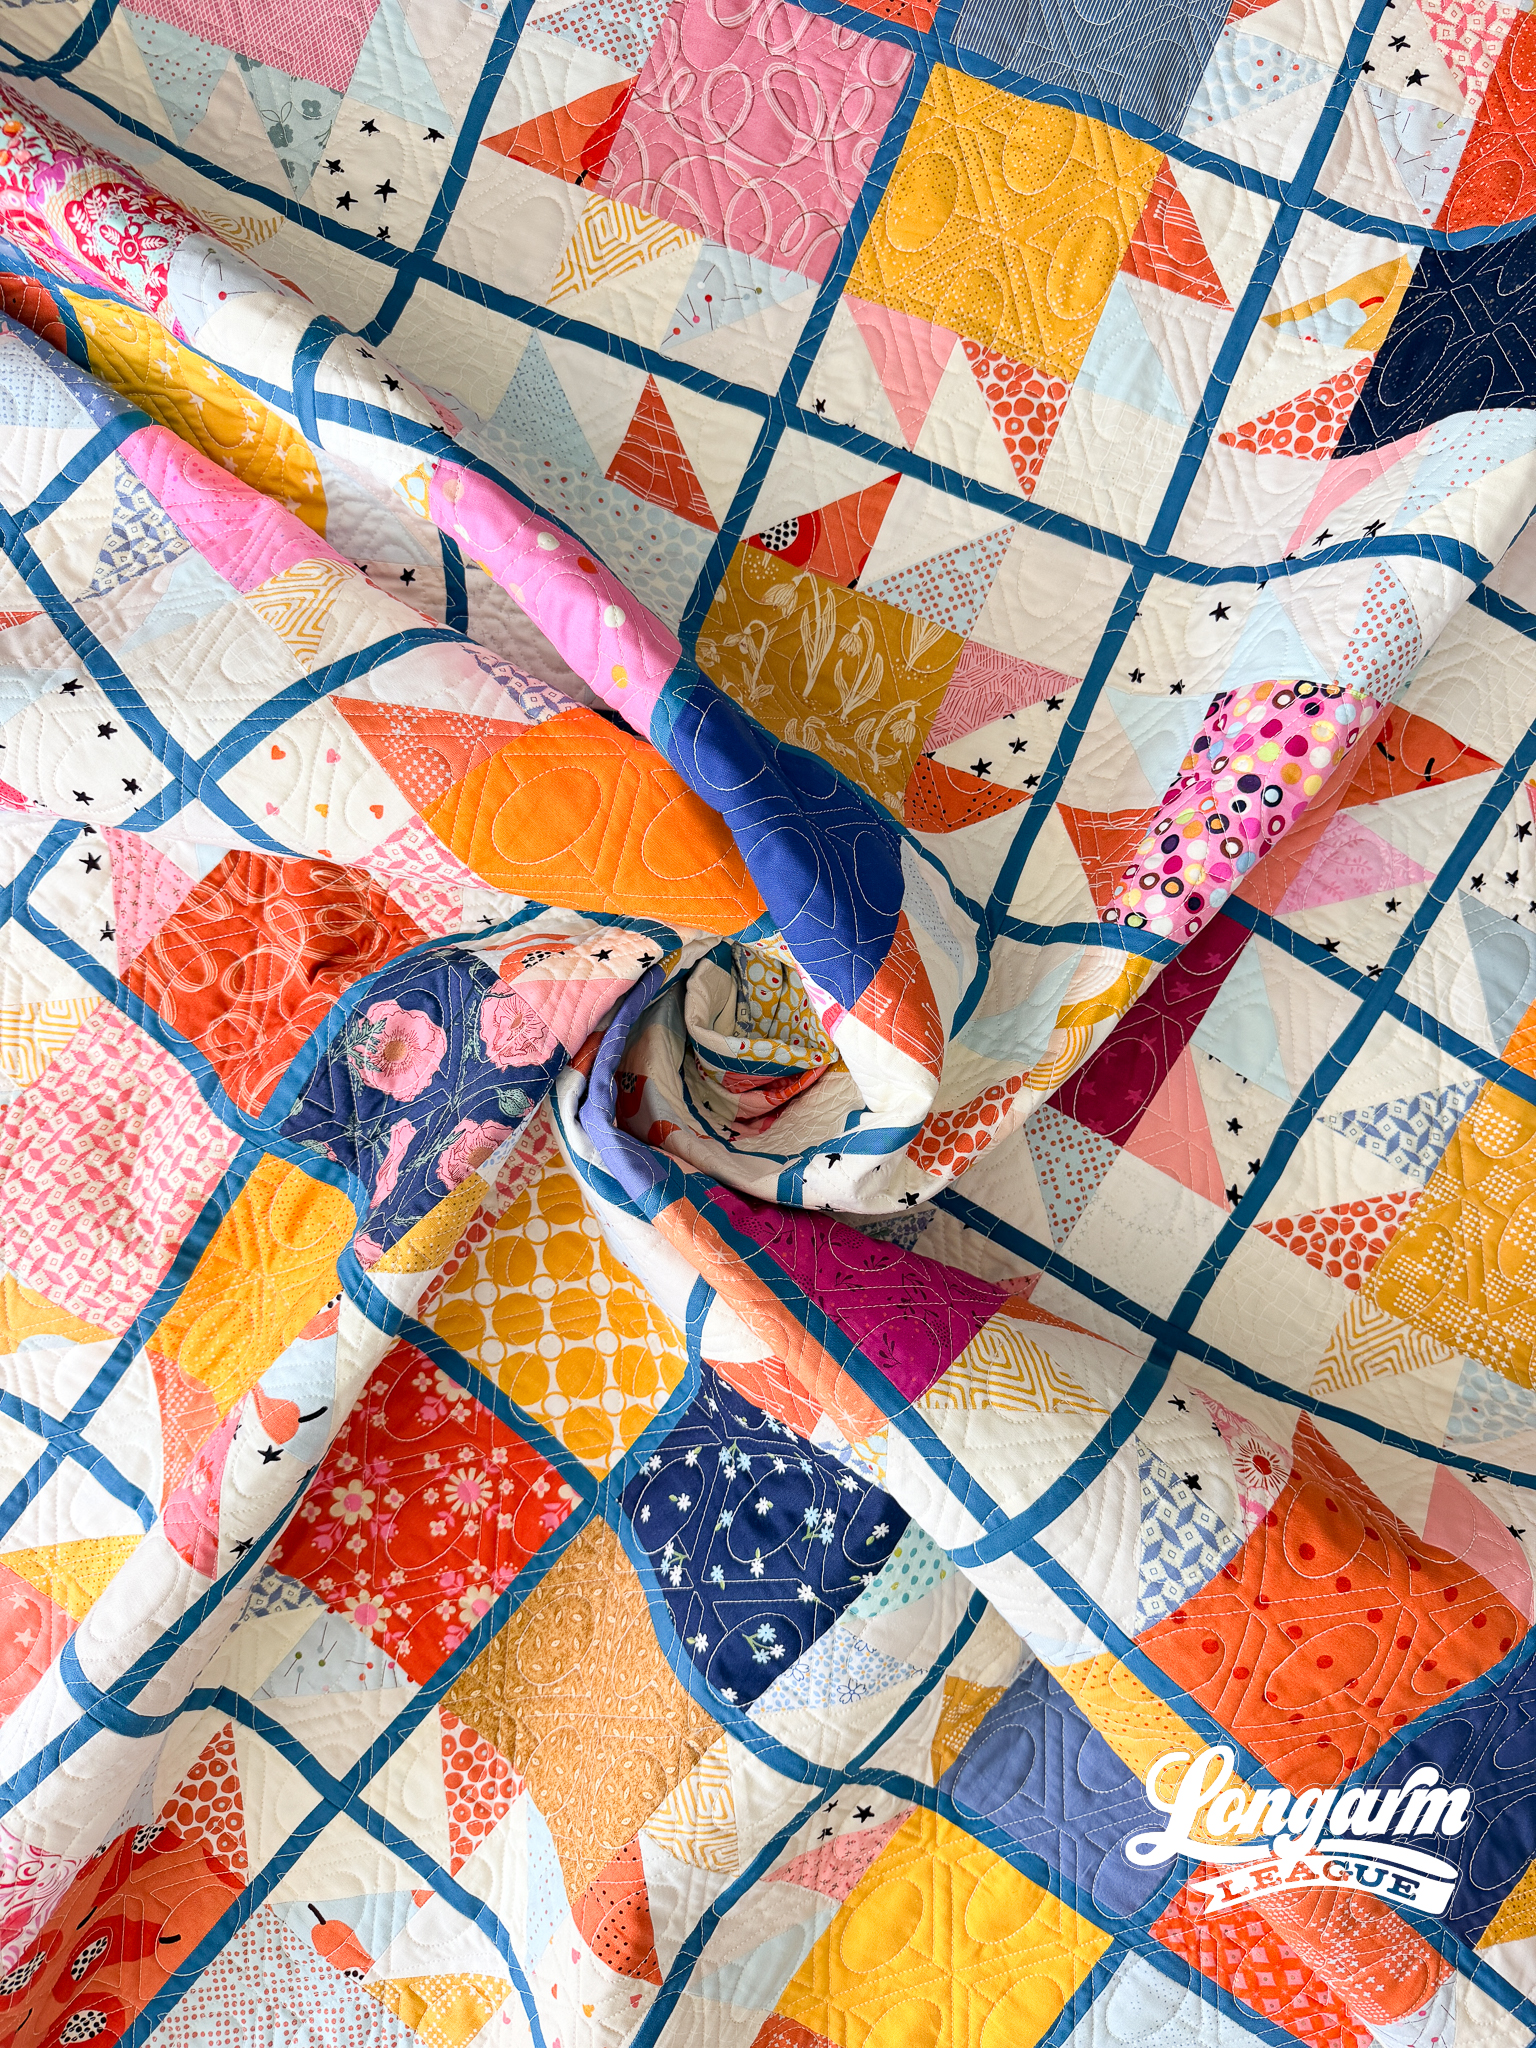
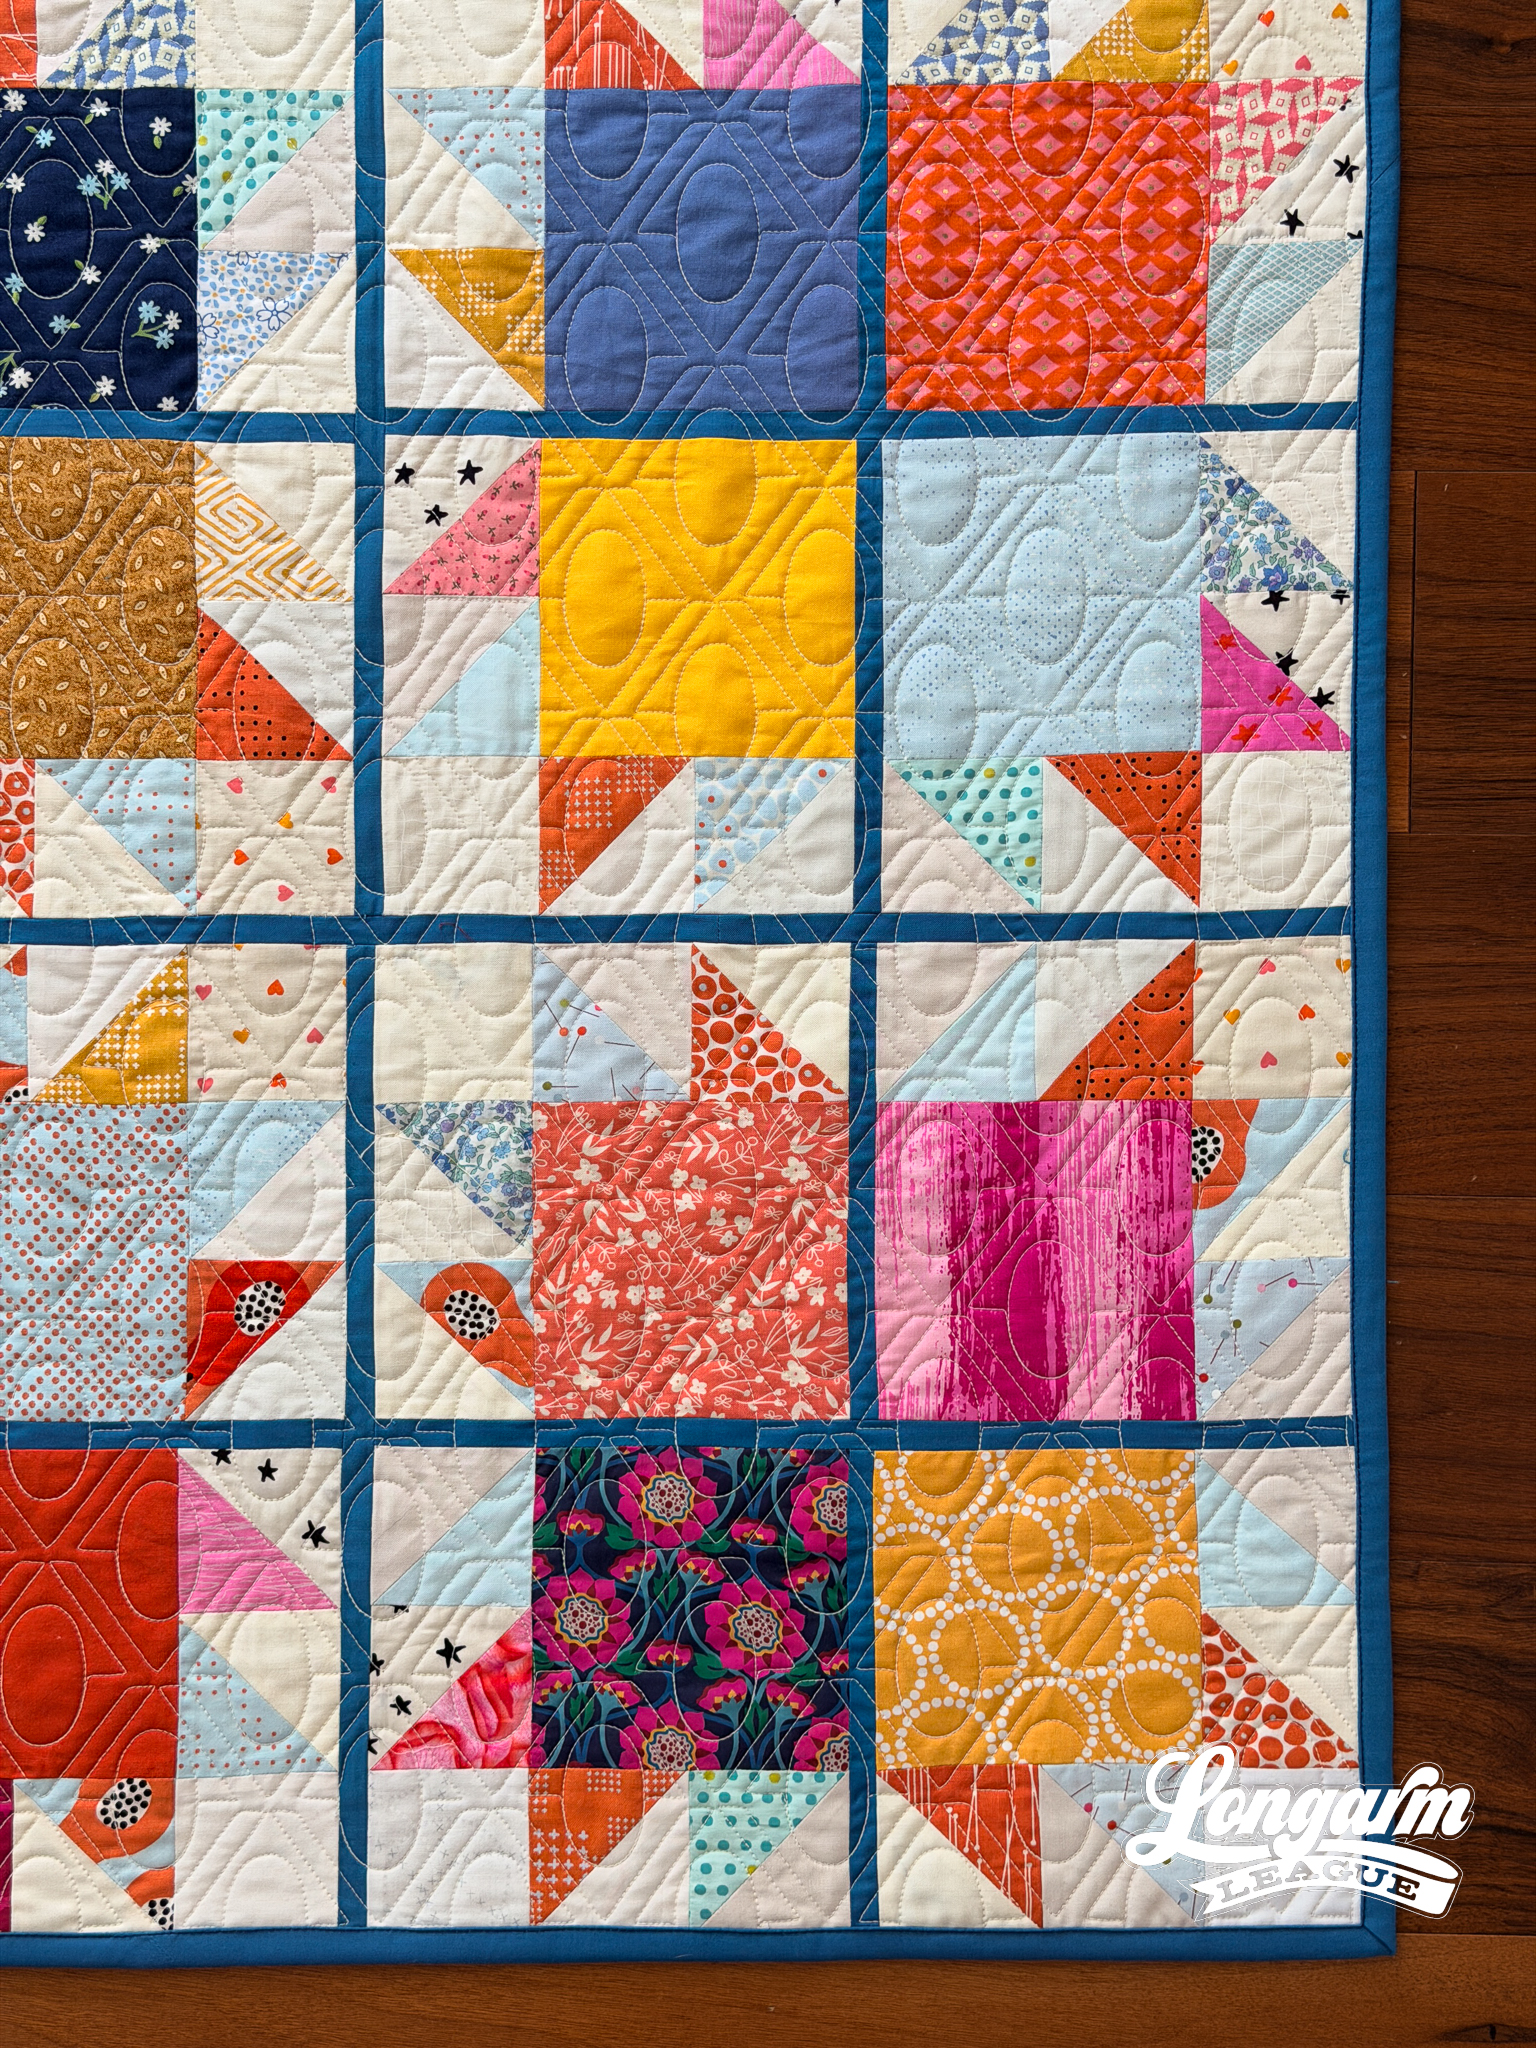
The bottom of the oval shape gets stitched twice, but it's all within a smooth stitch path that doesn't pivot harshly, making the double-stitched lines look very clean.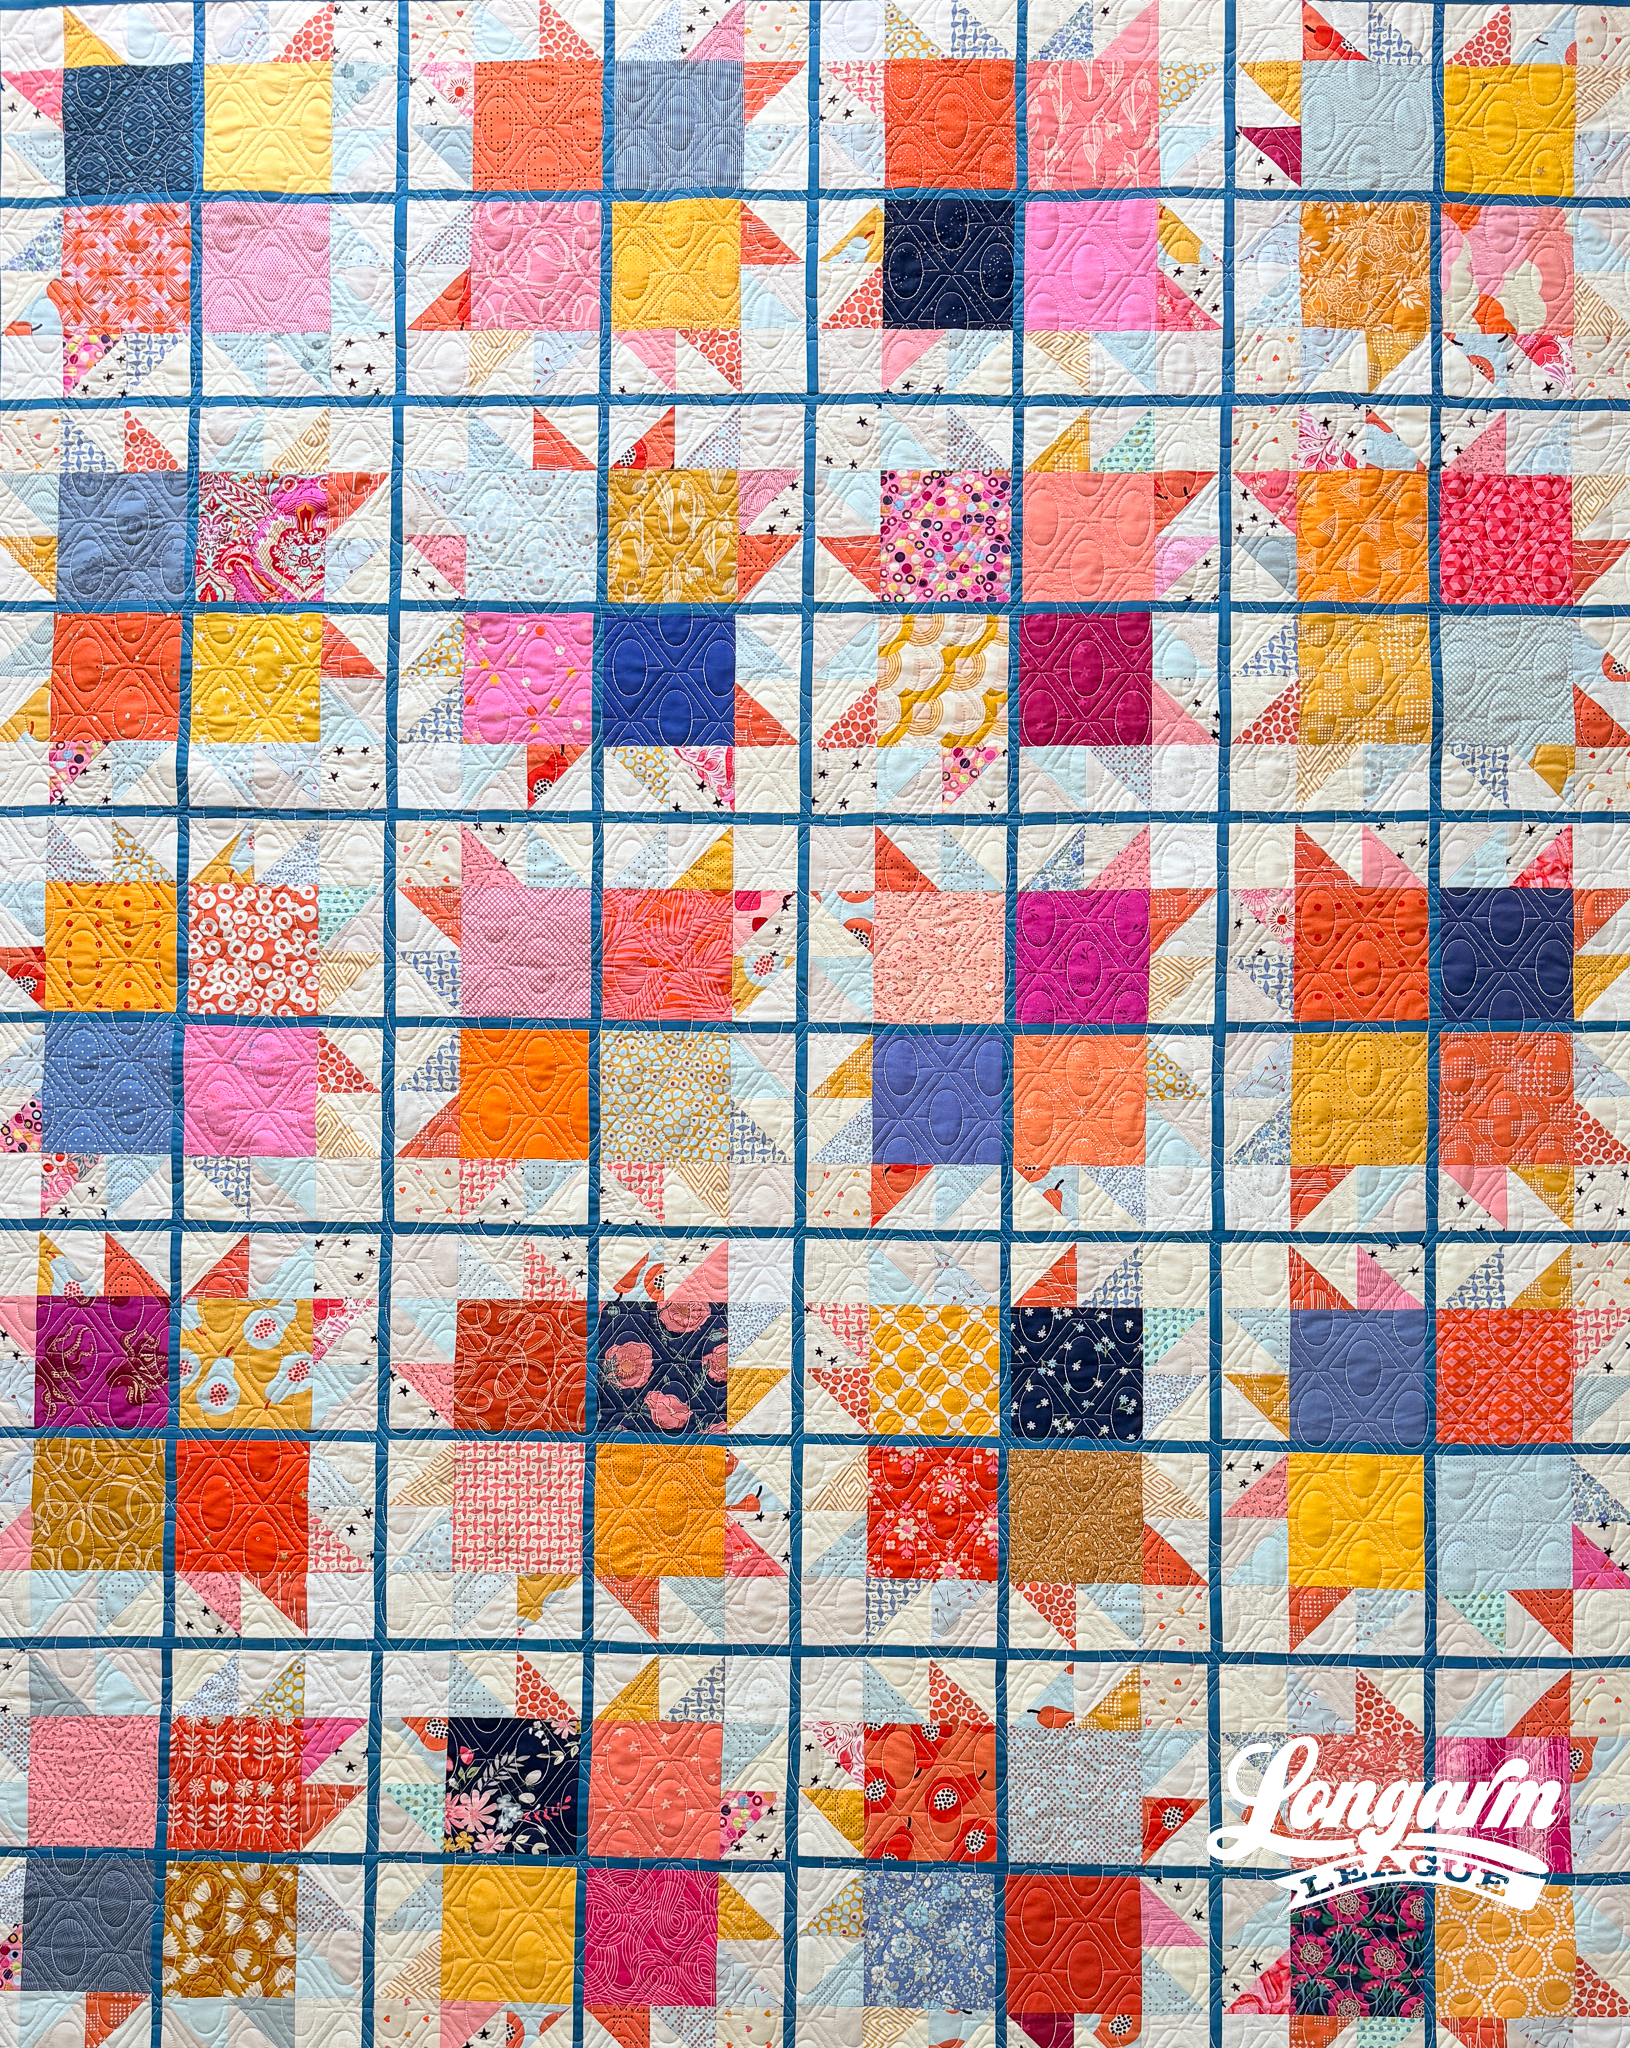
A video at the top of this blog post shows the stitch path. 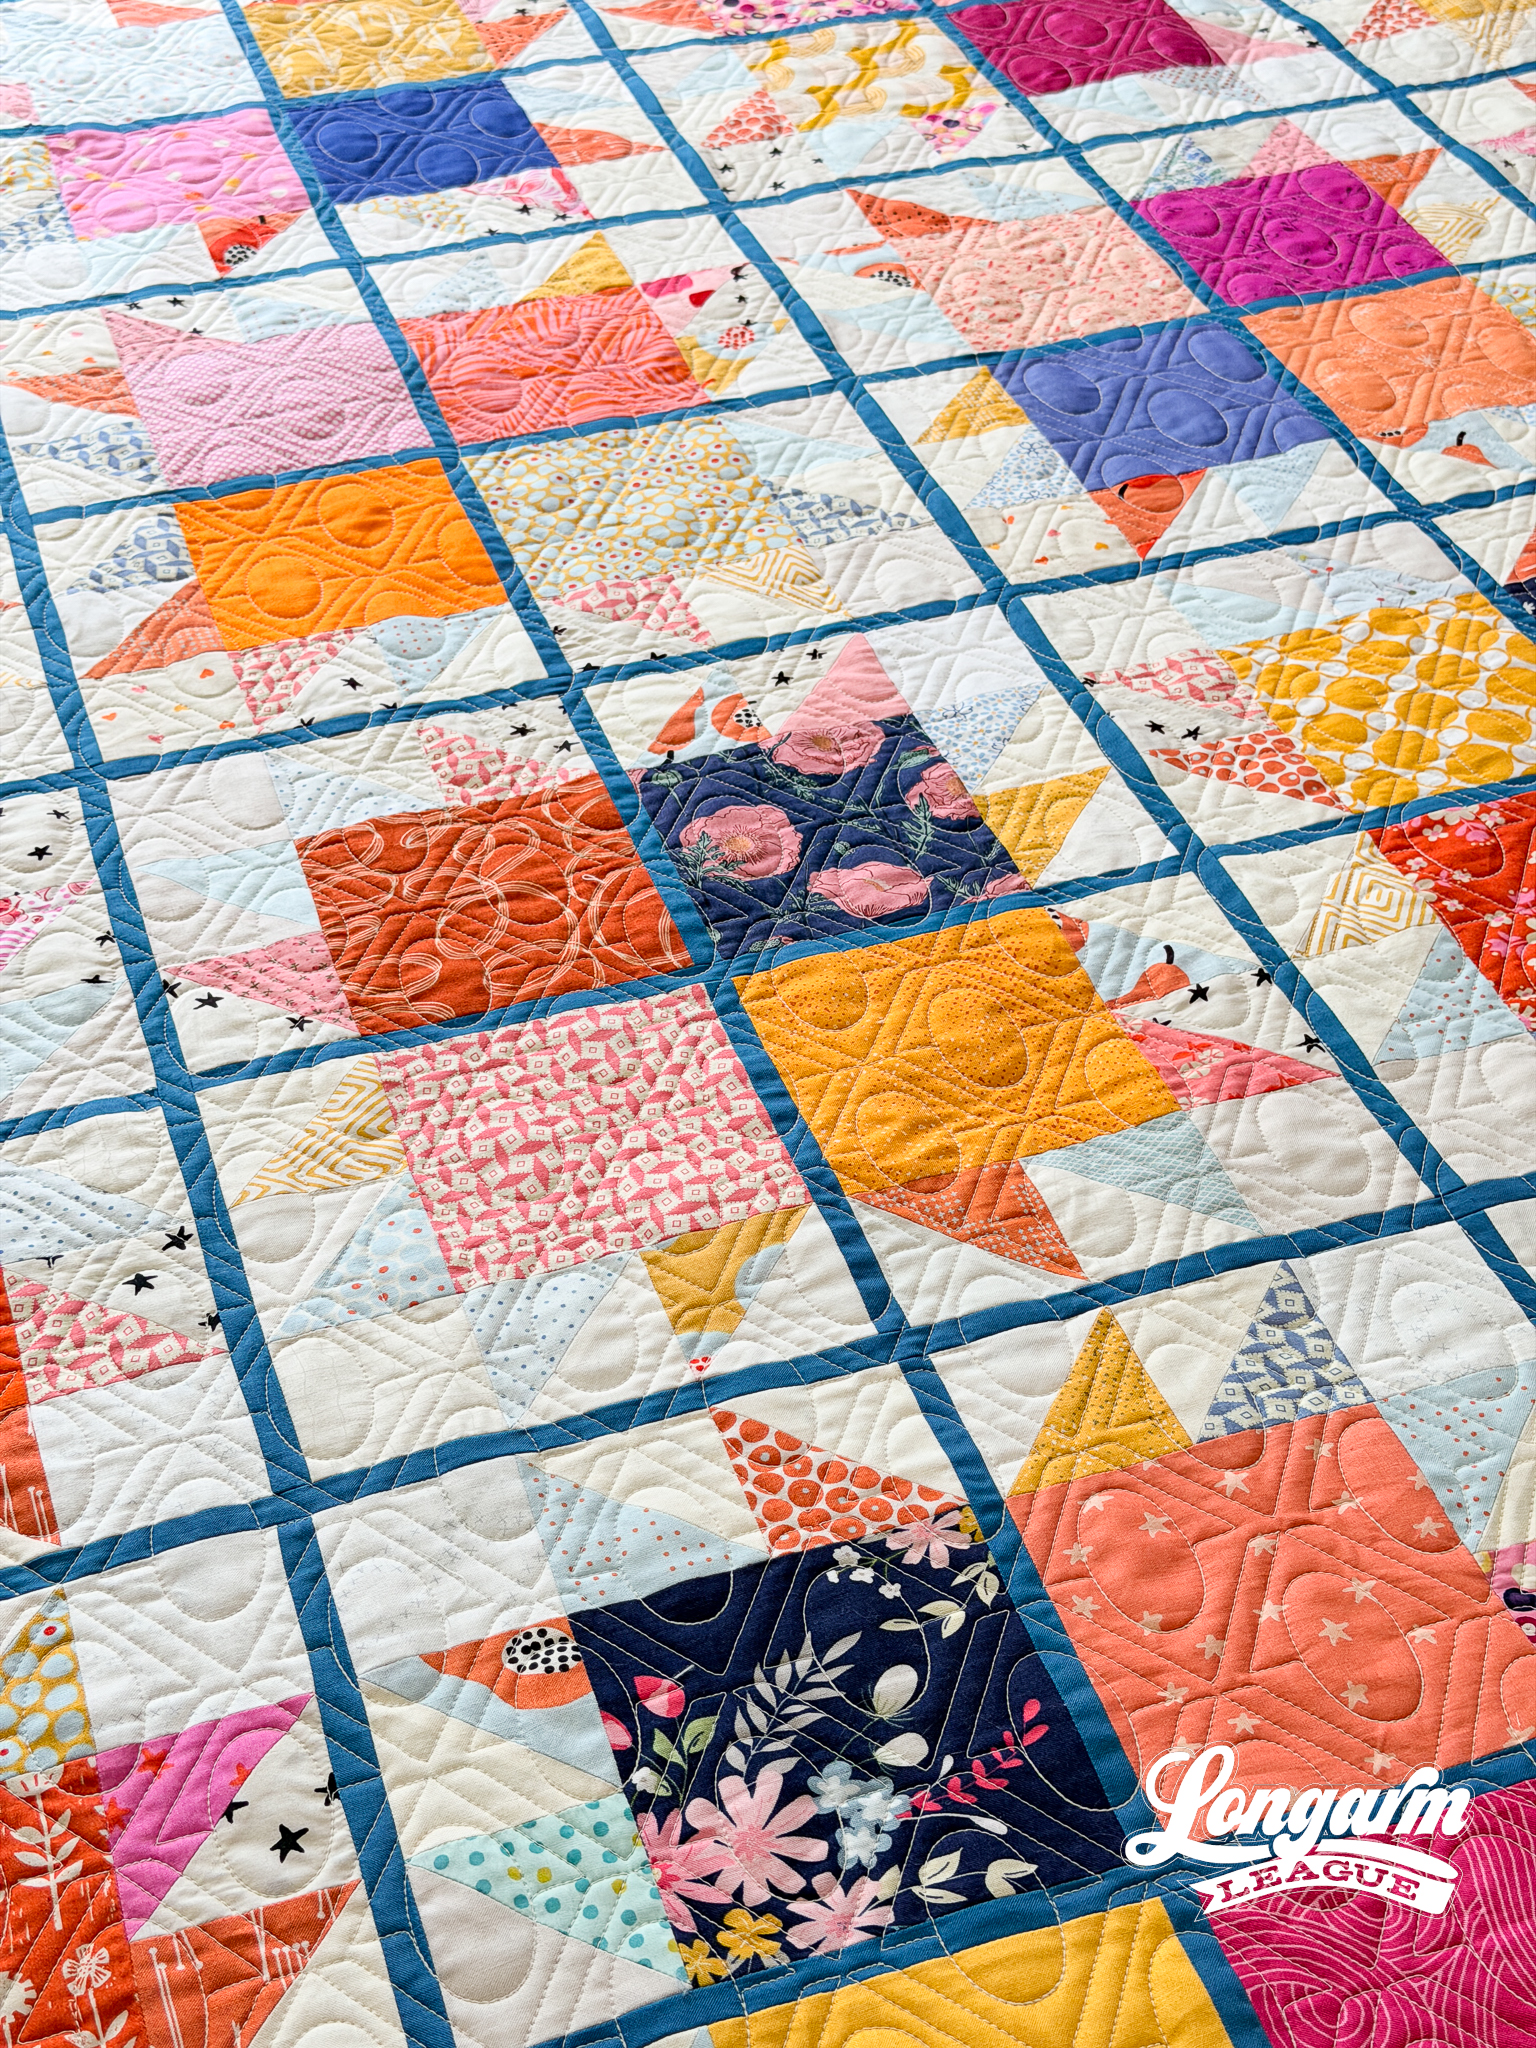
Every other row is offset by 50%, and I built some space between the rows so they don't have to touch. After all, the point of the design was to get a cross-hatched effect without making it hard to align.
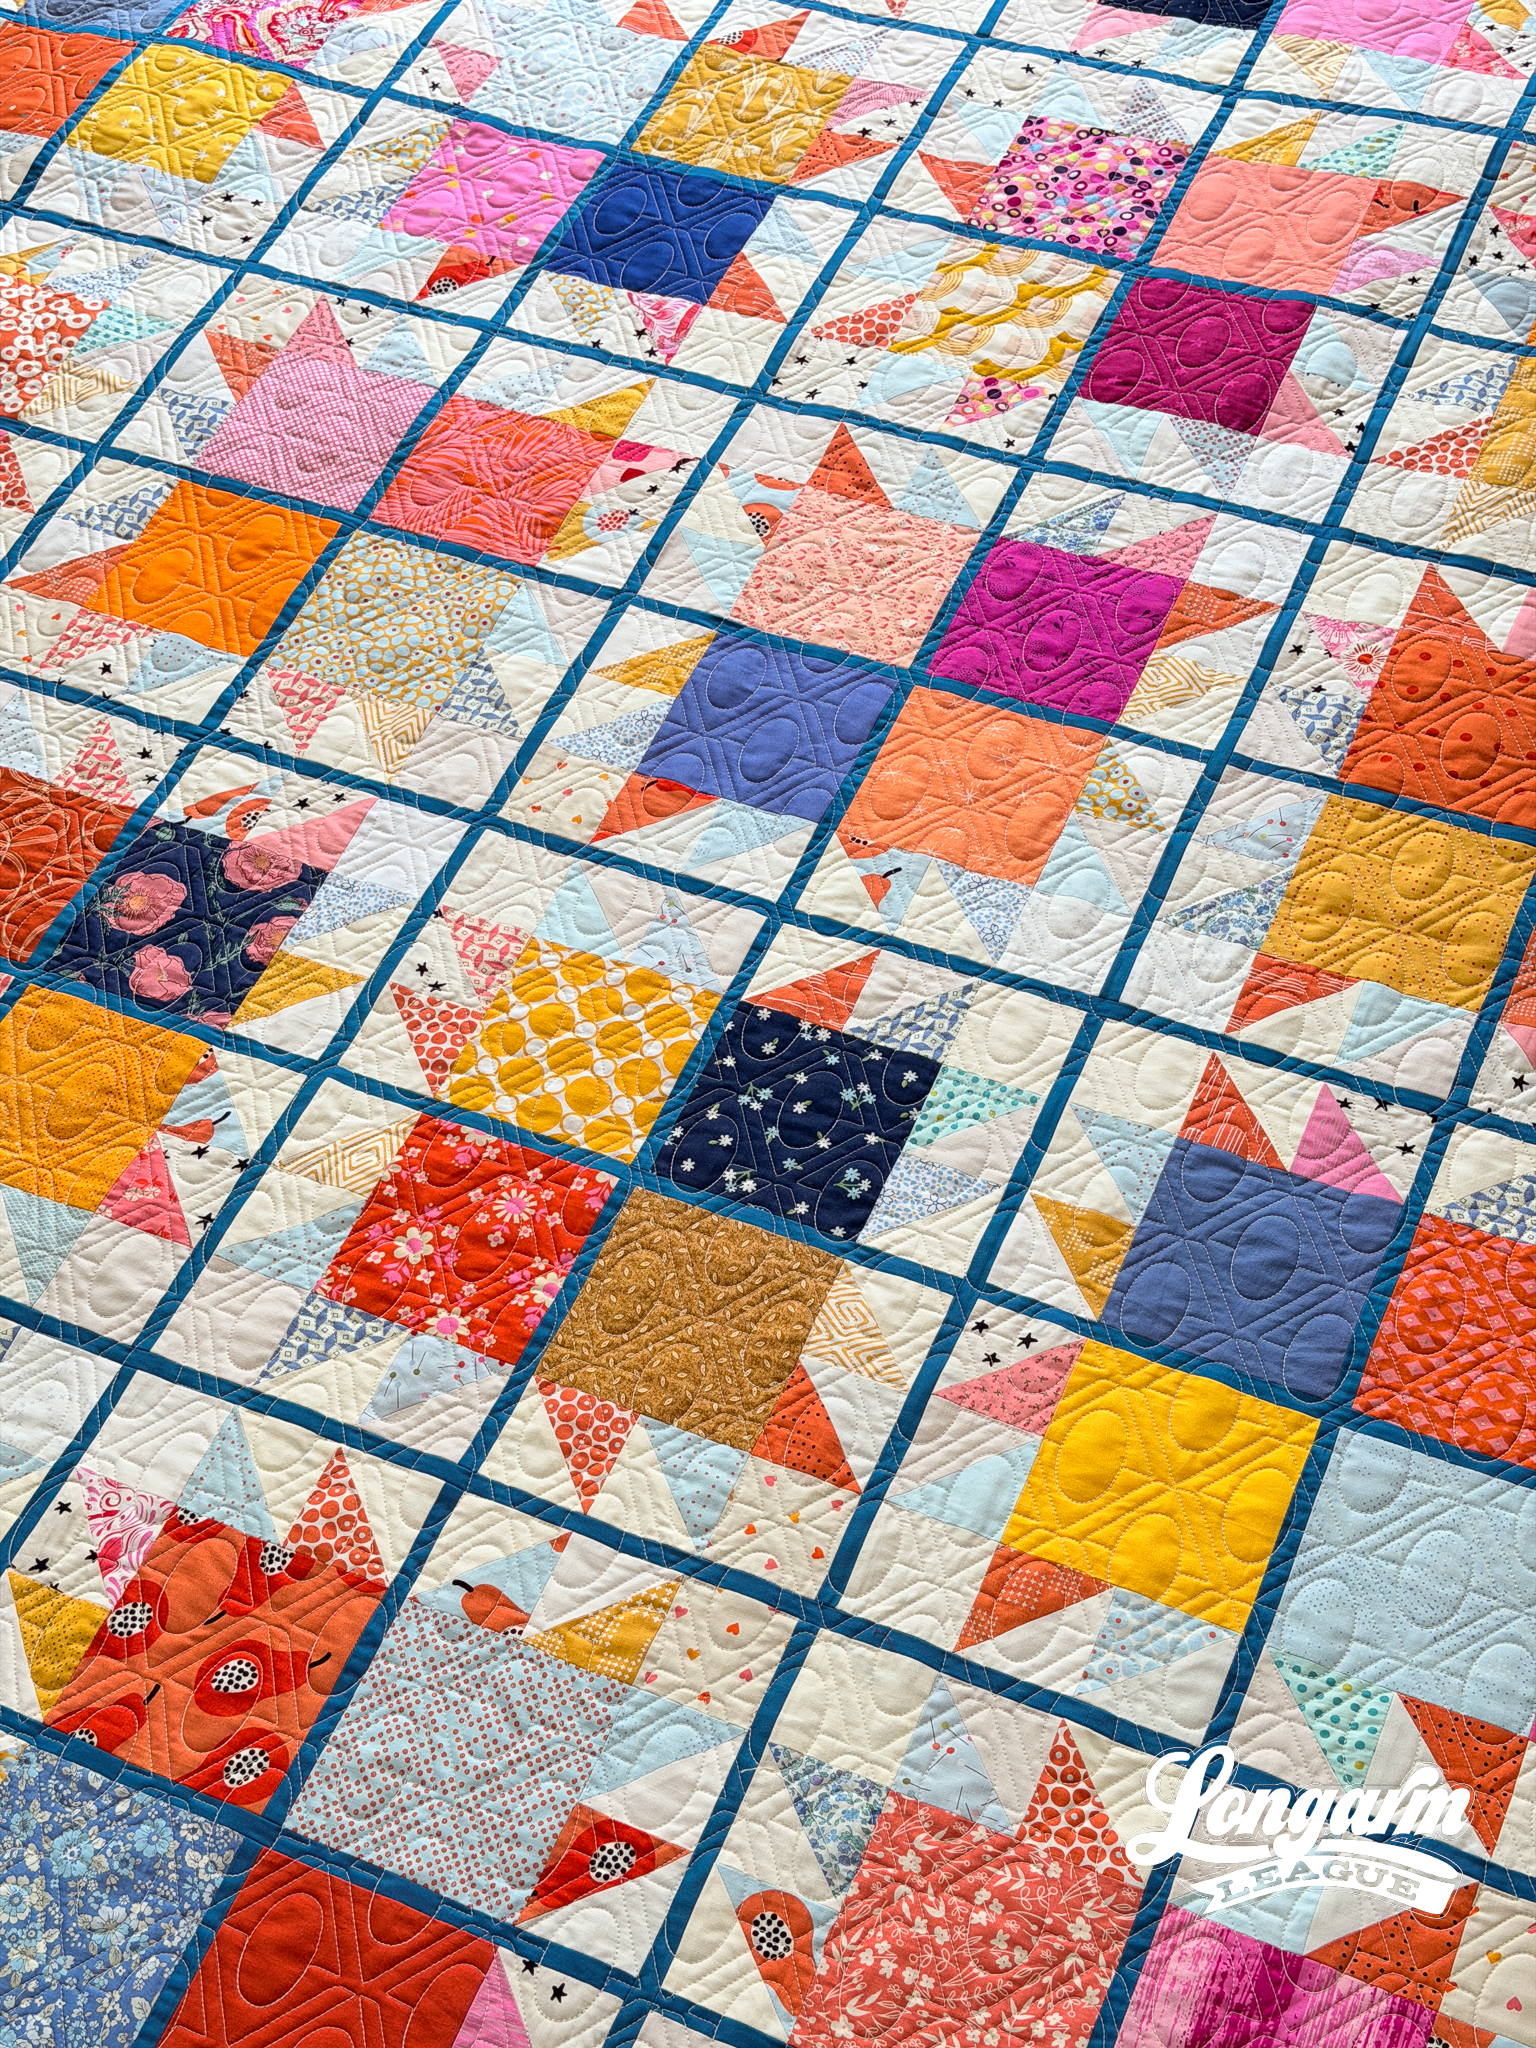
The Quilt
Quilt Pattern
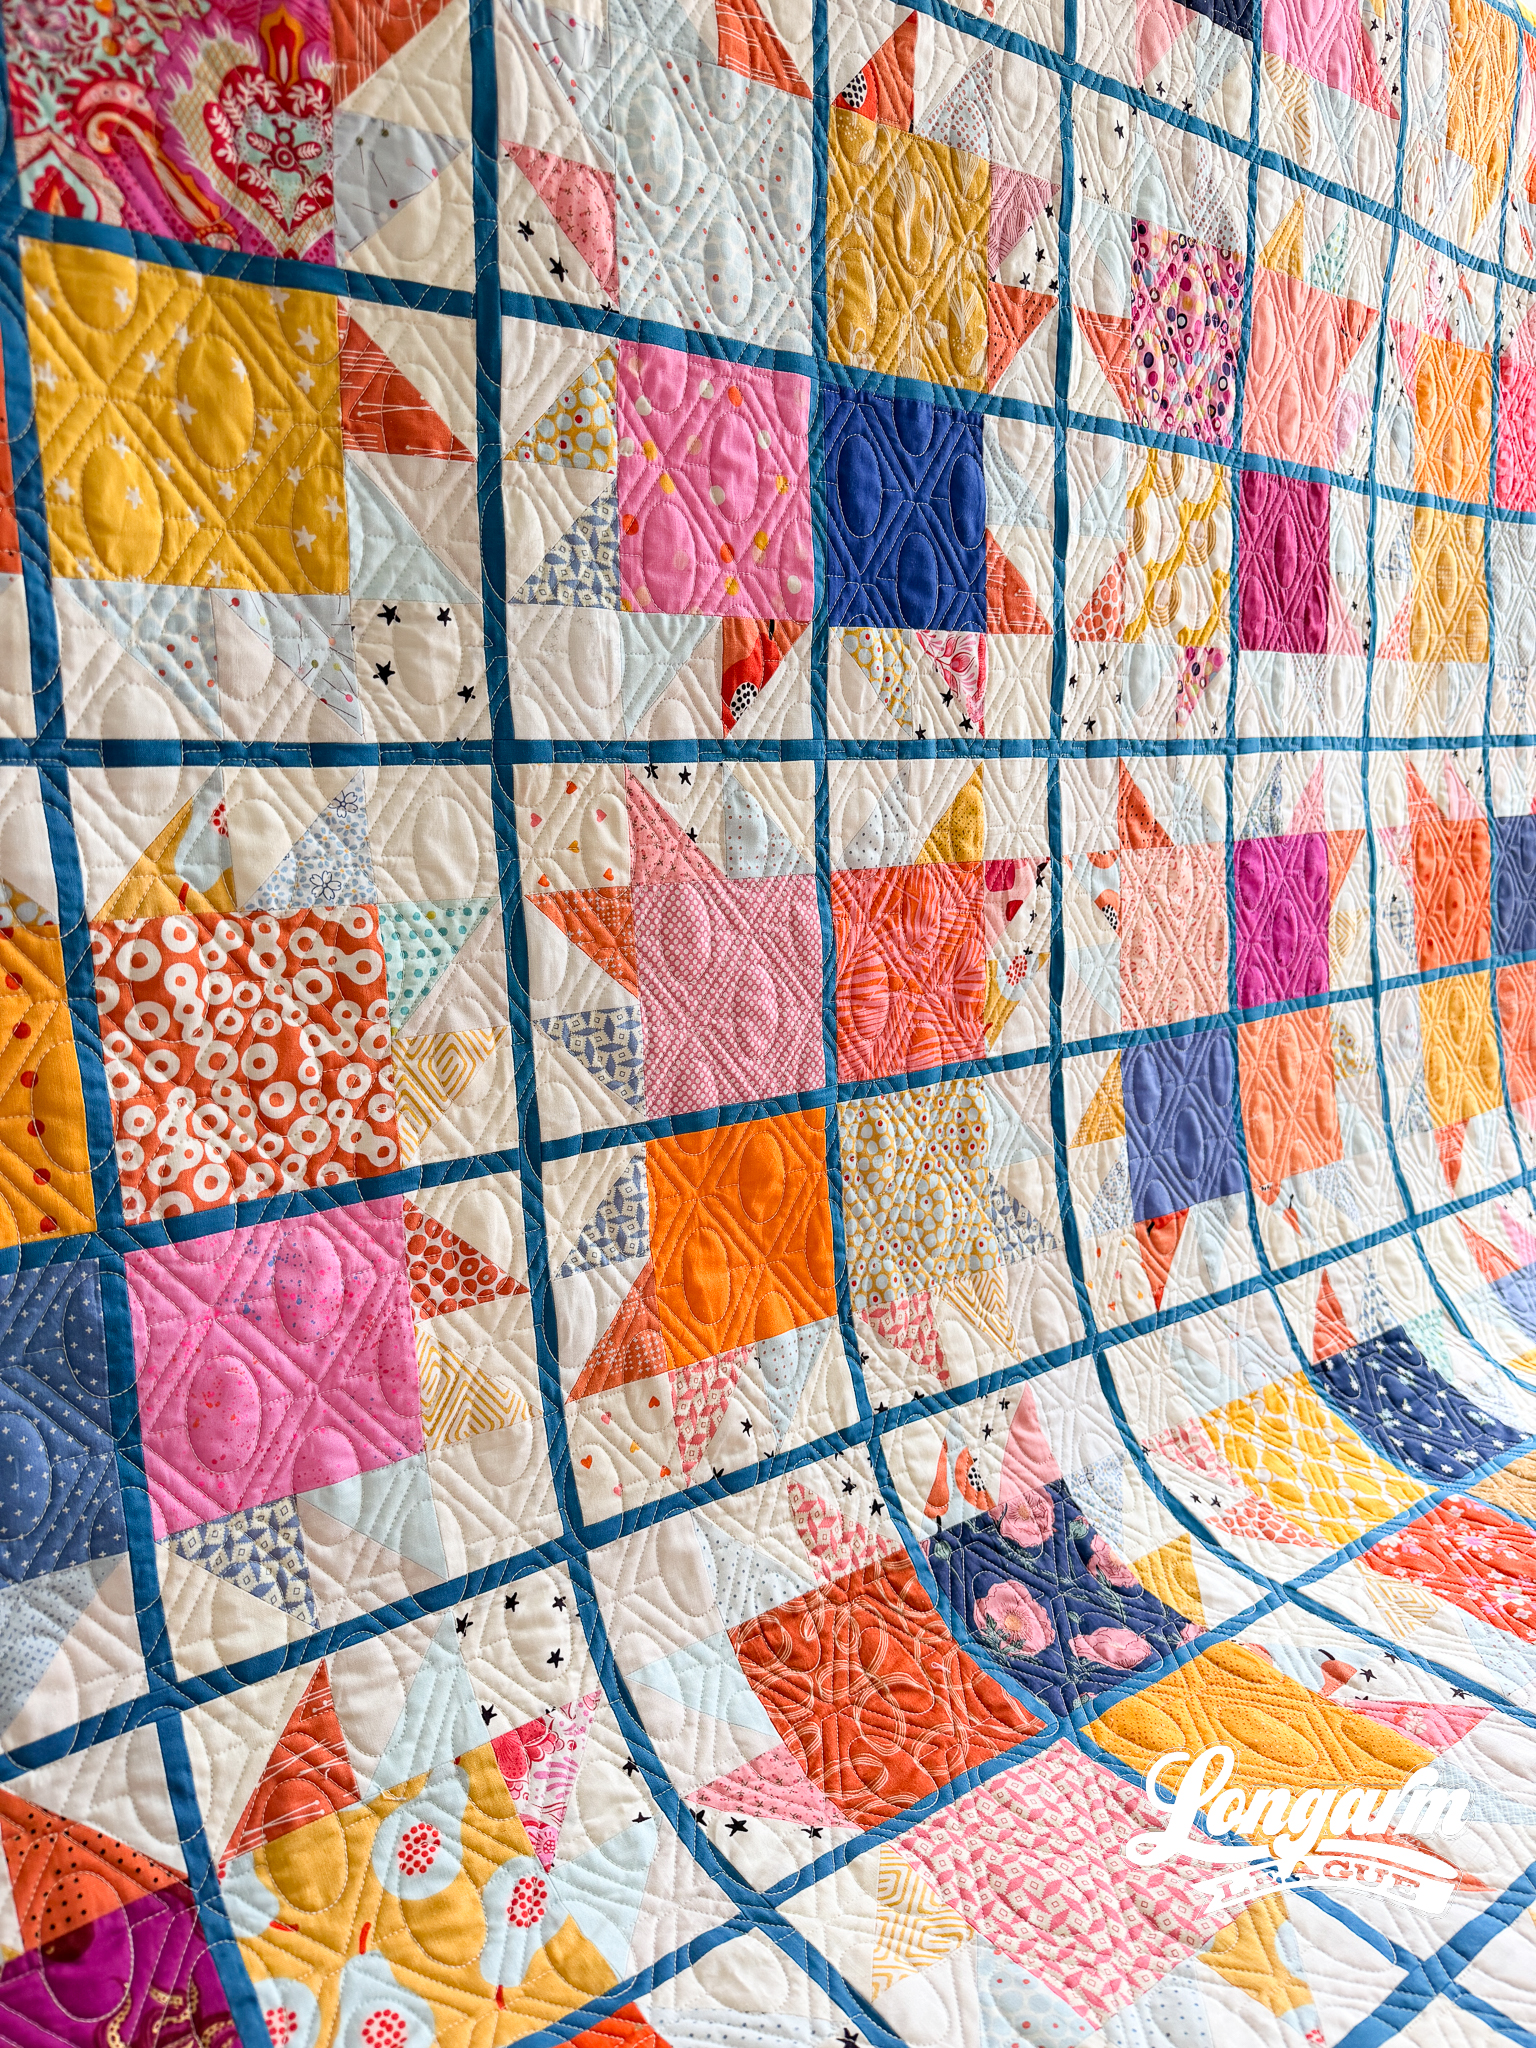
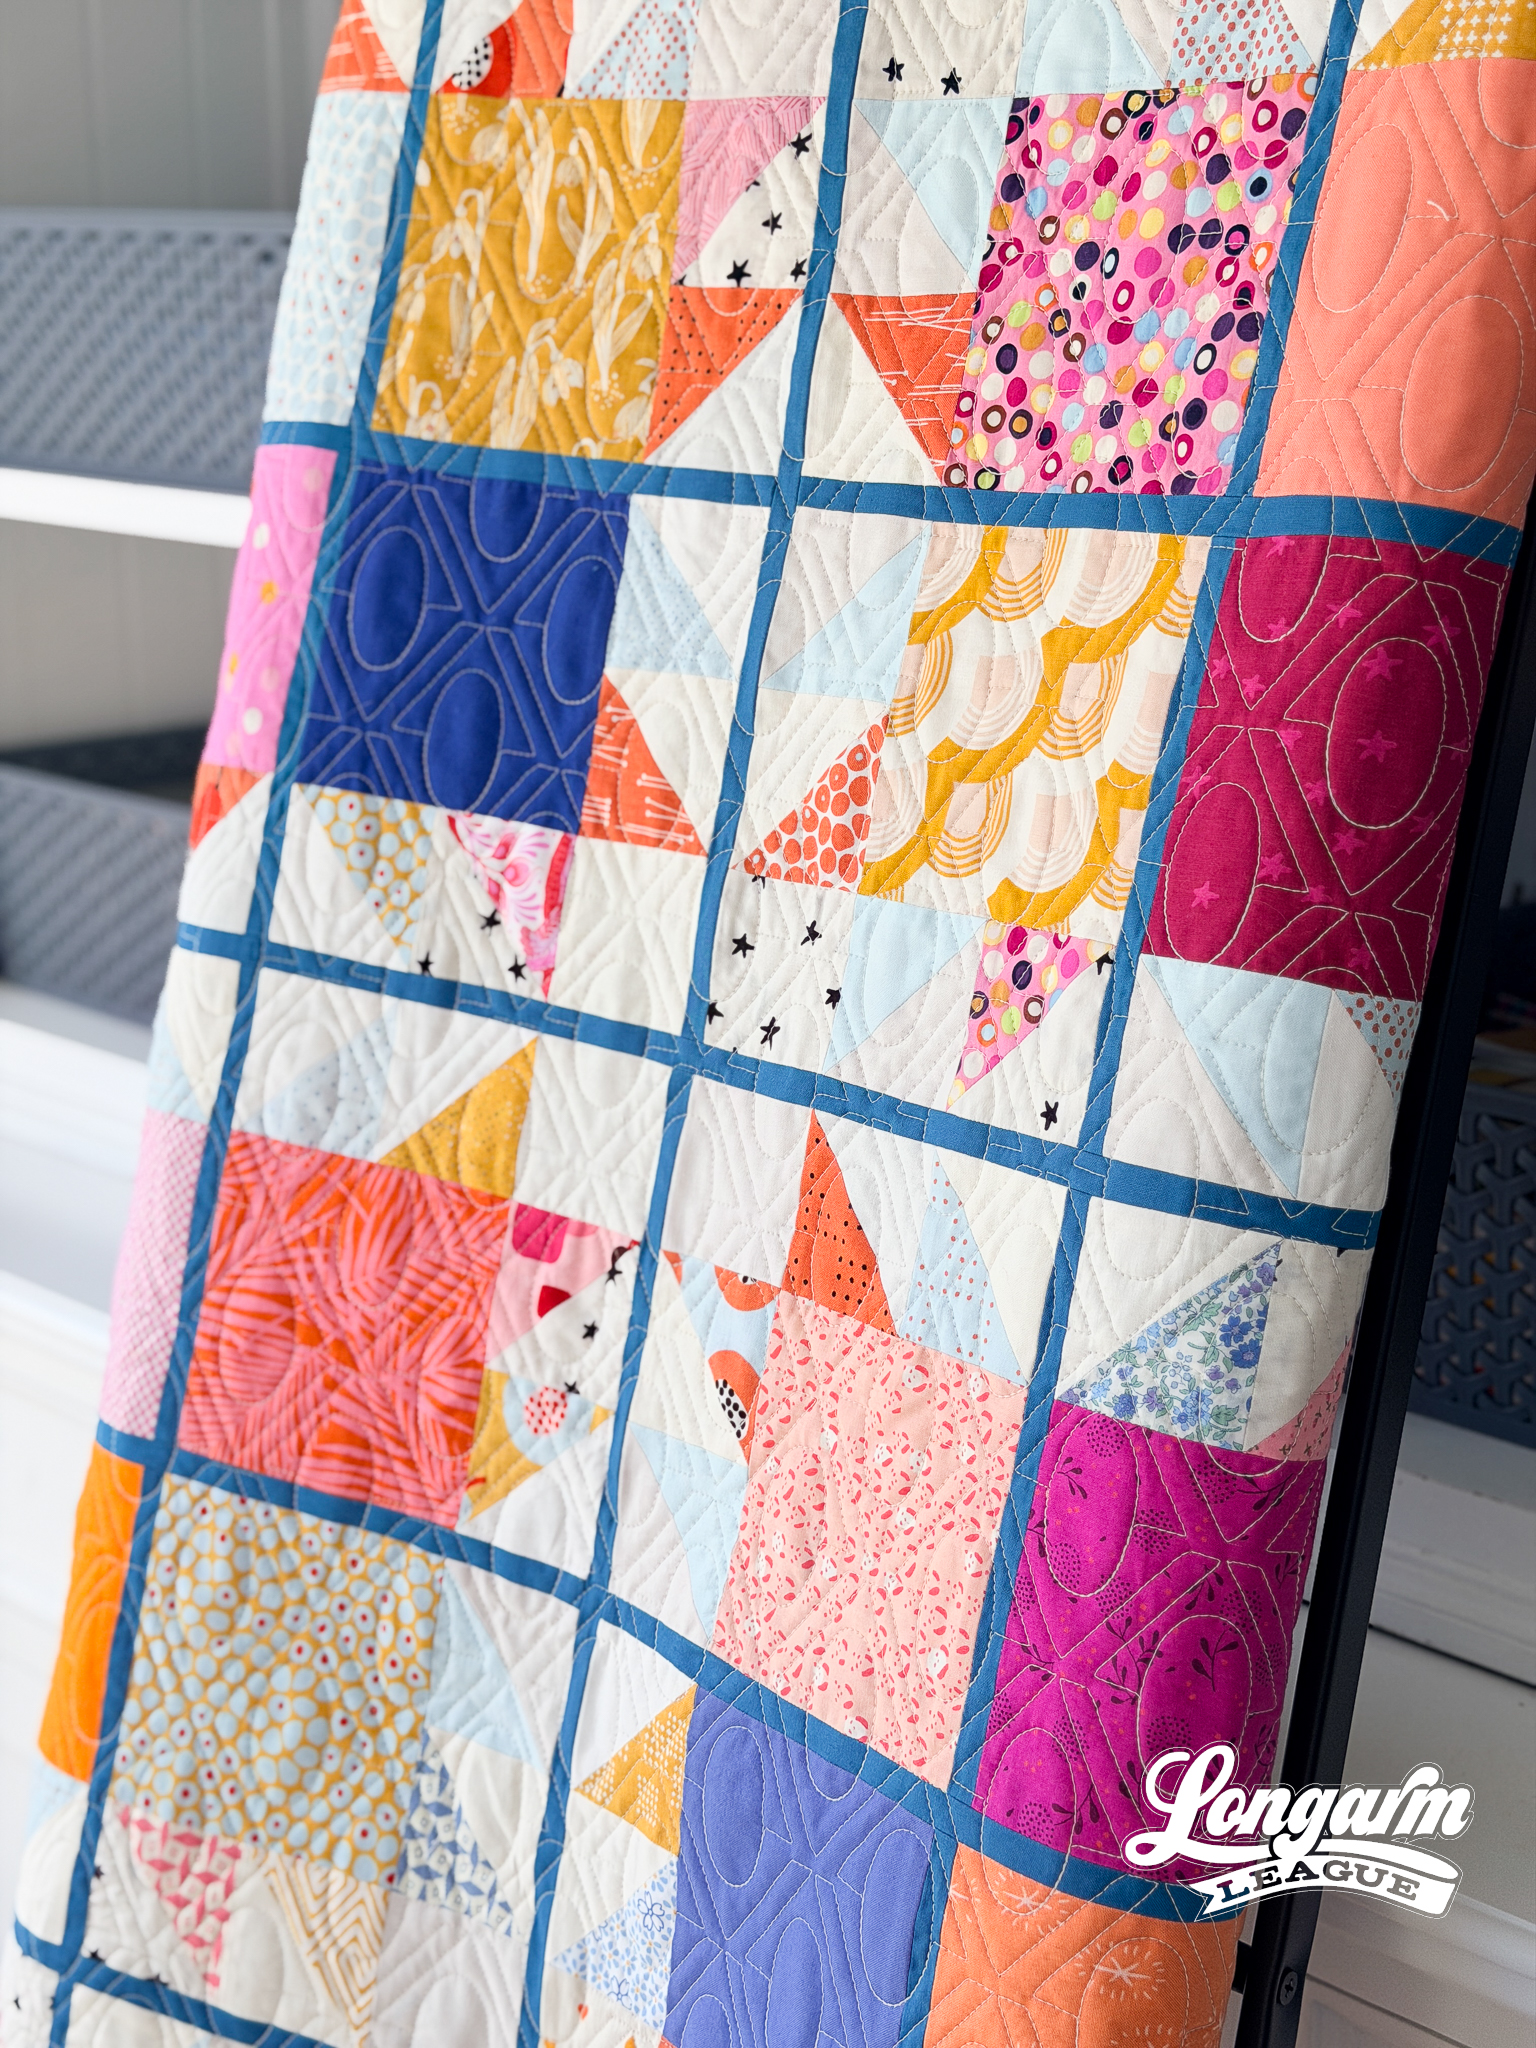
This is the Redford quilt by Then Came June. I was able to download it for free by giving my email address here. The pattern is great! Well-written instructions, fantastic for using scraps. I chose to make mine smaller, so I left off a column, making it narrower than the pattern shows.
Mini Simple Folded Corners Ruler
What made me really eager to tackle this quilt is that I had so many "leftover" half-square triangle units cut, and most of them already sewn. This is a huge reason why I love my Simple Folded Corners ruler from Doug Leko so much. You use a bit more fabric up front, but then you get bonus units to reuse later. I only have the mini version of the ruler, and still my discarded triangles are big enough for bonus HSTs. I try to seam the "discards" together while they are still paired after cutting. Then I put them in project bags to use later.
You can see in the photo below that some of the resulting HSTs are big, and some are small.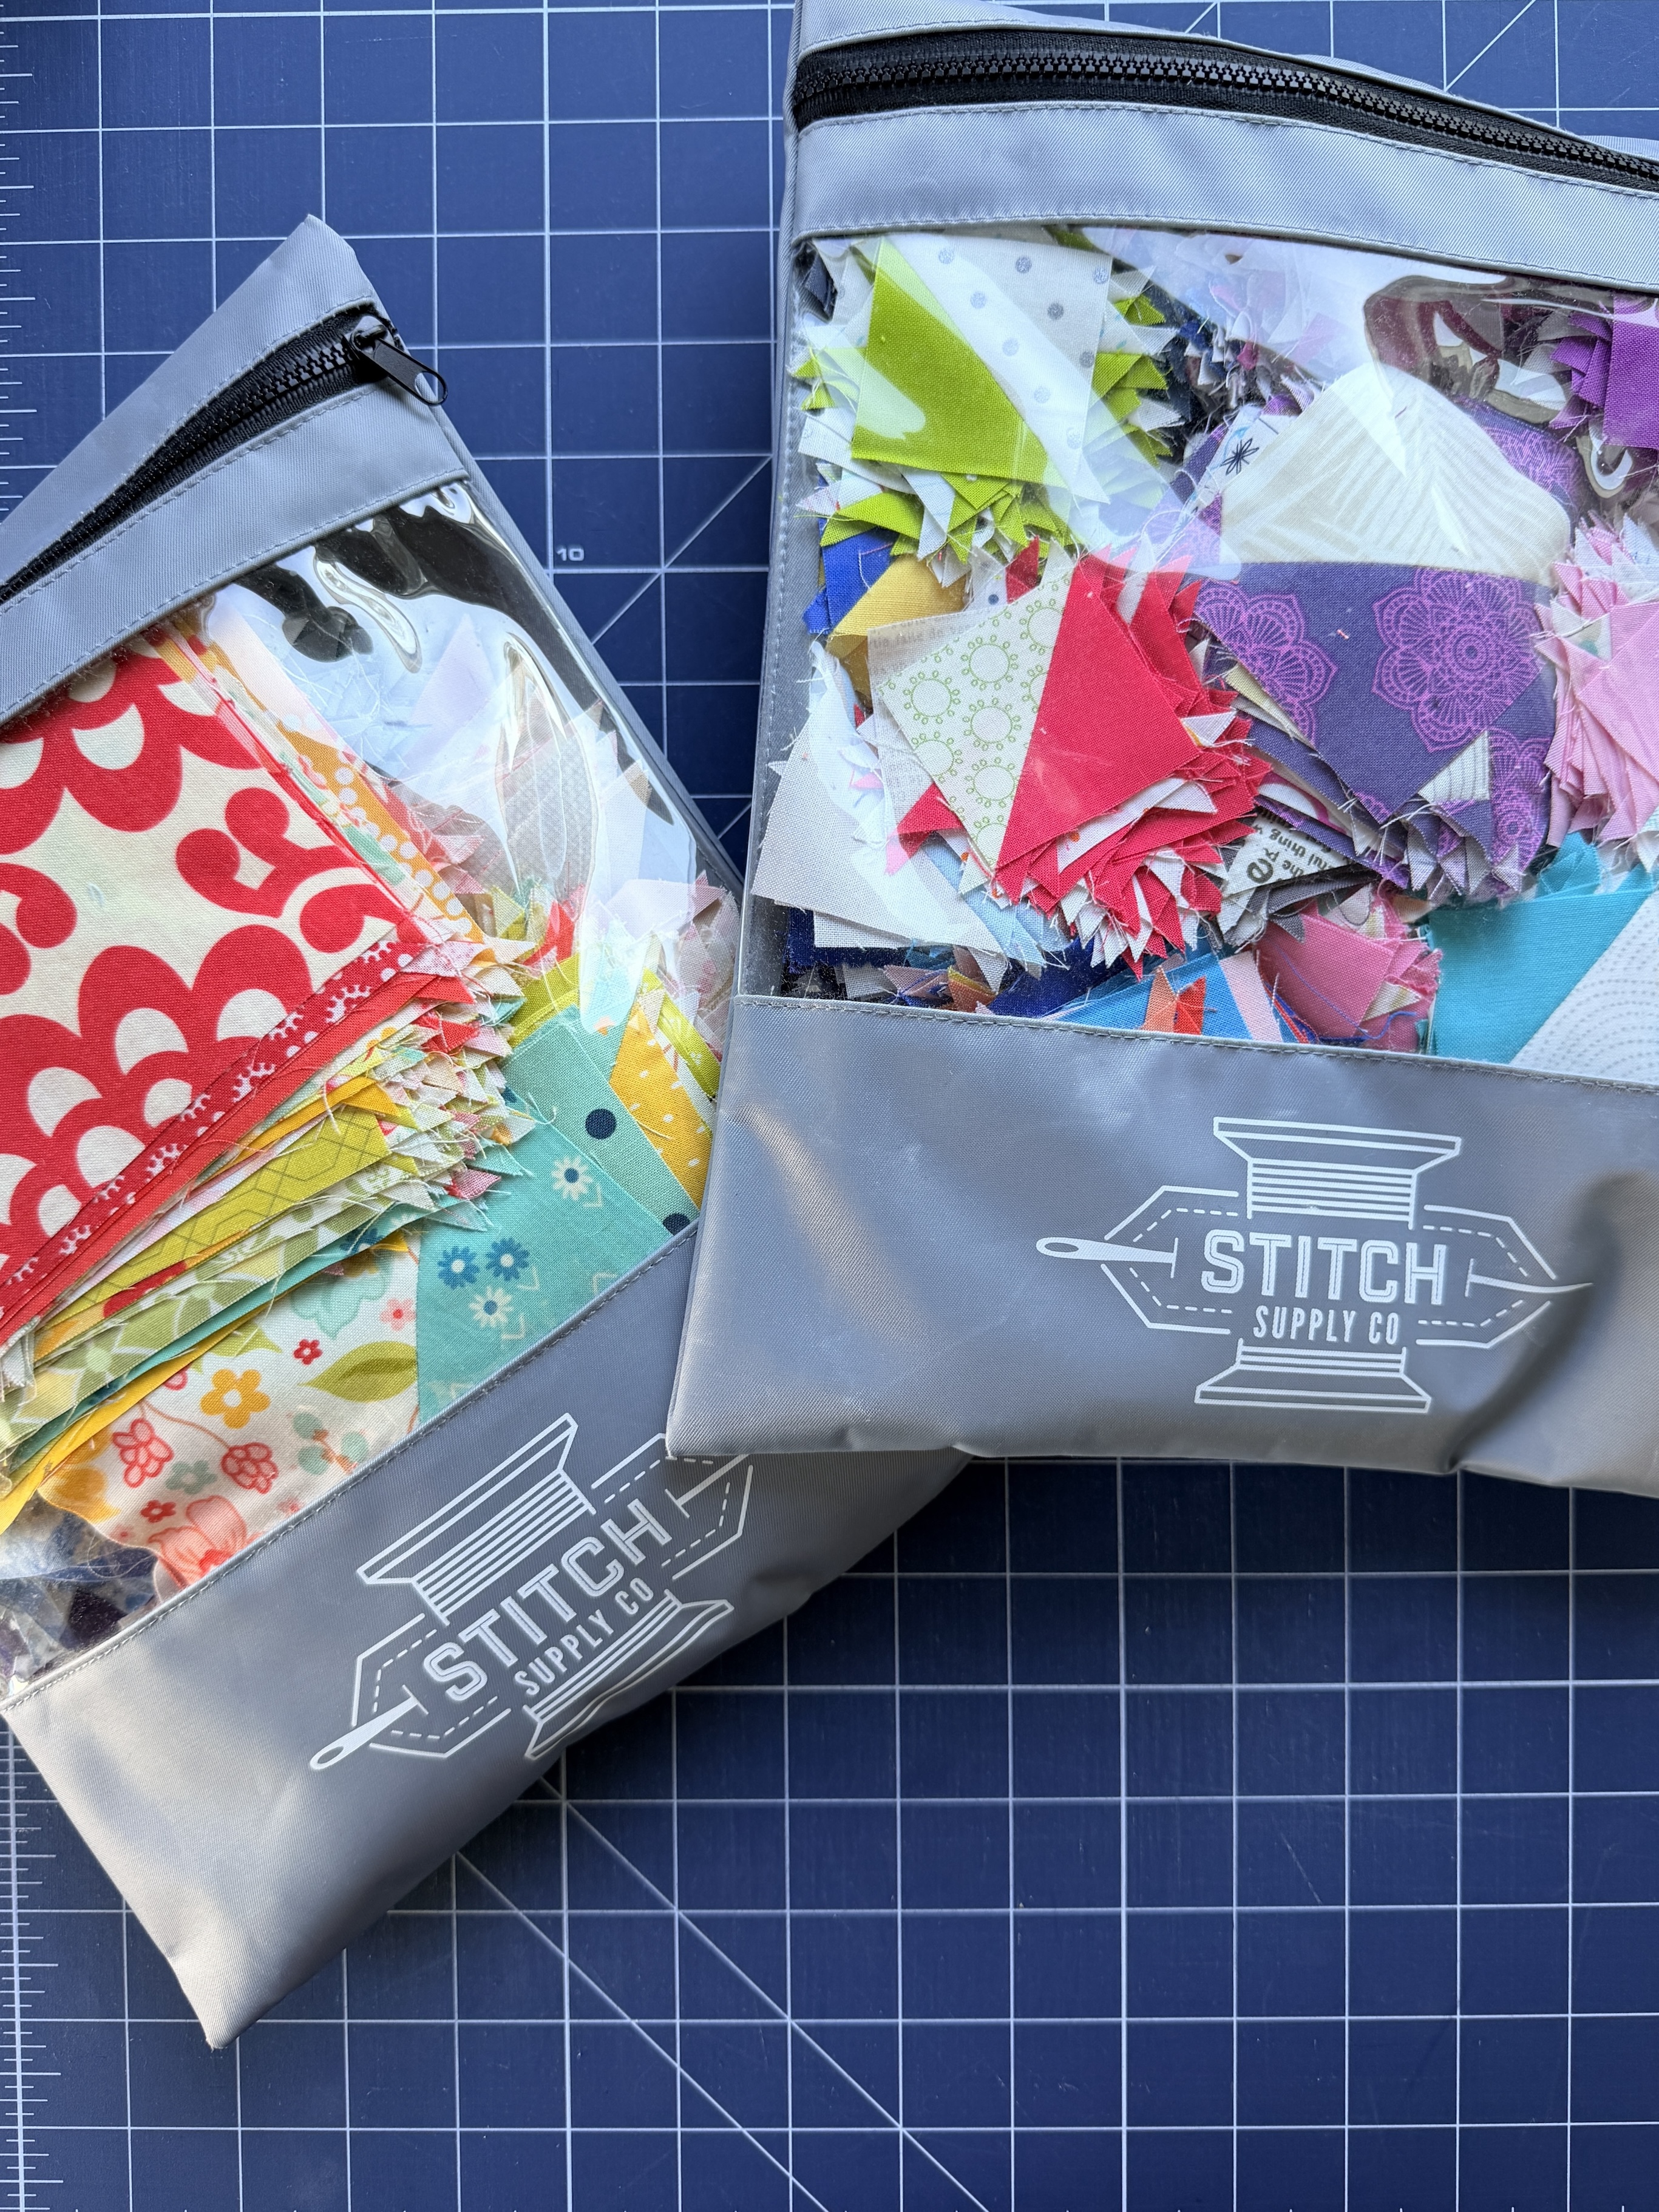
I'm not a big gadget or ruler person. I don't enjoy having extra tools taking up space that I don't need or won't use. That's why I was so surprised by just how much I use this ruler. I didn't know it existed until three years ago (eighteen years into quiltmaking) when I took a class from Doug, and now I use it constantly. I even adapt pattern cutting instructions to make HSTs and flying geese units using this ruler.
You can watch the ruler in action in this video from Sherri McConnell.
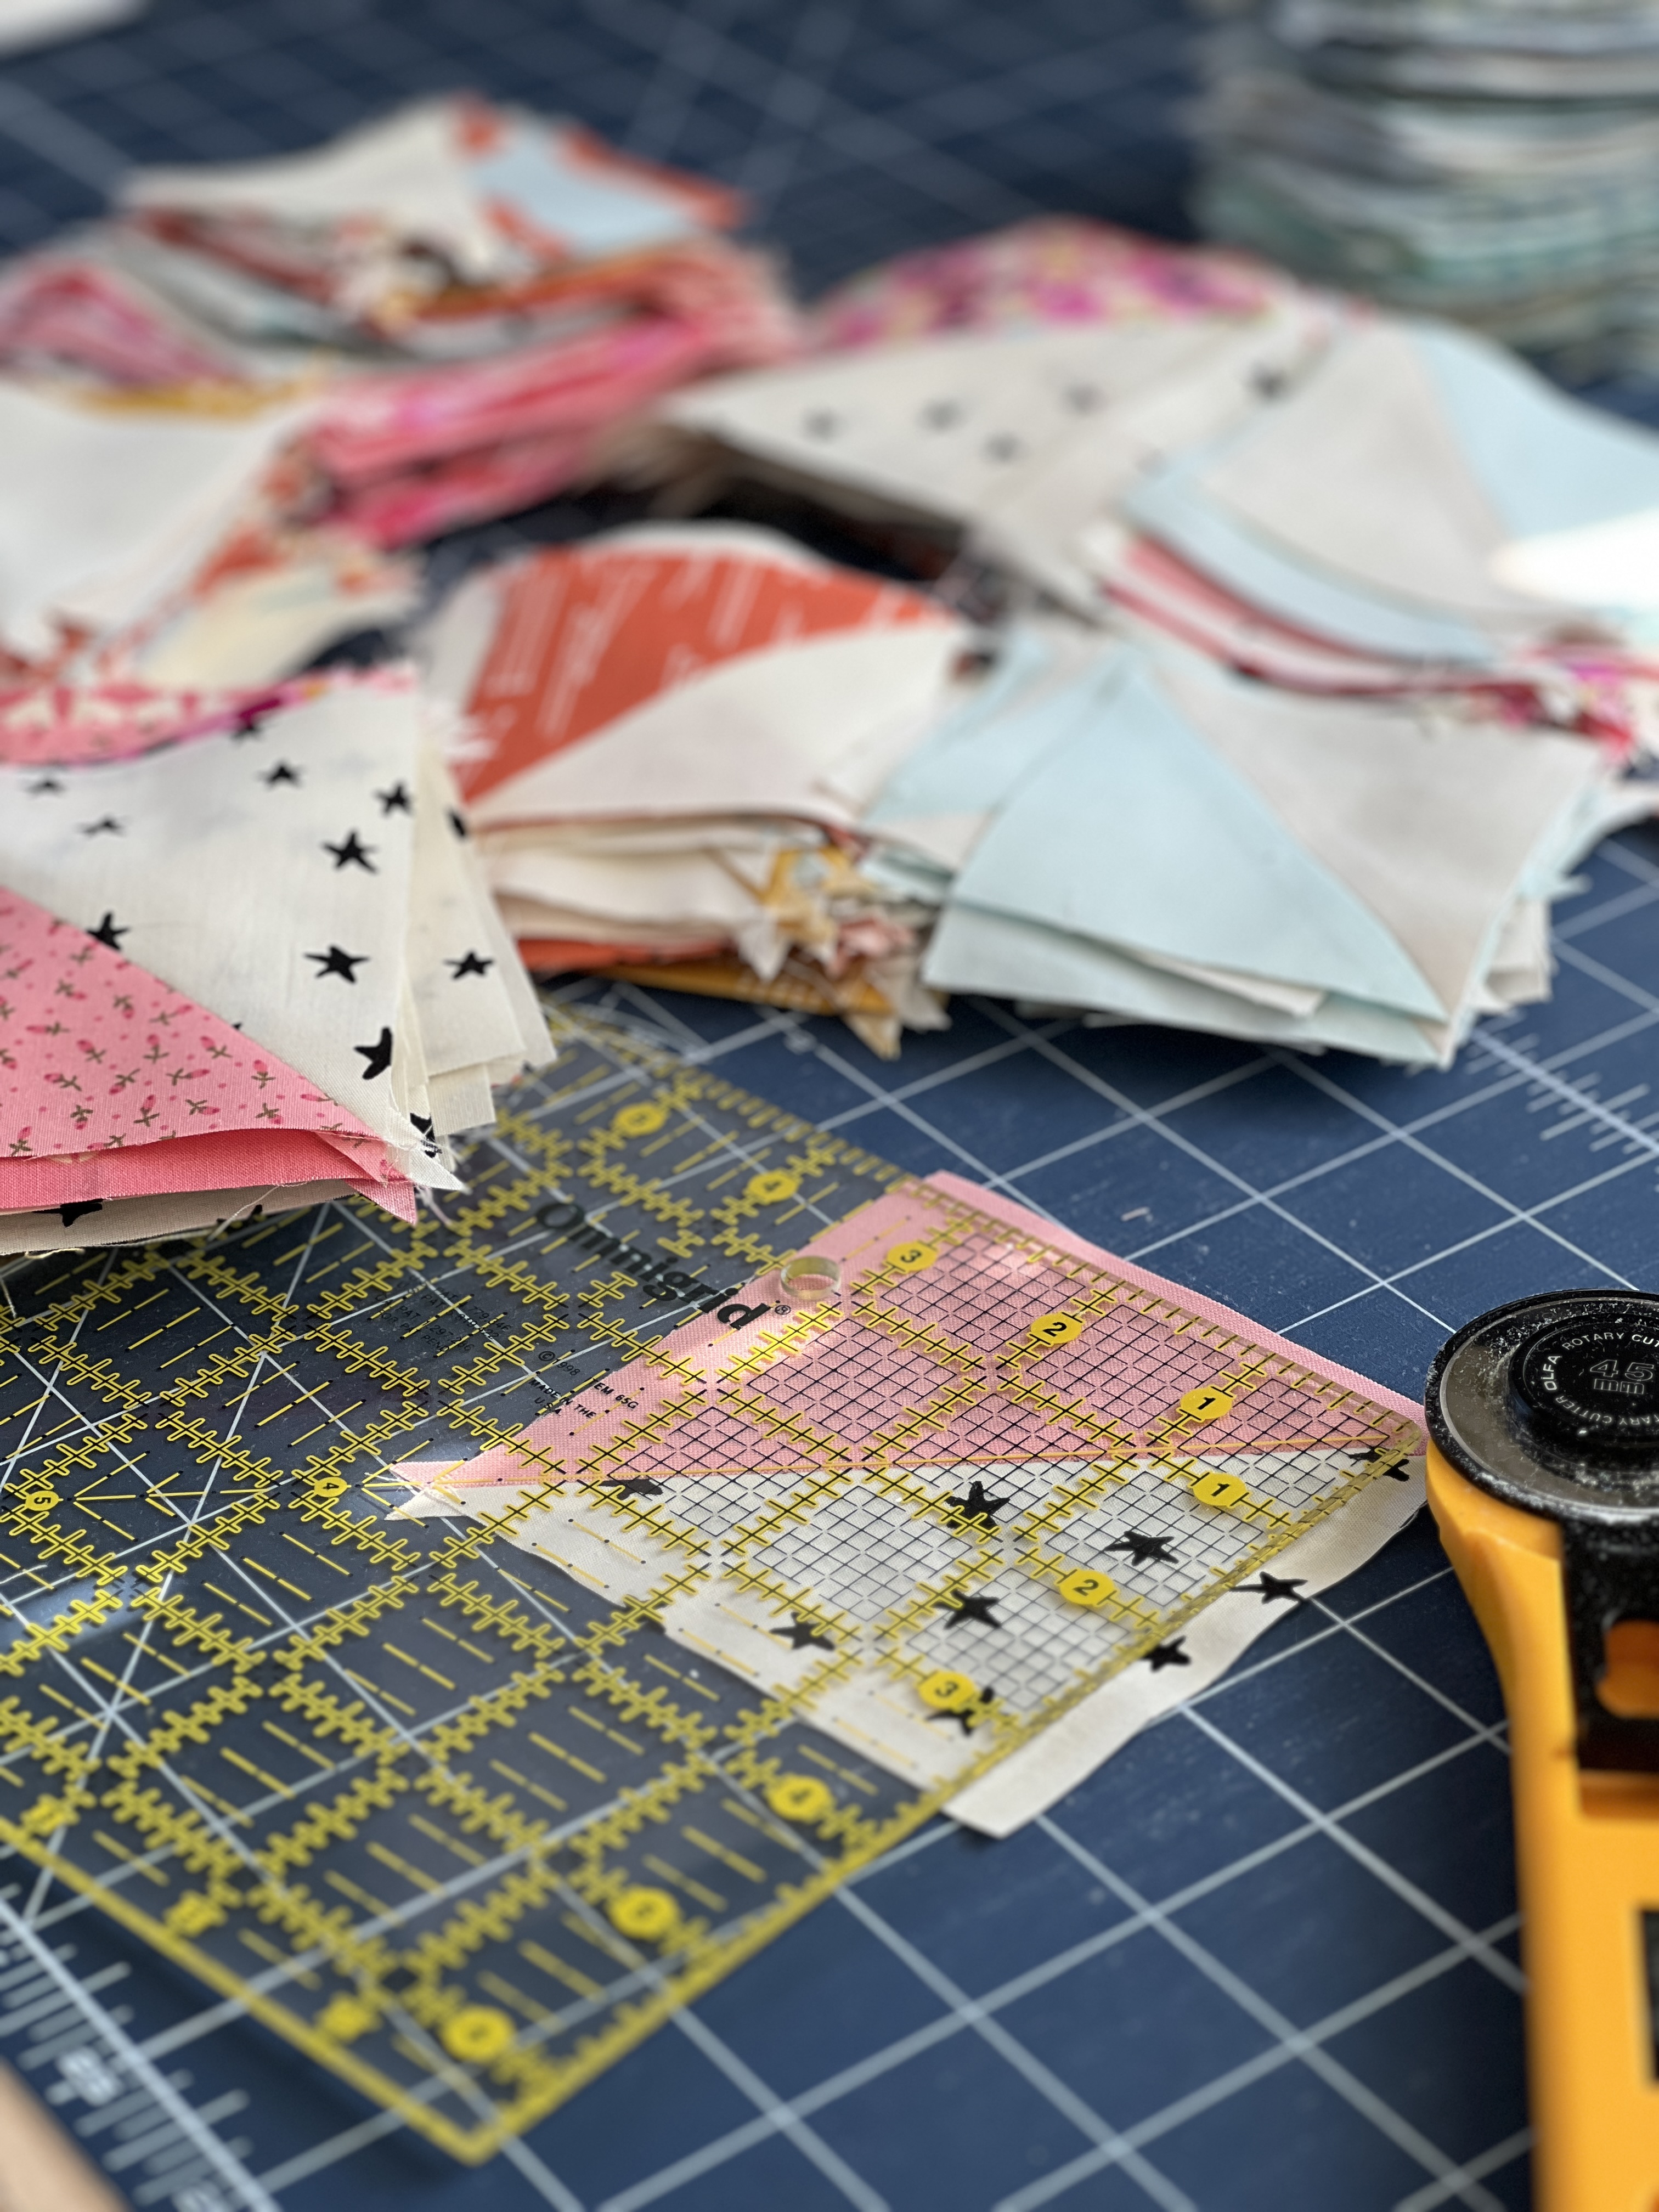
For this quilt, I picked HSTs big enough to trim to the pattern size, and I was happy to do it! My only apprehension was that in some of the original quilts, contrast in saturation or value wasn't as important, so not every unit stood out the way I'd normally prefer.
But you gotta love actually using scraps, so I embraced the low contrast.
This quilt spanned two retreats in two states! Last October (2025), I worked on the quilt blocks in Wisconsin, and then about a week later at our Longarm League retreat in Missouri, I assembled the top with the tiny sashing strips.
For as eager as I was to use the pre-made HSTs in this pattern, I had an equal and opposite reaction about sewing with sashing this thin.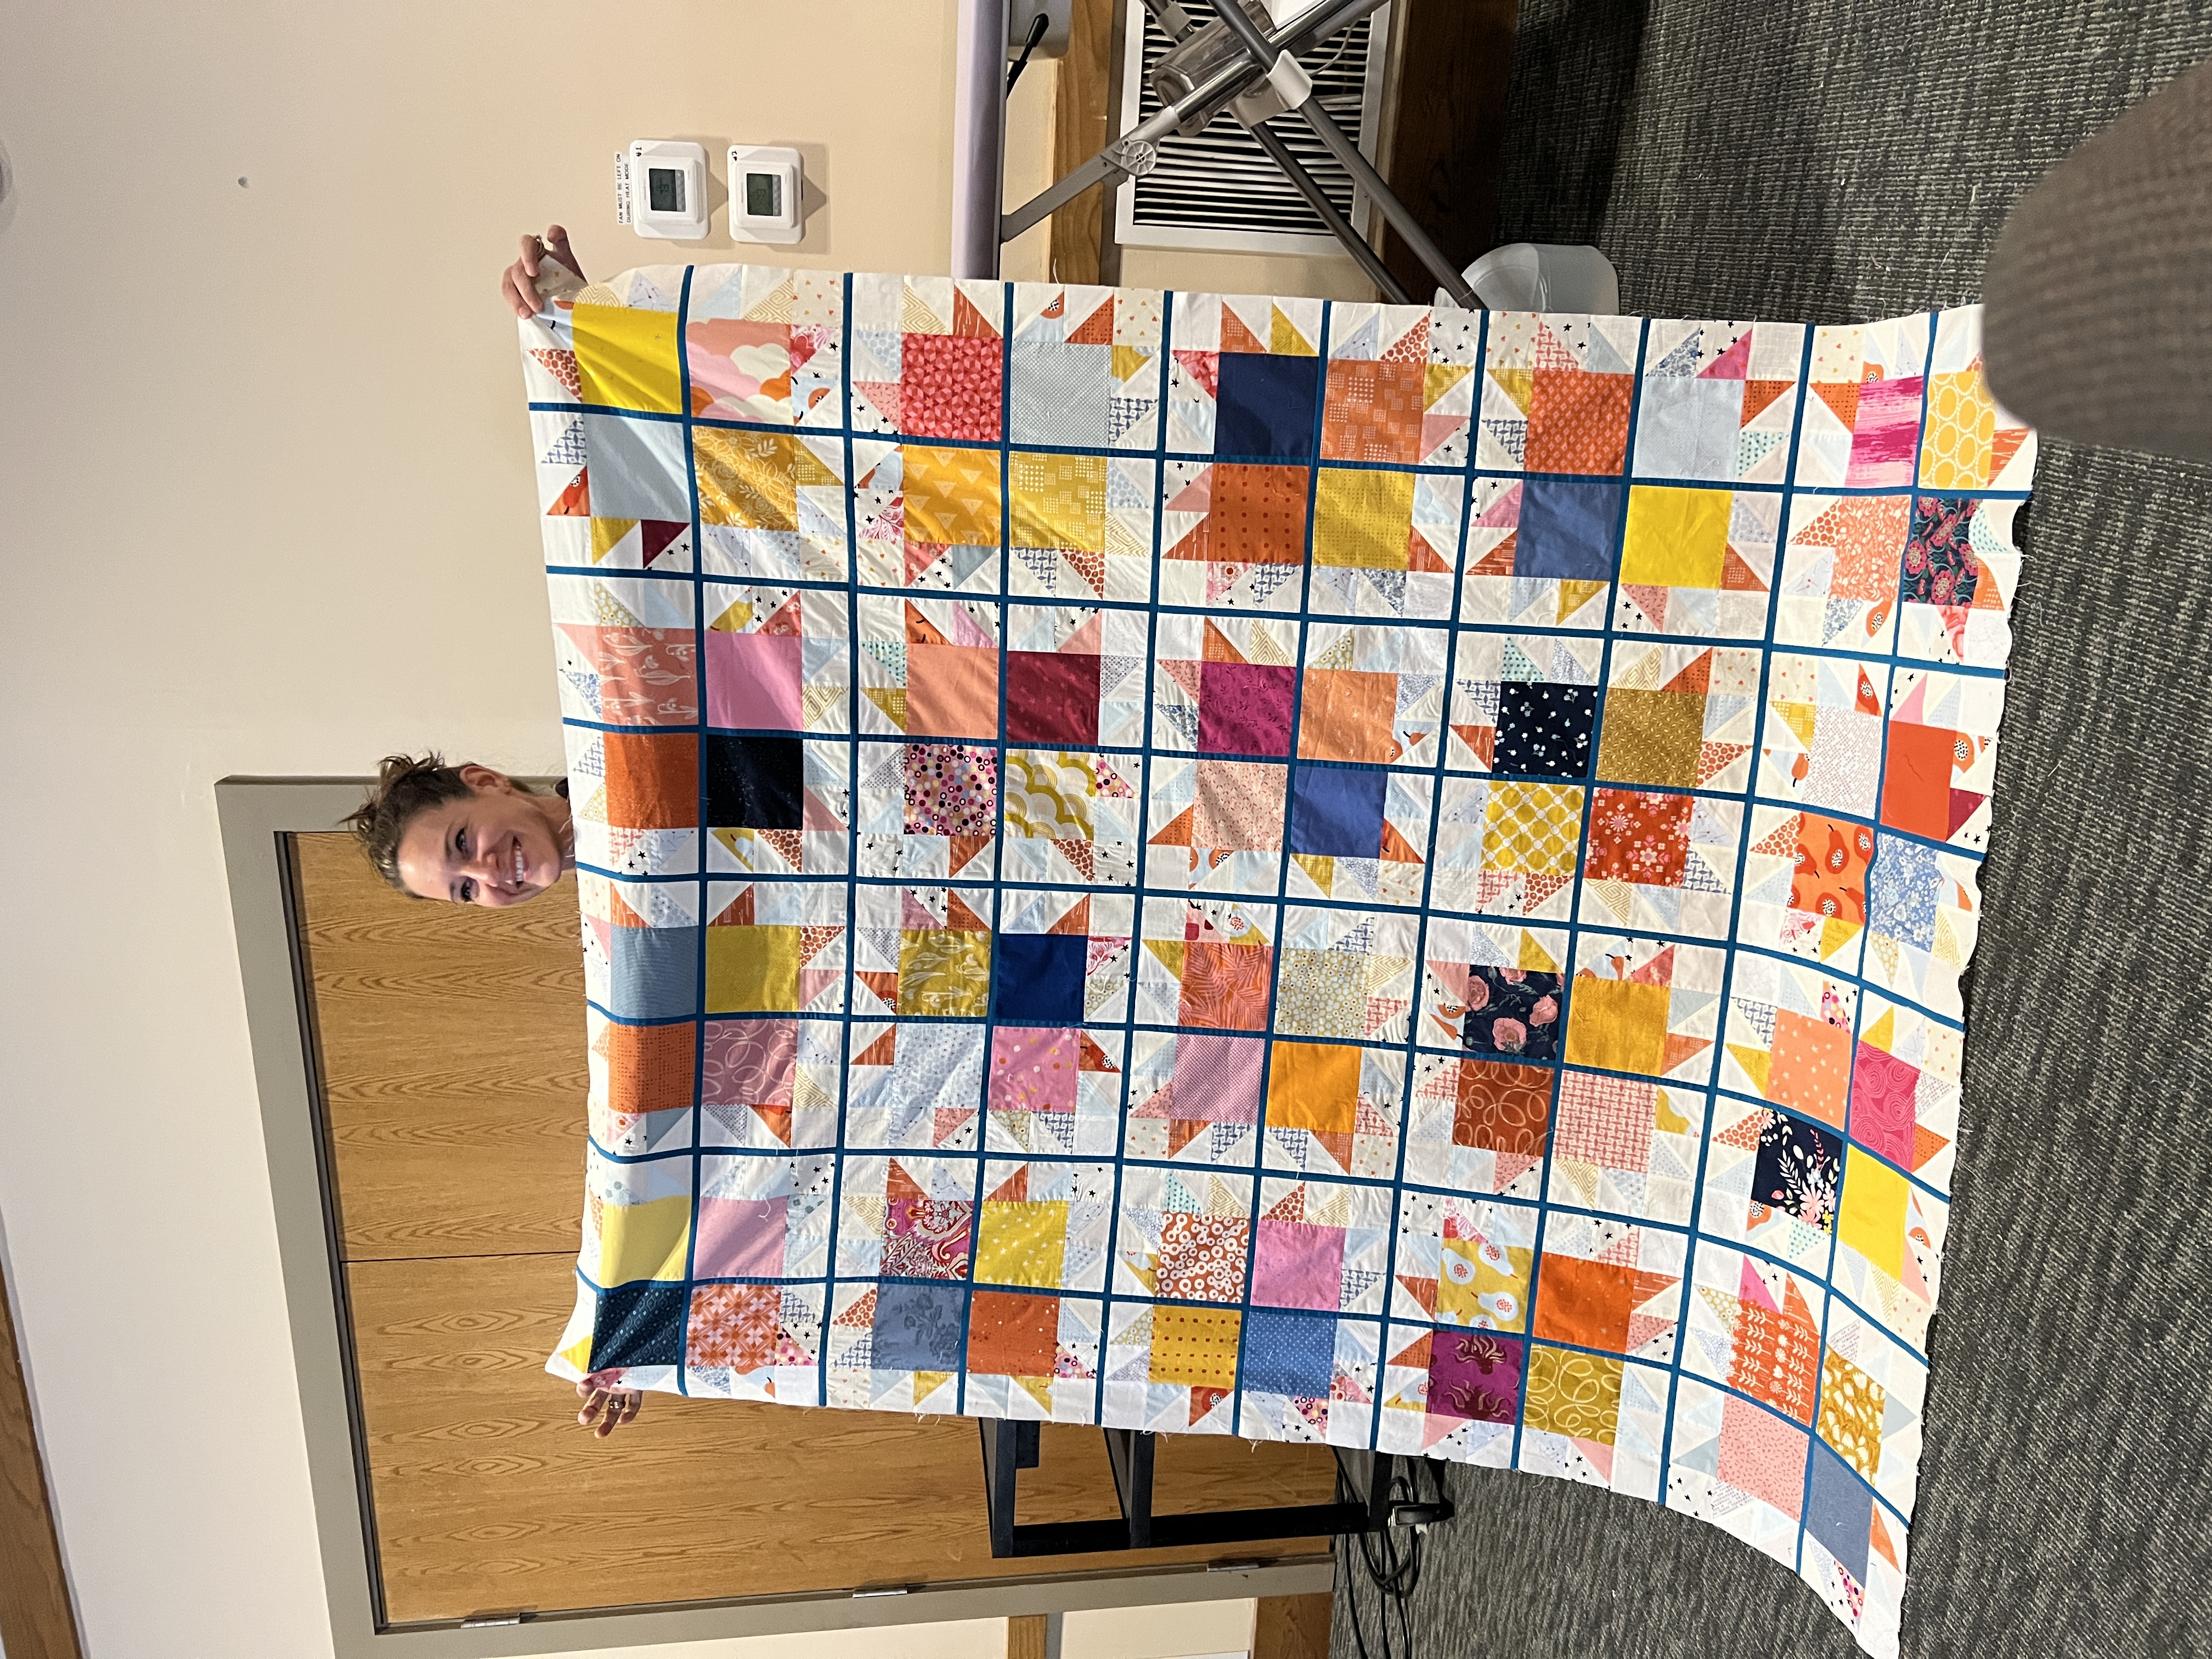
Fabrics
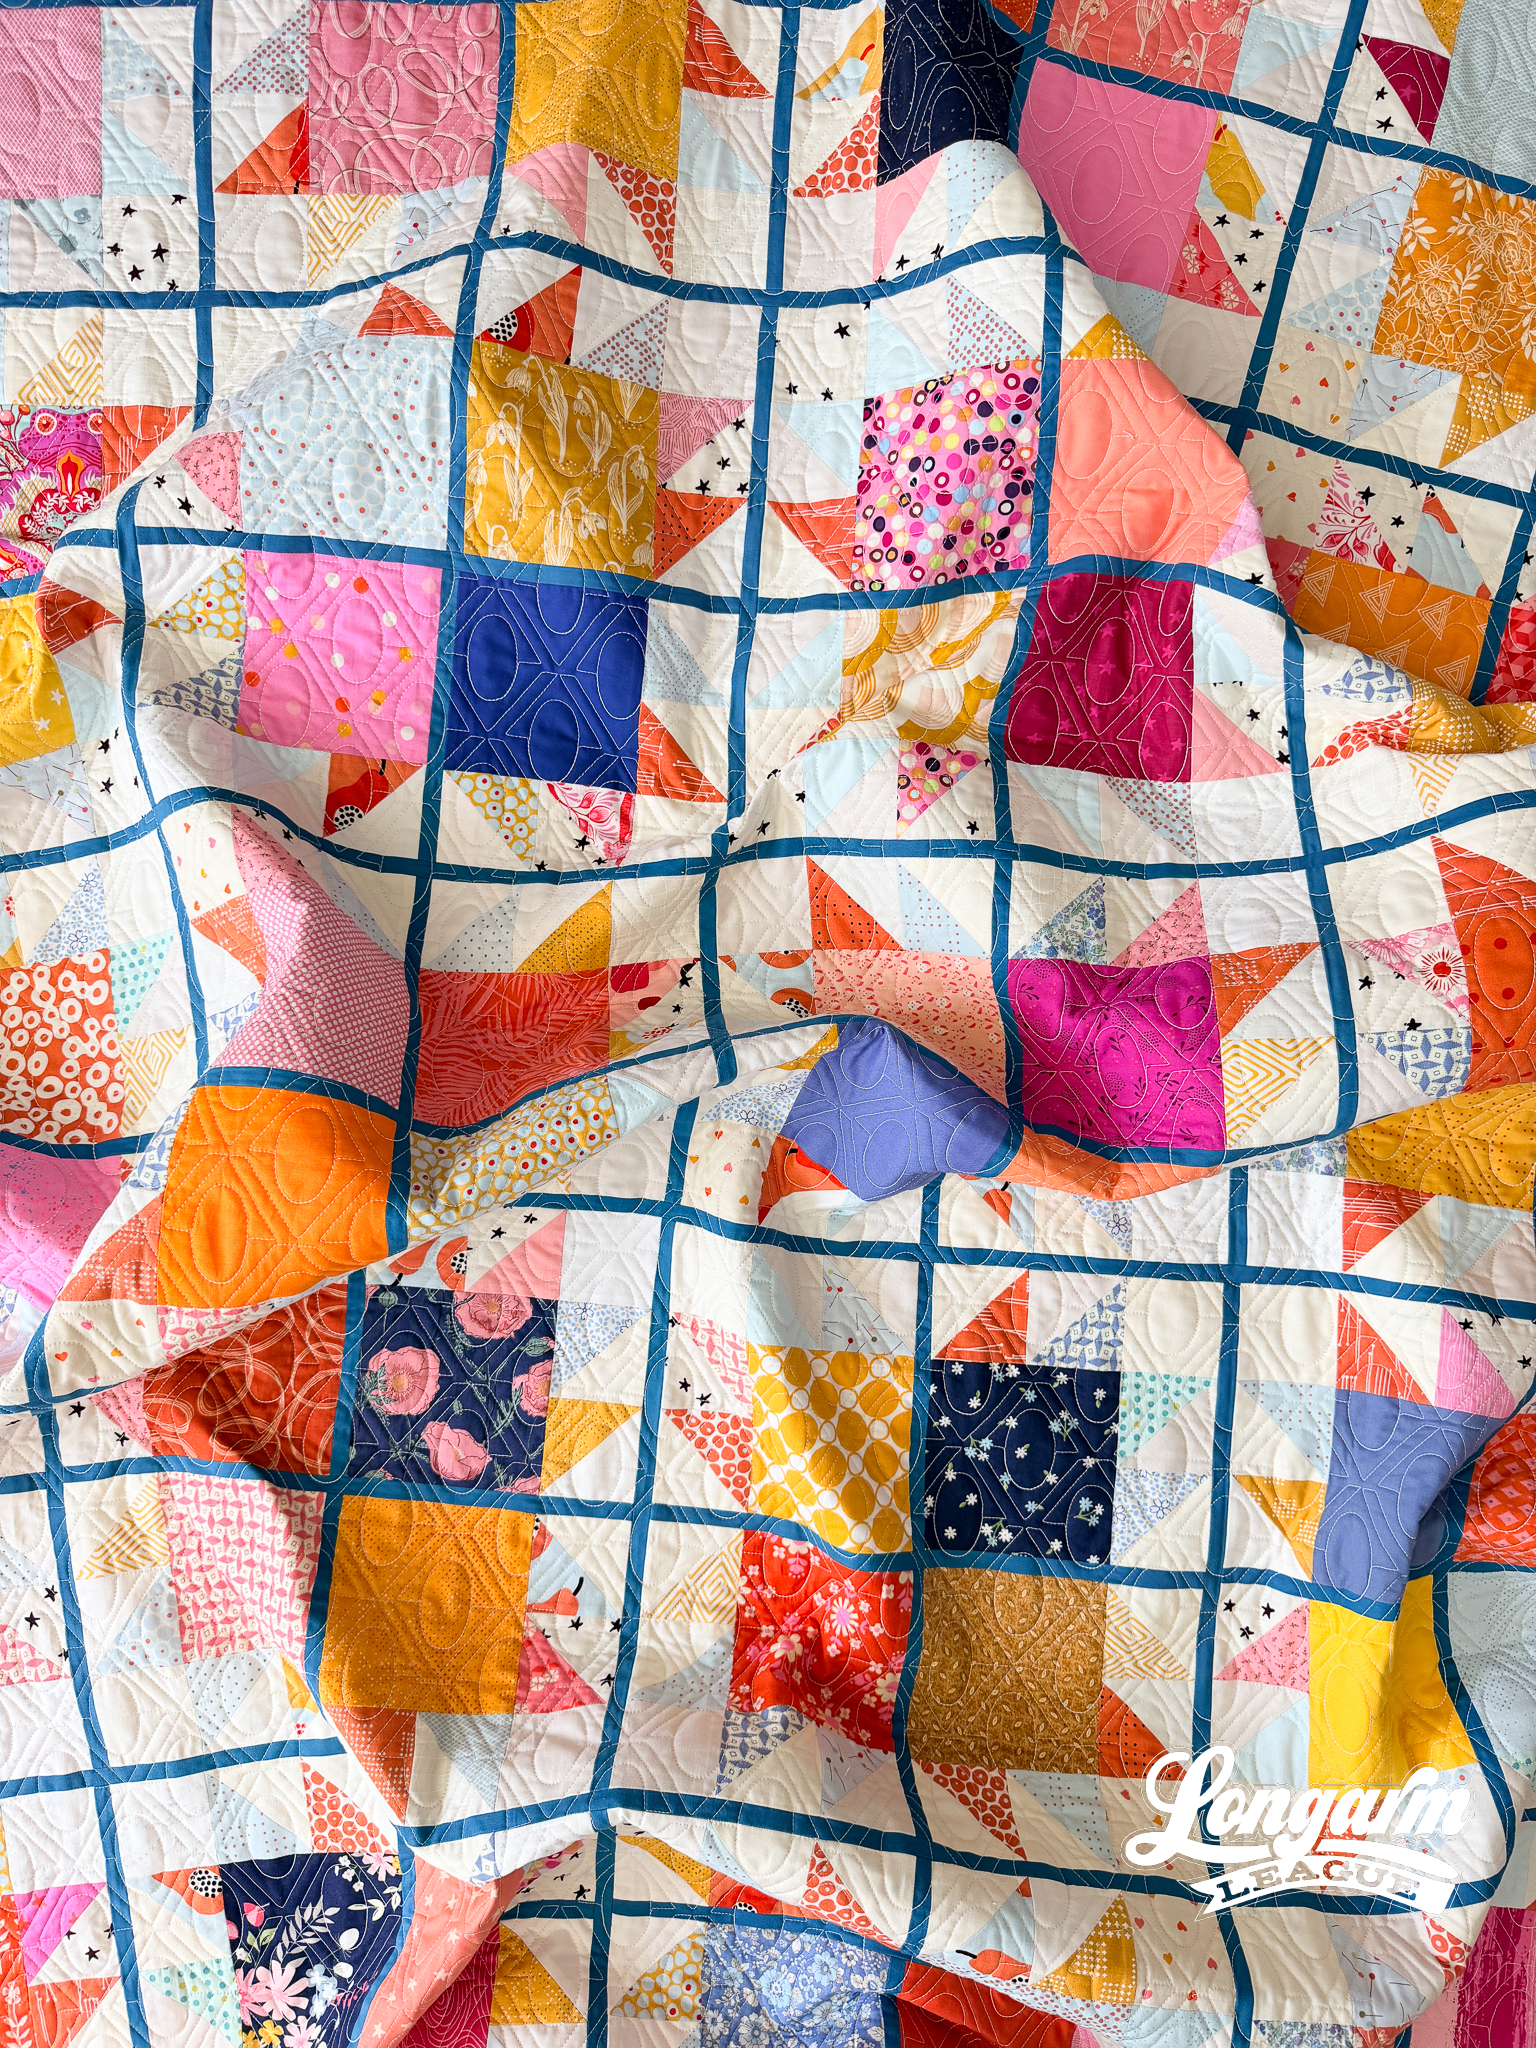
The only non-scrap fabric I used in the patchwork was for the aforementioned thin sashing and binding. Right now, I don't remember what it is or where I bought it, but it's a very pretty dark teal color.
Despite my apprehension about cutting and sewing so many skinny strips, it TOTALLY ties the quilt together and makes it distinct. Well worth it. I'm glad I picked one fabric (vs. scrappy) for the sashing and binding because I think it gives the quilt an overall cohesive look. 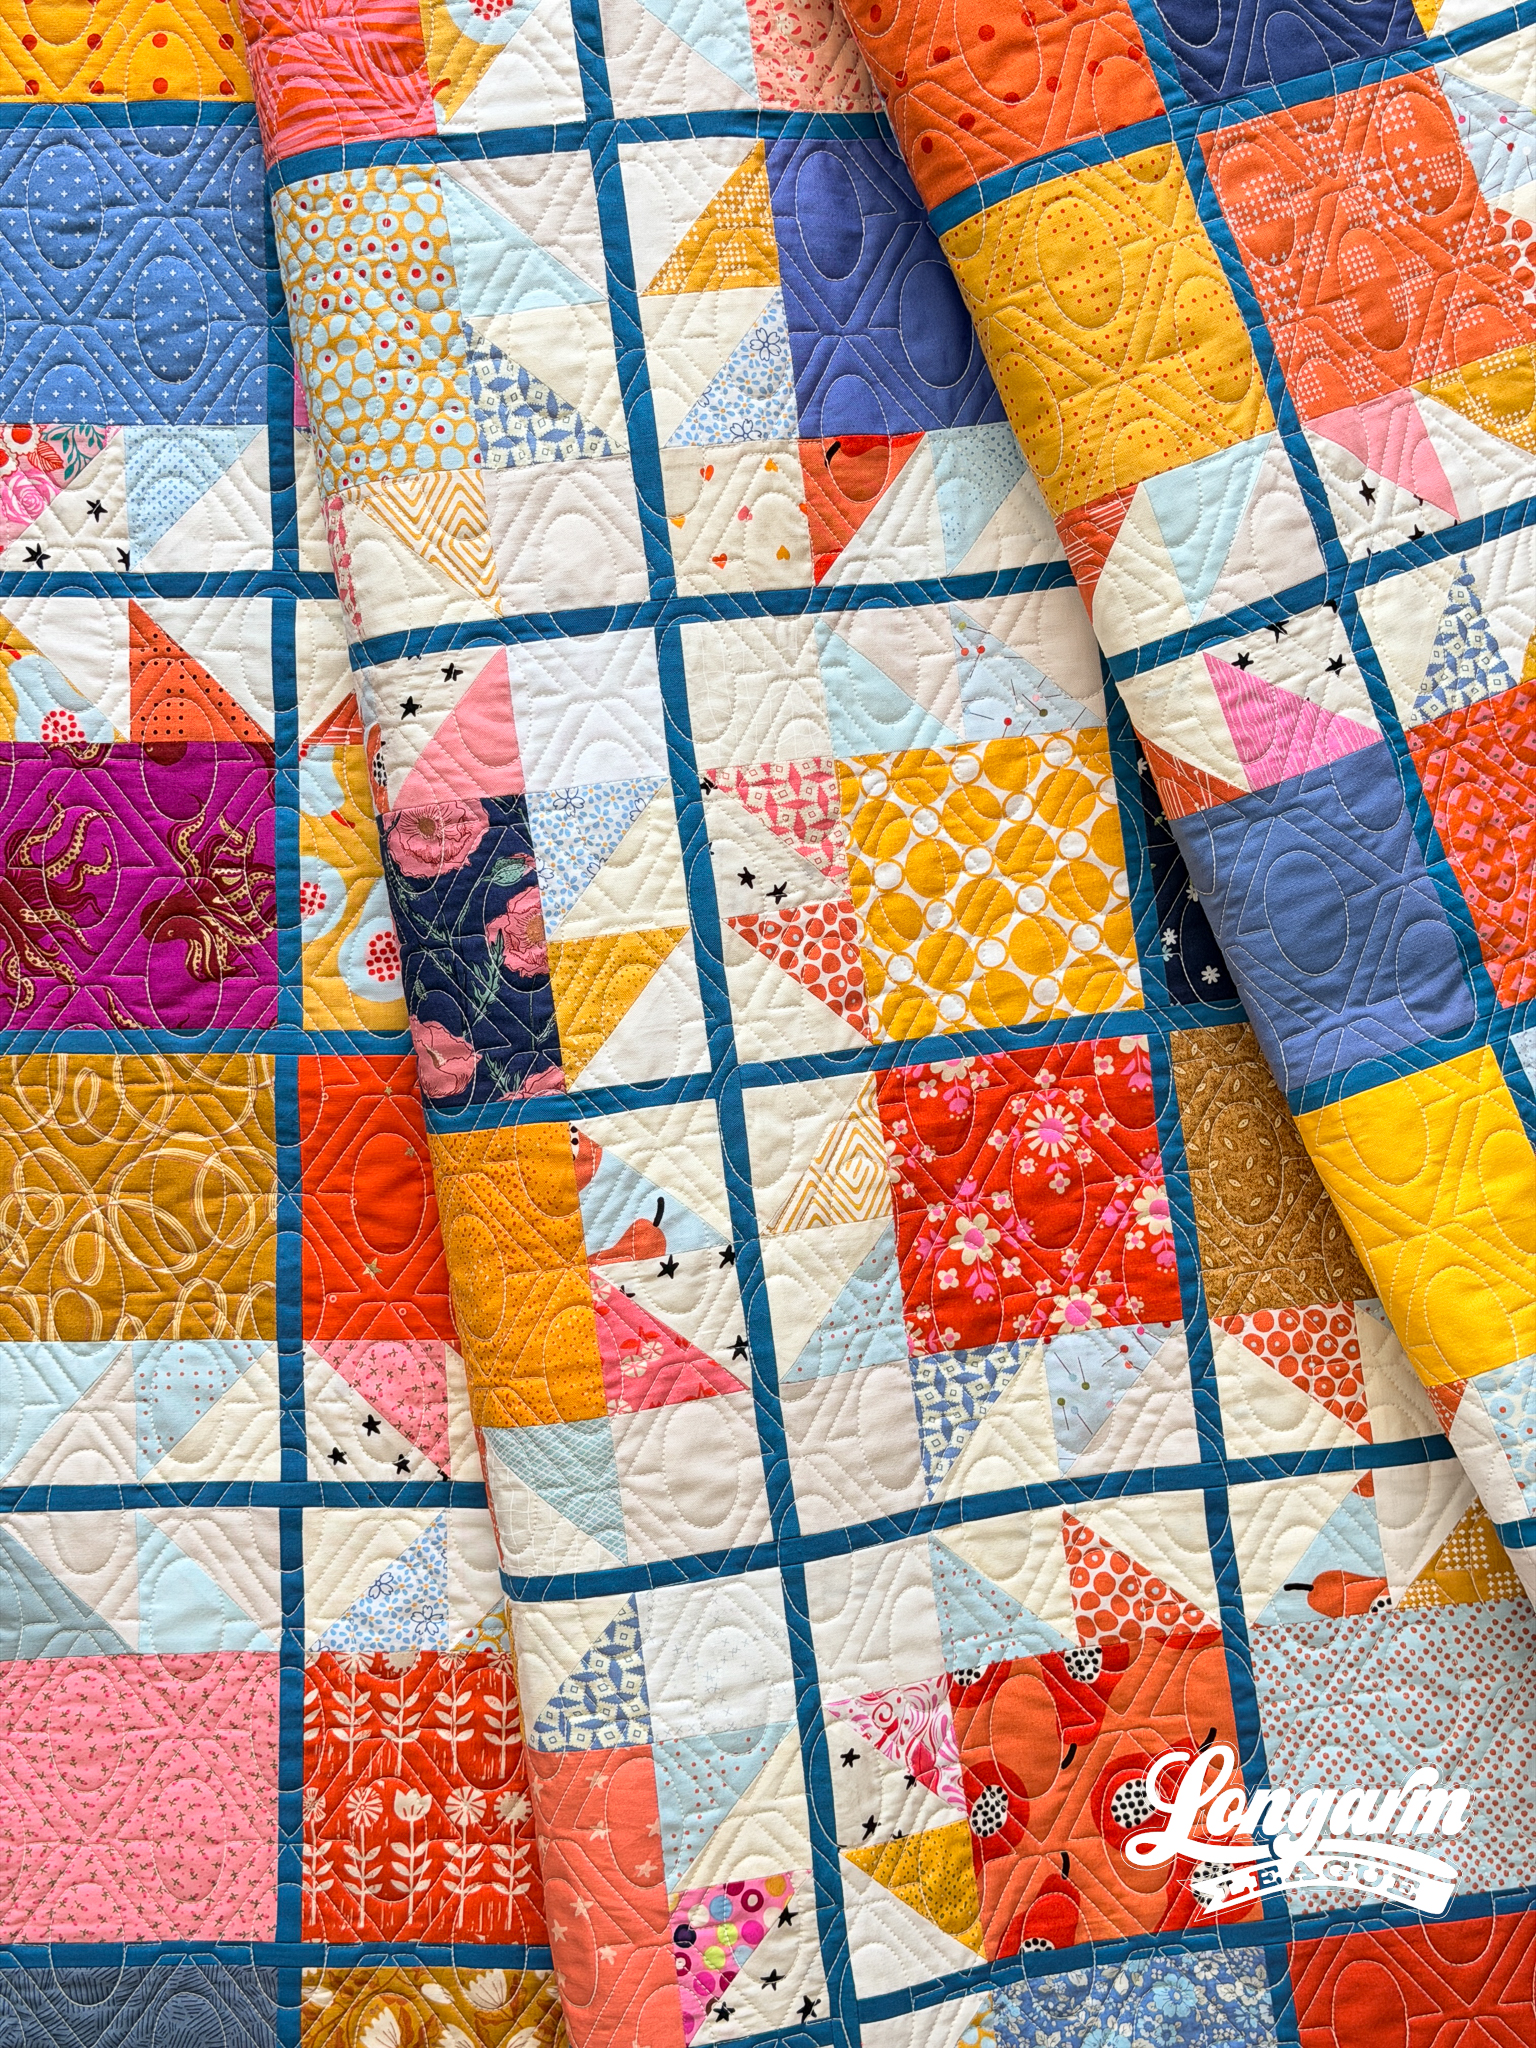
I really love the way it turned out!
Backing
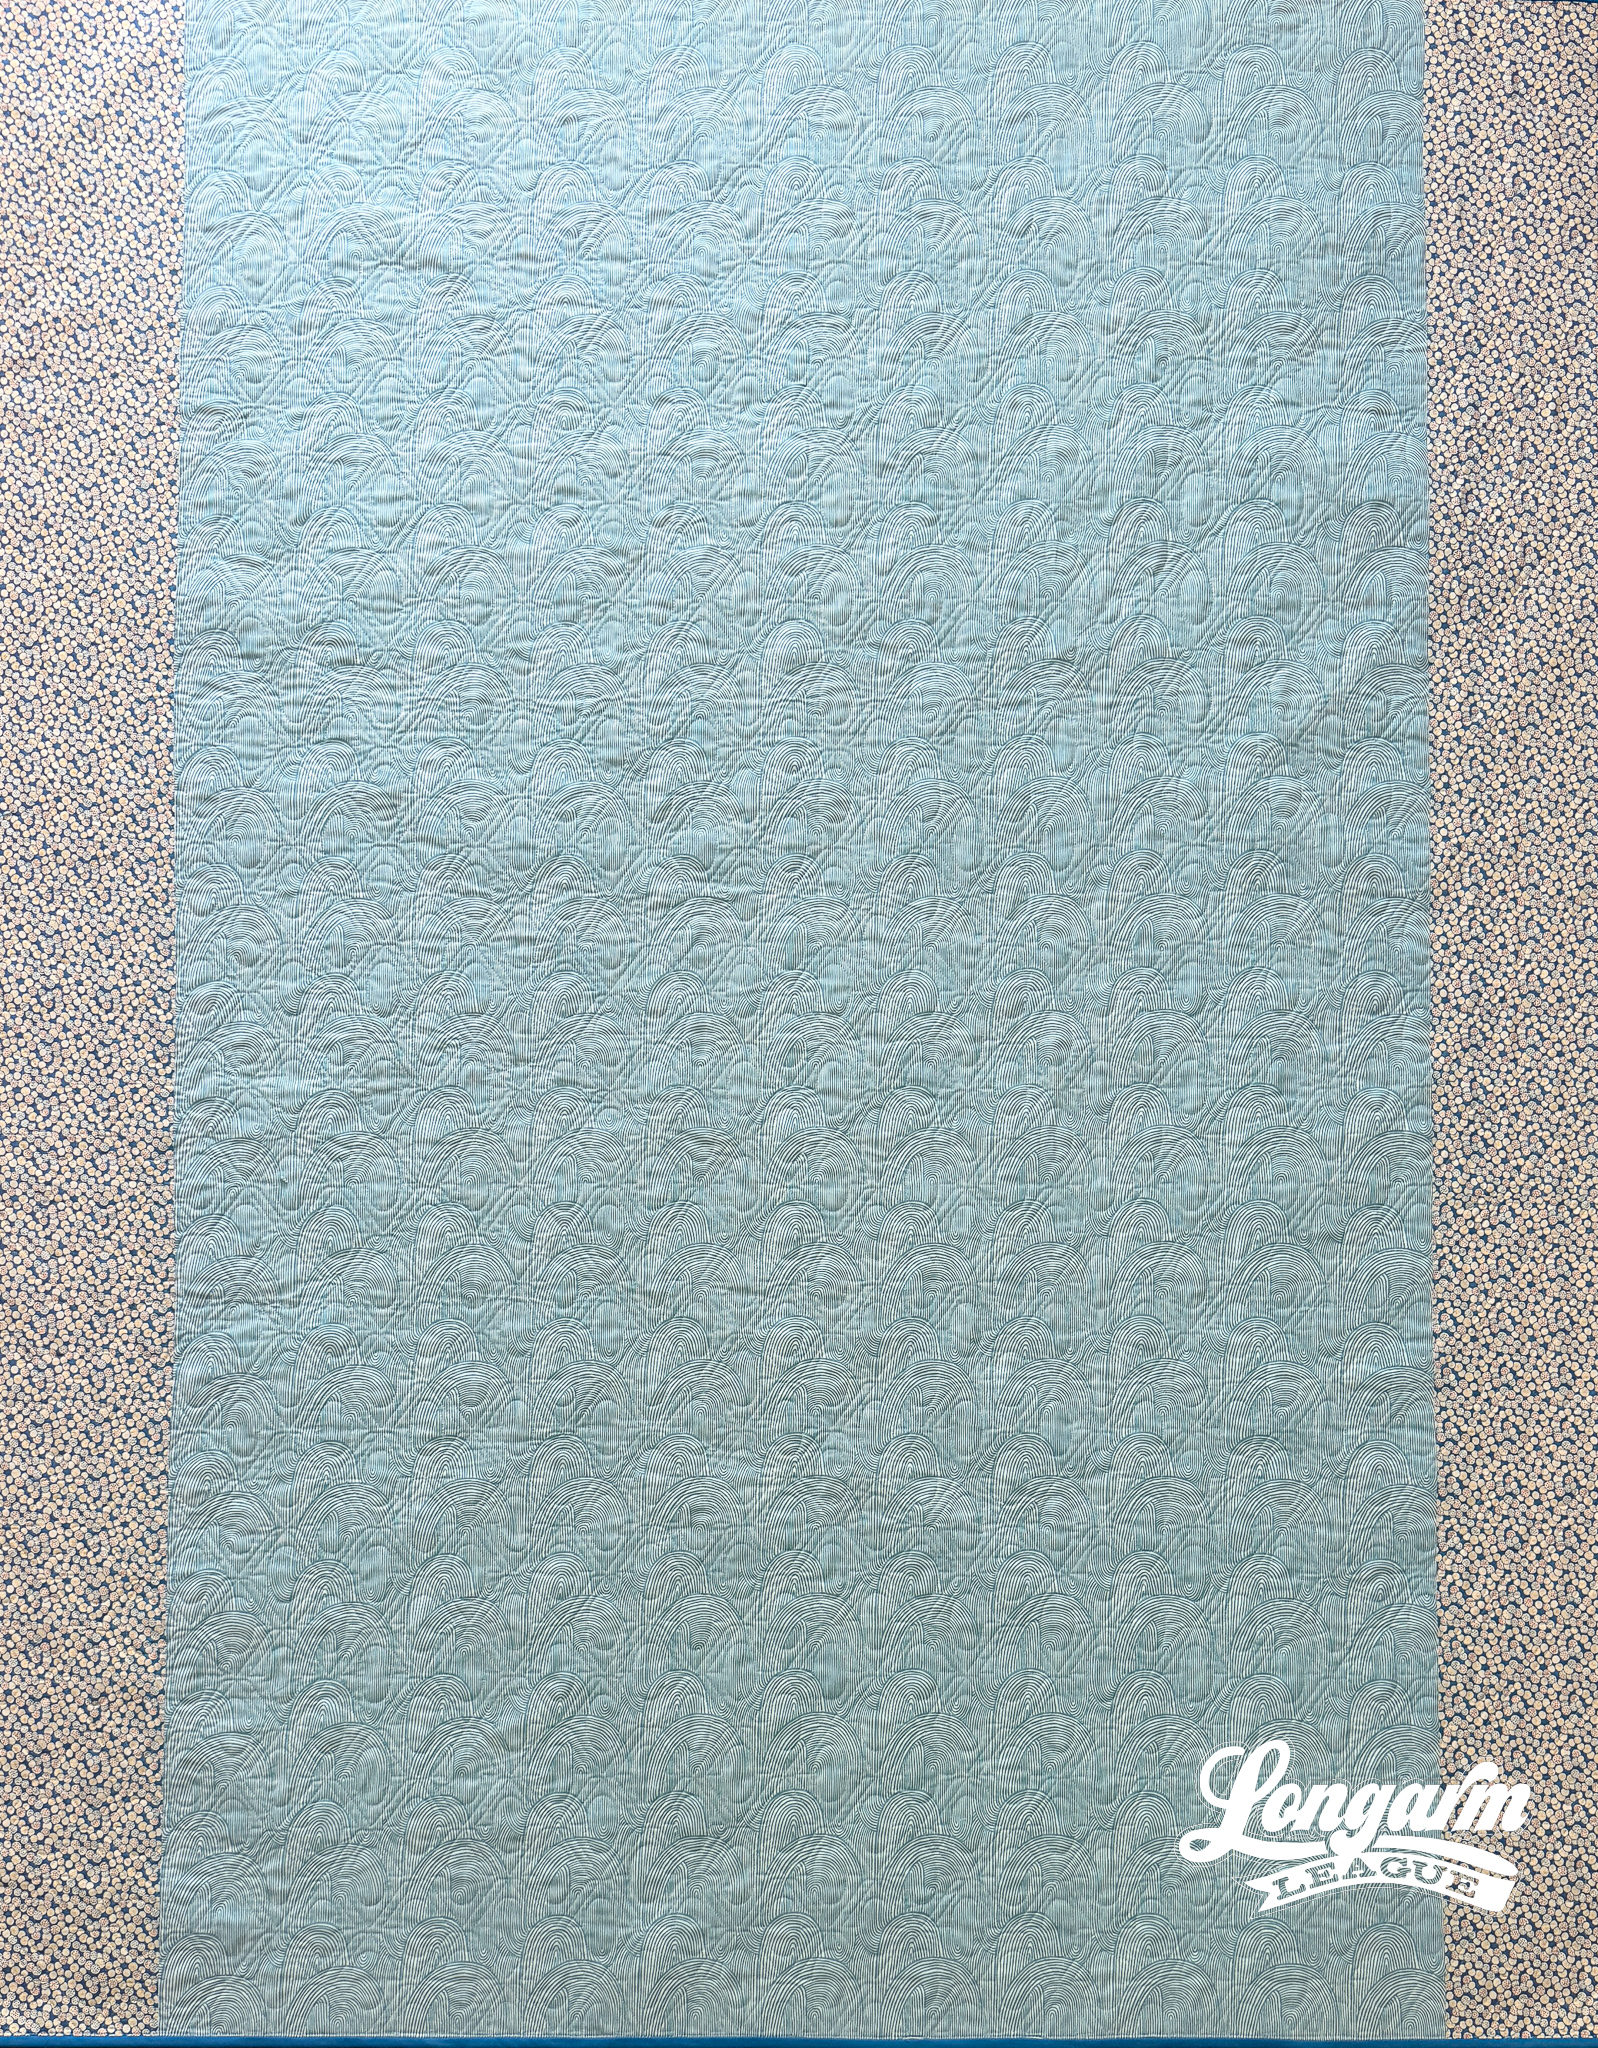
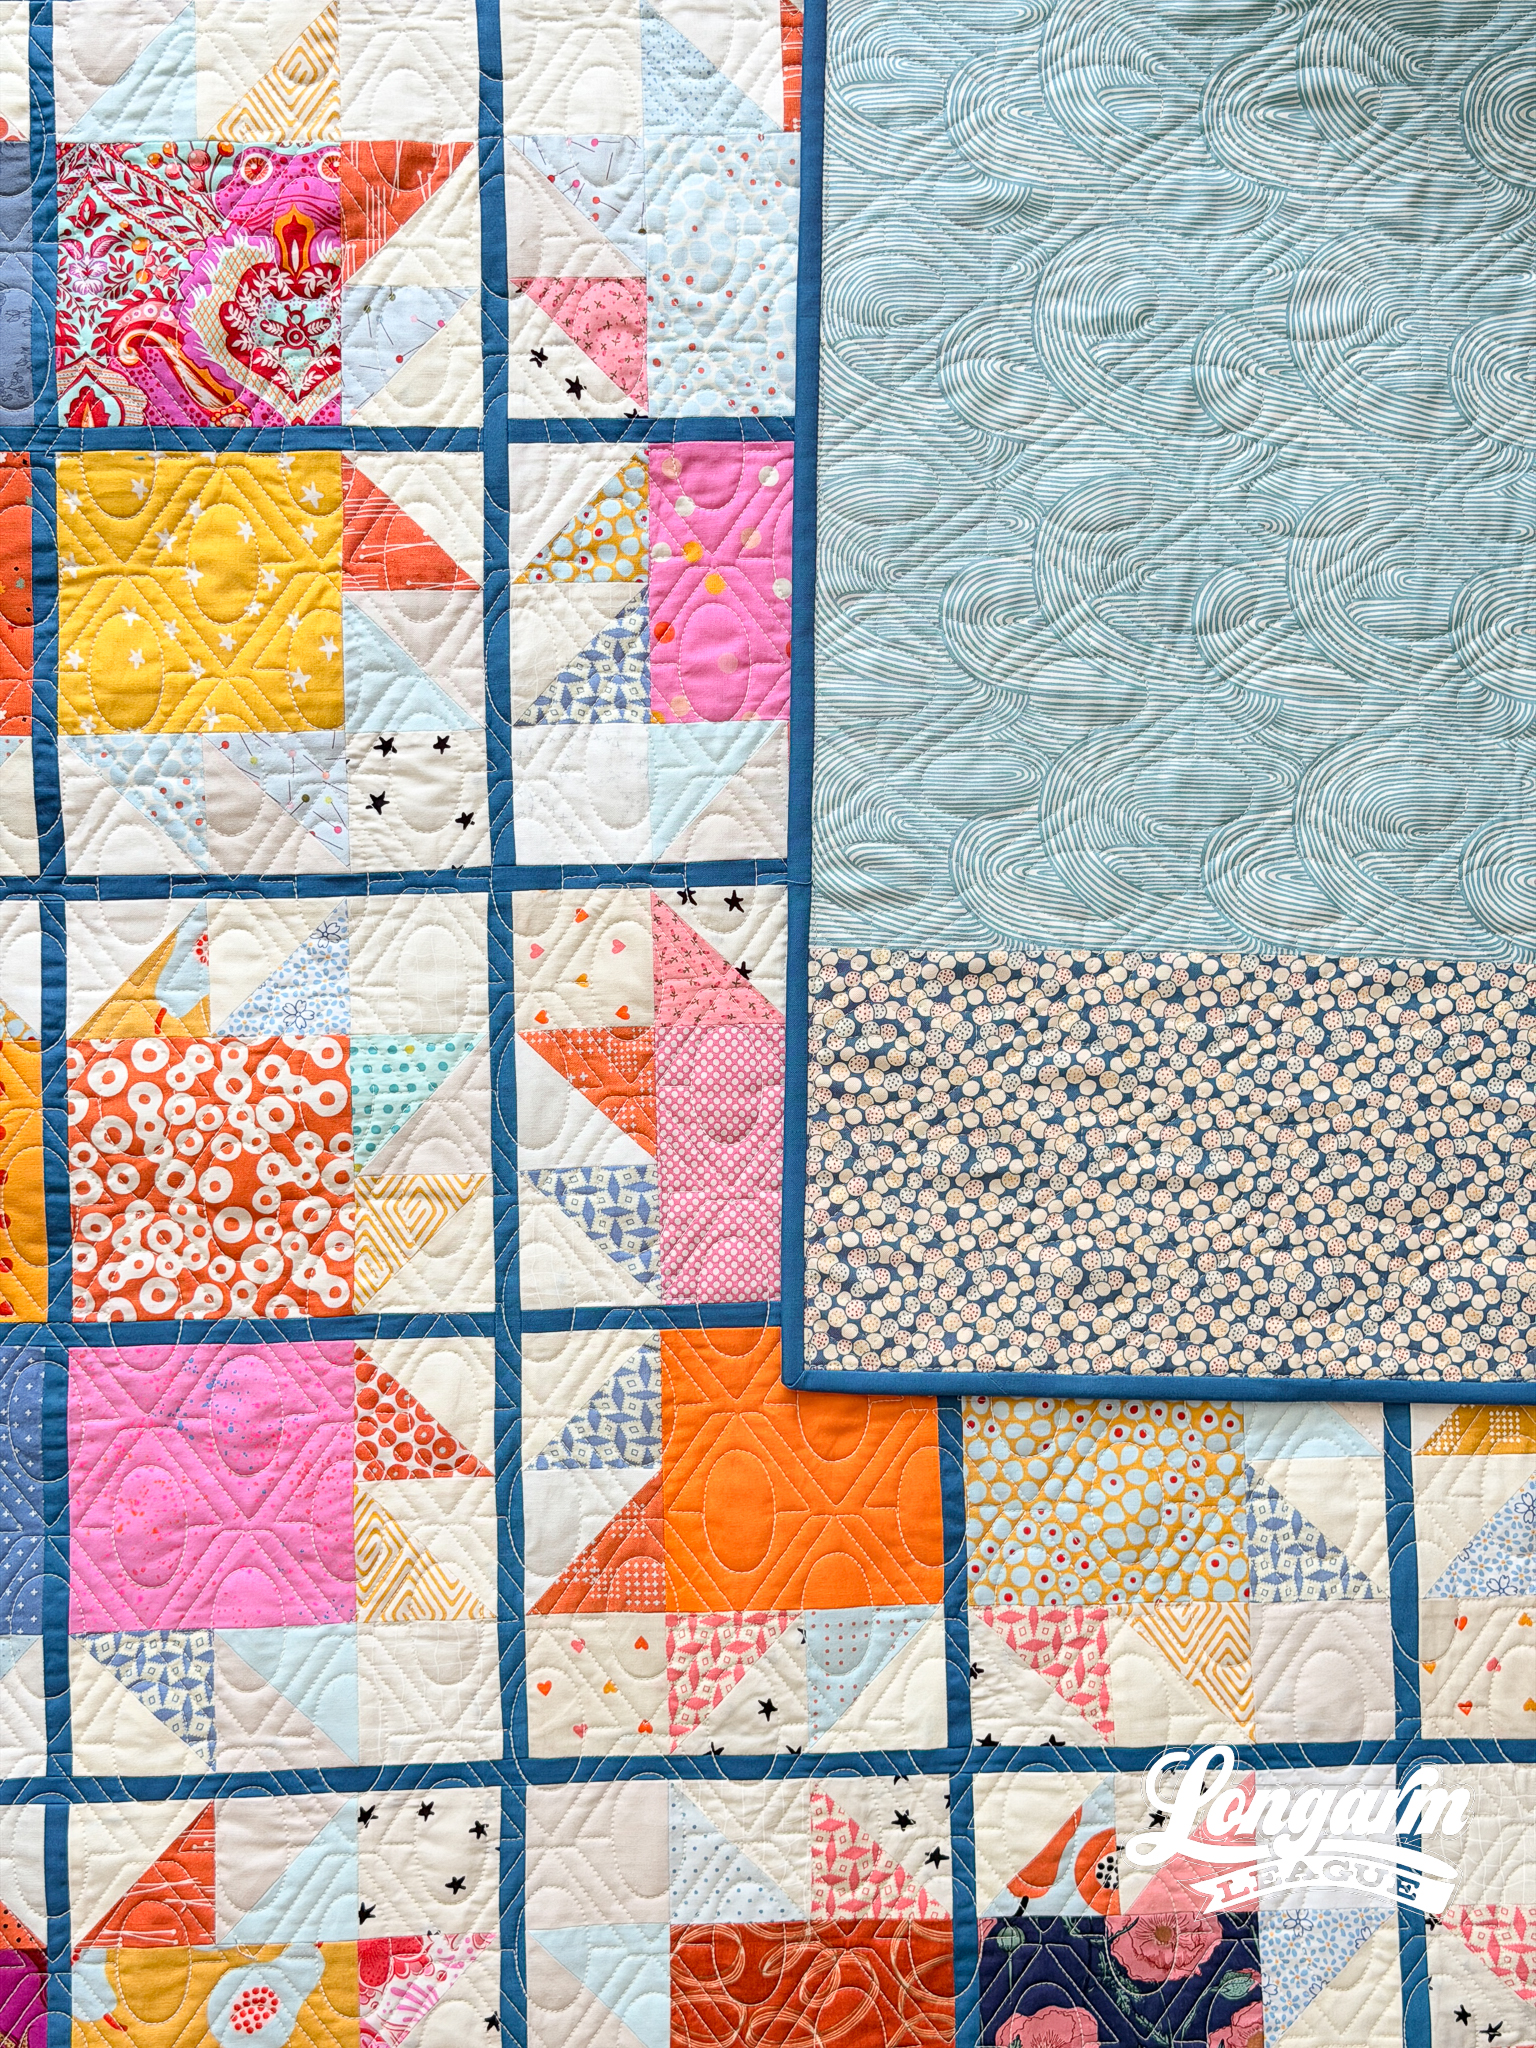
I've started buying more yardage when I really like a print. I'm normally a sucker for fat quarters, so I get a lot of variety, but I often find yardage would have been pretty dang handy. The main panel on the back is continuous yardage of this blue wave fabric from Fancy That Design House for Moda. The line is called Things Above.
While I would have loved to use the print on a quilt top, I took it as a sign that it was long enough for the backing, and it matched. It only took a few more seams to attach additional fabric to each side to get the required width. As I loaded the quilt on my frame, I attempted to center the top on the backing as much as possible.
The Quilting Details
Difficulty Level: Easy
I rated this edge-to-edge design easy because I didn't have to fuss with it at all or watch it closely as it was stitching.
The most important things are that every other row gets offset by 50% and that you leave a small gap between rows so they don't have to meet up perfectly.
Scale
As with most of my designs, feel free to size up or size down. I thought this scale fit this quilt. At the scale given, the ovals are about 1 1/8" wide and 1 7/8" long.
Here are the sizing specifications for how I set up this quilt using my Intelliquilter (quilt size 57" x 71"):
Row height: 1.7"
Gap: -0.837"
Pattern height: 2.537" (measurement from top to bottom of the repeat)
Offset: 50%
Backtracking: some
Here's a look at the included PDF: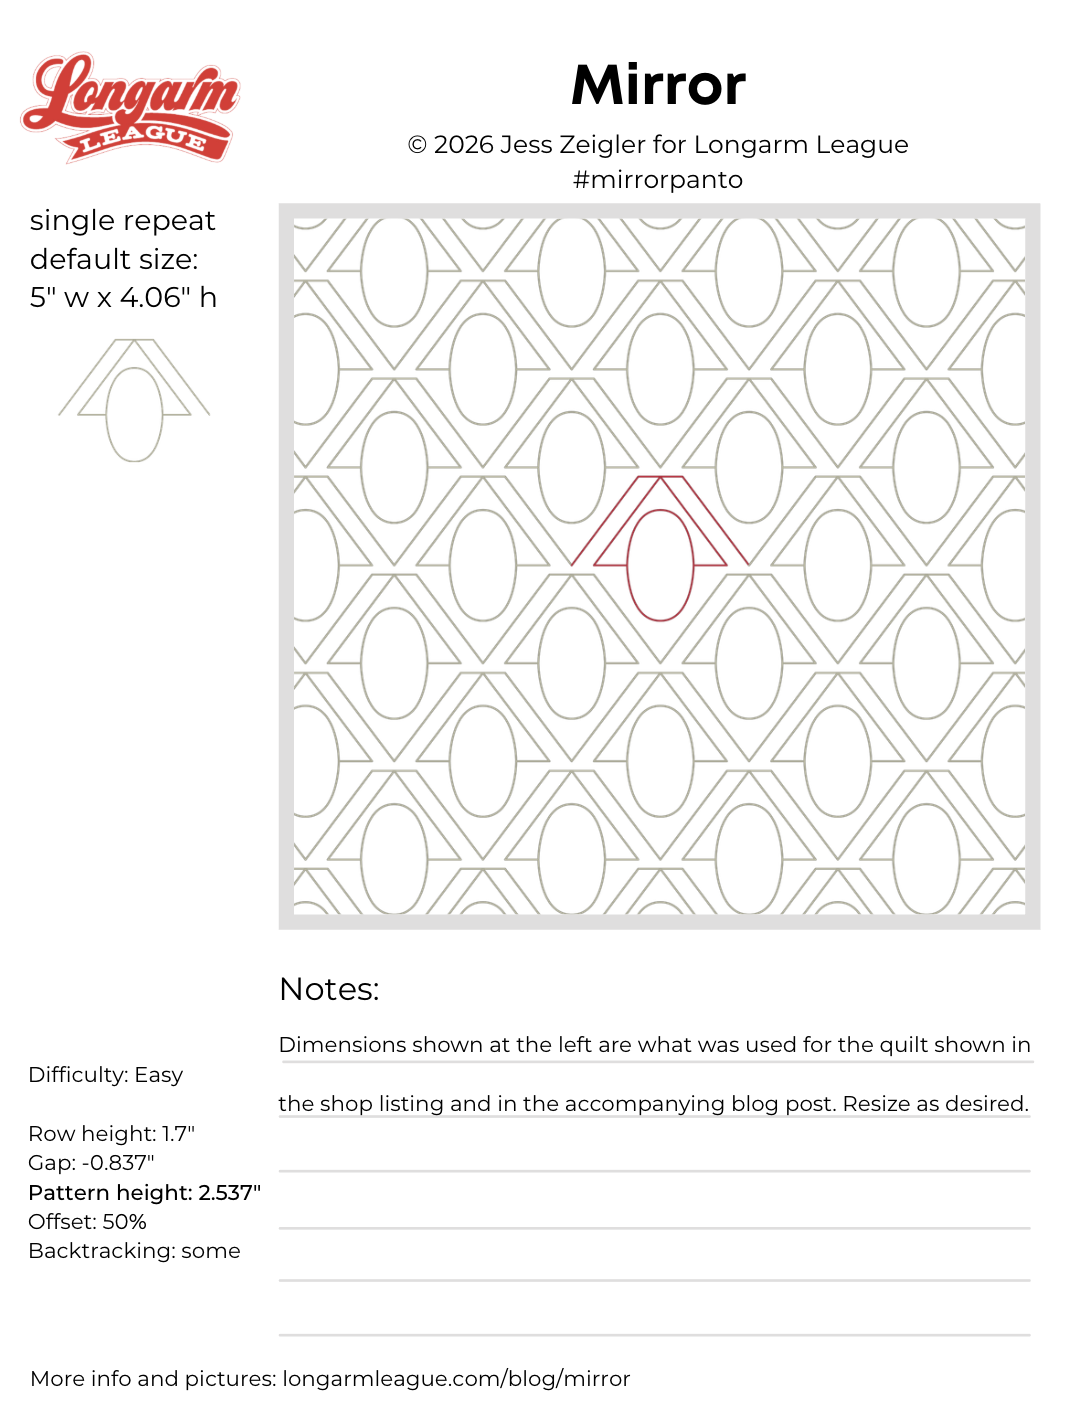
Want new digital pantograph designs like this one on release day (and at a deep discount)? It now also includes access to our online community. Sign up for our Digital Panto Club and get them delivered directly to your inbox on the first Wednesday of each new month. 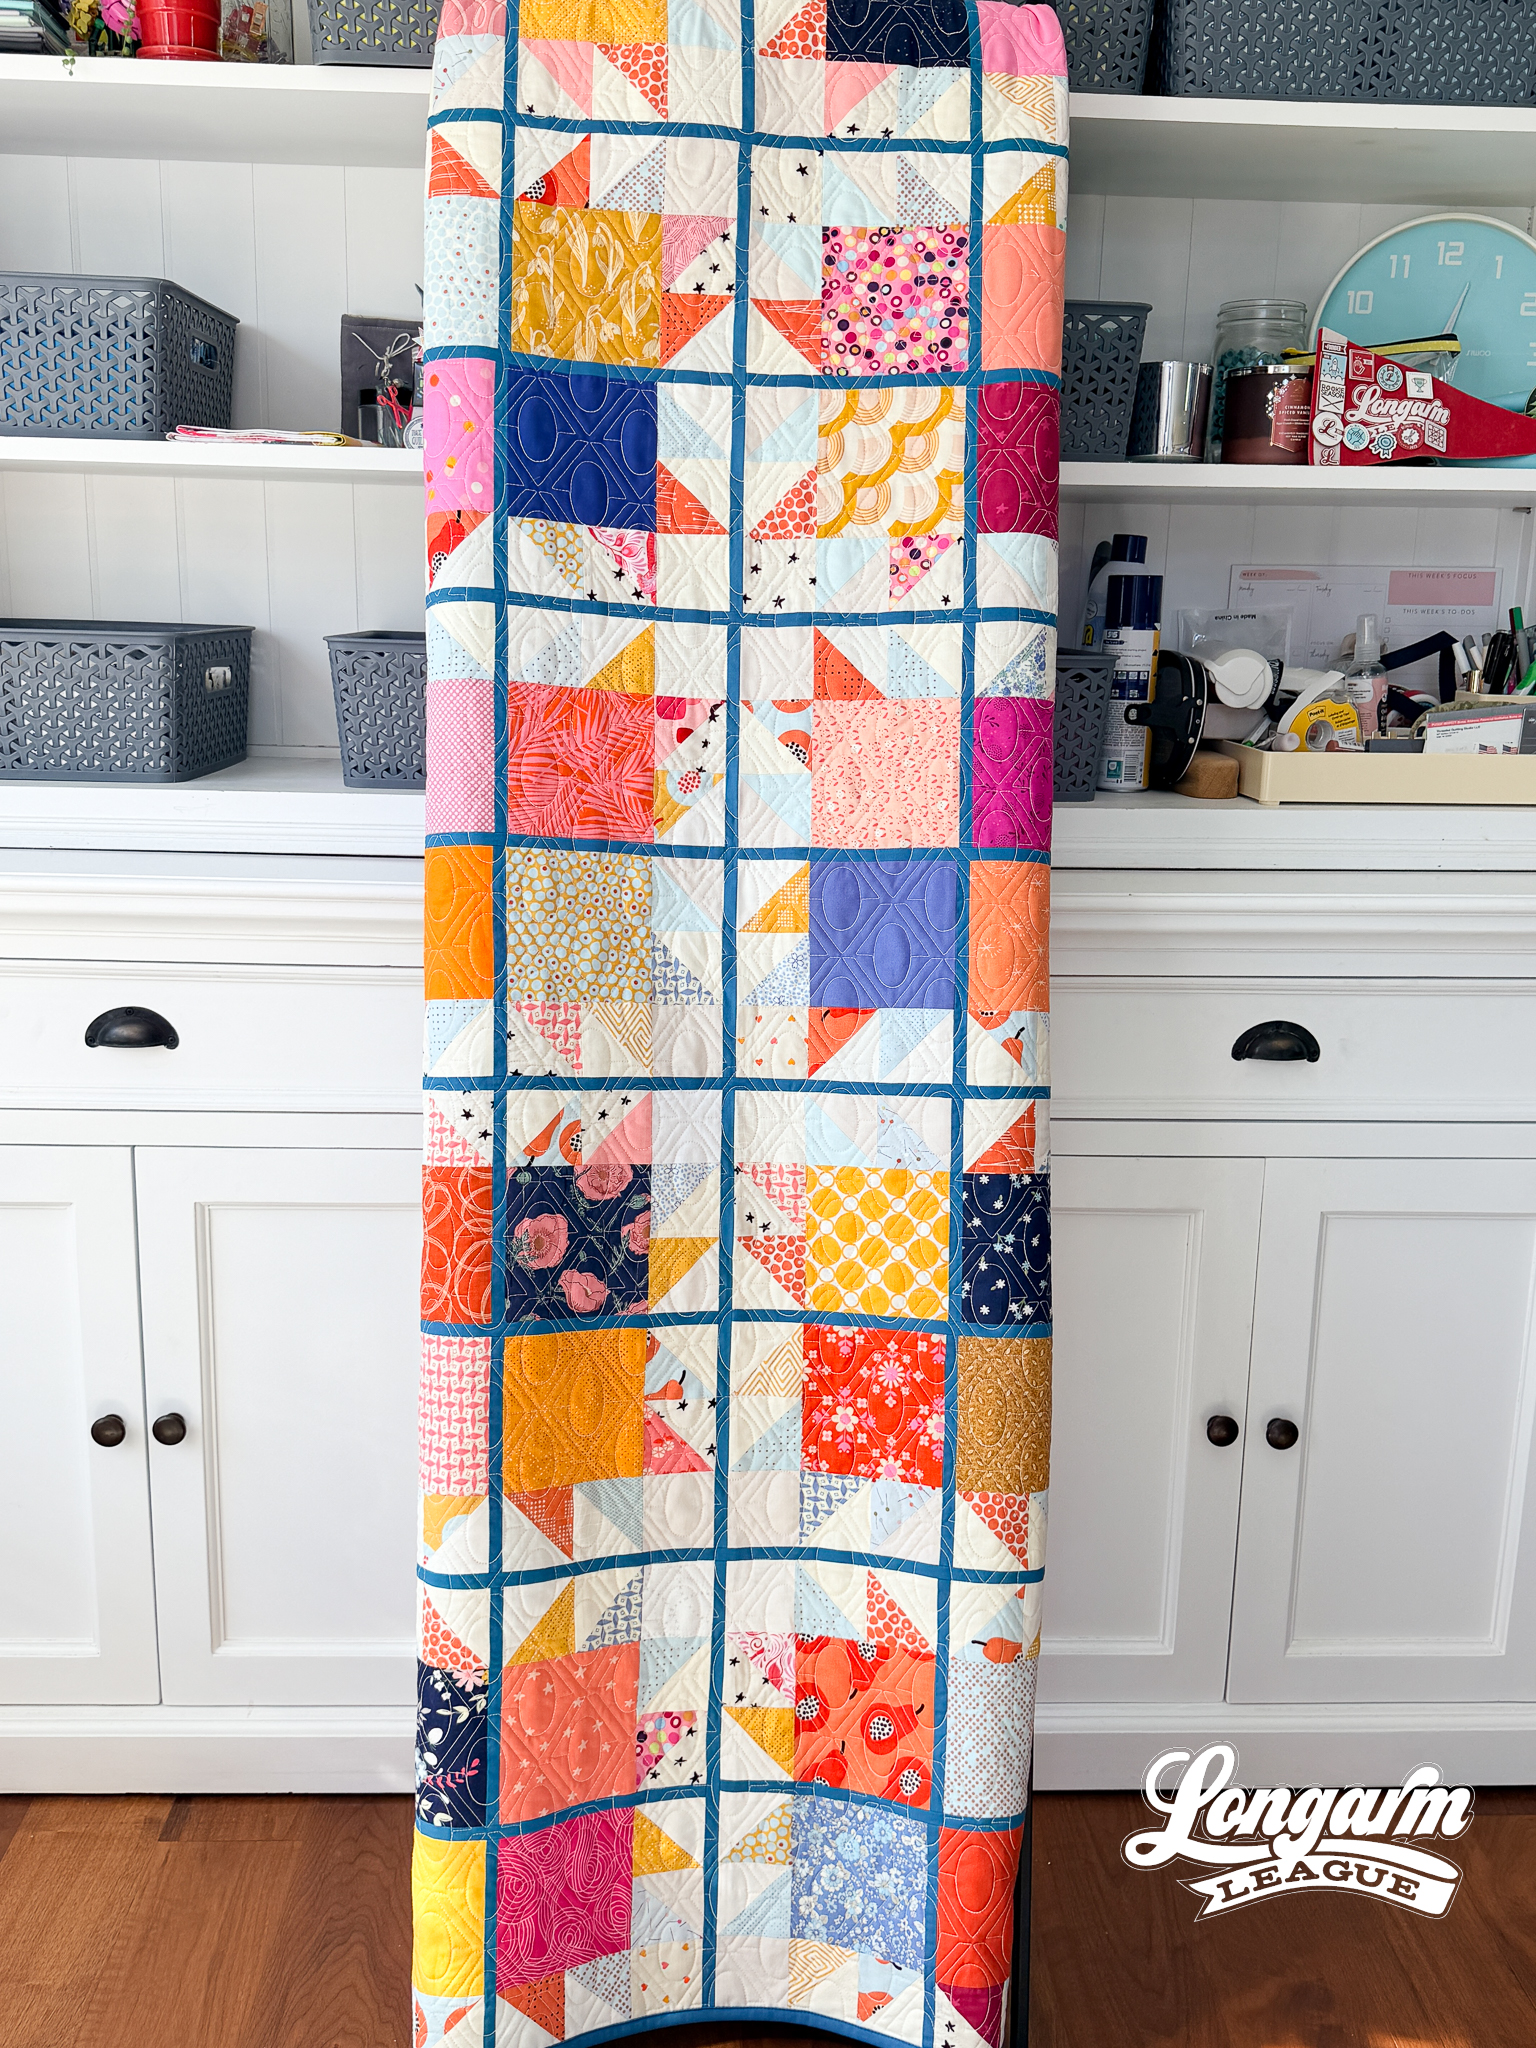

Jess Zeigler
Longarm League Commish & Owner of Threaded Quilting Studio, LLC.


