
Taffy E2E Digital Longarm Quilting Design
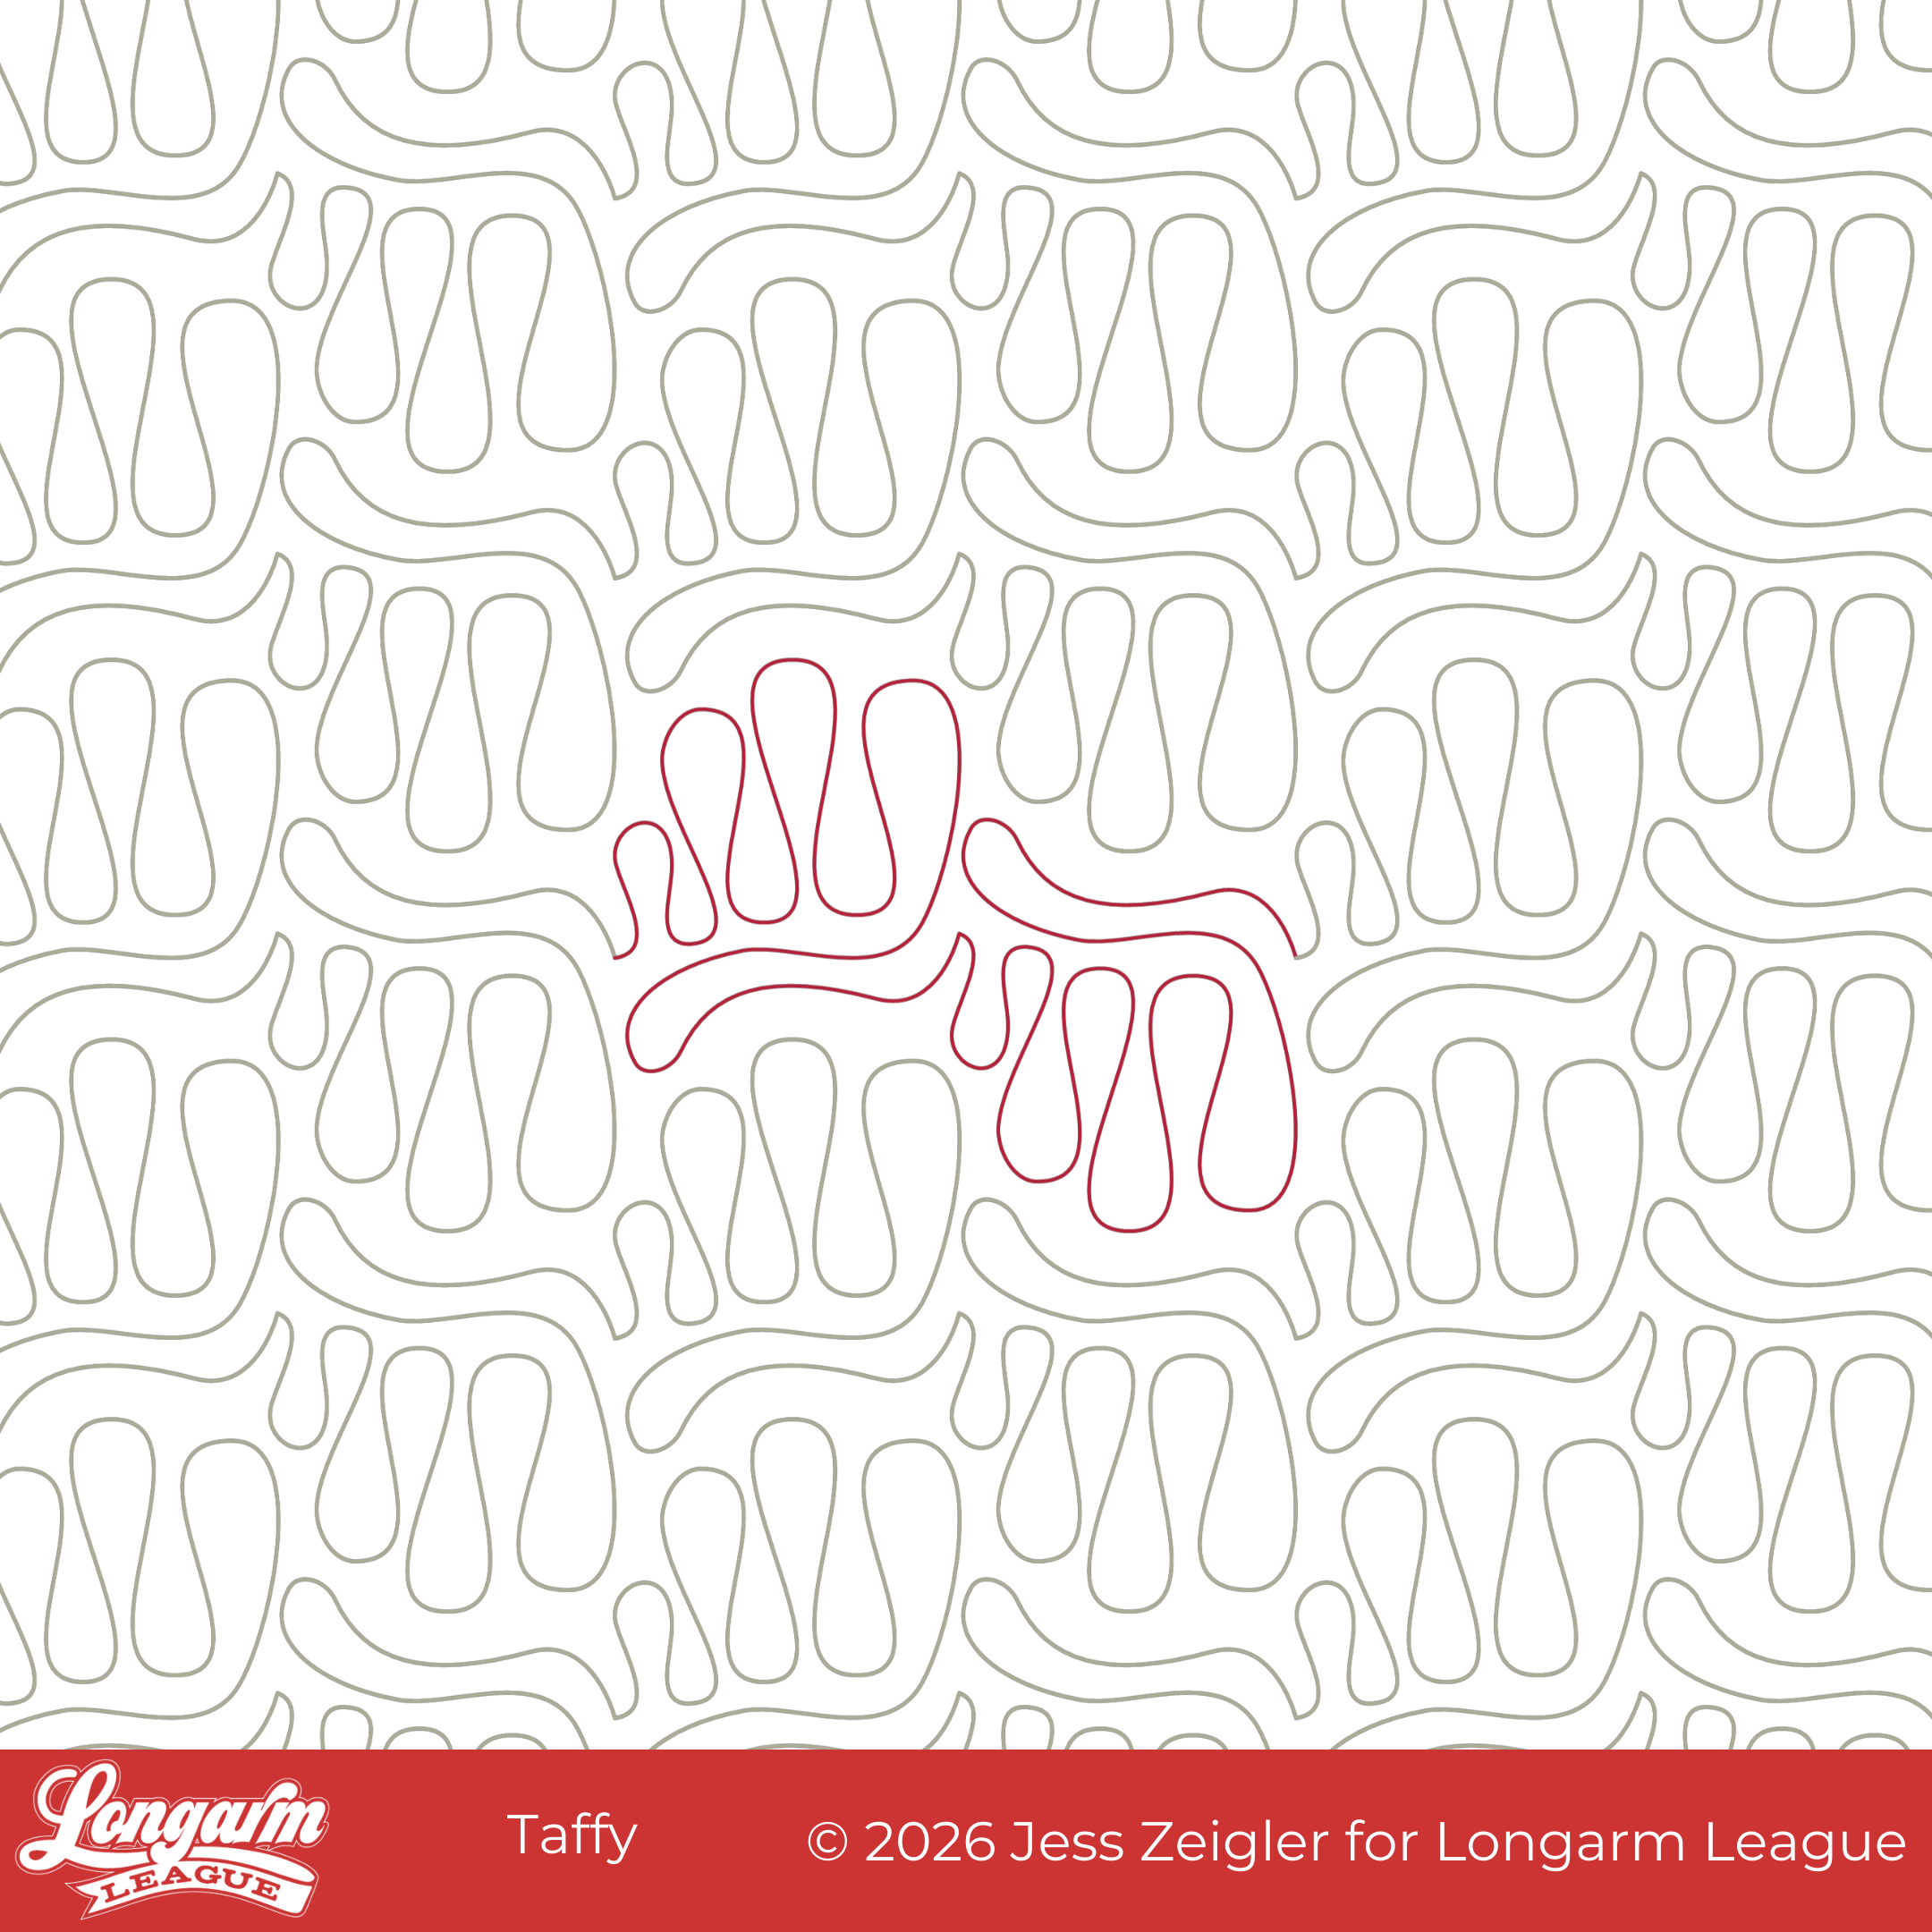
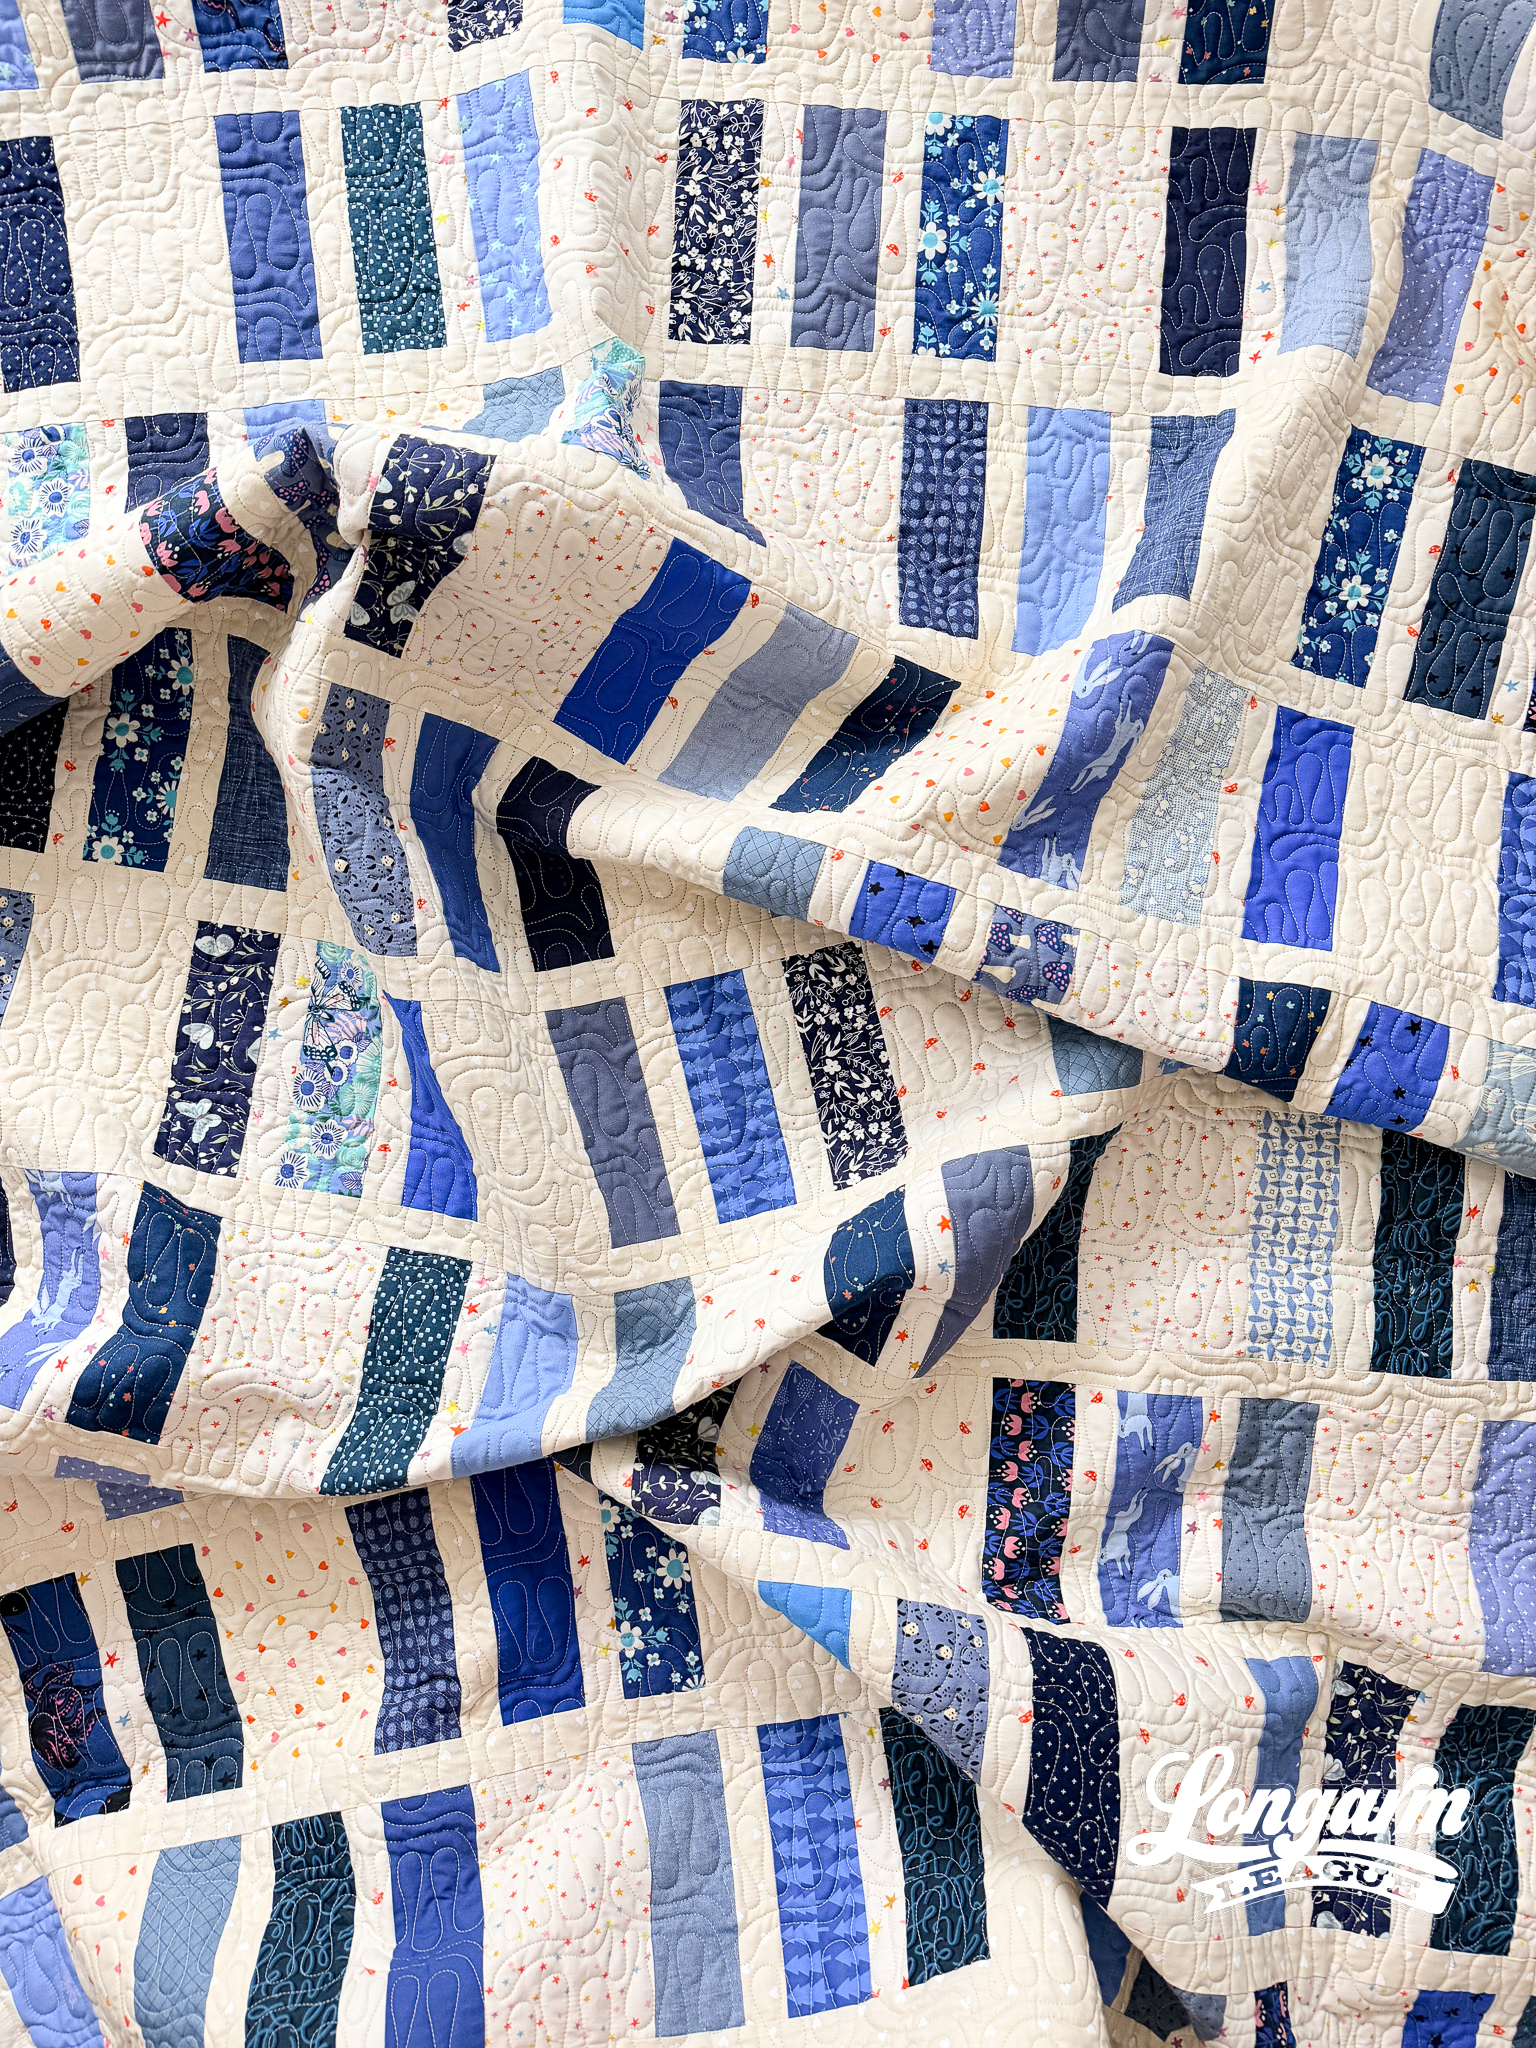
Taffy is an organic, flowing edge-to-edge design built around soft, rounded capsule shapes — like ribbon candy, but looser and more relaxed.
The idea actually came to me on a walk. I was picturing a stair-step of vertical bars connected by a horizontal arch, something with a repeating, interlocking rhythm. When I got into my design software and started playing with the concept, the straight-angled rectangles looked too geometric and severe. That's when I deleted some shapes and rounded the corners. The curvier shapes not only looked better, but are also easier to quilt, so that was a change worth making.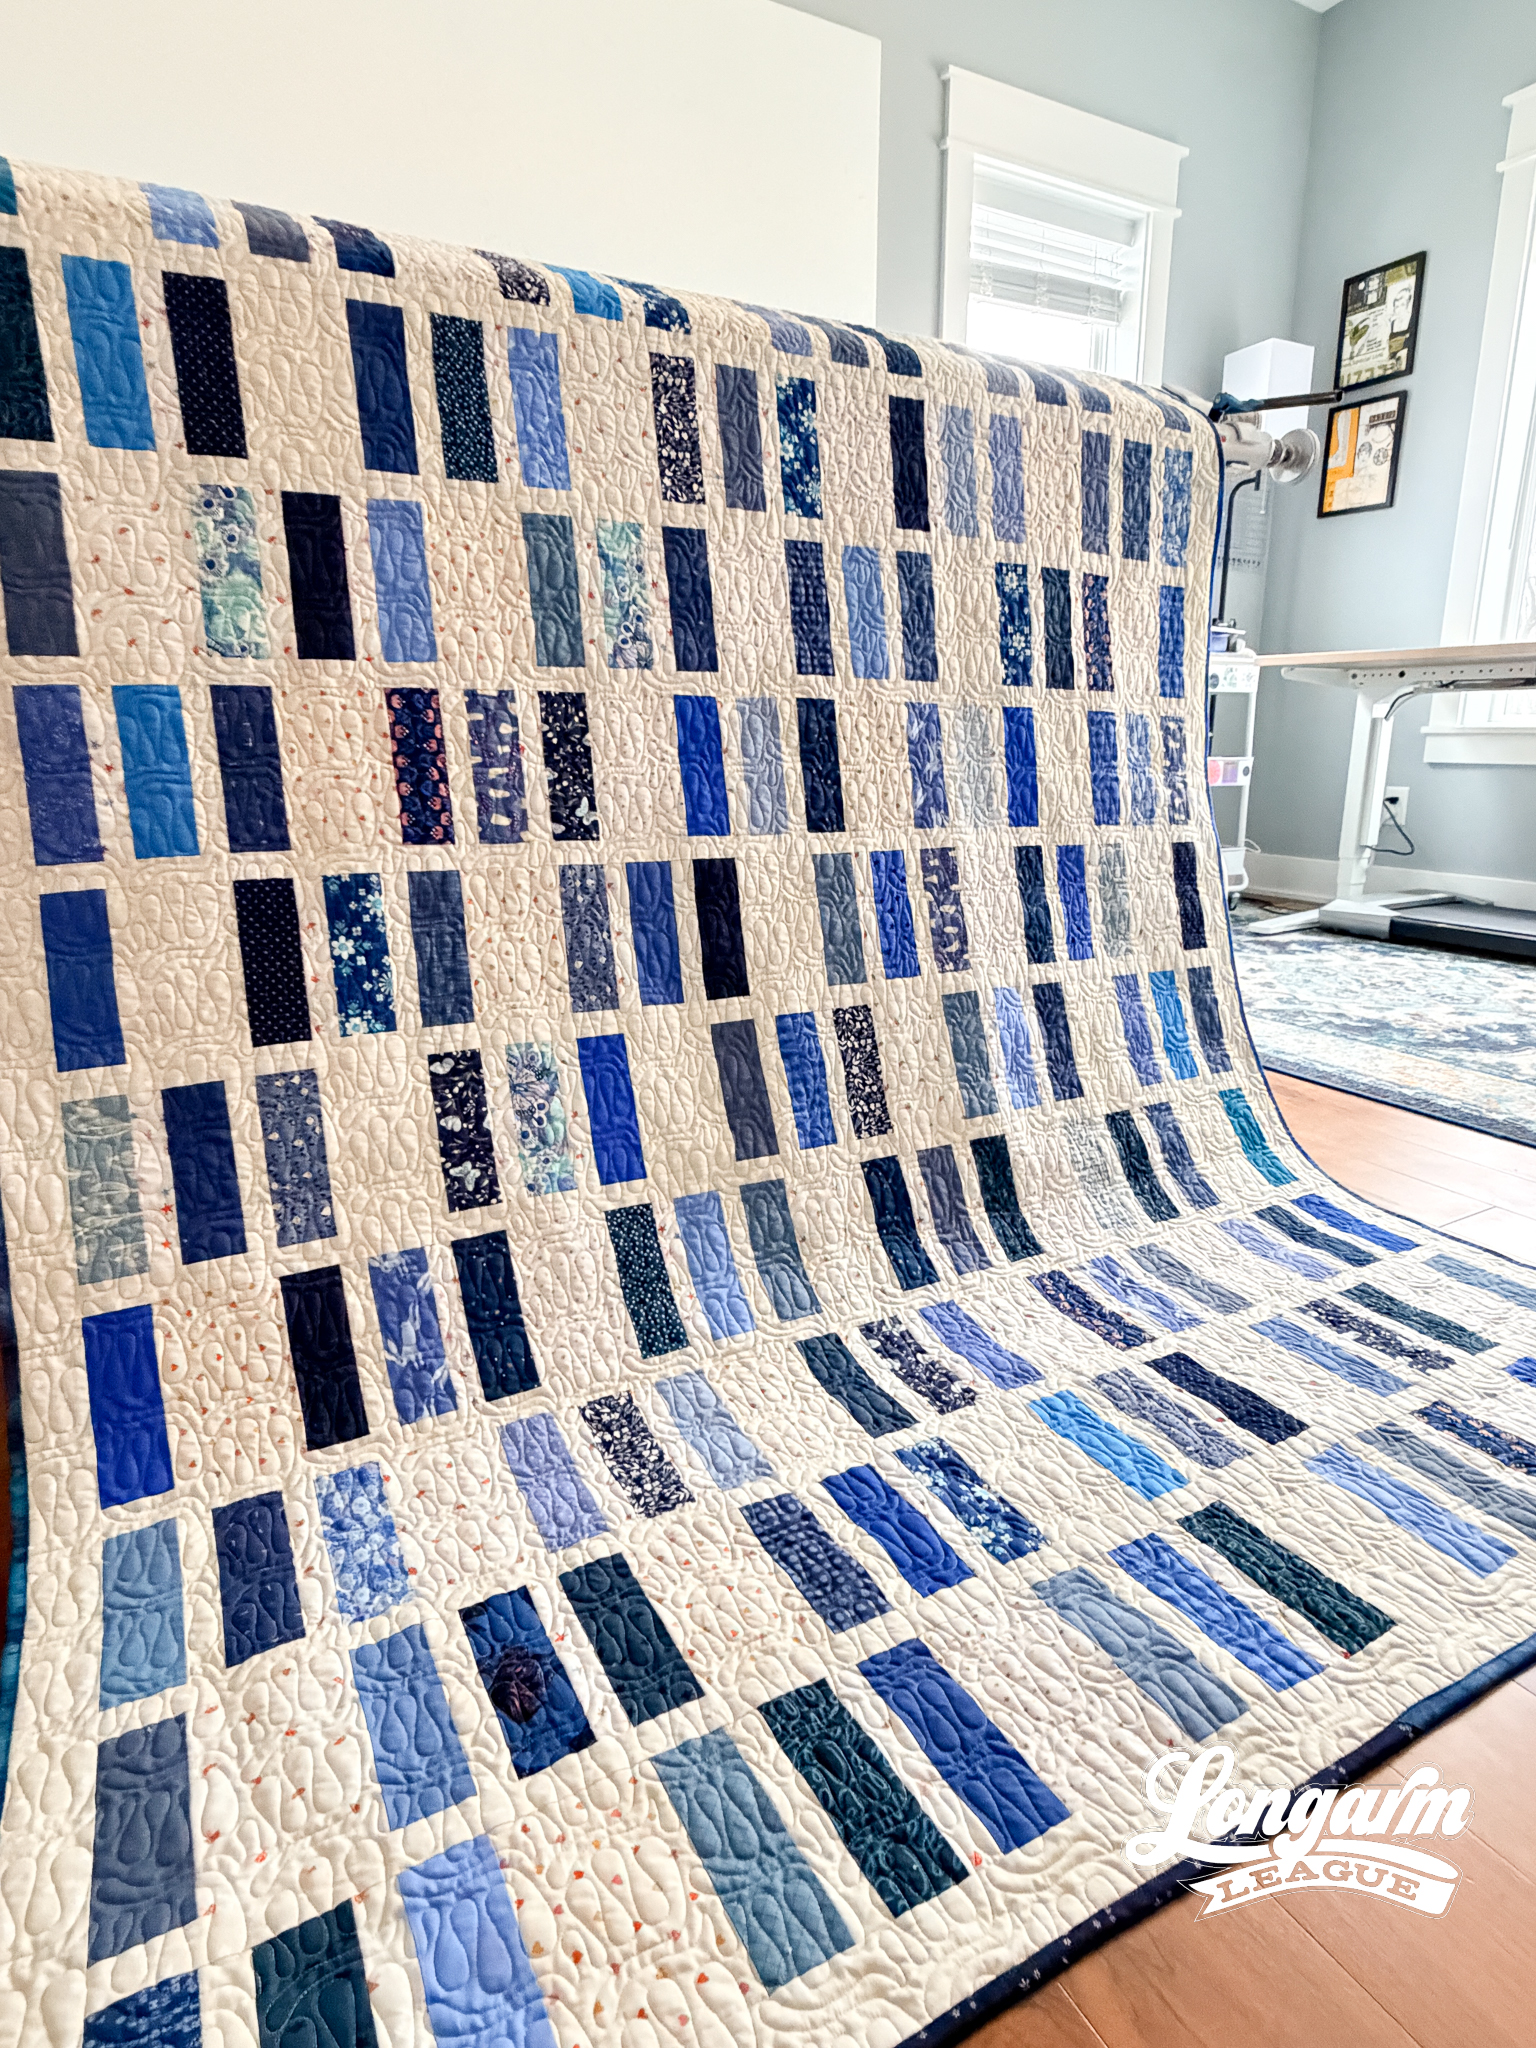
The result reminds me of ribbon candy. But since there are plenty of ribbon candy-adjacent designs floating around in the quilting world, I landed on Taffy instead. It feels more organic to me — a little less structured, a little more free.
That tension between organic and intentional is really what I was after with this design. I wanted the capsule shapes that make up the repeat to feel flowing and natural, while keeping the overall stitch density and spacing uniform and even. I also wanted it to be easy to realign, which it is.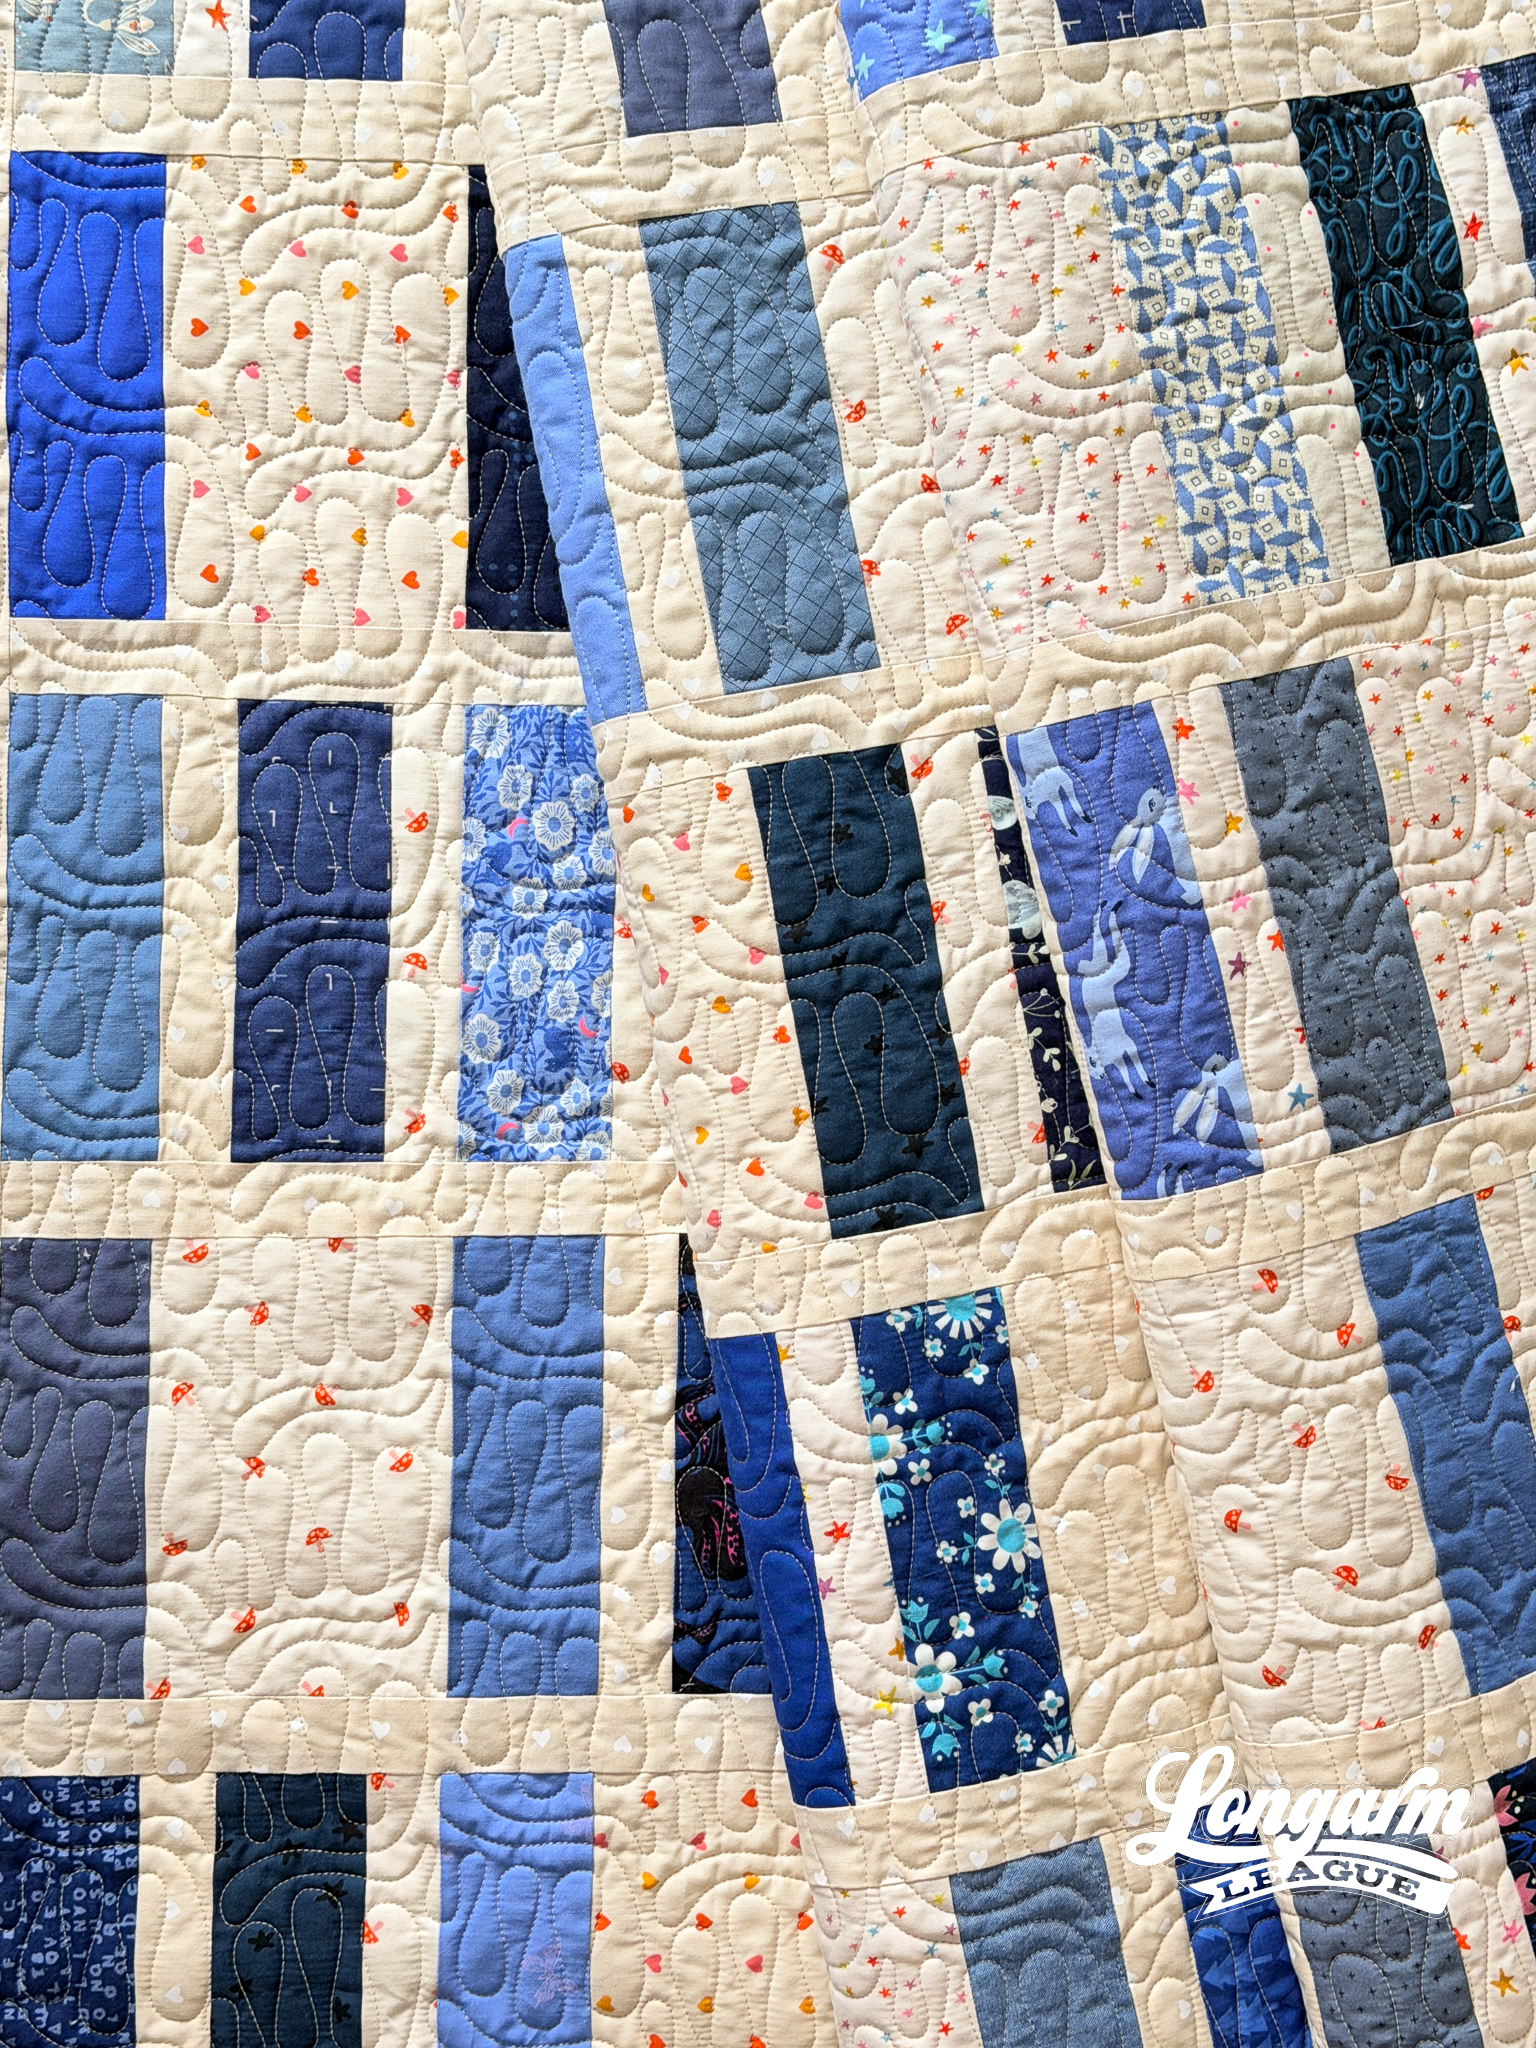
Taffy would work beautifully on modern quilts, or any quilt where you want movement and texture without a geometric grid feel. The playful quality of the design would also be great on quilts for kids or for a client who wants something a step above a basic meander but isn't looking for something highly structured.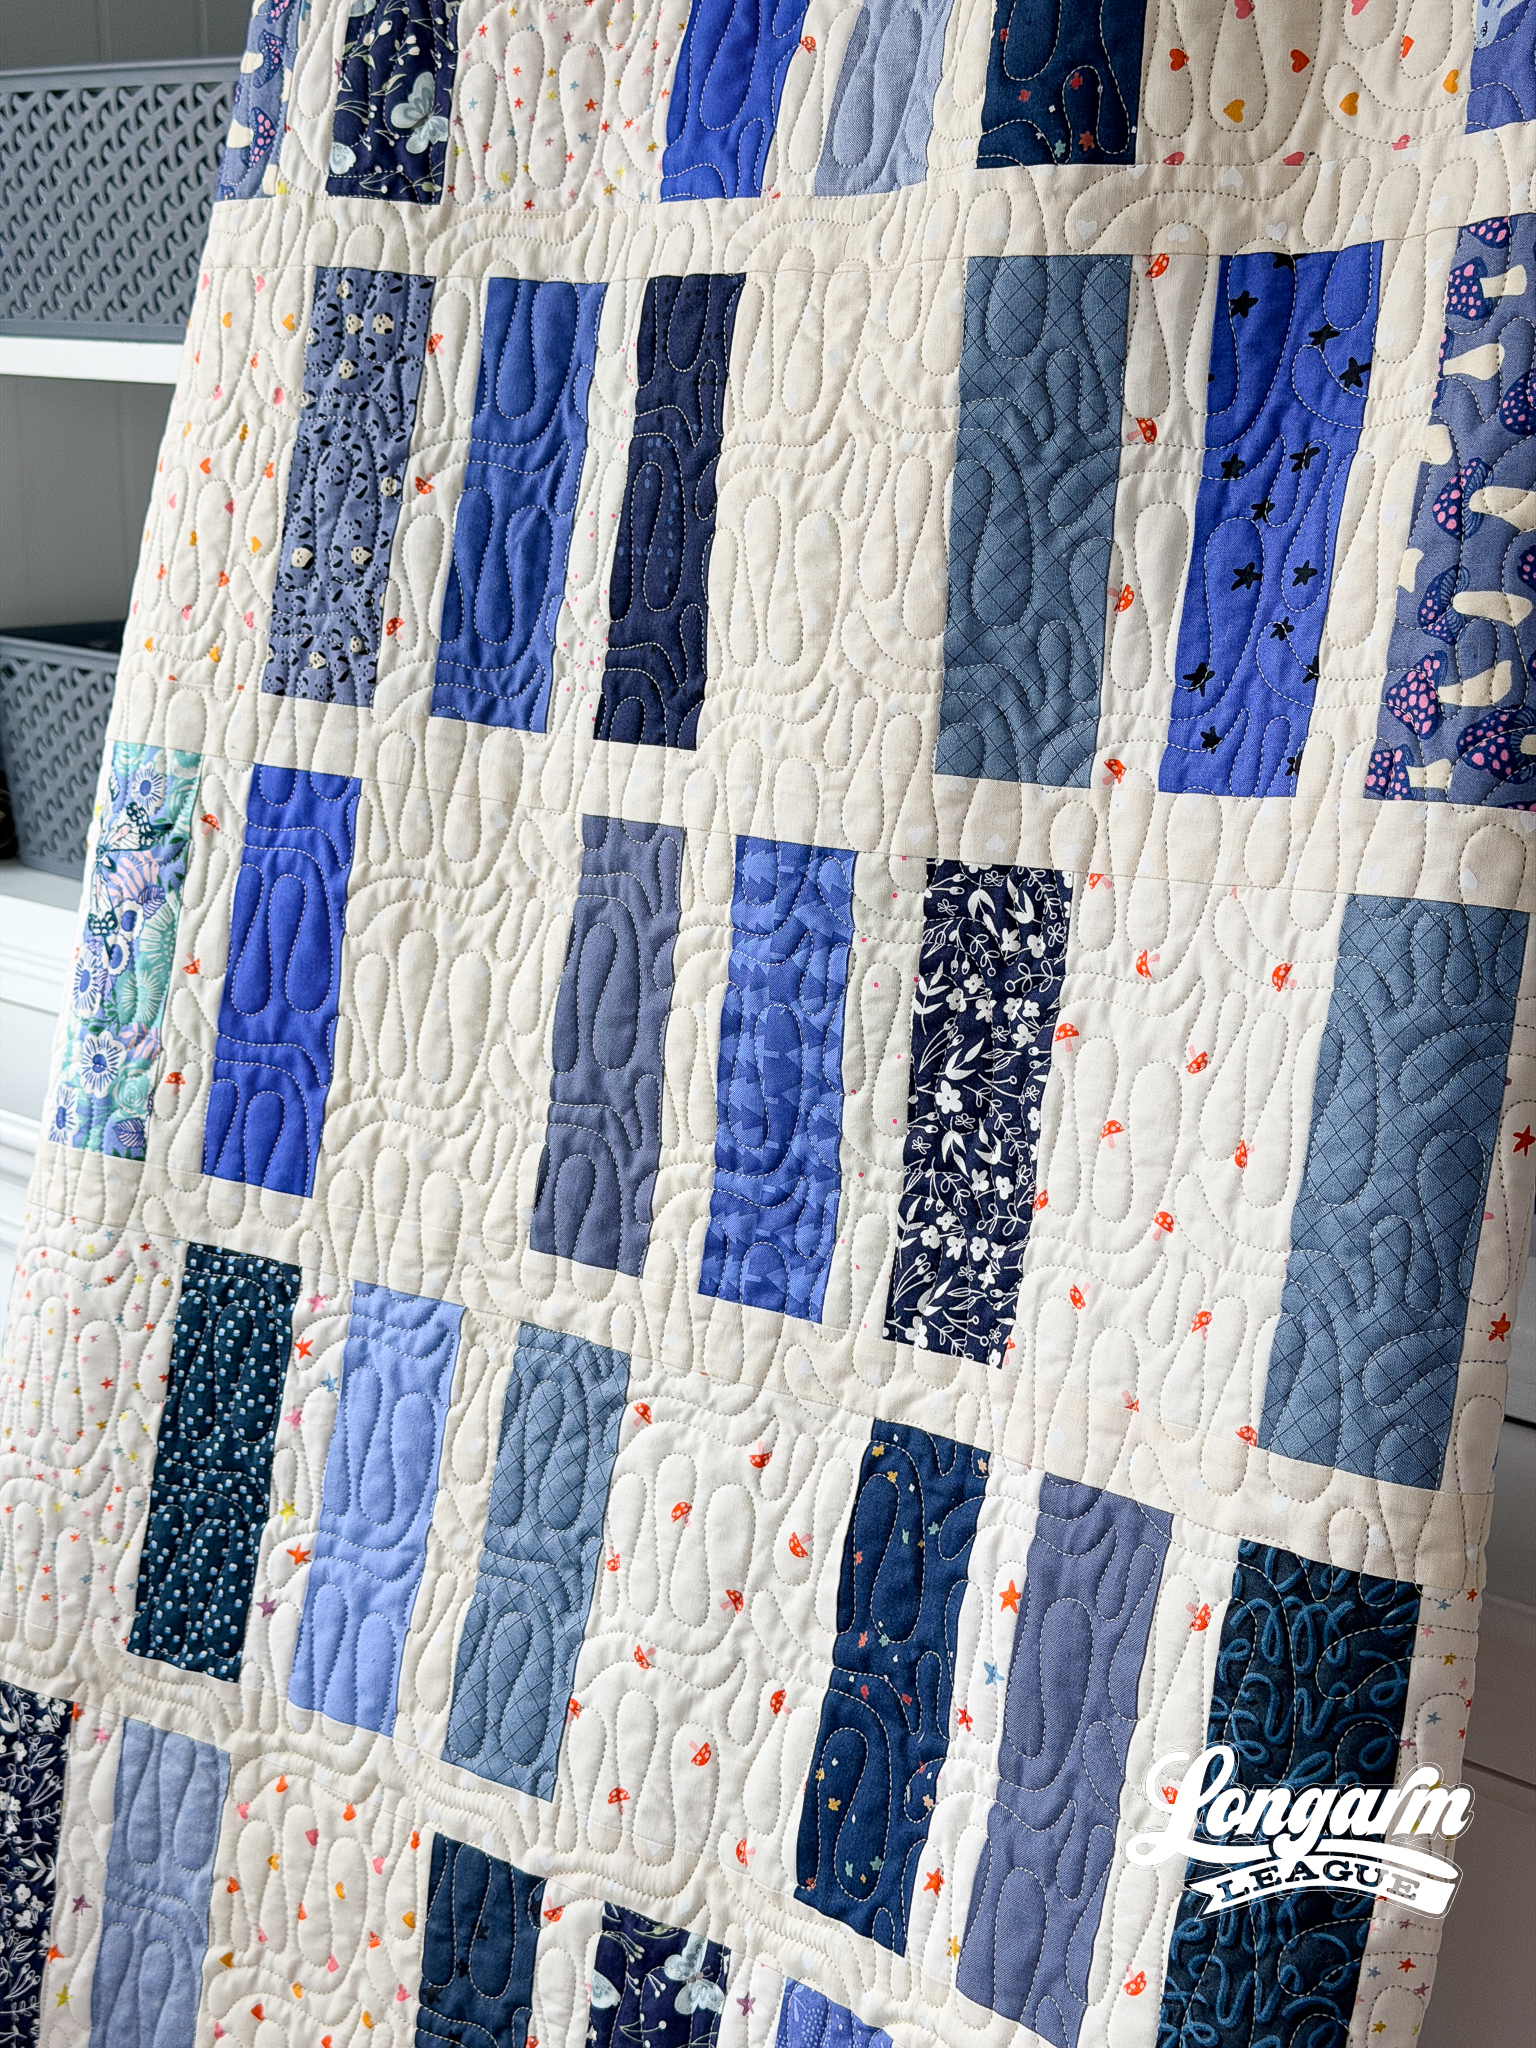
The Quilt
Quilt Pattern
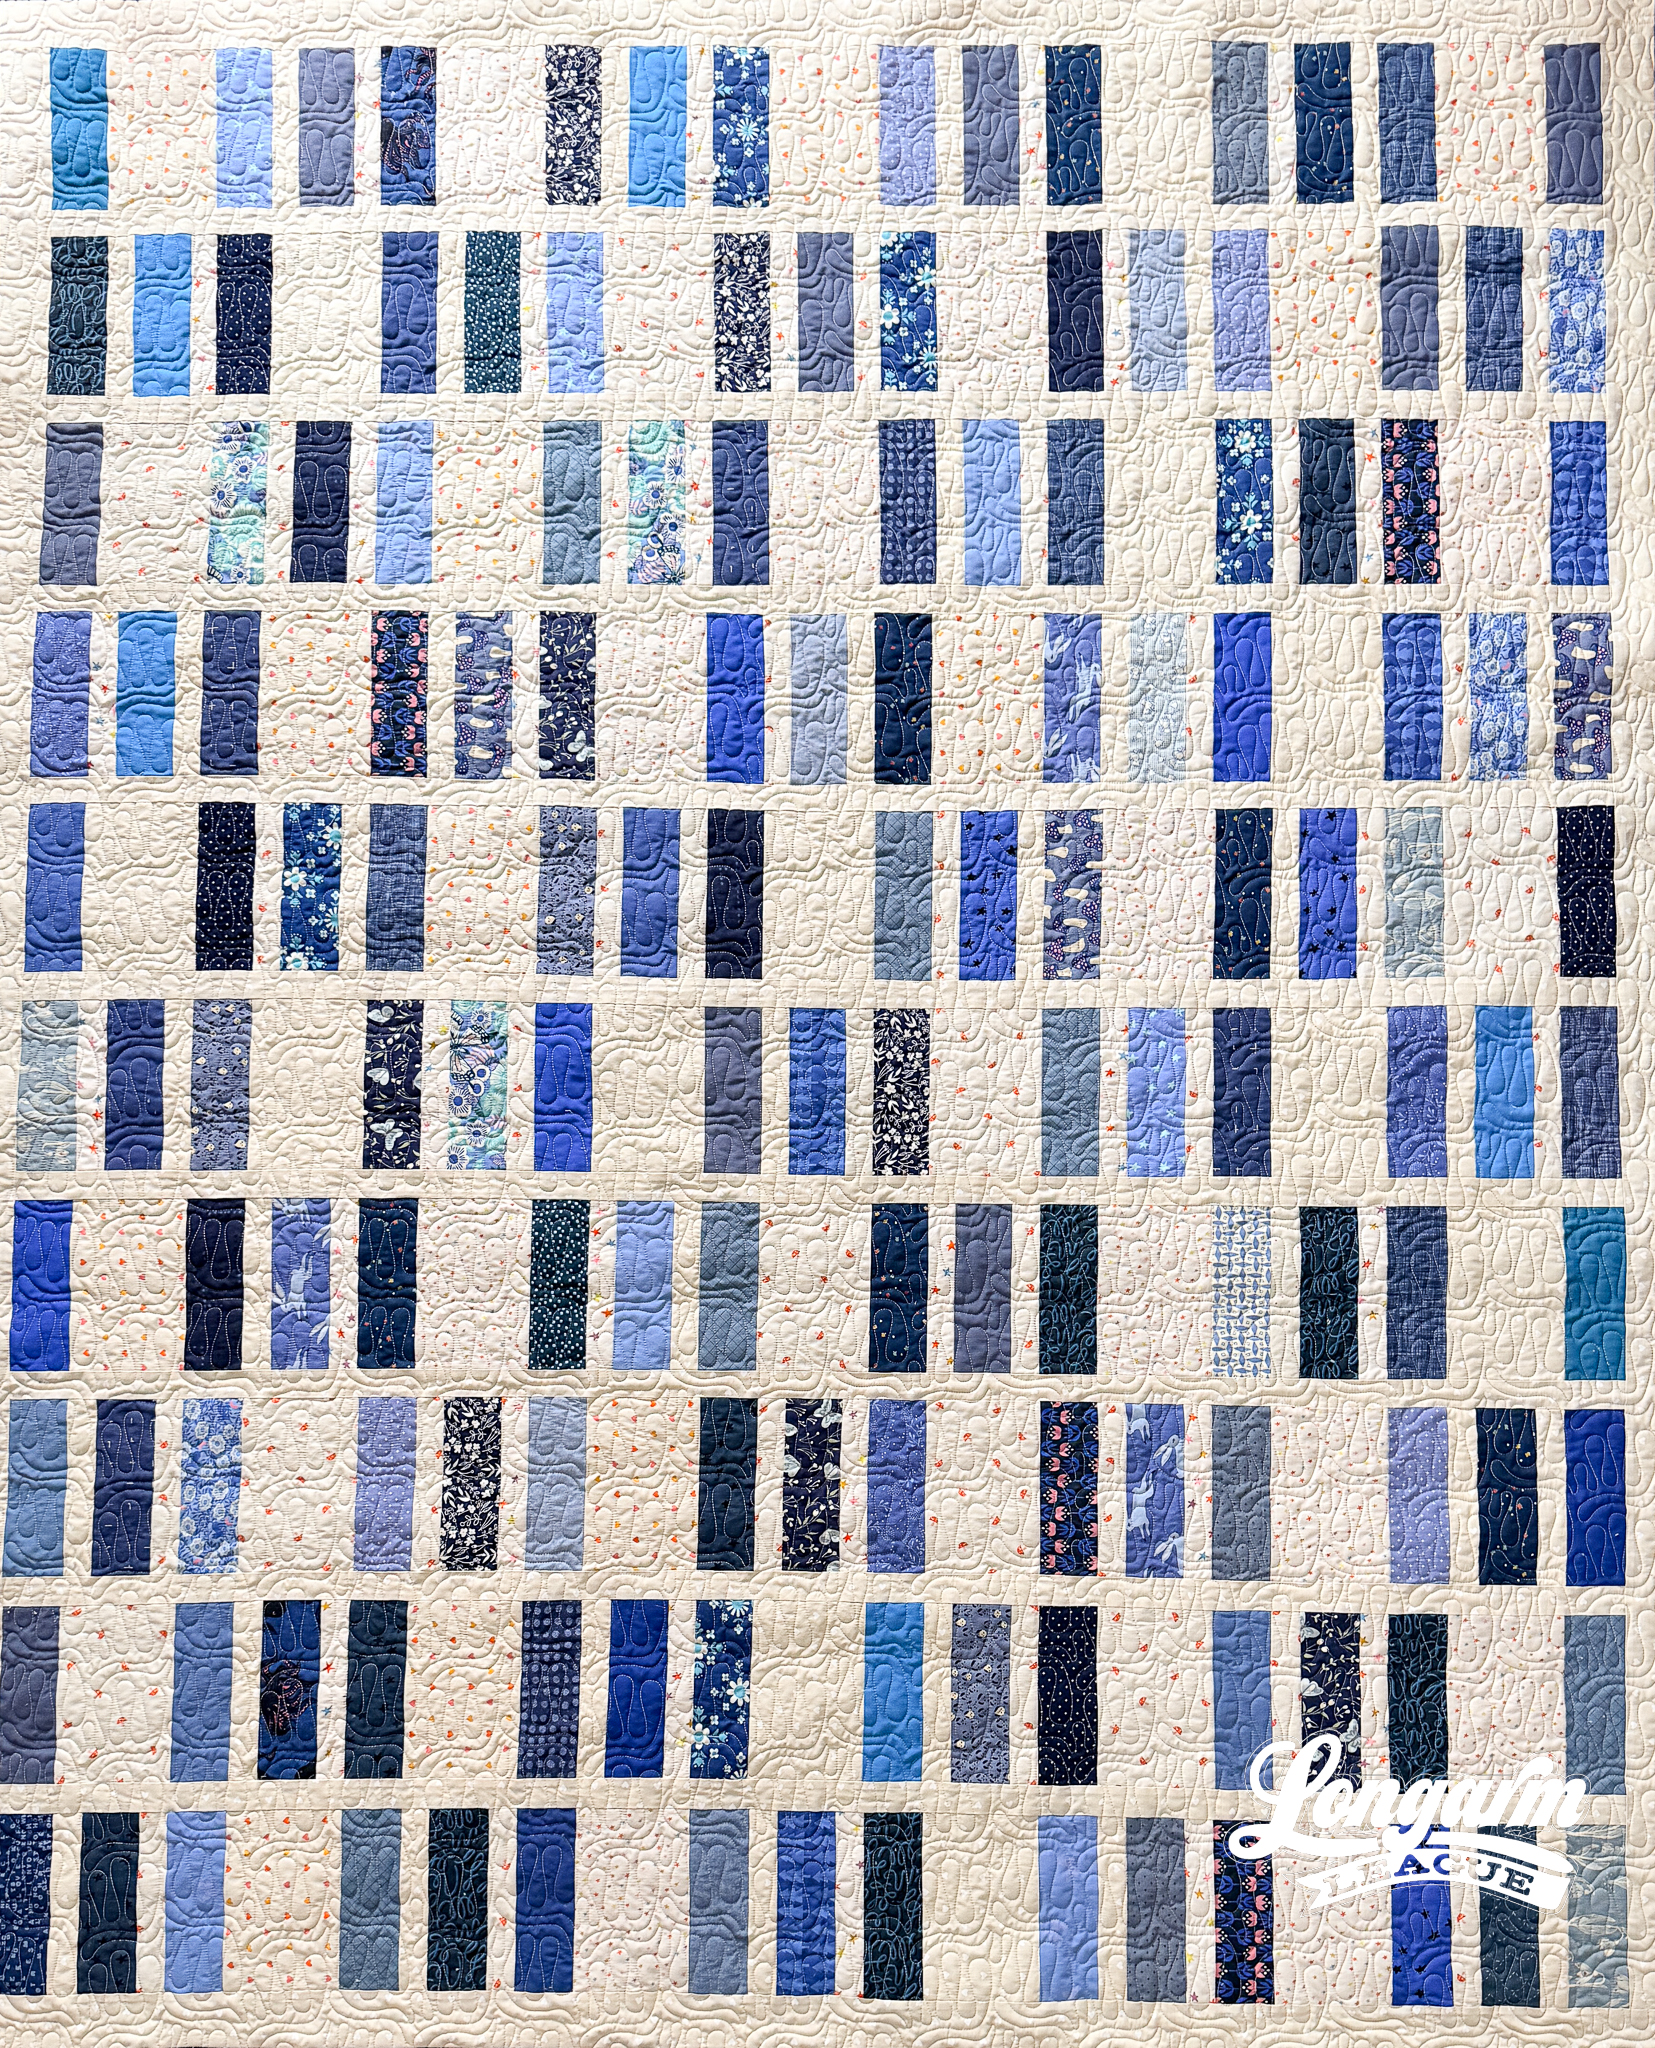
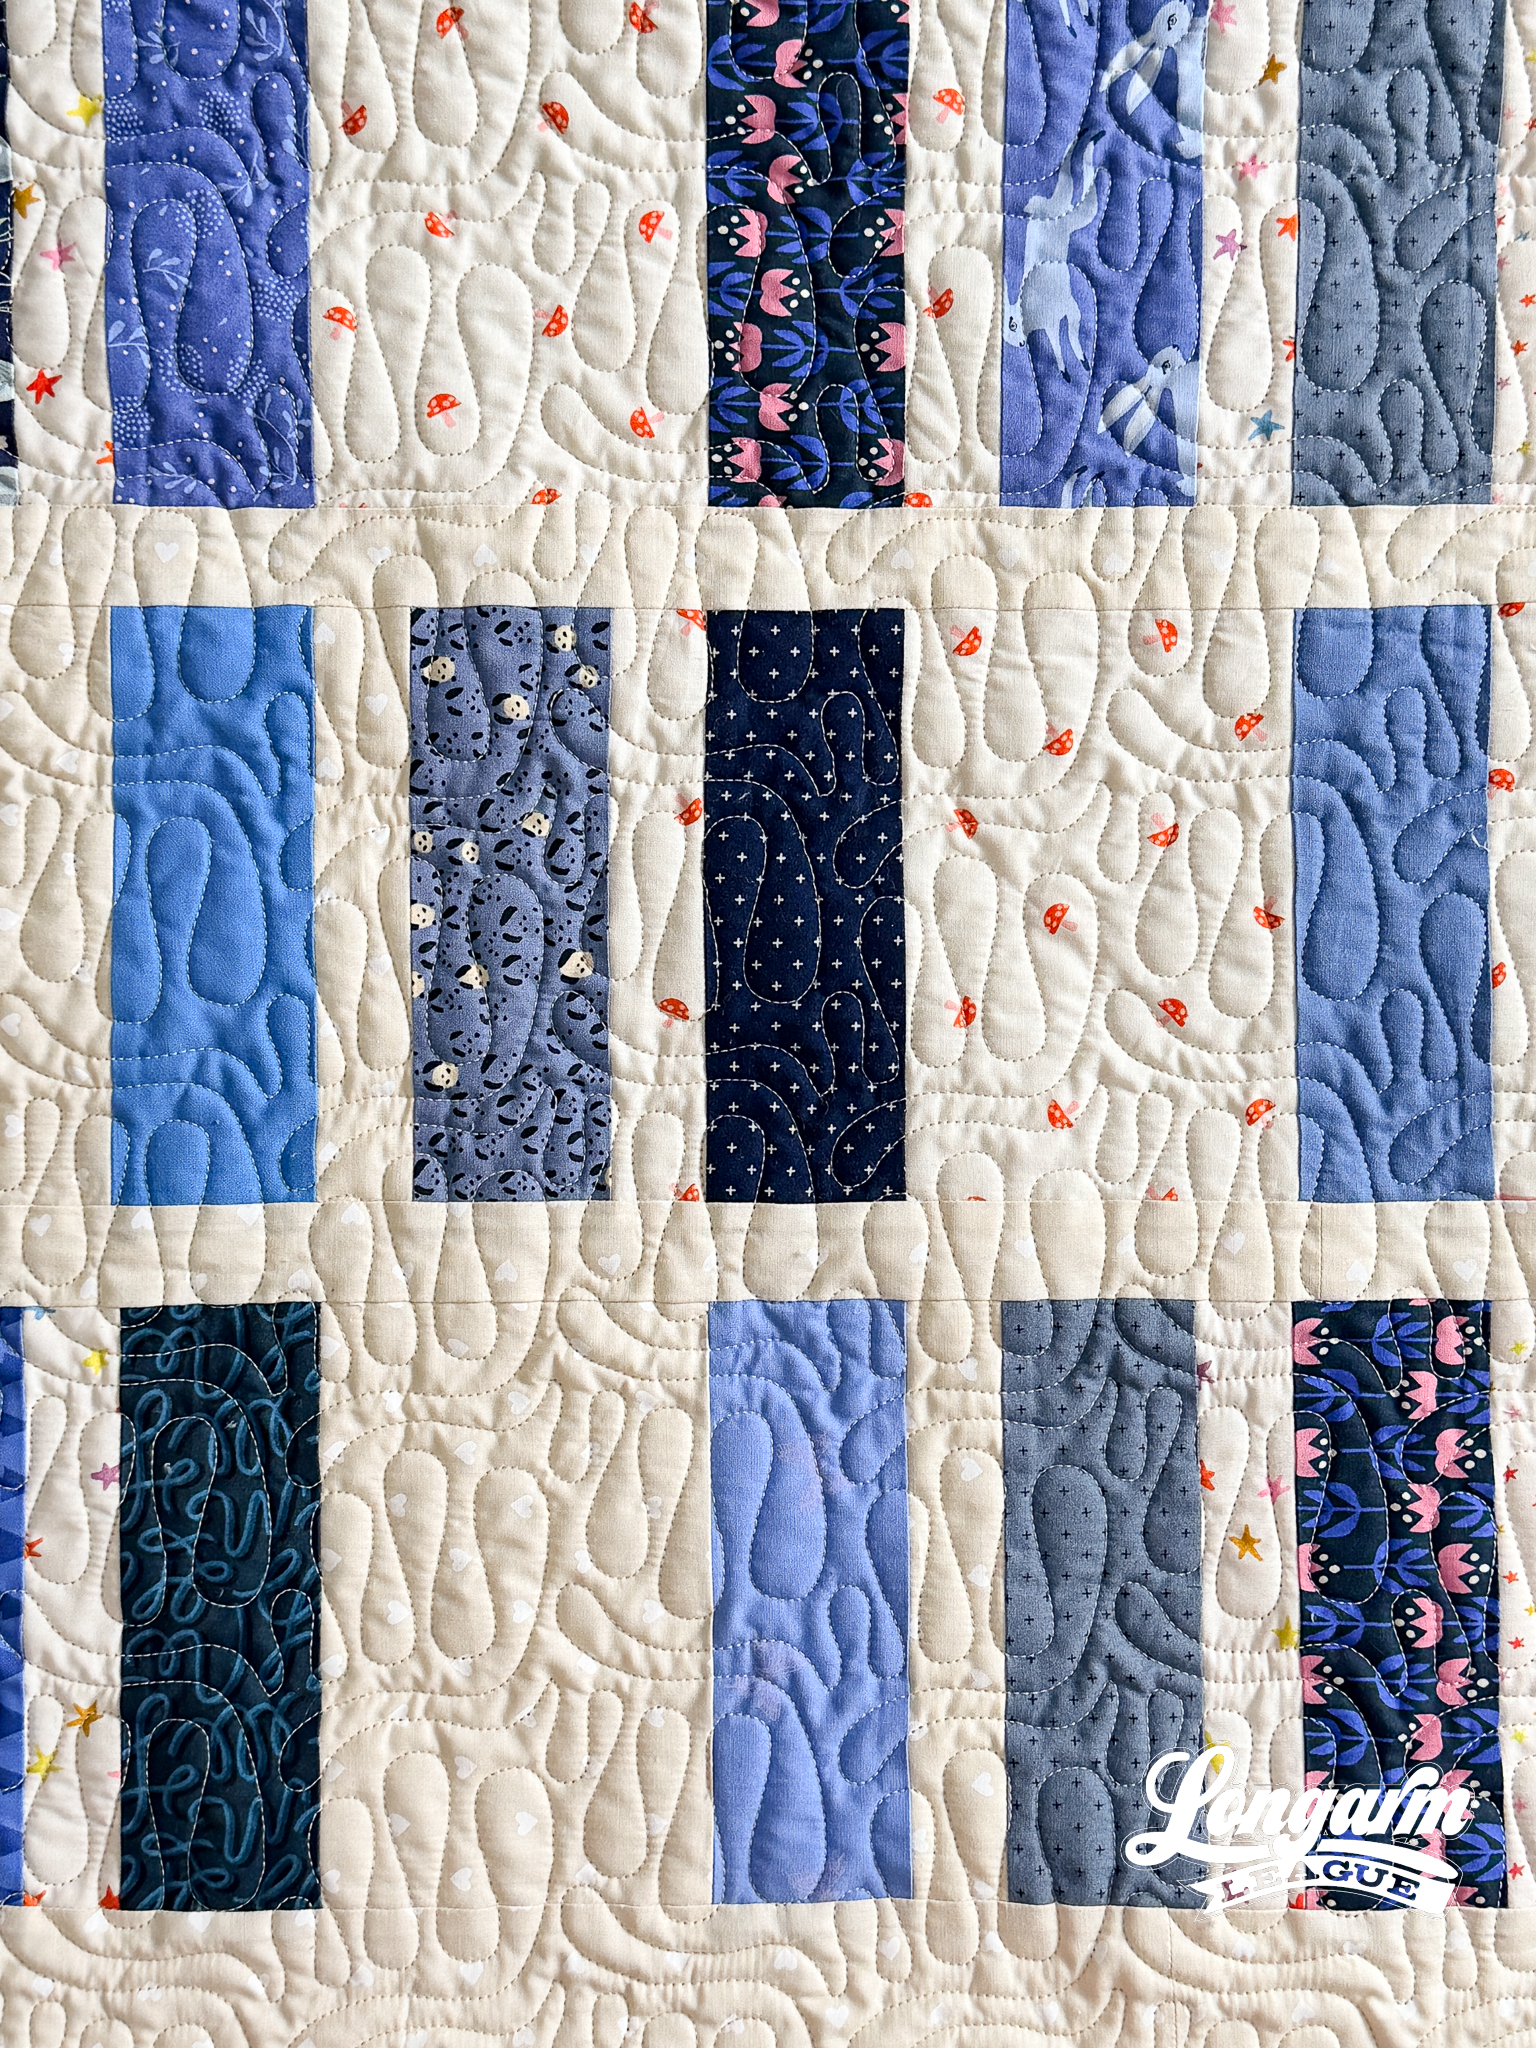
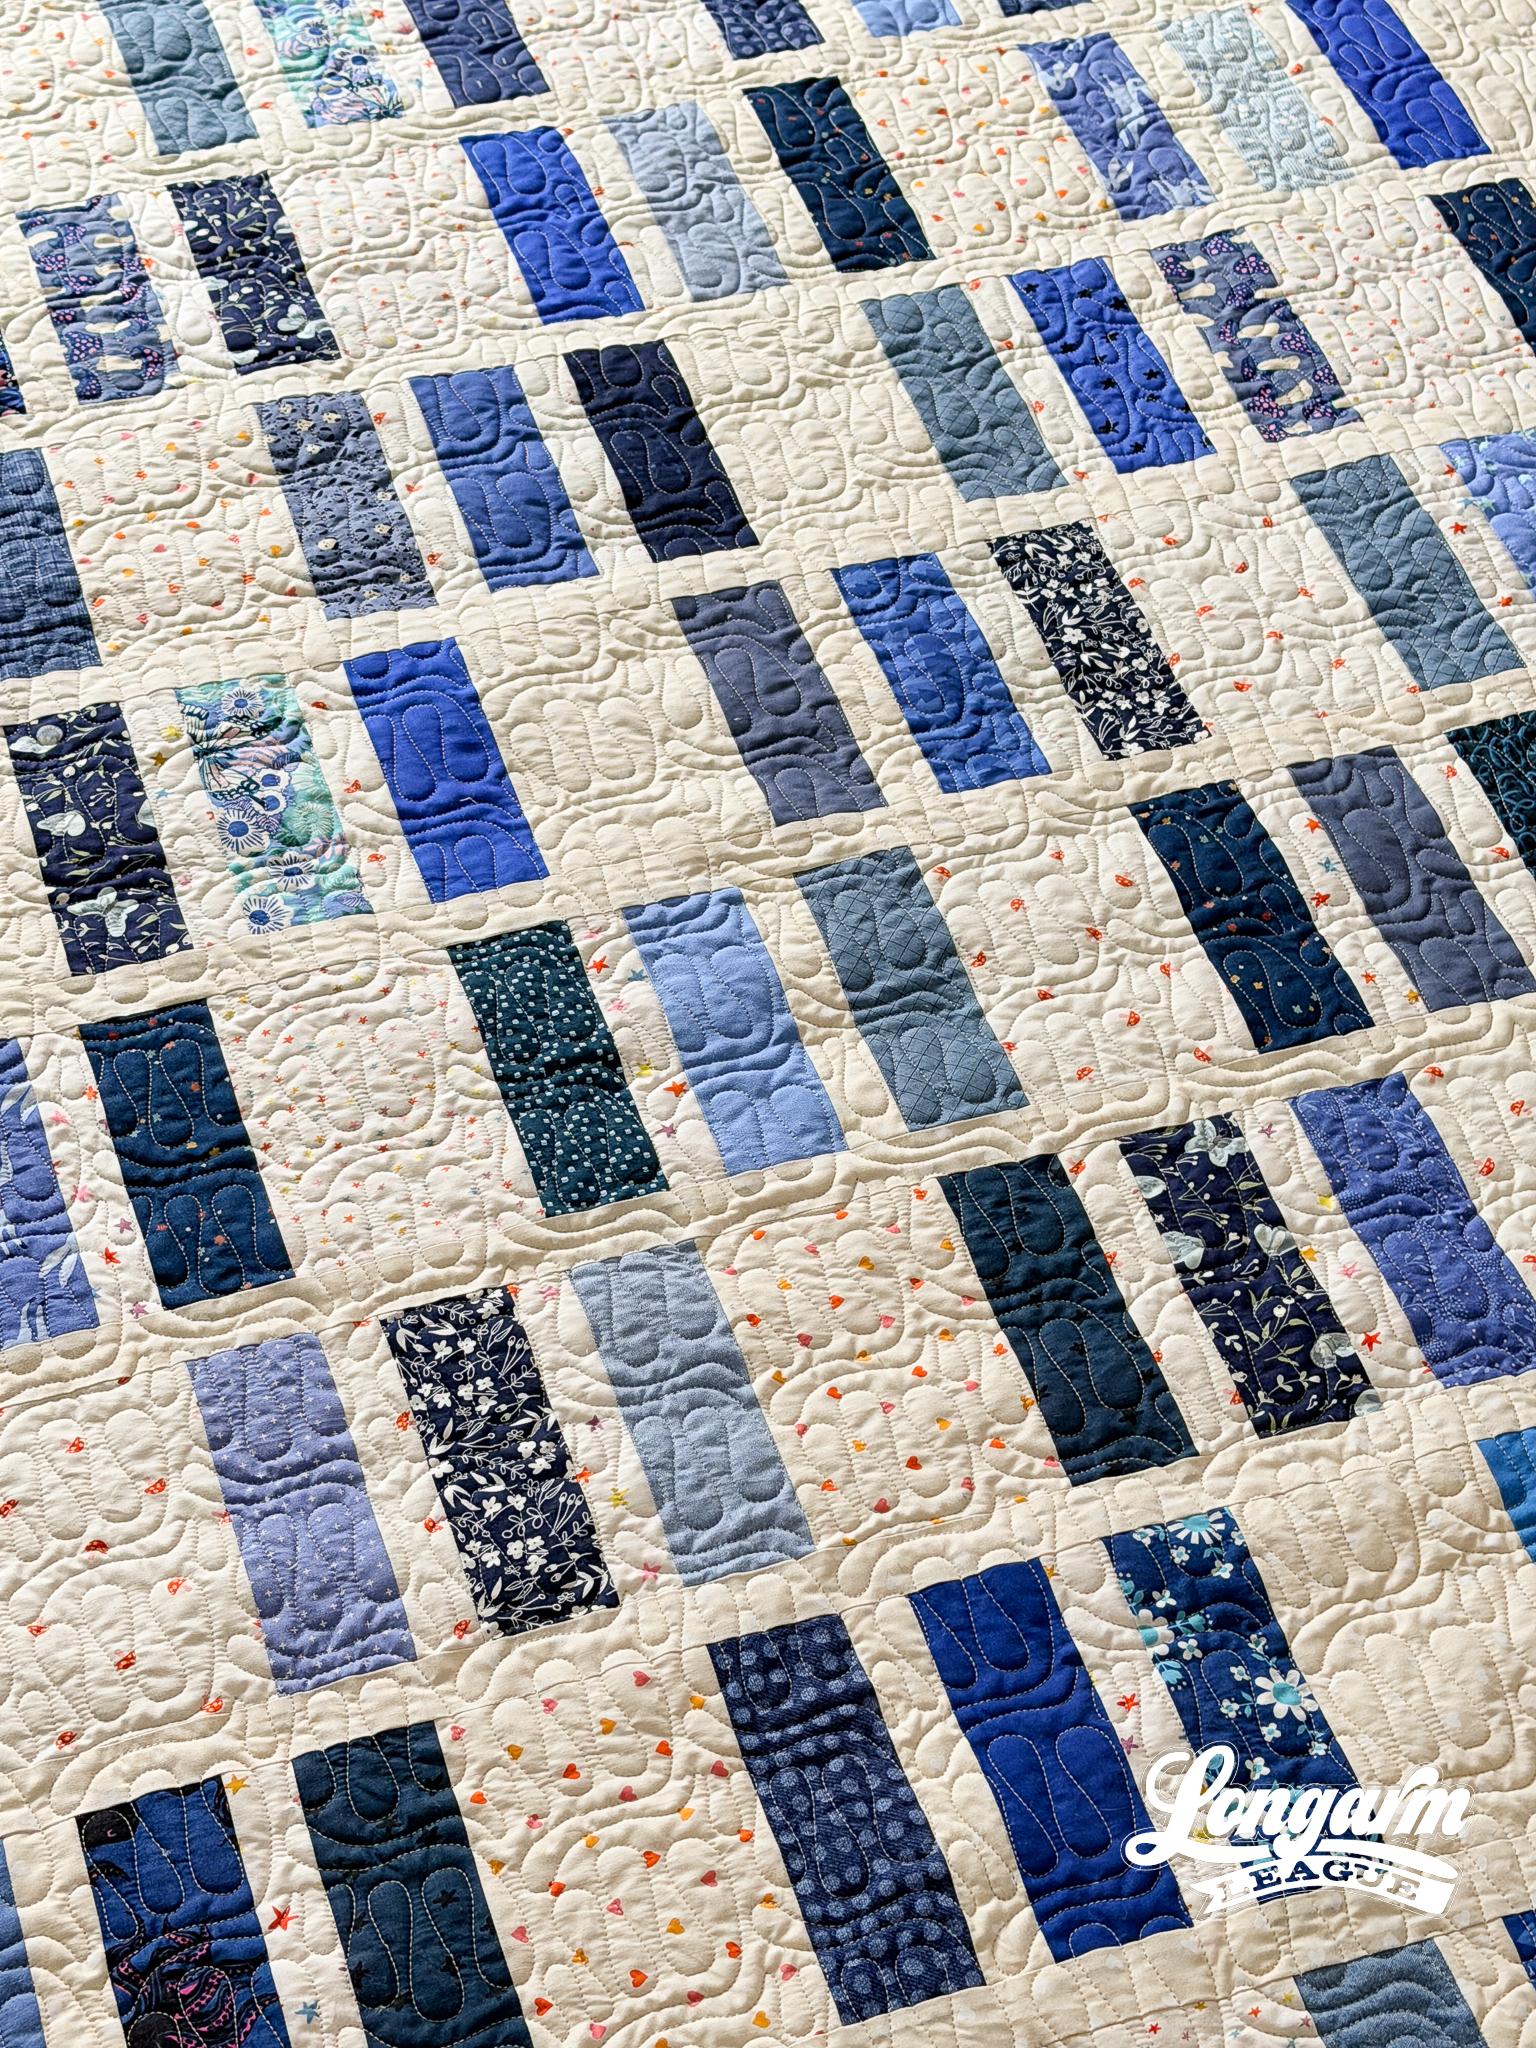
The quilt featured in this blog post is The Natalie Quilt by Kitchen Table Quilting. I made it at a retreat — which, if you've never finished a quilt top surrounded by friends, snacks, and the hum of sewing machines, I highly recommend.
I feel like a broken record when I talk about the quilts I finish at retreat these days! I'm up to three retreats per year, so retreat-quilting has become the norm and not an outlier event. I'm so thankful for this! I typically cut the fabrics I need to complete specific quilts before I leave, that way I can stitch my heart out when I have the dedicated time with my sewing machine and minimal "real life" distractions like doing work and being a parent, partner, and pet owner.
Fabrics
The top is made from blue scraps against a low-volume background. Each scrap brought something a little different, which is exactly the energy I wanted. I love blue and tend to have more blues represented in my fabric collection than any other color, so it was easy to go through my scrap bins and find tons of options.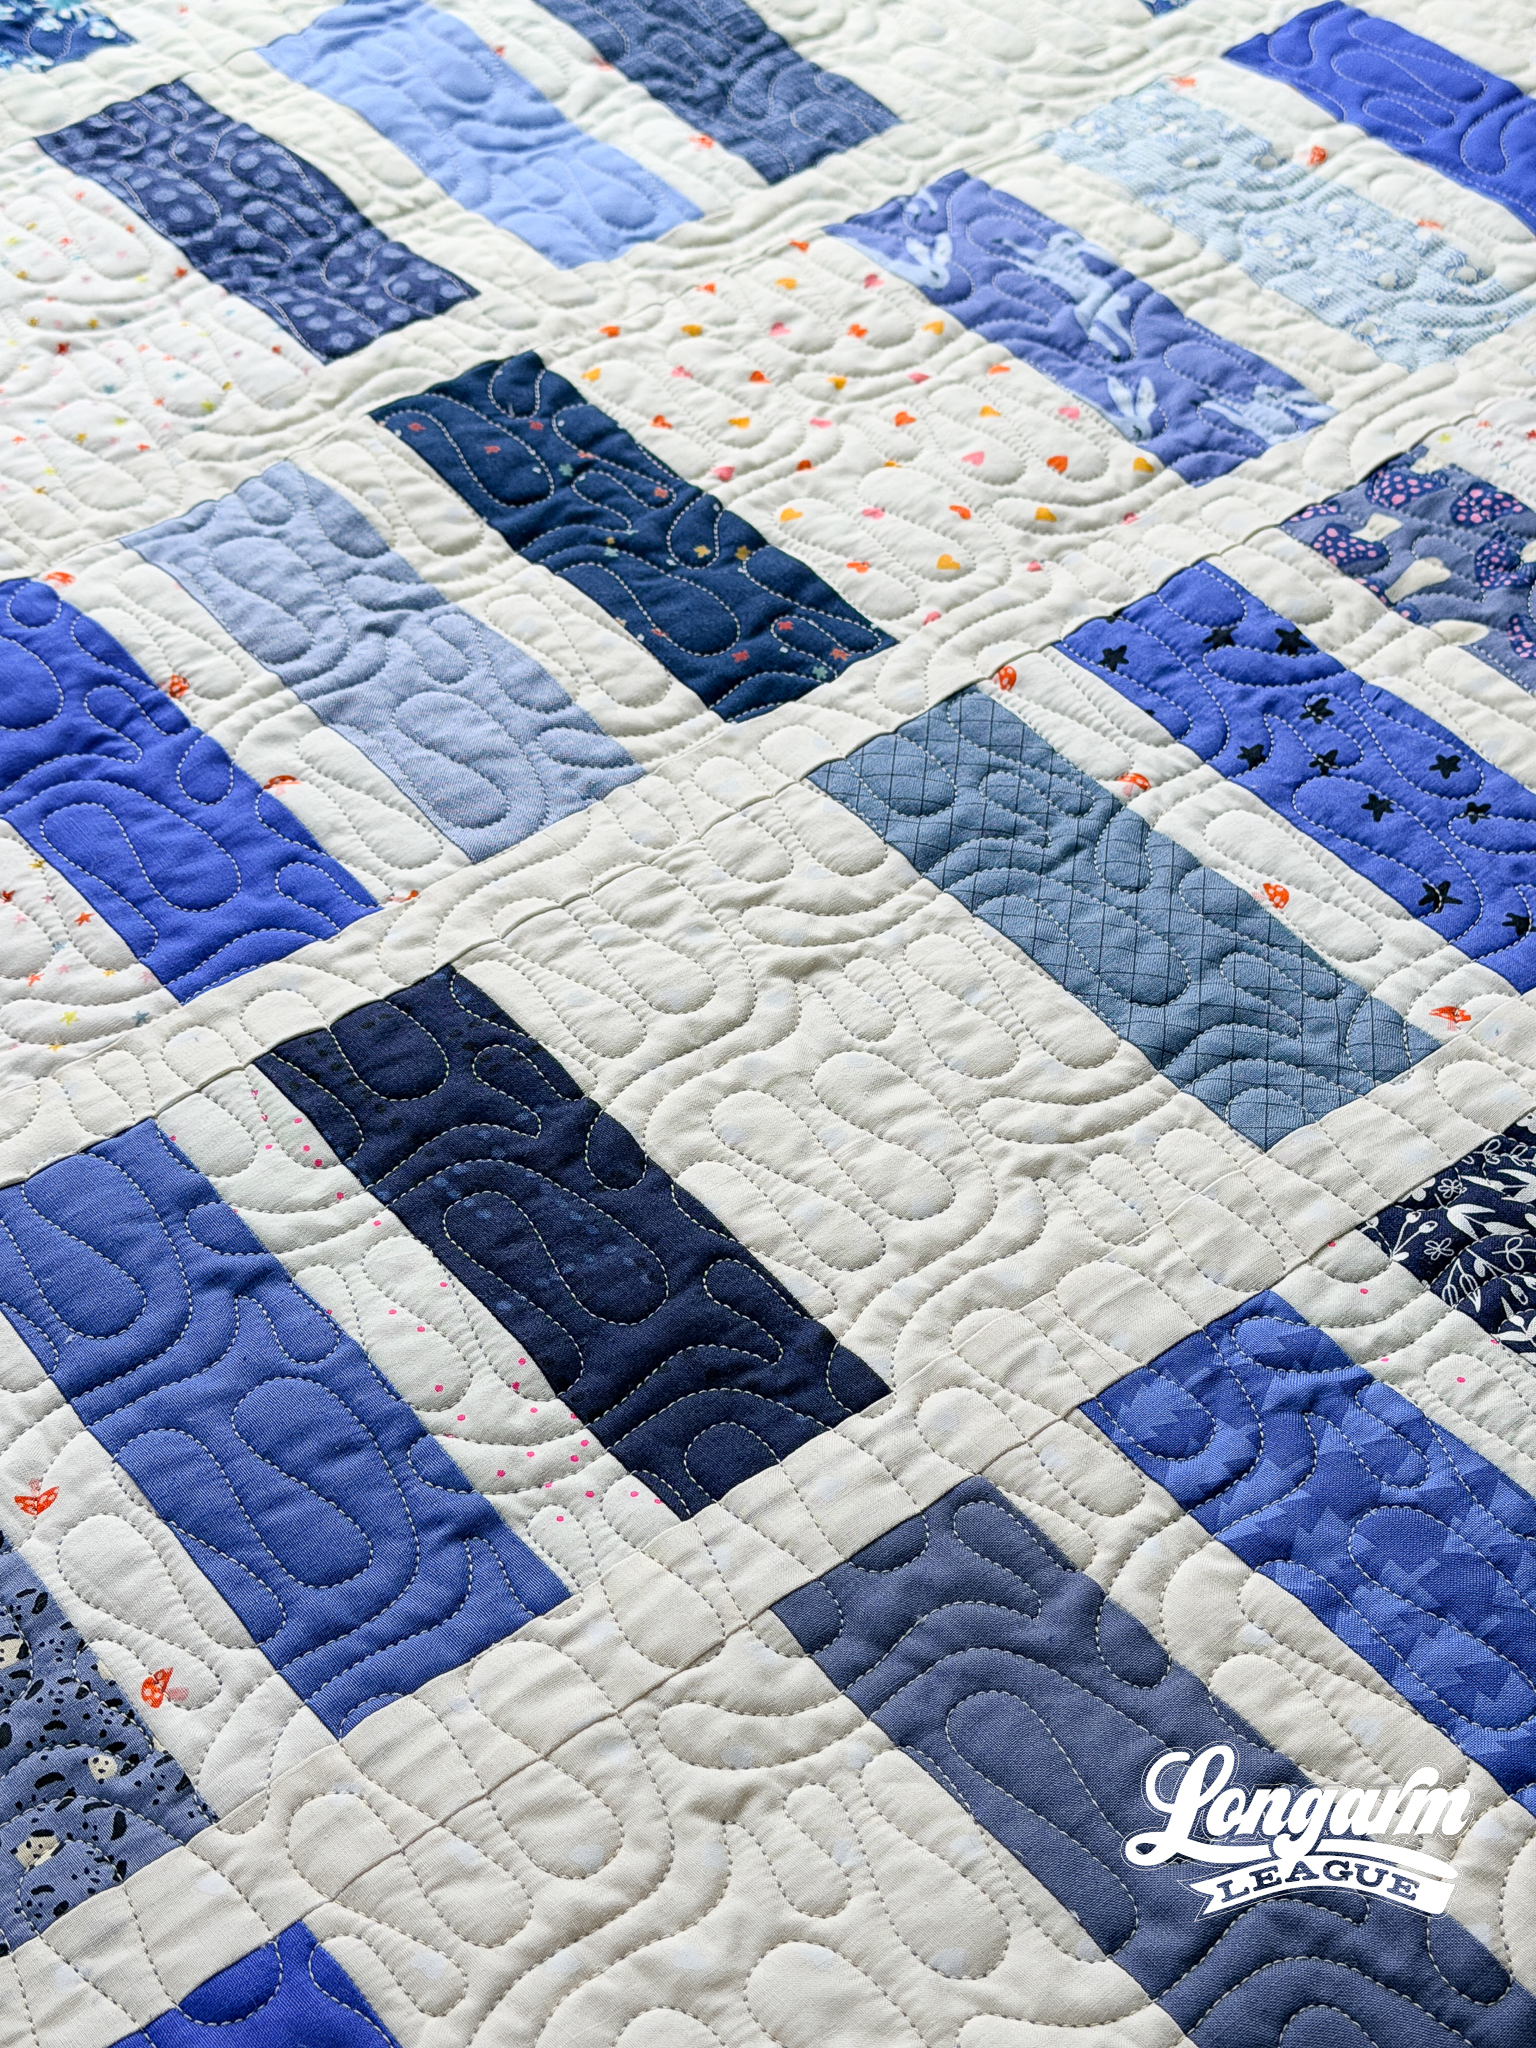
But then. I ran out of background fabric while assembling the sashing at retreat! The reason I cut my fabrics before retreat is to minimize any distractions or mis-cutting while I'm chatting away. However, I must have miscounted my background strips, so my retreat friends graciously donated fabric they brought along so I could finish. That's the kind of friends they are! They even had the exact same fabrics I was using as the background.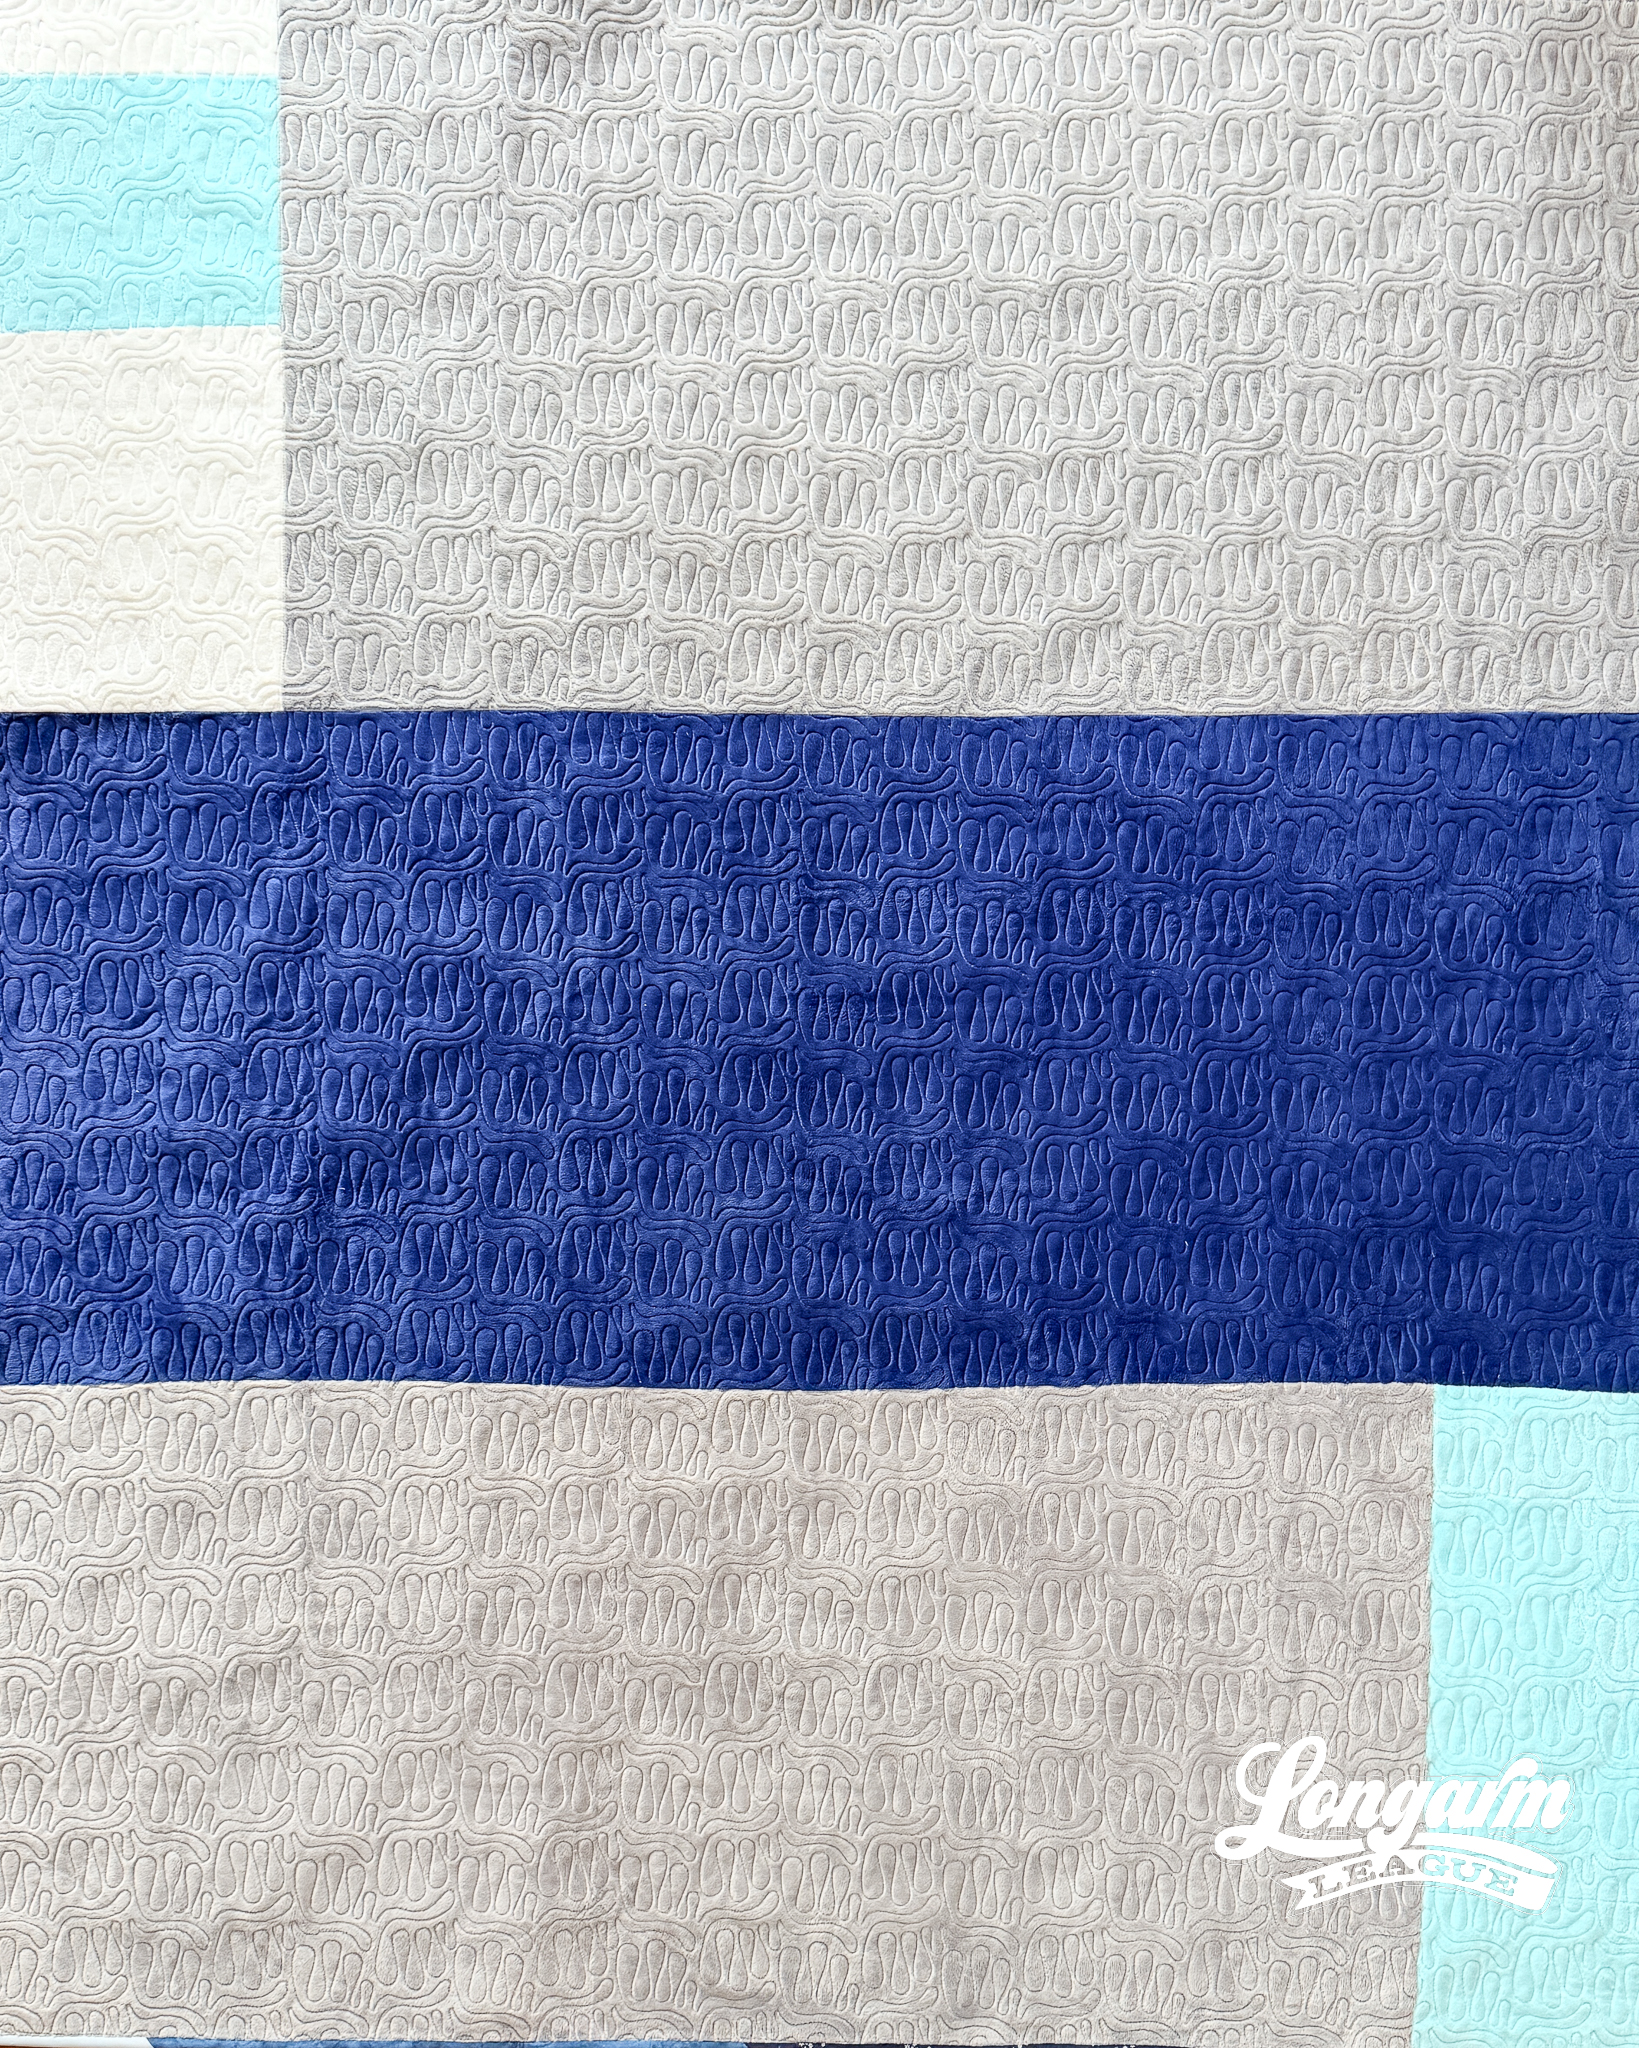
Backing, Batting, and Binding
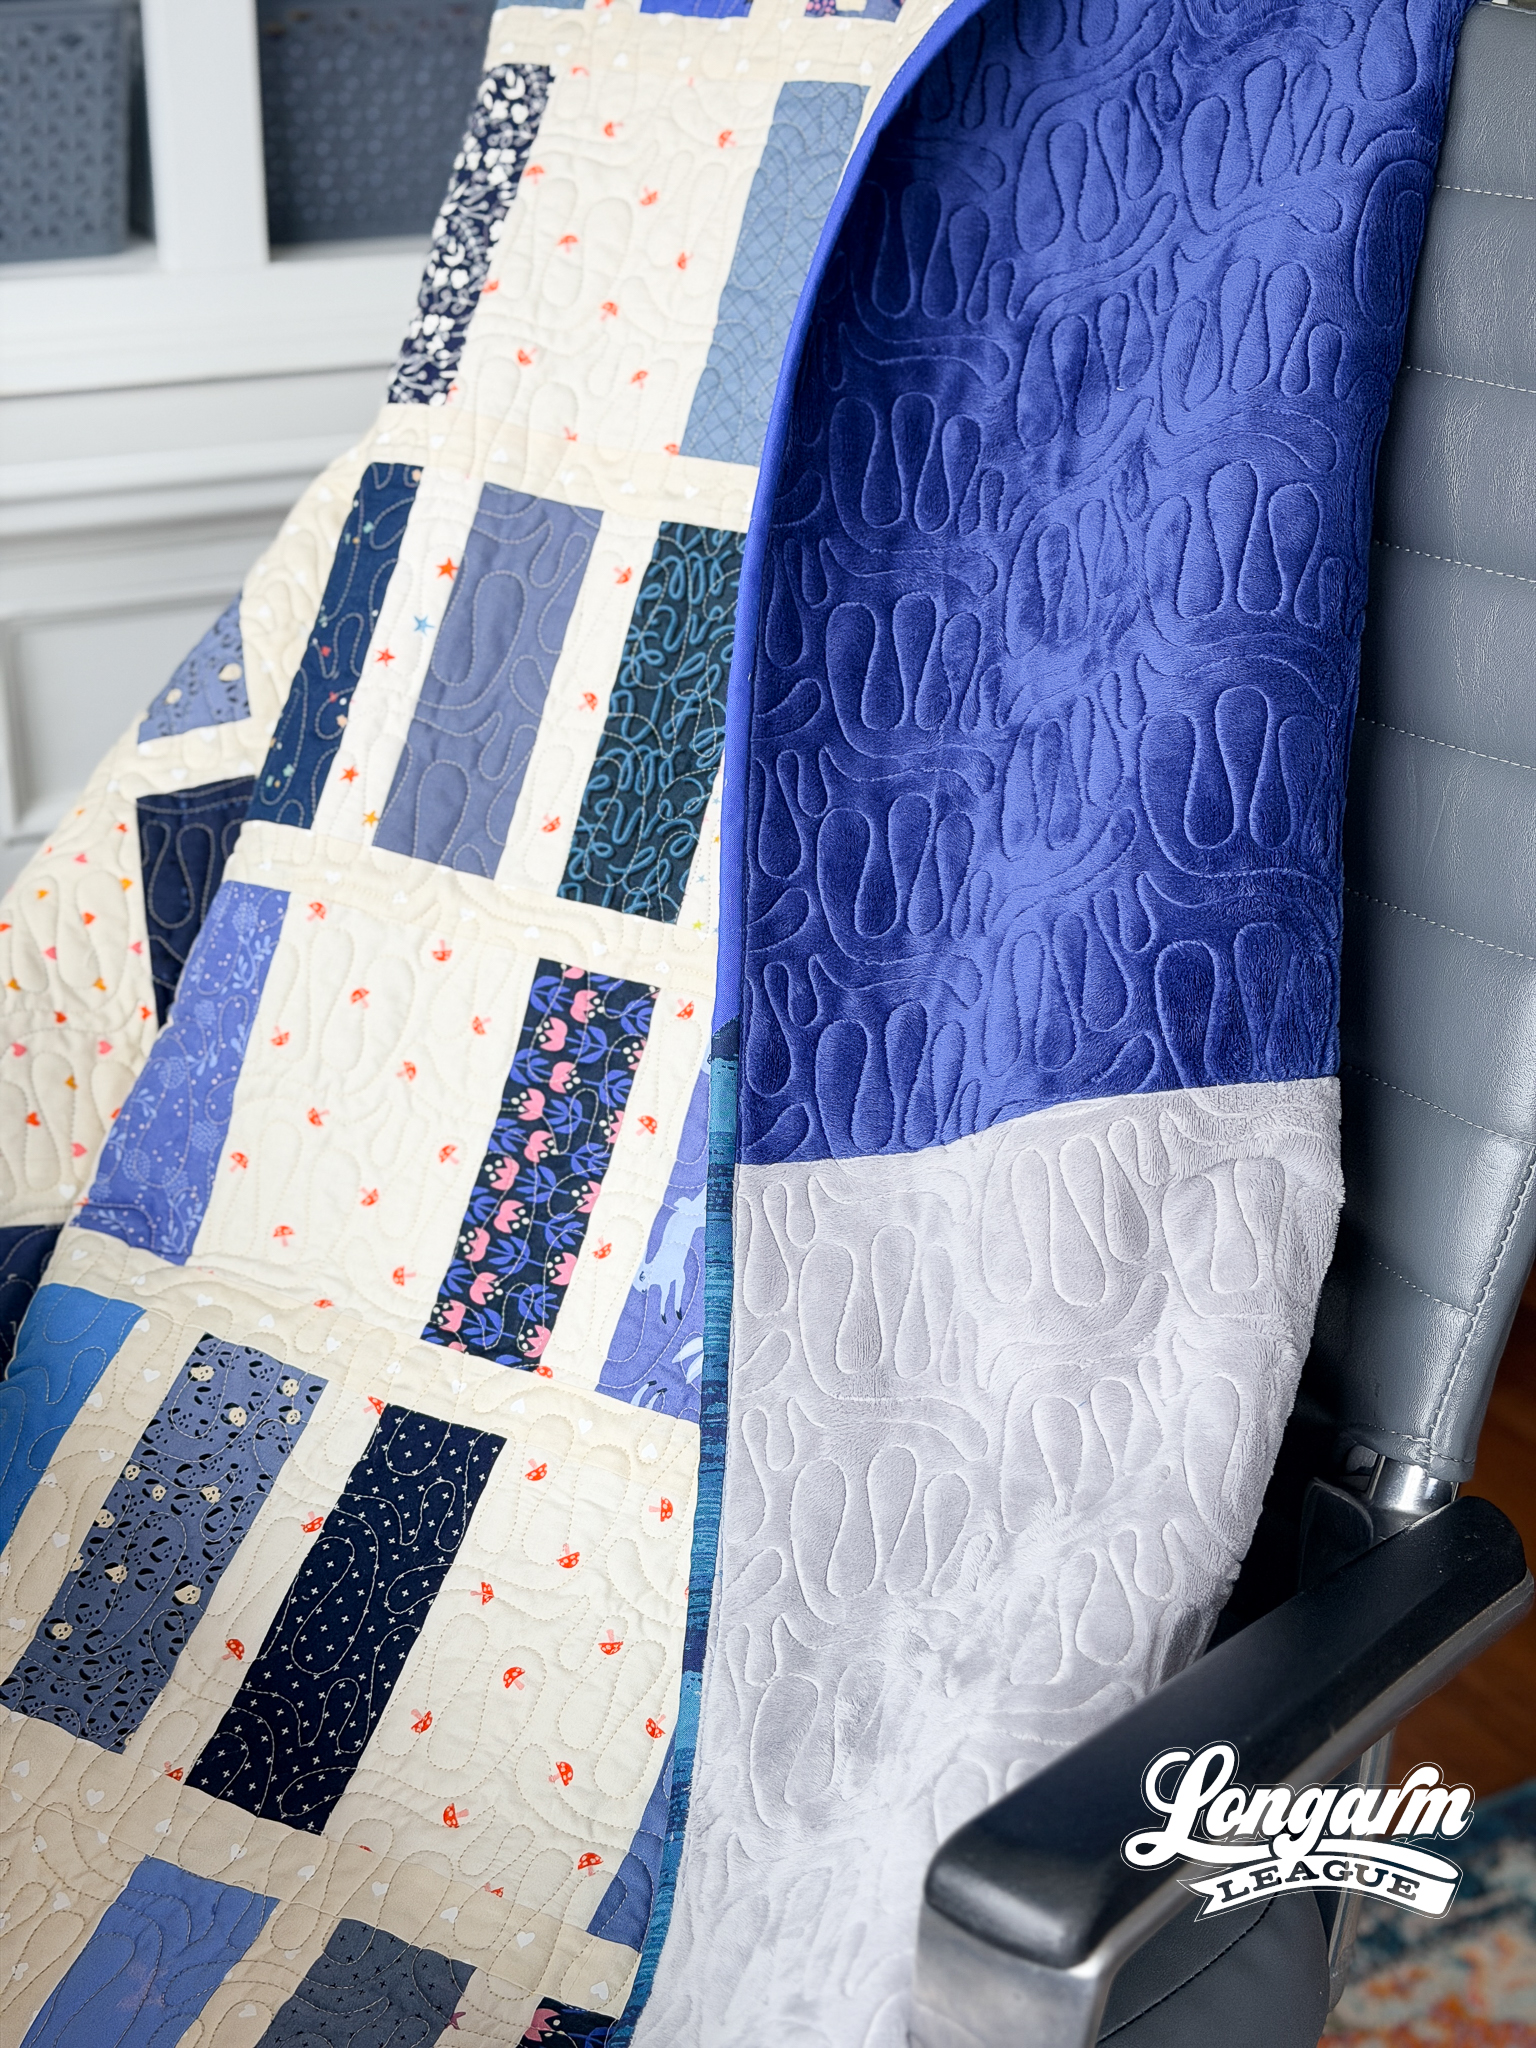
I pieced the backing from scraps of minky. Fair warning: minky will make an absolute mess of your space. My sewing room looked like it had been hit by a very soft, very fuzzy blizzard. Worth it, though — the backing is incredibly cozy and those pieces would have gone to waste. I tried as best as I could to cut straight edges before seaming the minky with a generous 1/4" seam allowance and a long stitch length. Instead of using an iron and risking melting the polyester, I finger-pressed the seam allowances open, and they pretty much stayed that way. I didn't notice any extra bulk from the seams on the front or back of the quilt. I did notice that when I was quilting over the dark blue minky, those fibers came to the top and were more visible than the grey, light blue, or white areas of the backing. That's always a possibility when quilting with minky back.
I stitched batting scraps together with a zig-zag stitch to make frankenbatting large enough for this quilt. I've been on a mission lately to work through my batting remnants before buying new, and I'm actually making a dent! I've needed to order another roll of batting for a while now, but I keep putting it off to see how long I can last.
Last but not least, the binding is made from scraps as well. Full commitment to the scrap quilt life on this one! 💪
Kitchen Table Quilting posted her rules for scrap quilts on Instagram that I really enjoyed. Scroll through the slides here.
The Quilting Details
Difficulty Level: Easy
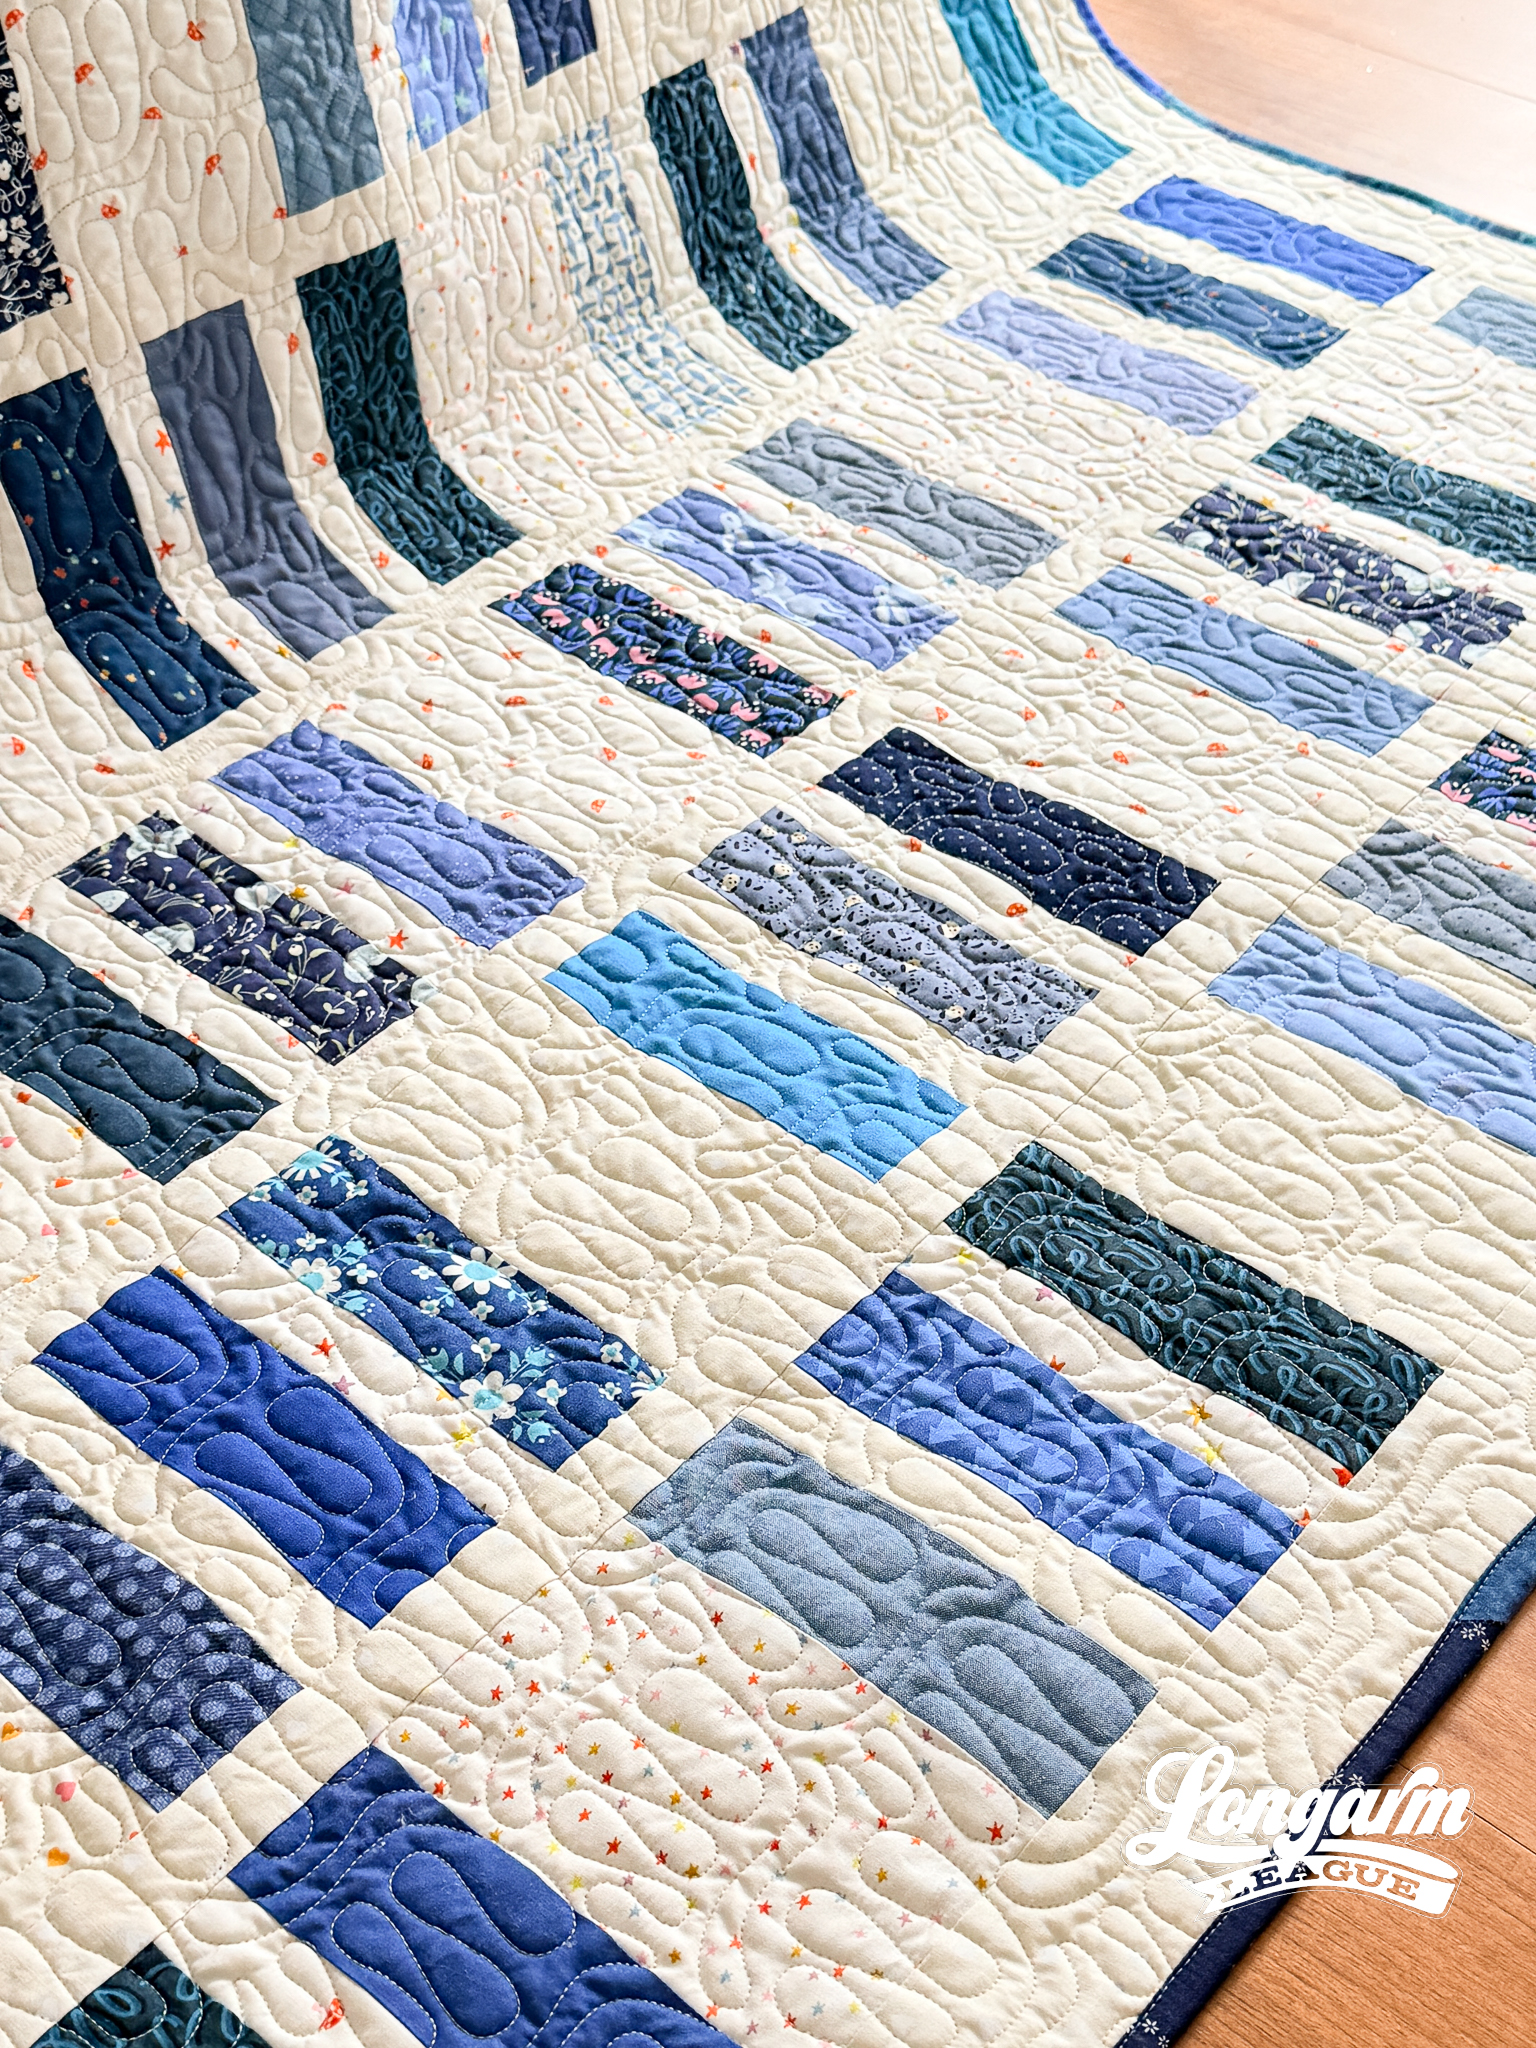
No offsetting. No backtracking. Taffy is as straightforward as it gets to set up and stitch out. The rows align easily, so advancing the quilt between passes is low-stress. This is a great design to reach for on a busy day or when you want a beautiful result without fuss.
Scale
At the dimensions I used for this sample, the tallest "finger" is around 2" and the shortest is about 1". The design reads as airy and organic at this scale without feeling sparse.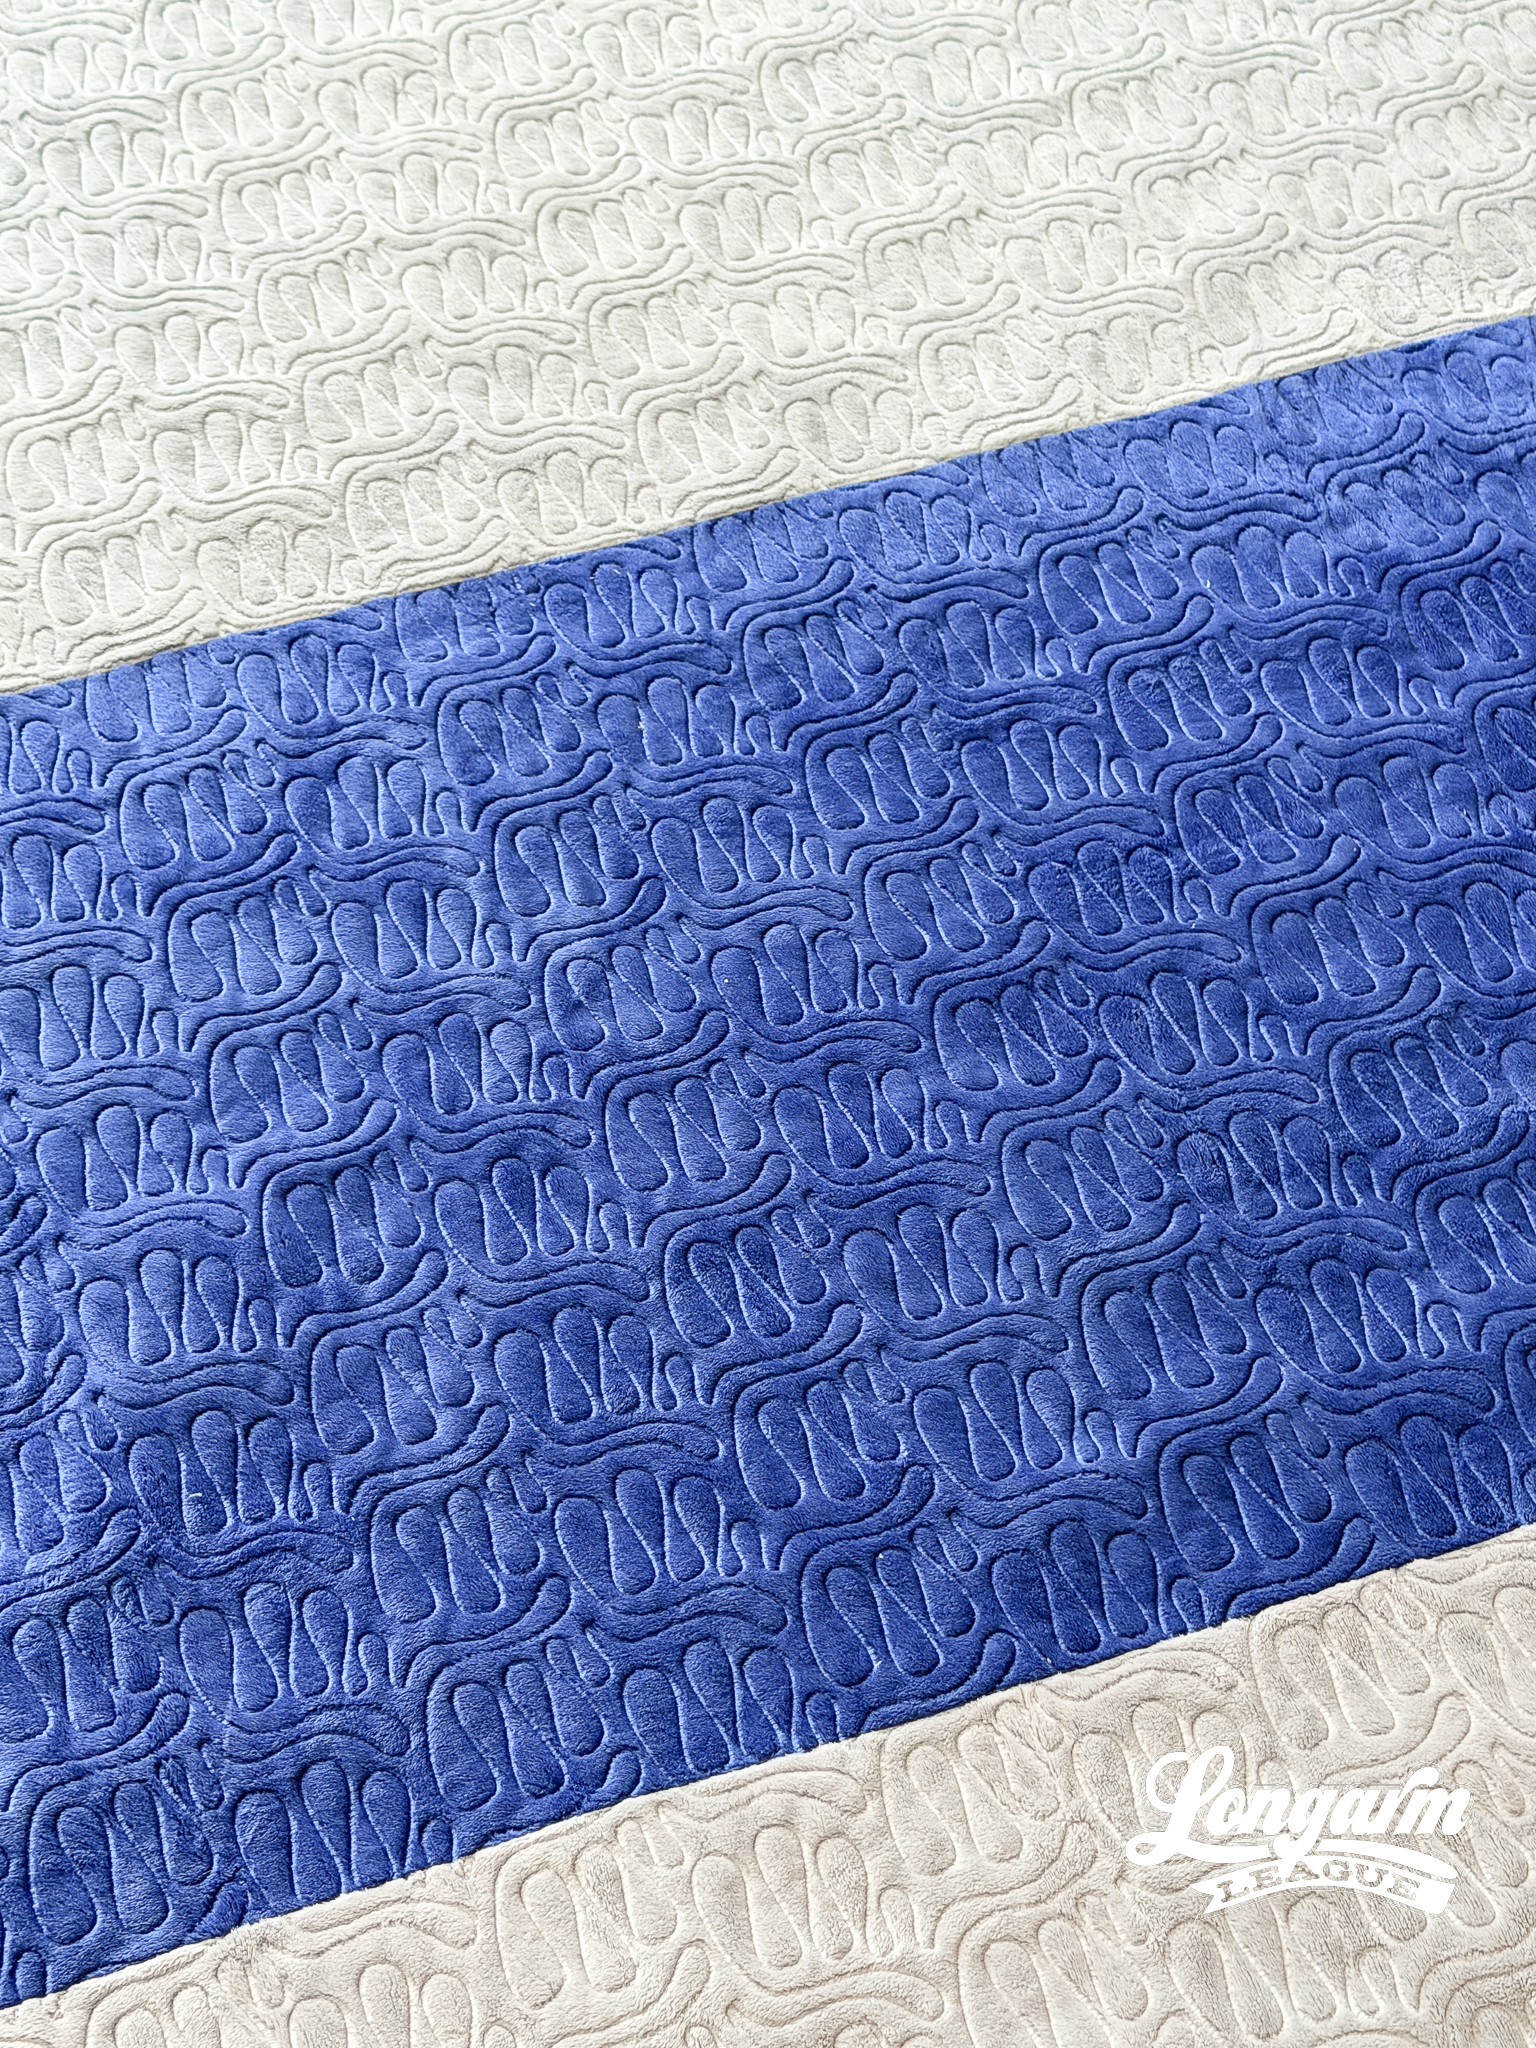
As for the stitch path, there's a short video available at the top of the blog post.
Here are the sizing specifications for how I set up this quilt using my Intelliquilter (quilt size 60" x 72"):
Row height: 3"
Gap: -1.687"
Pattern height: 4.687" (measurement from top to bottom of the repeat)
Offset: none
Backtracking: none
Here's a look at the included PDF: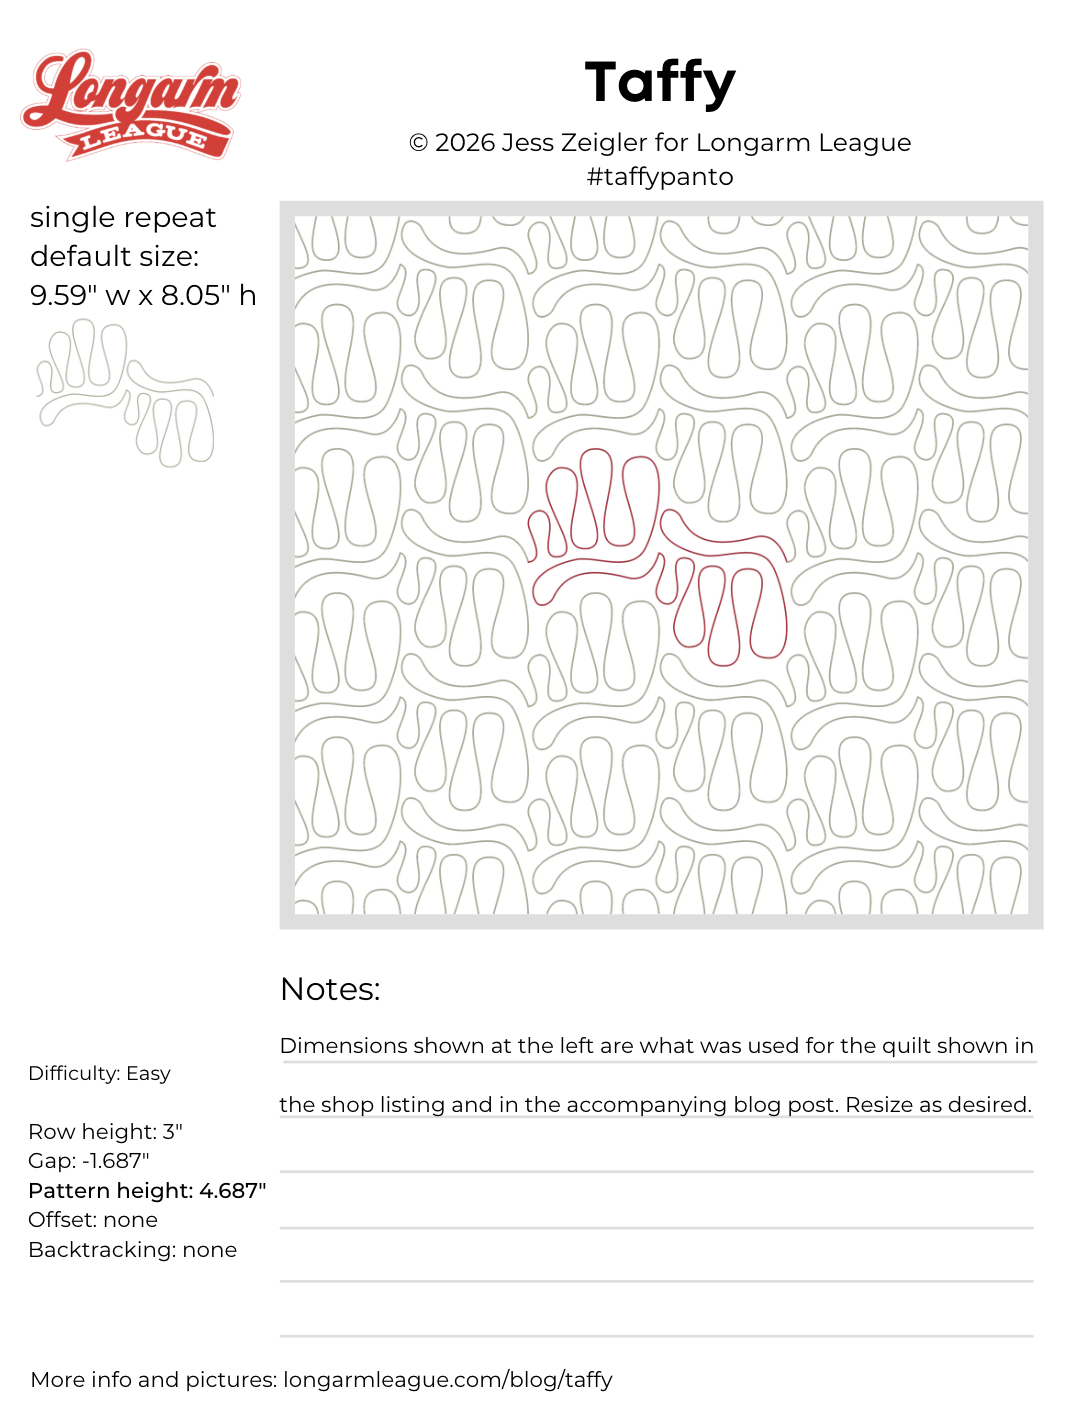
Interested in getting new digital pantograph designs like this one on the day they're released (and at a deep discount)? It now also includes online community access. Sign up for our Digital Panto Club and get them delivered directly to your inbox on the first Wednesday of each new month.

Jess Zeigler
Longarm League Commish & Owner of Threaded Quilting Studio, LLC.


