
Wifi Digital Panto for Computerized Longarm Machines
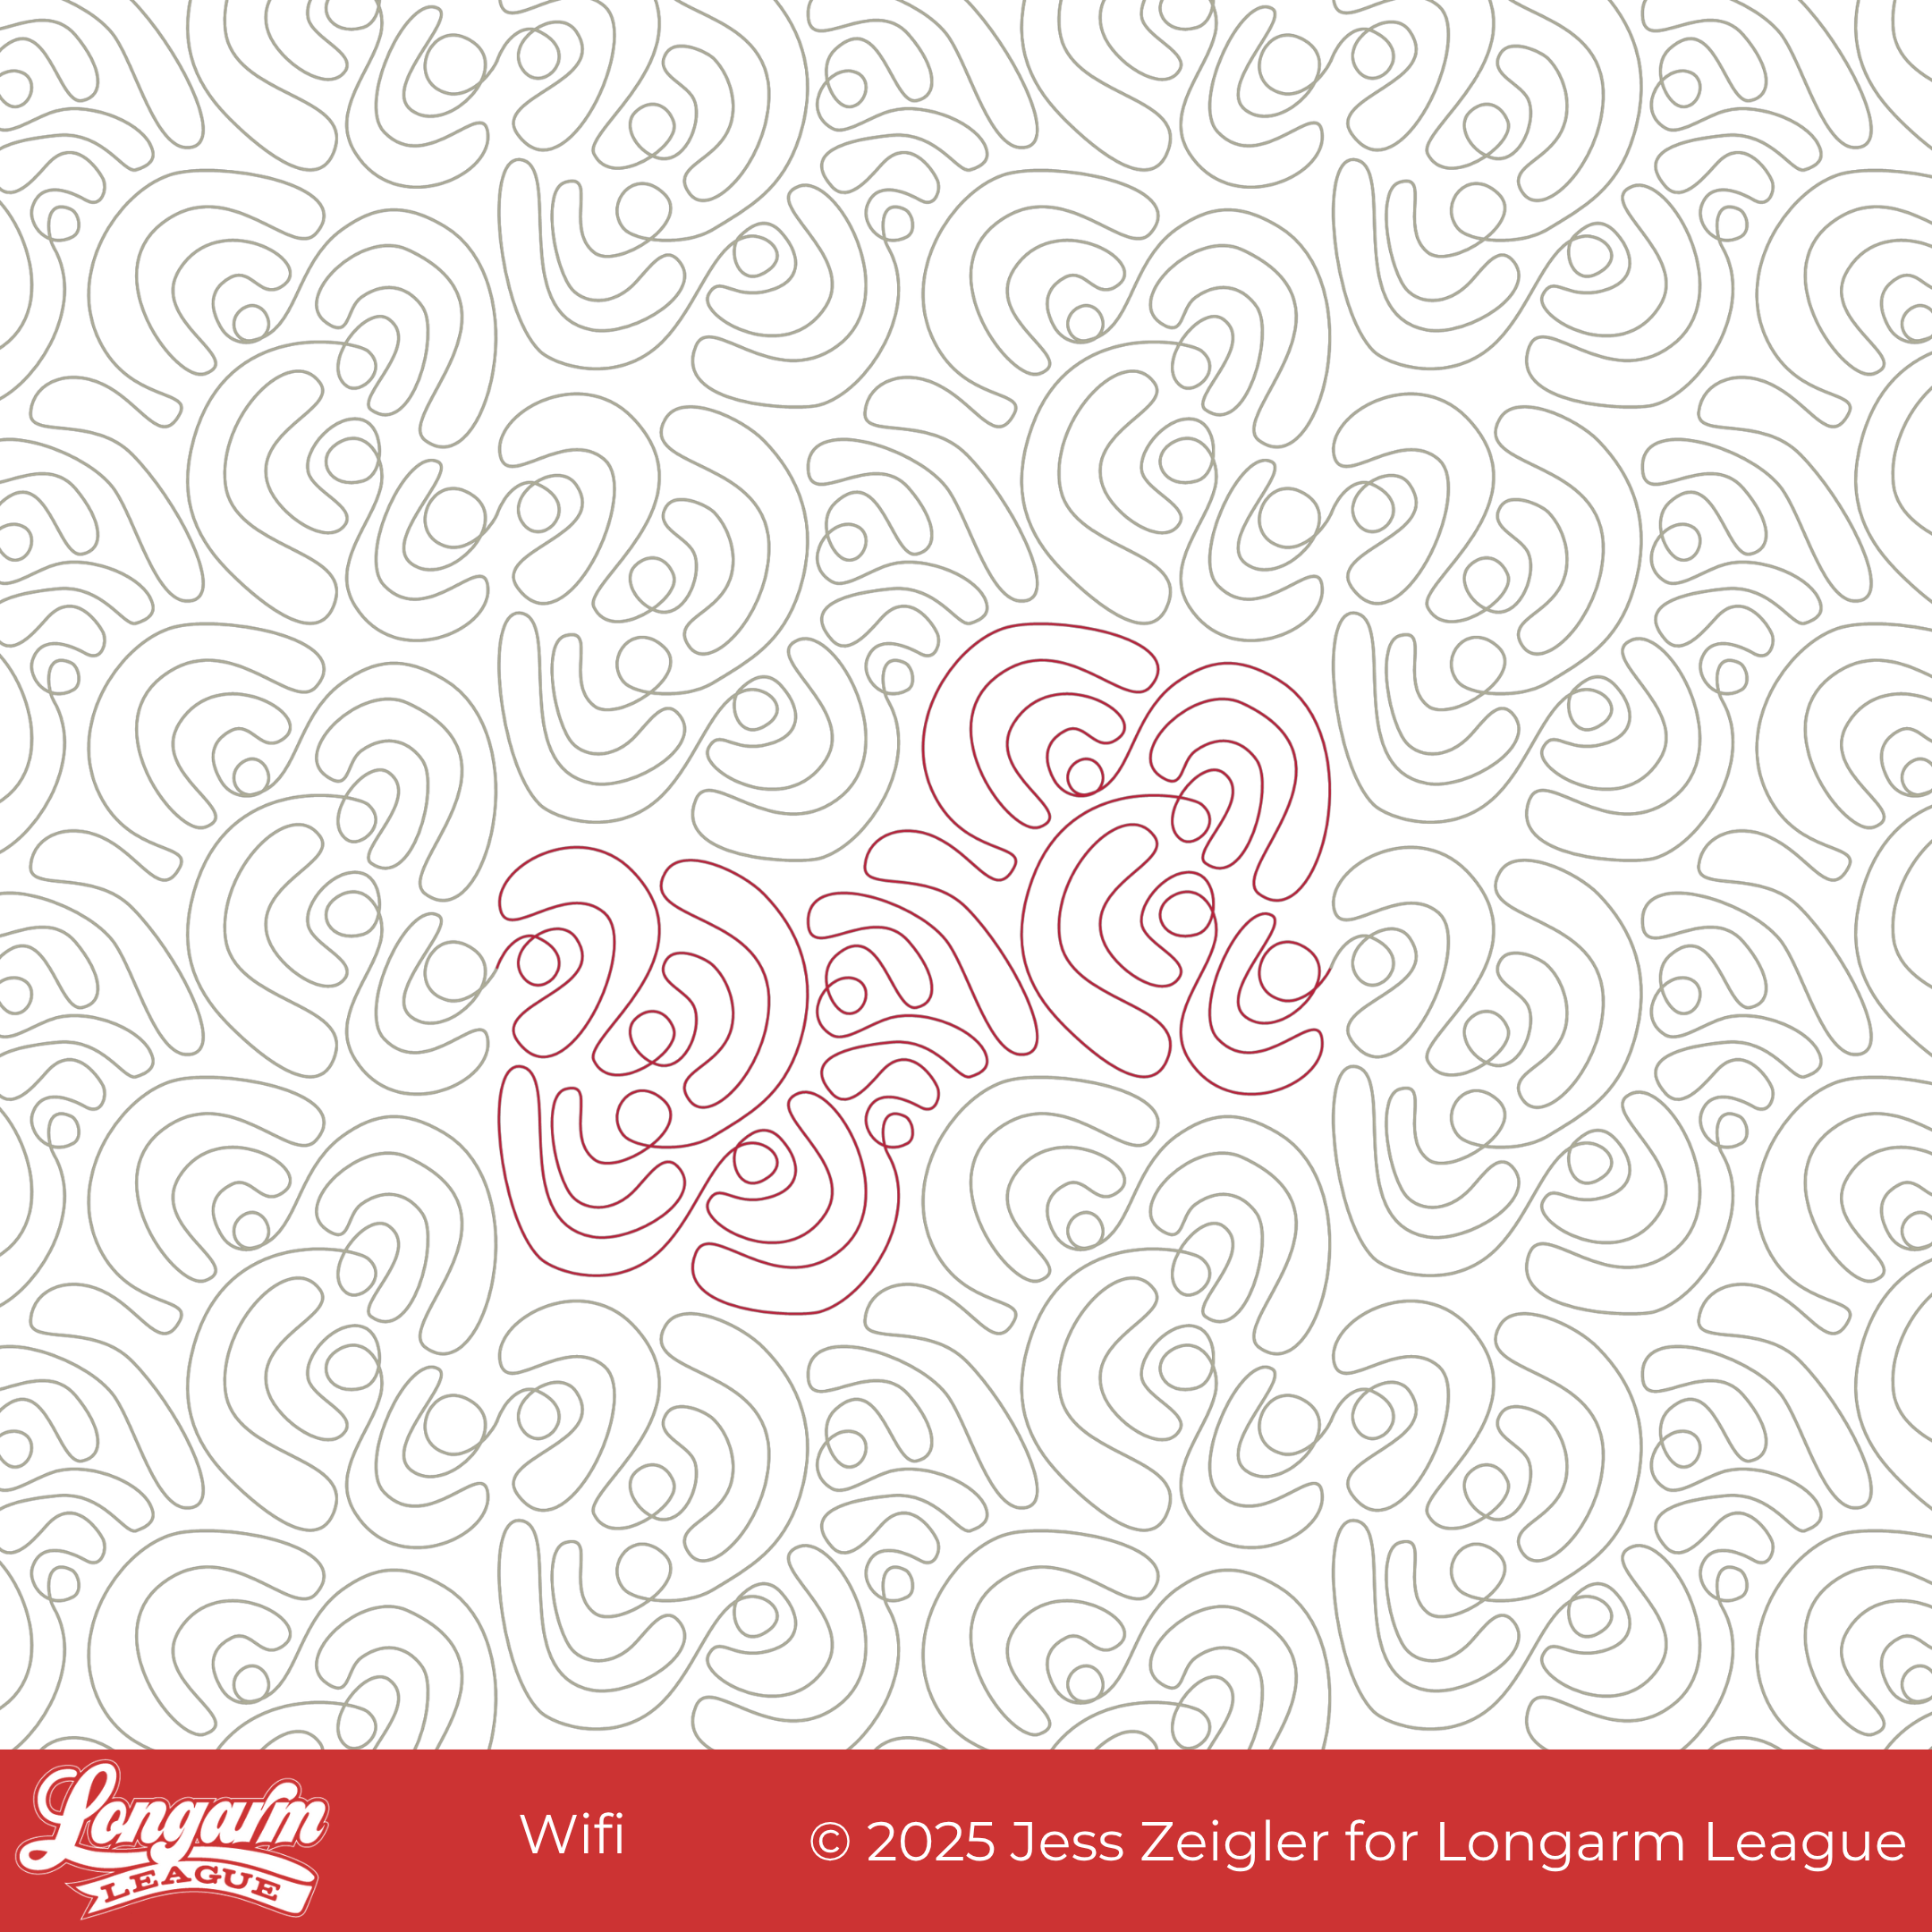
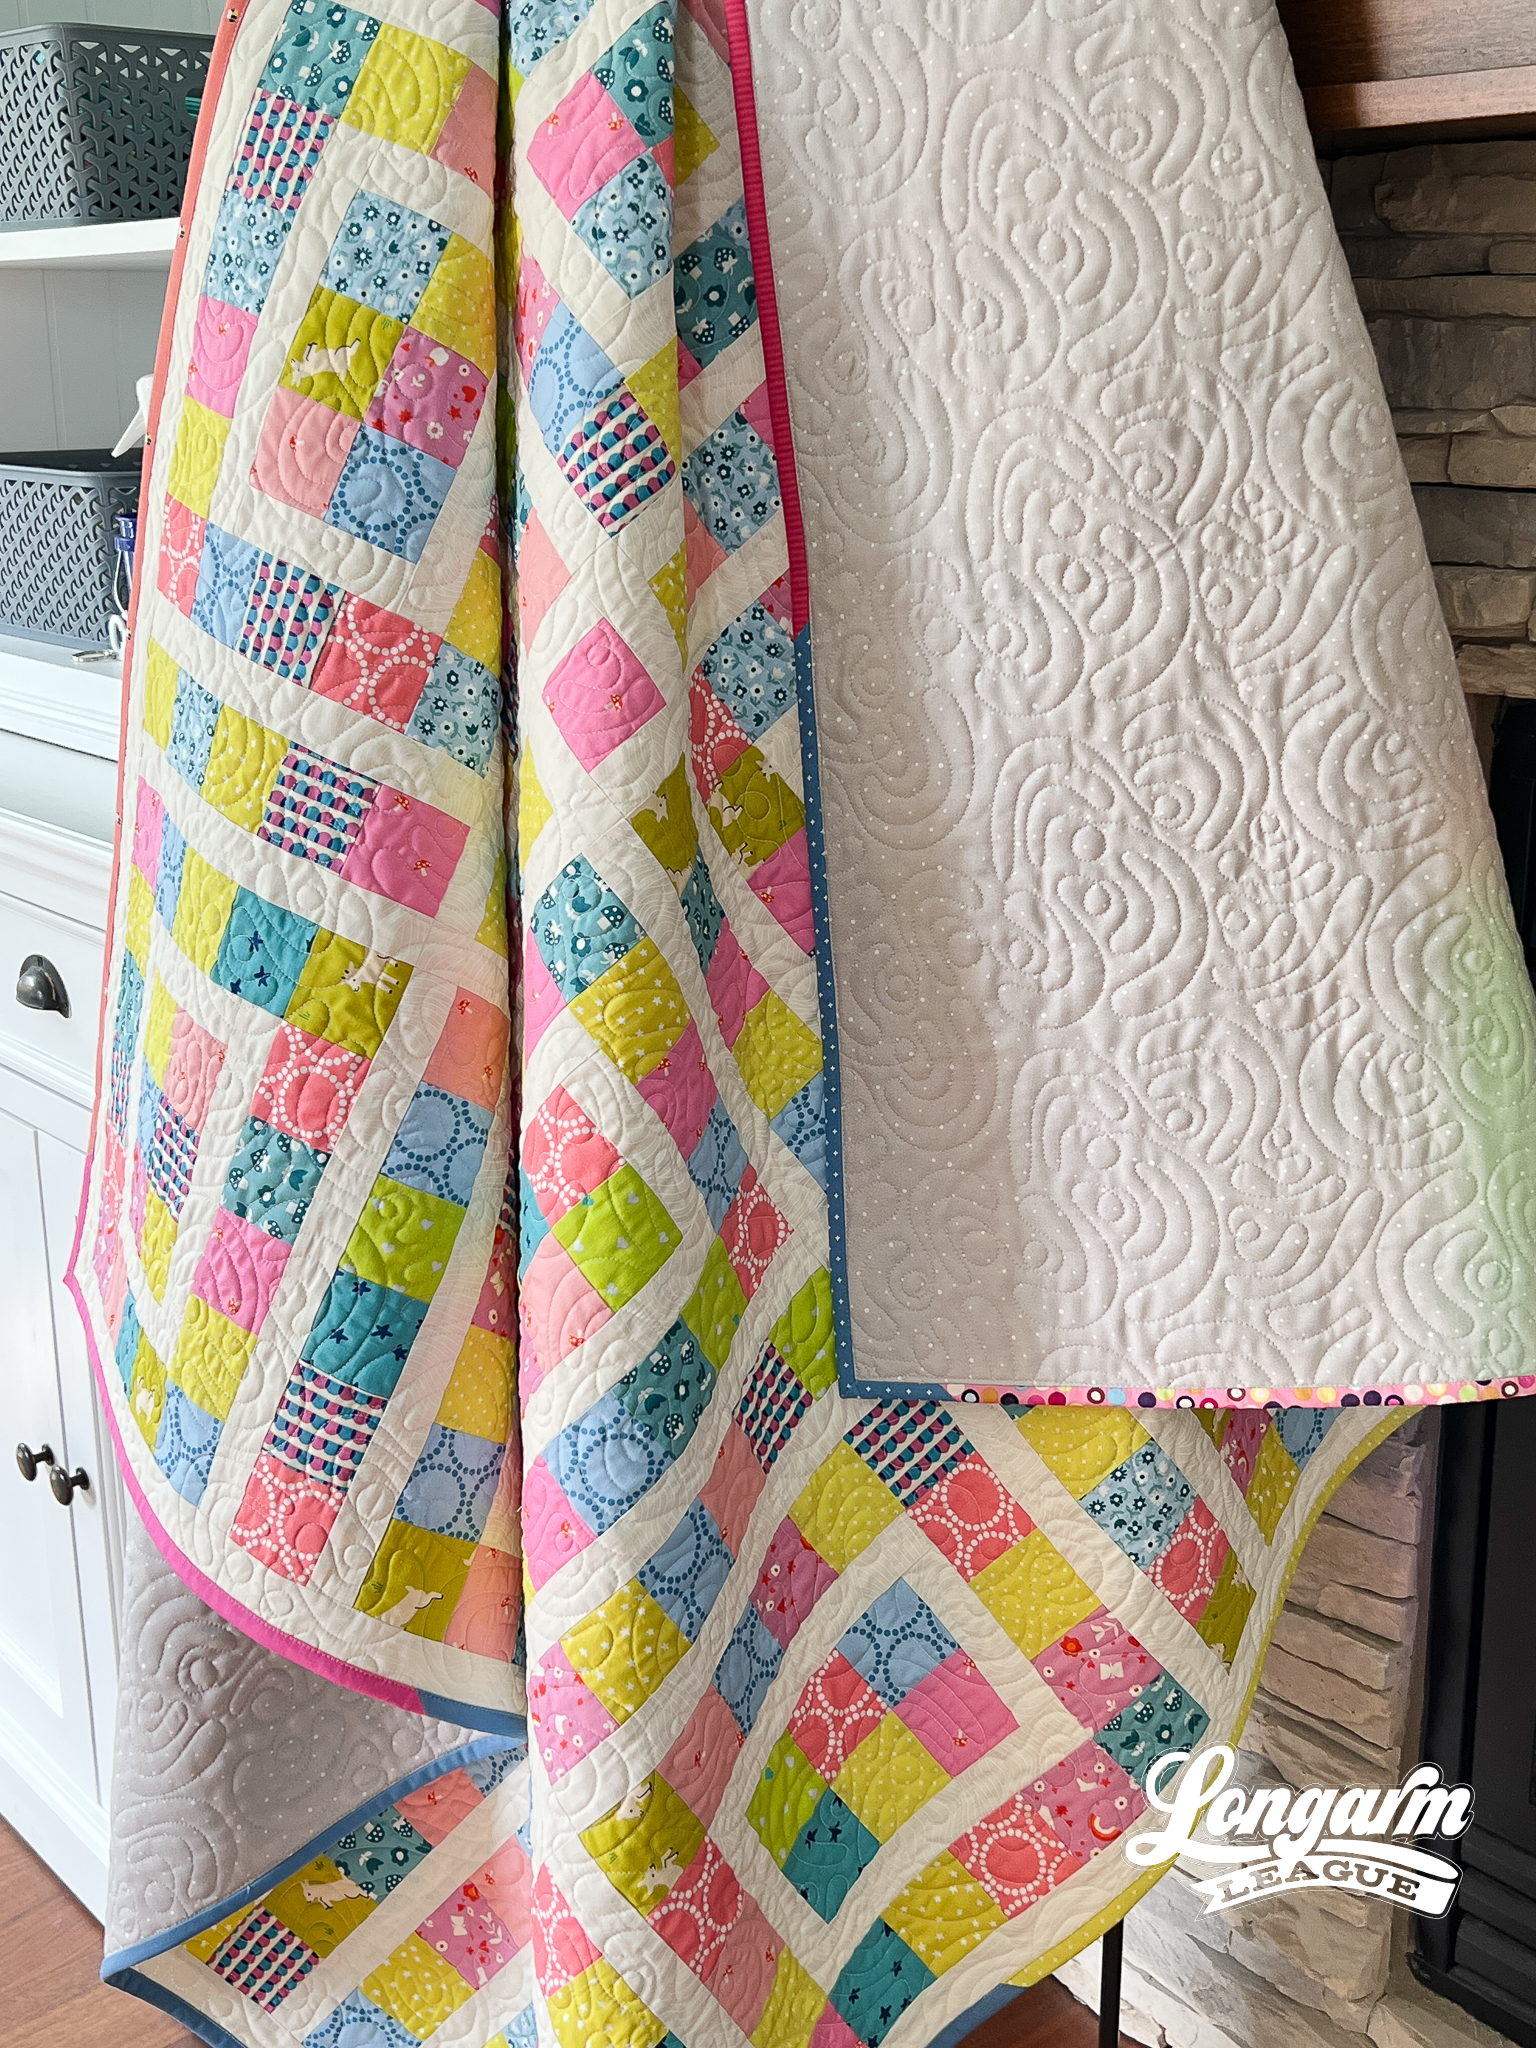
Say hello to Wifi—a tech-inspired motif that blends mid-century curves with a playful, almost doodle-like feel. I've been on an "organic" kick lately, spending more time doodling since my class back in May with Karen McTavish. I'd really like to load up a practice sandwich again on my longarm frame and explore more shapes with free-motion quilting, just to see if any other pantograph ideas emerge.
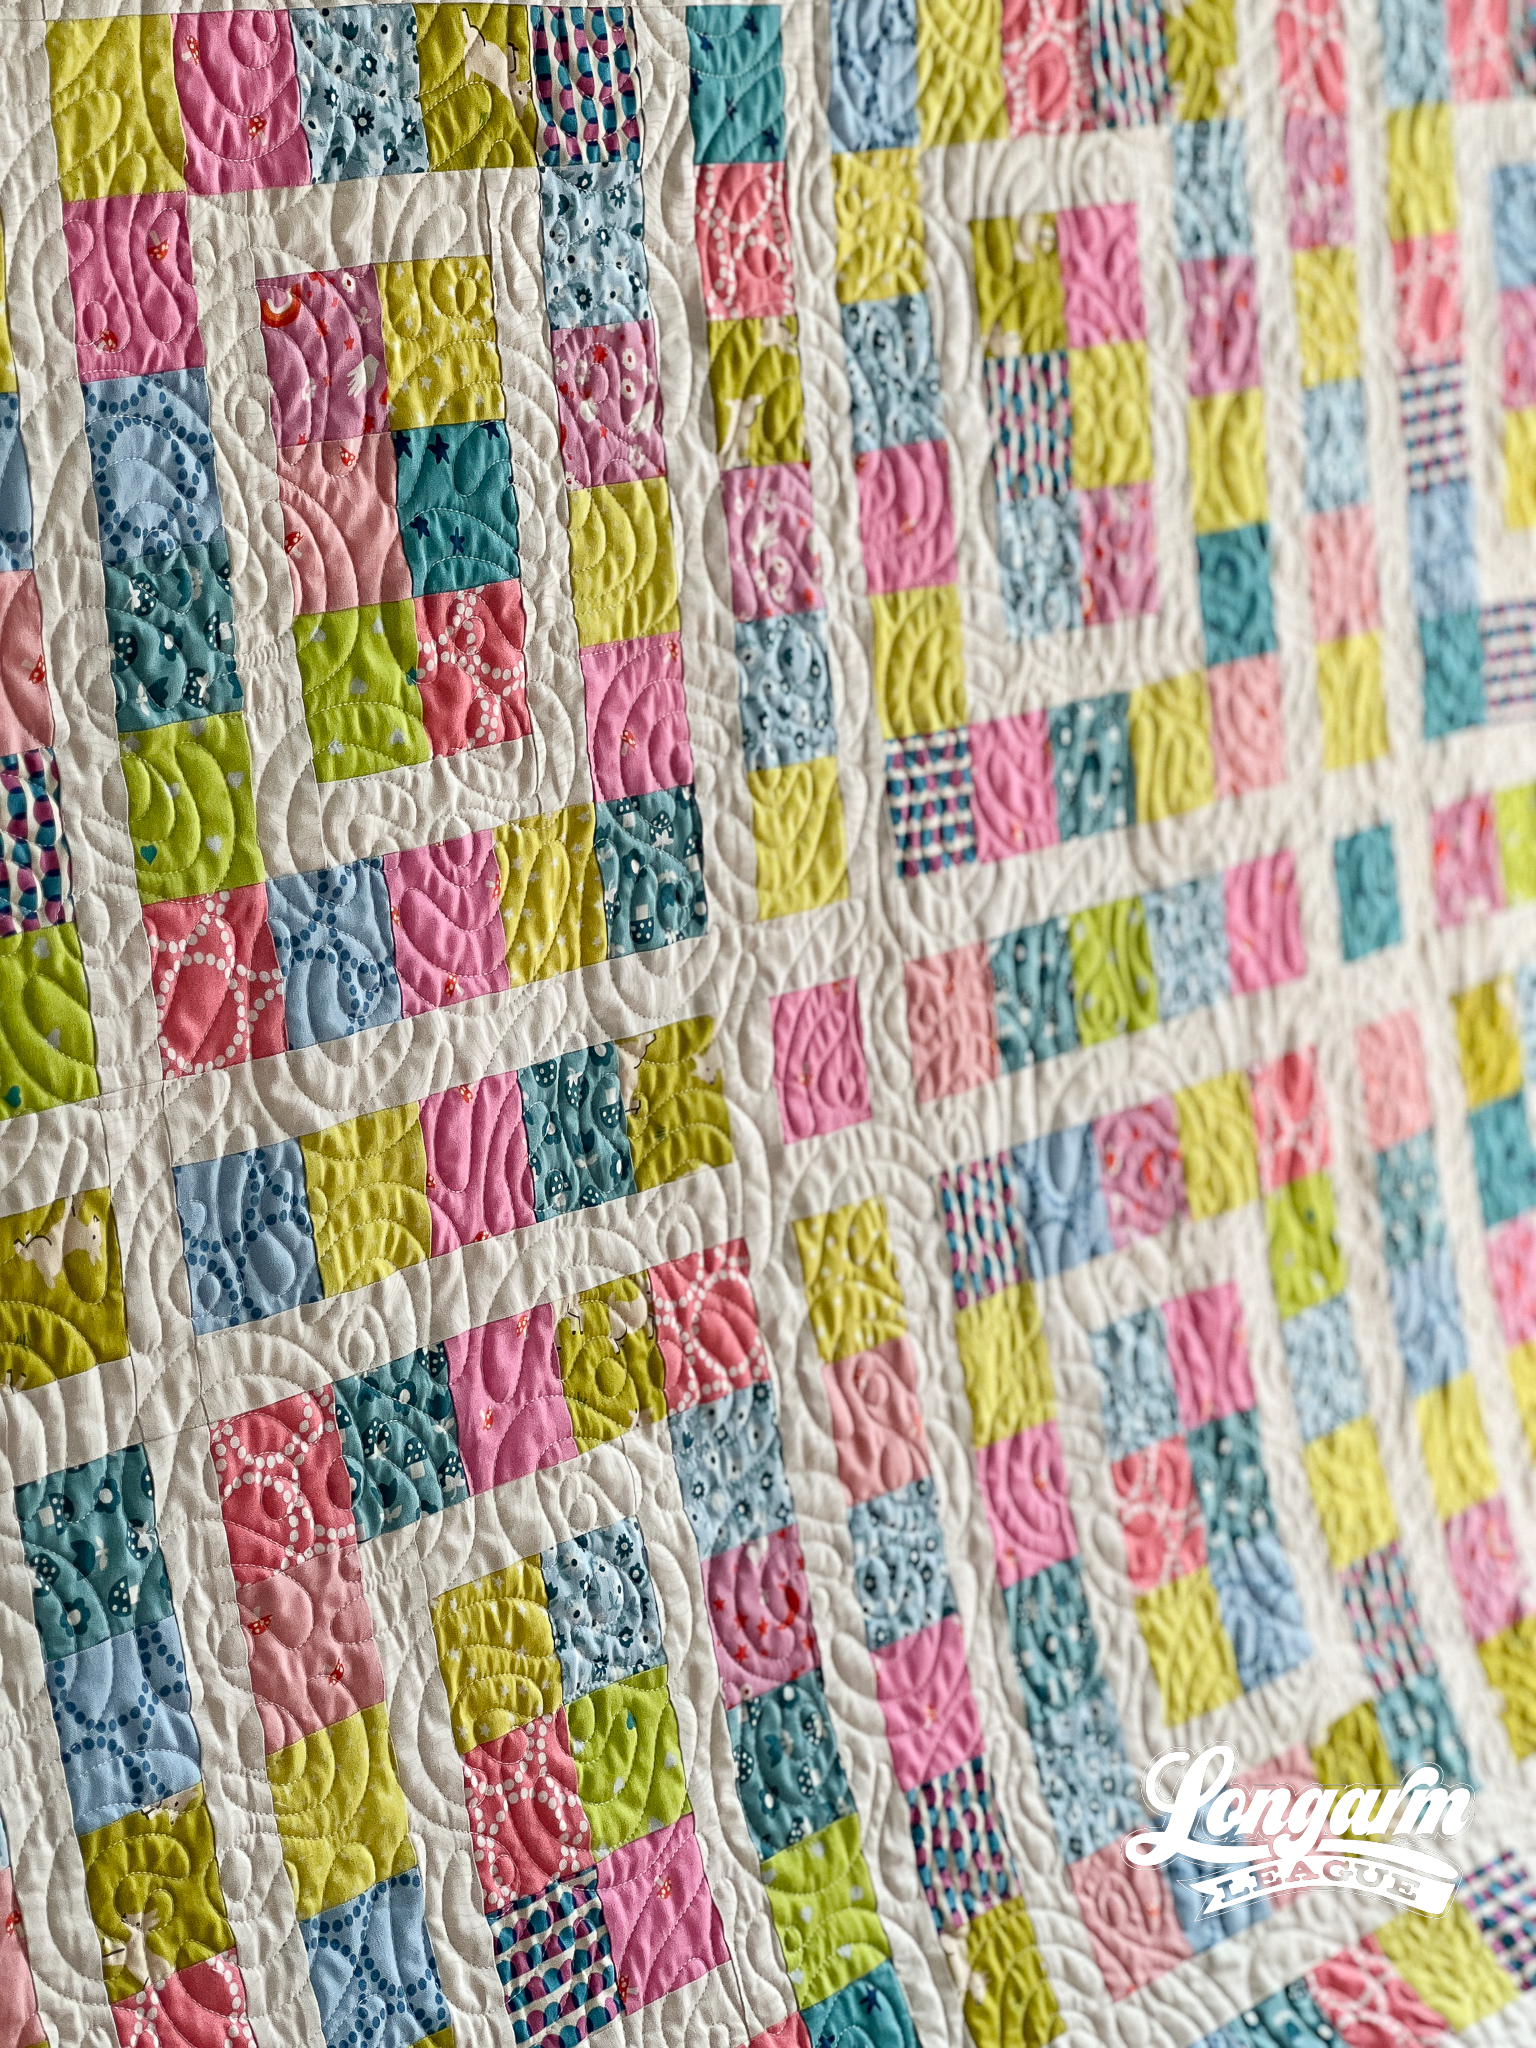
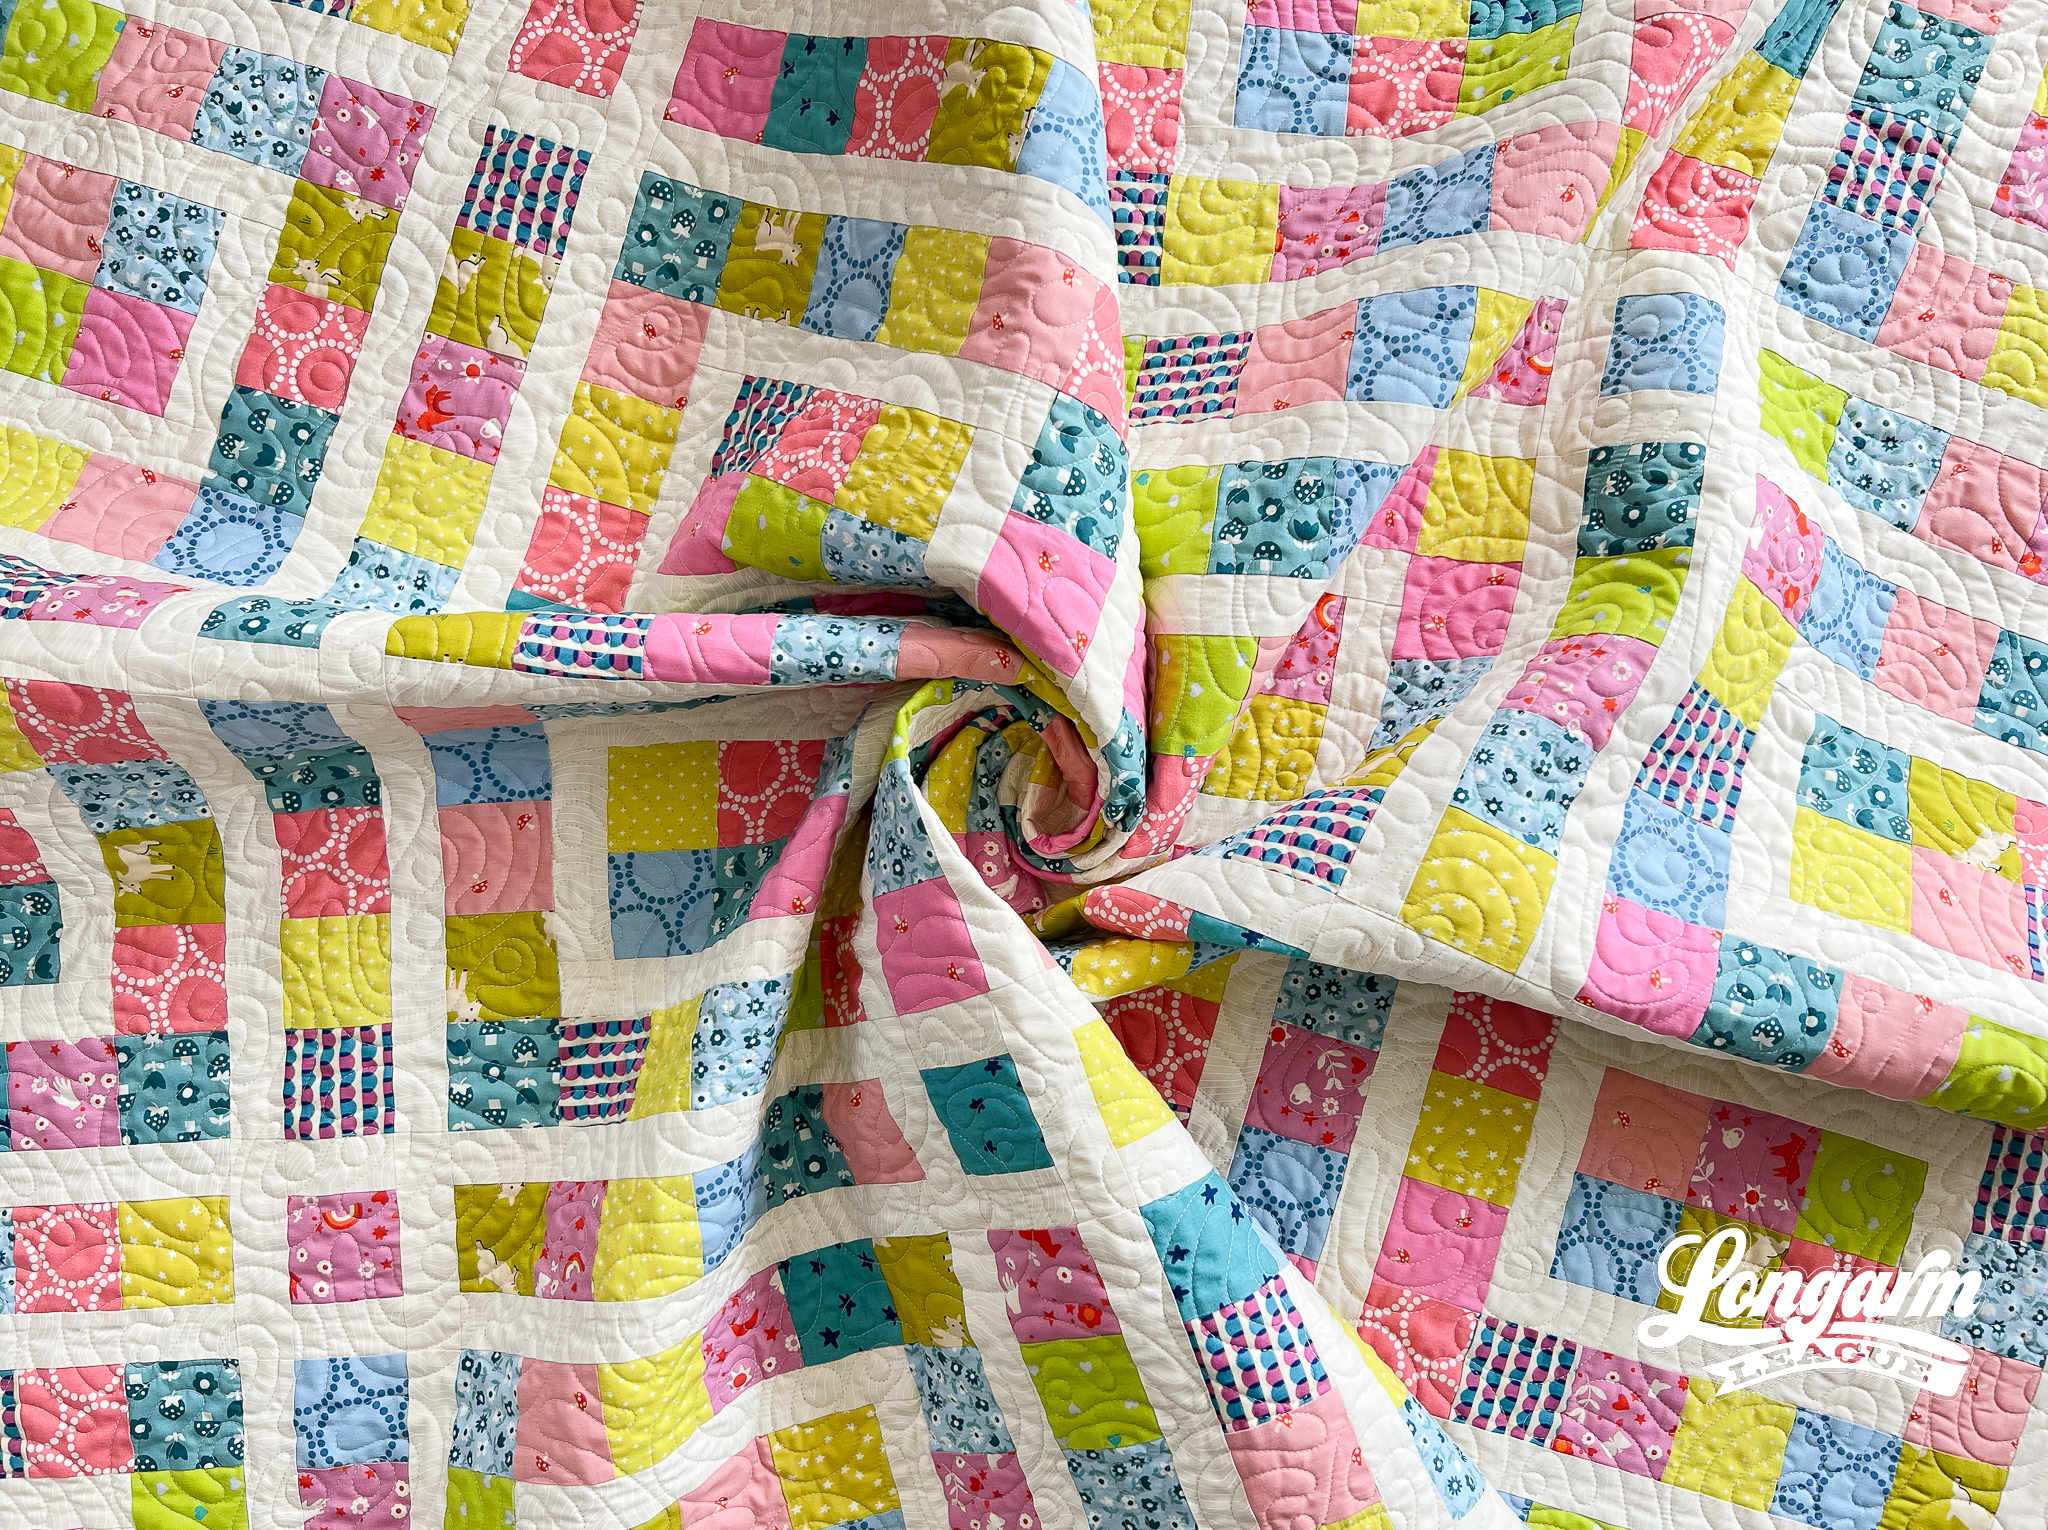
With its arched echoes and nested half-circles, the design has a rhythm that hums along the quilt top like invisible signal waves. It’s bold but not overpowering, structured but still organic. These quirky motifs could also pass as rainbows. In fact, as I was watching this design stitch out, I caught a glimpse of an adorable rainbow on one of the pink prints. What a happy accident!
Wifi might be a tech term, but this design doesn’t feel cold or clinical—it’s lively with just a hint of retro styling. It's fun to reimagine the ubiquitous symbols on our devices that we largely ignore, unless there's a problem! :)

I thought the organic and curving lines of this panto would contrast well with strong linear elements of the patchwork. It gives the quilt a softer feel. This design would look great with modern, retro-inspired, kid, or tech-themed quilts.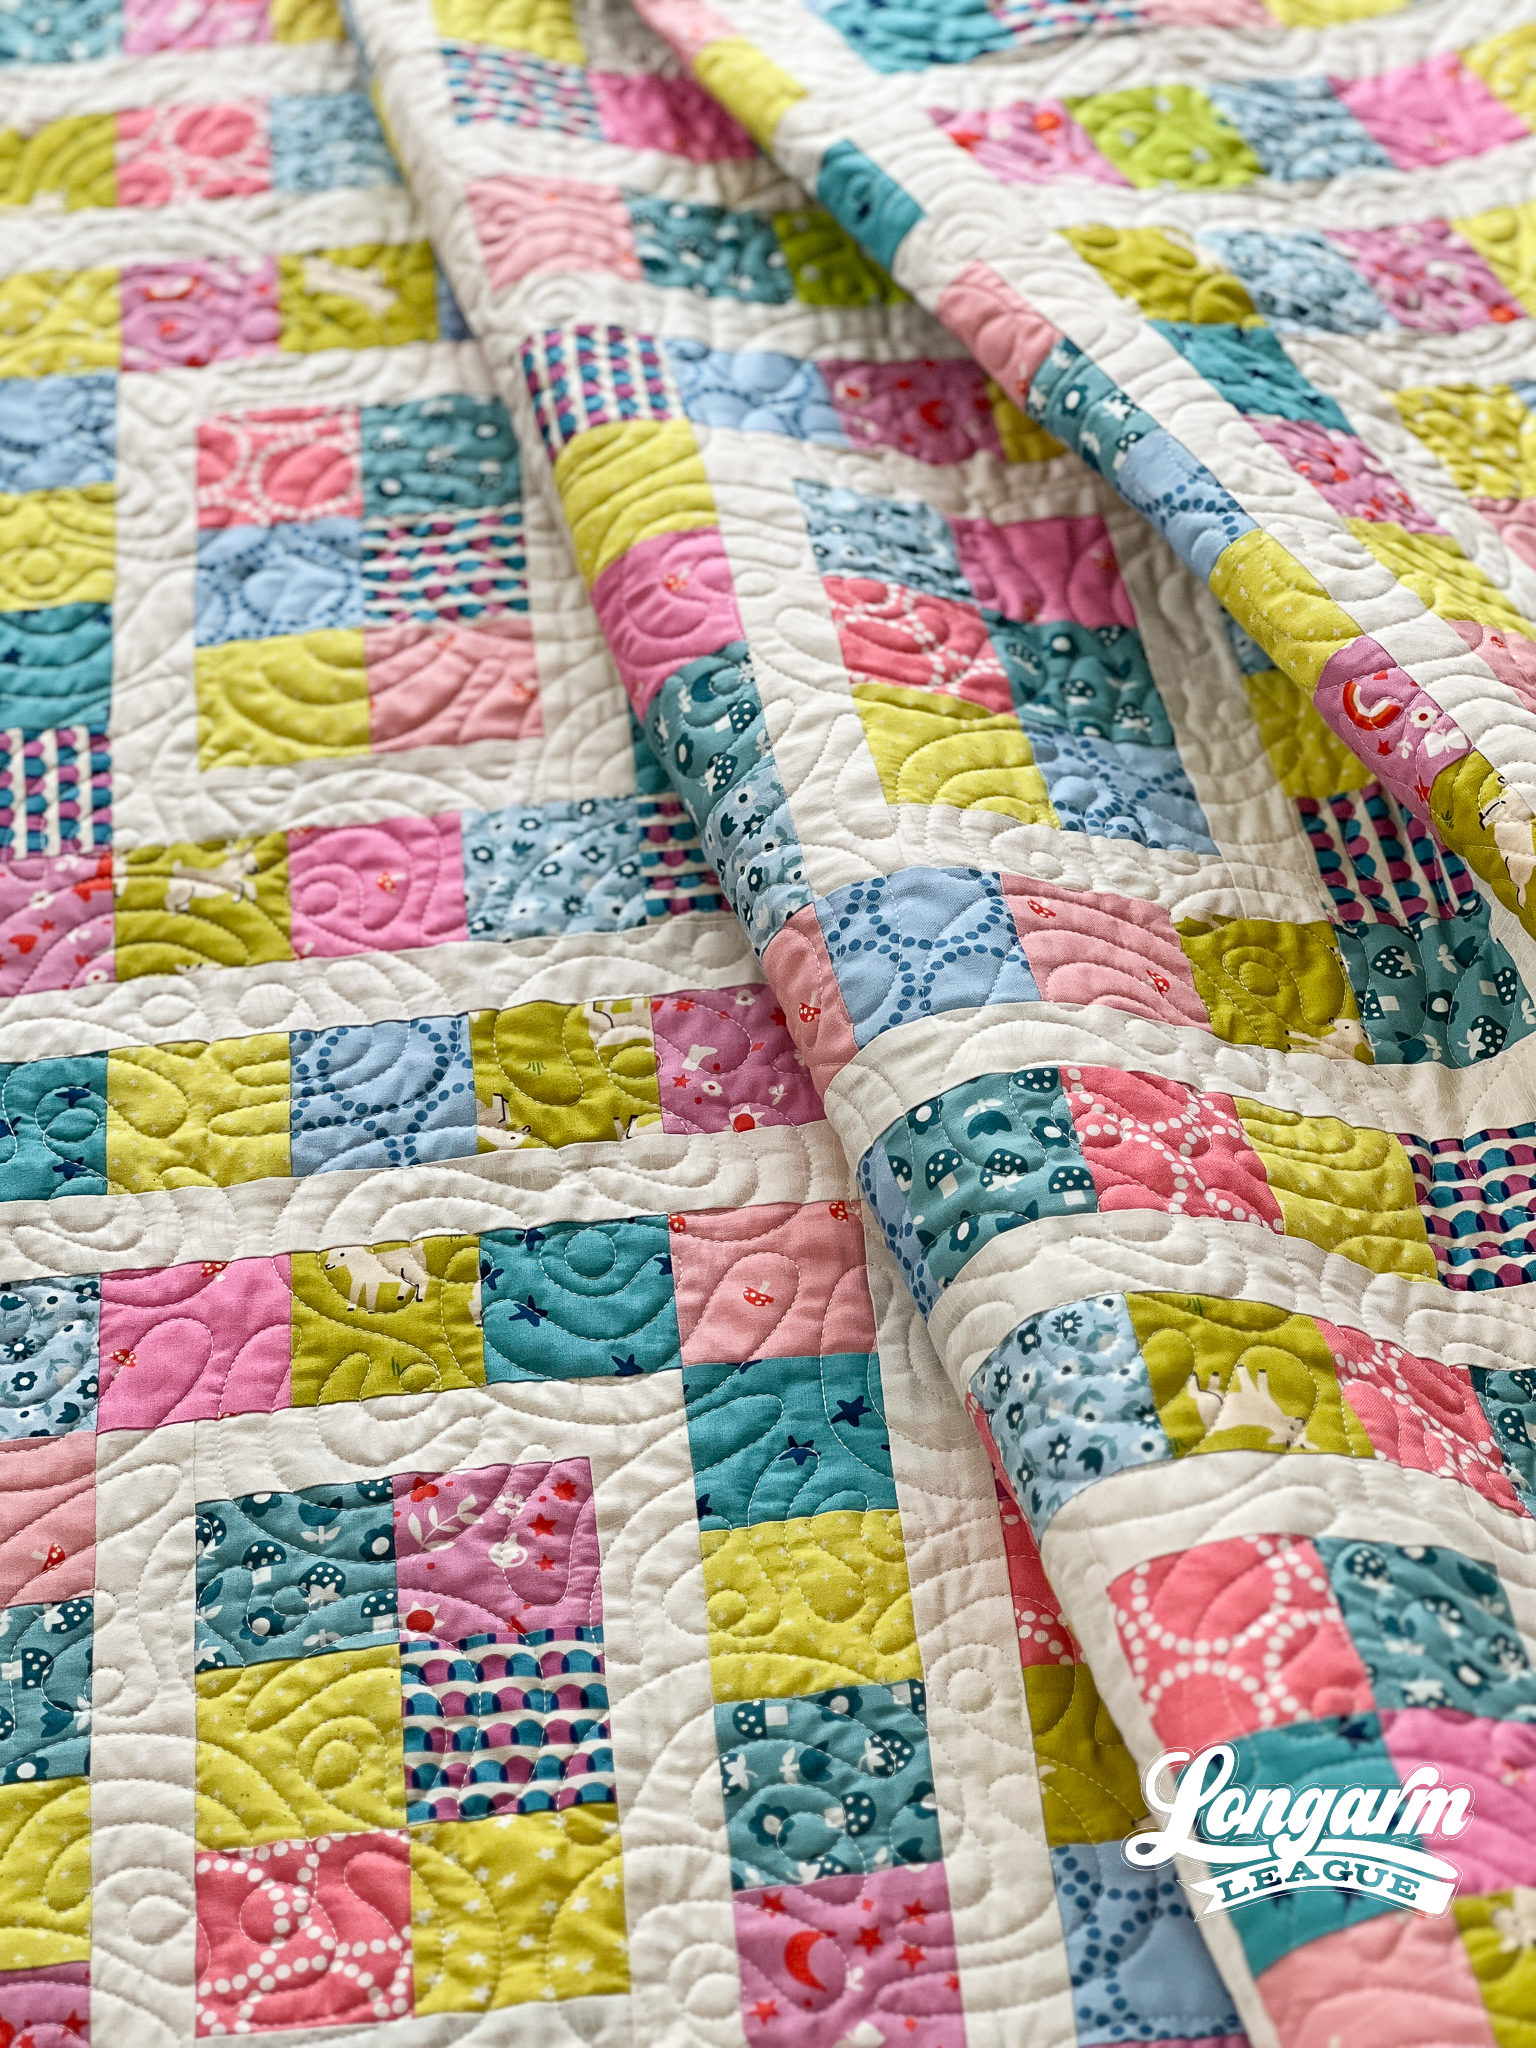
Wifi has no sharp points, backtracking, or sharp turns, making the stitch-out smooth.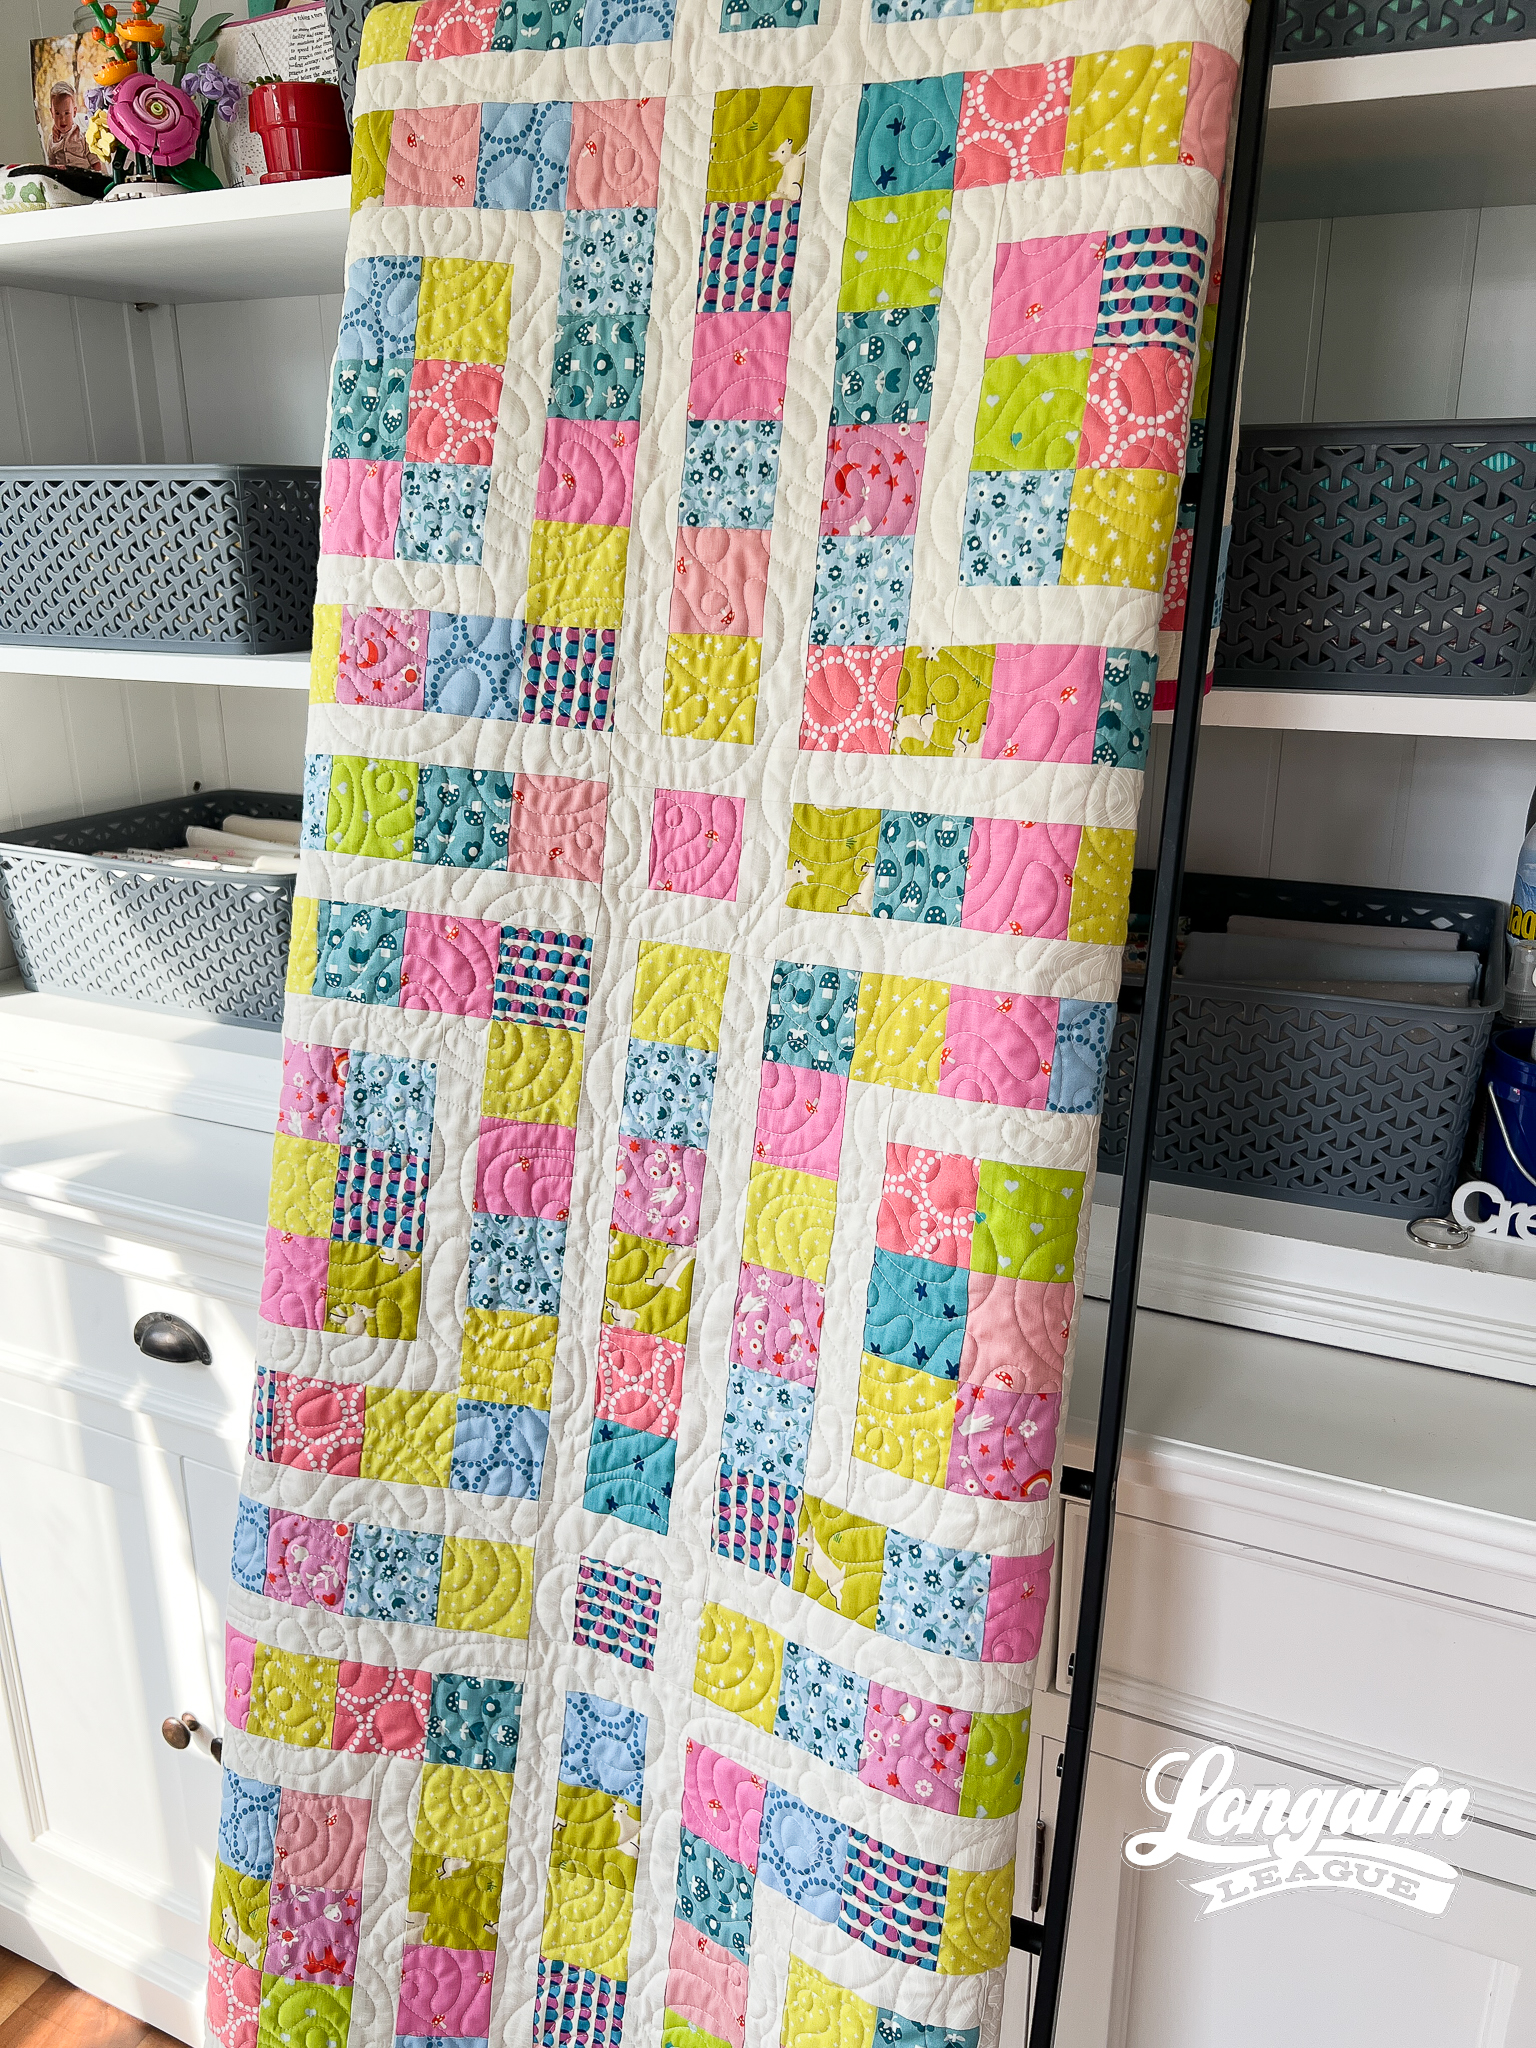
The Quilt
Quilt Pattern
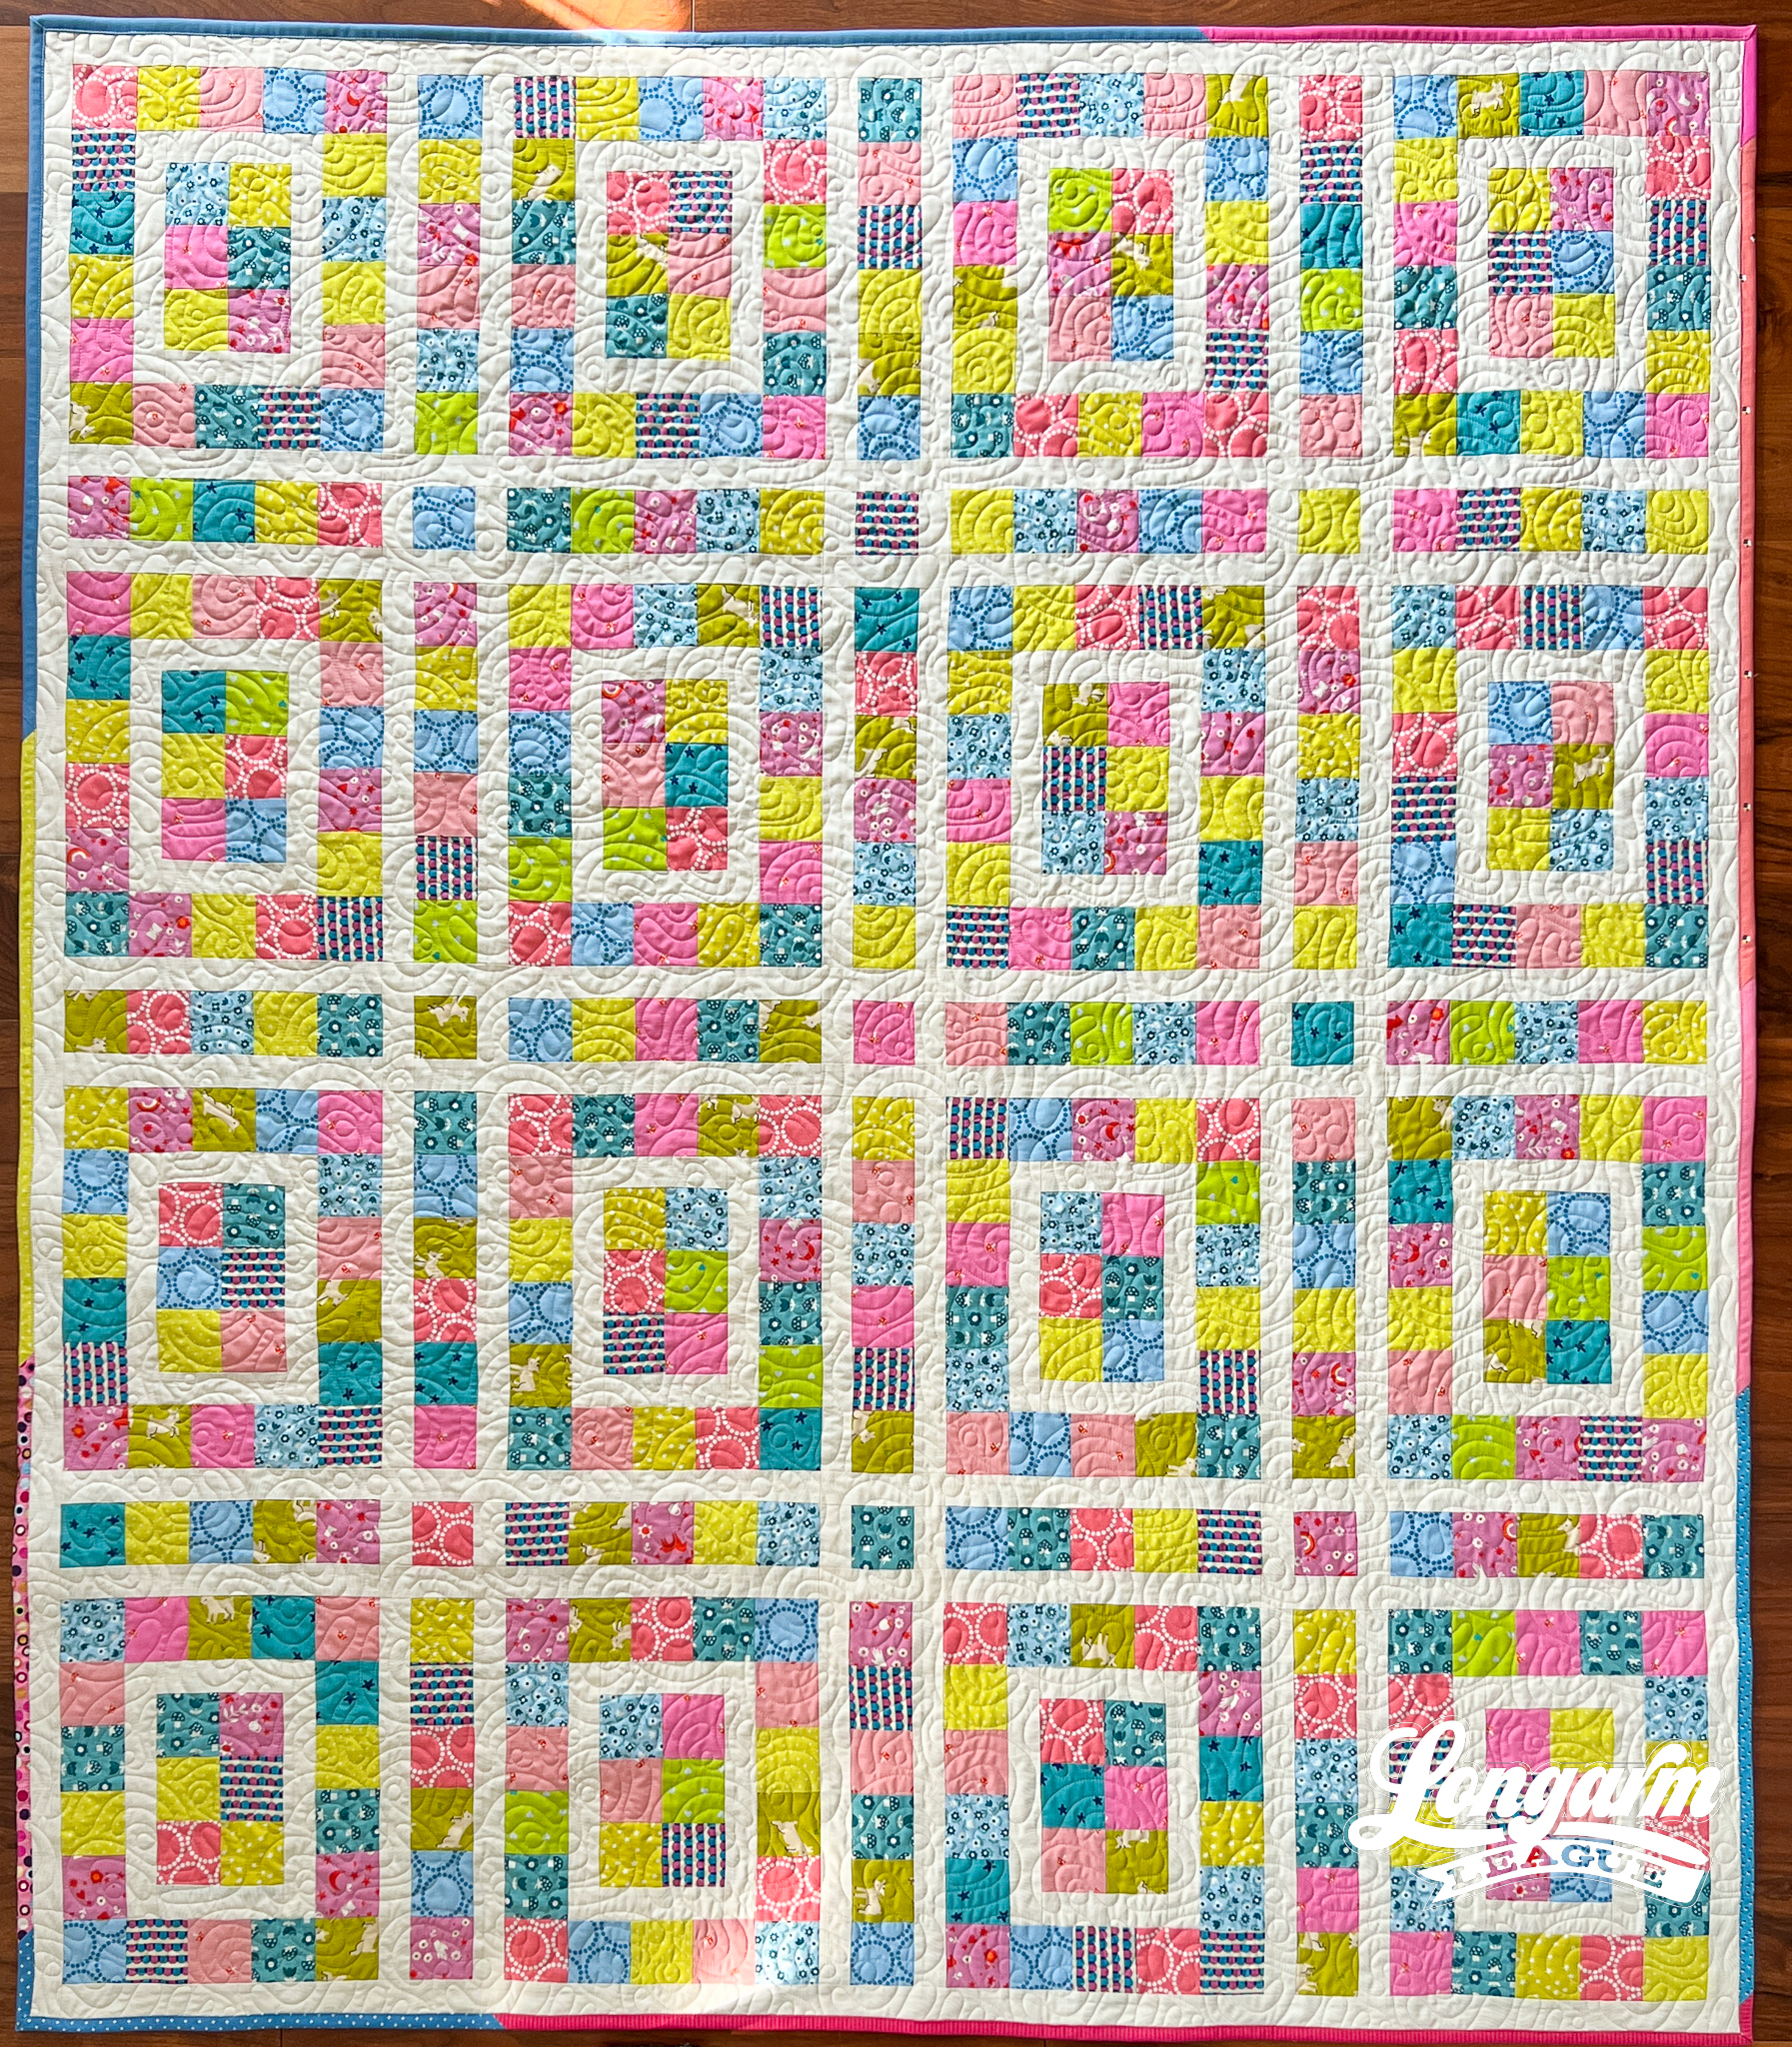
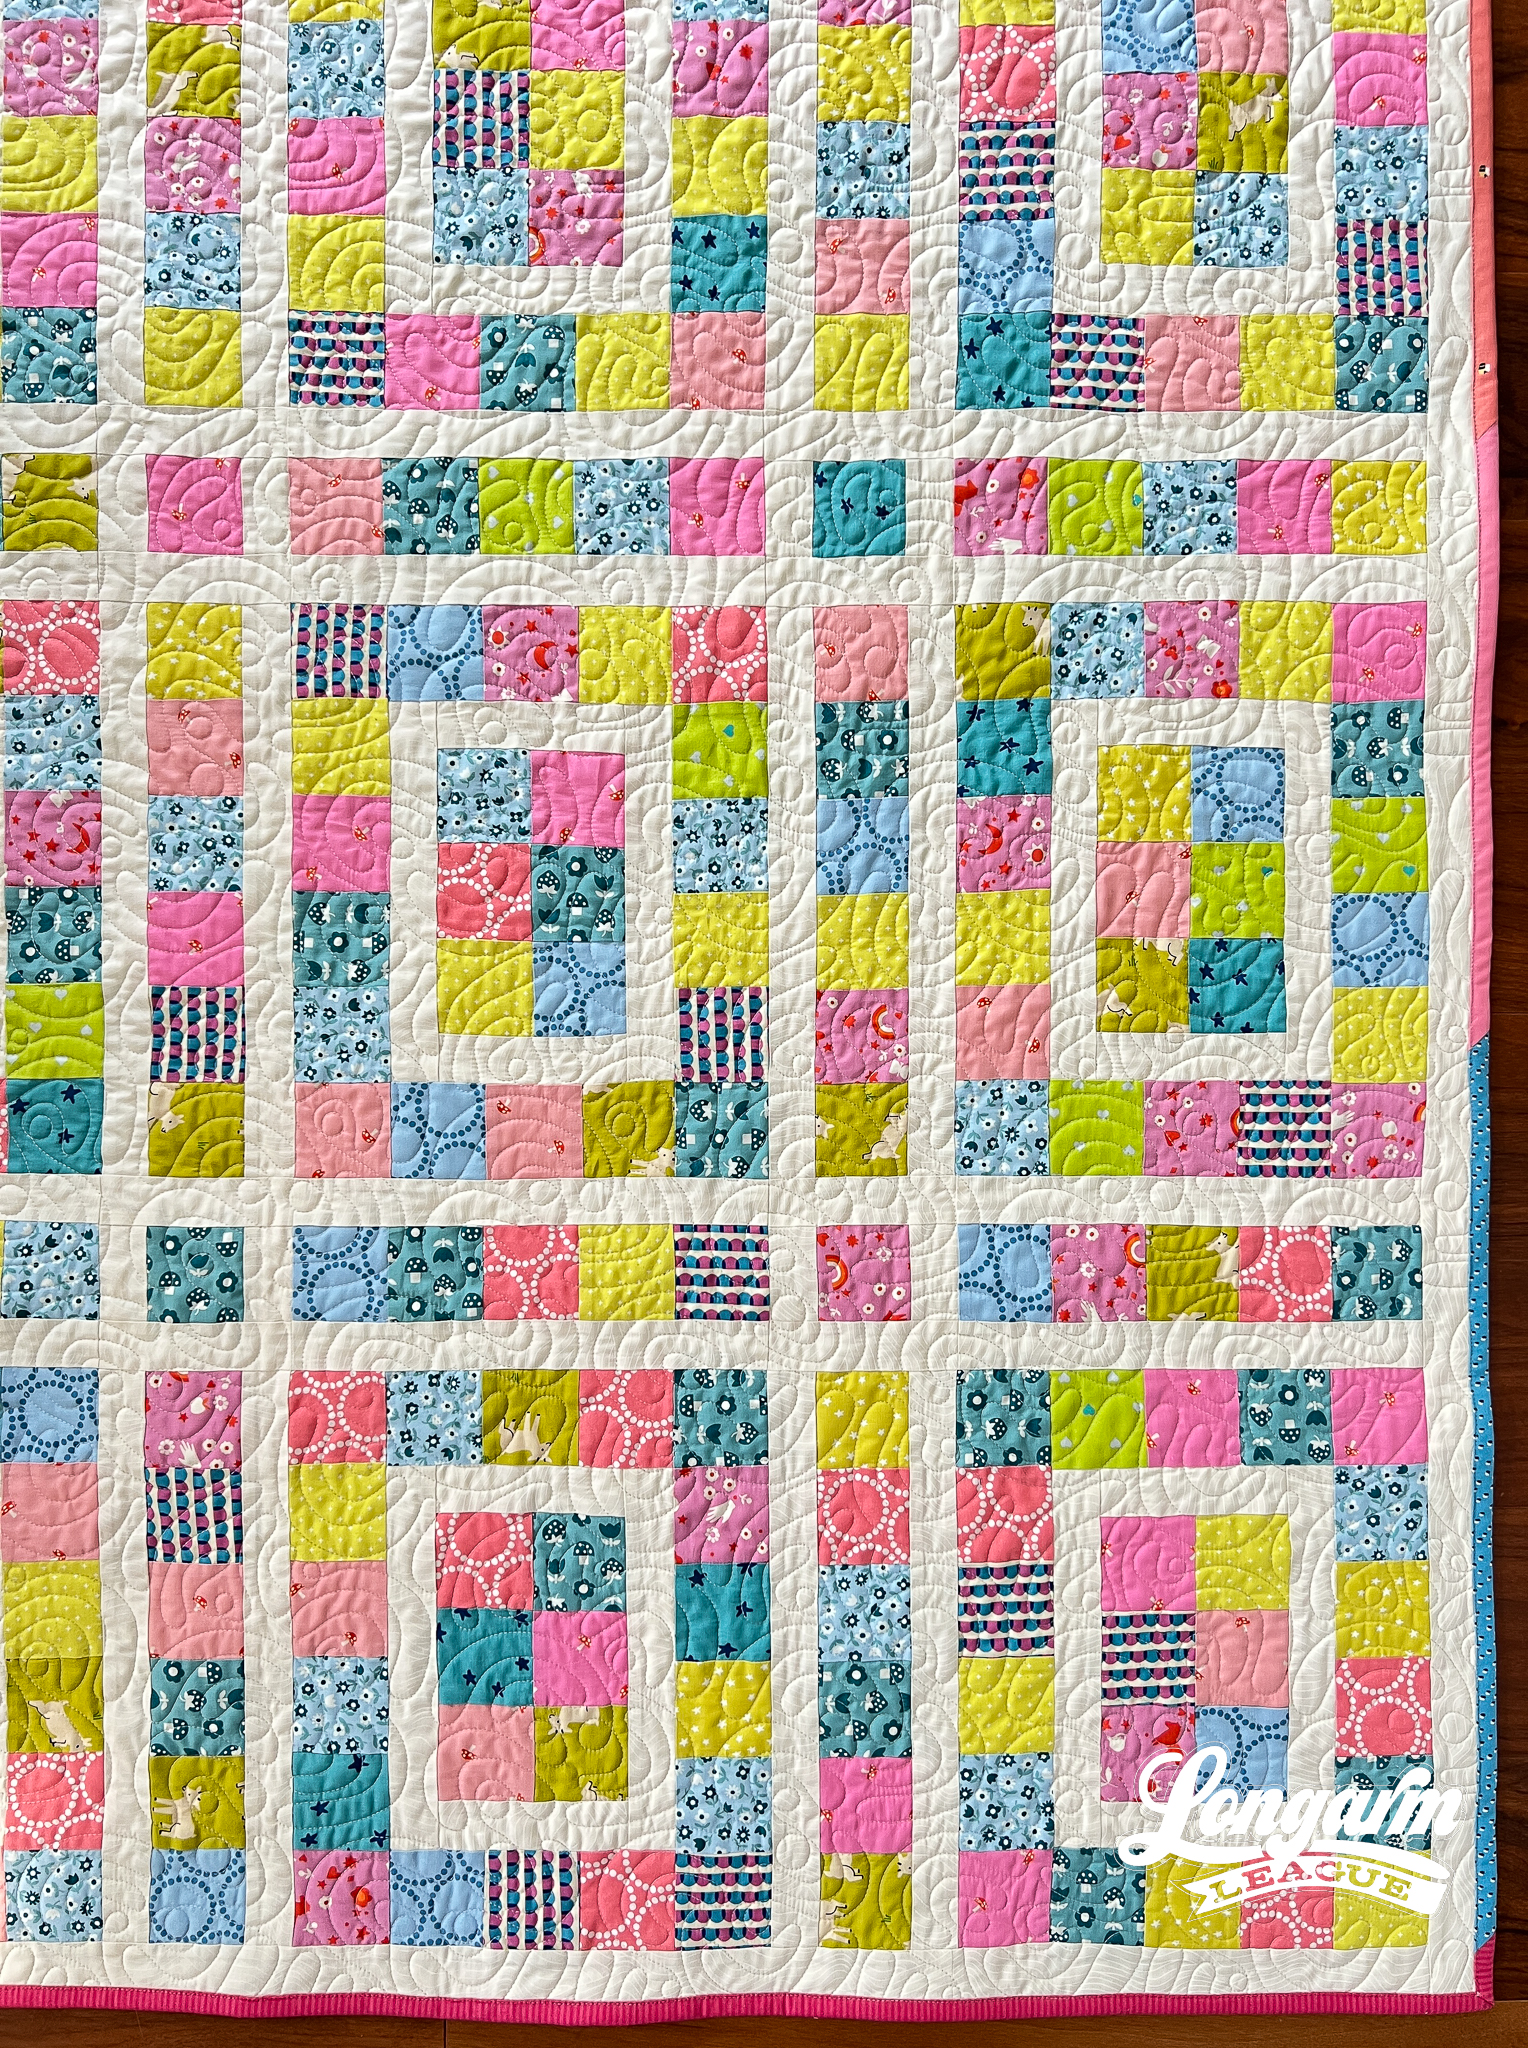
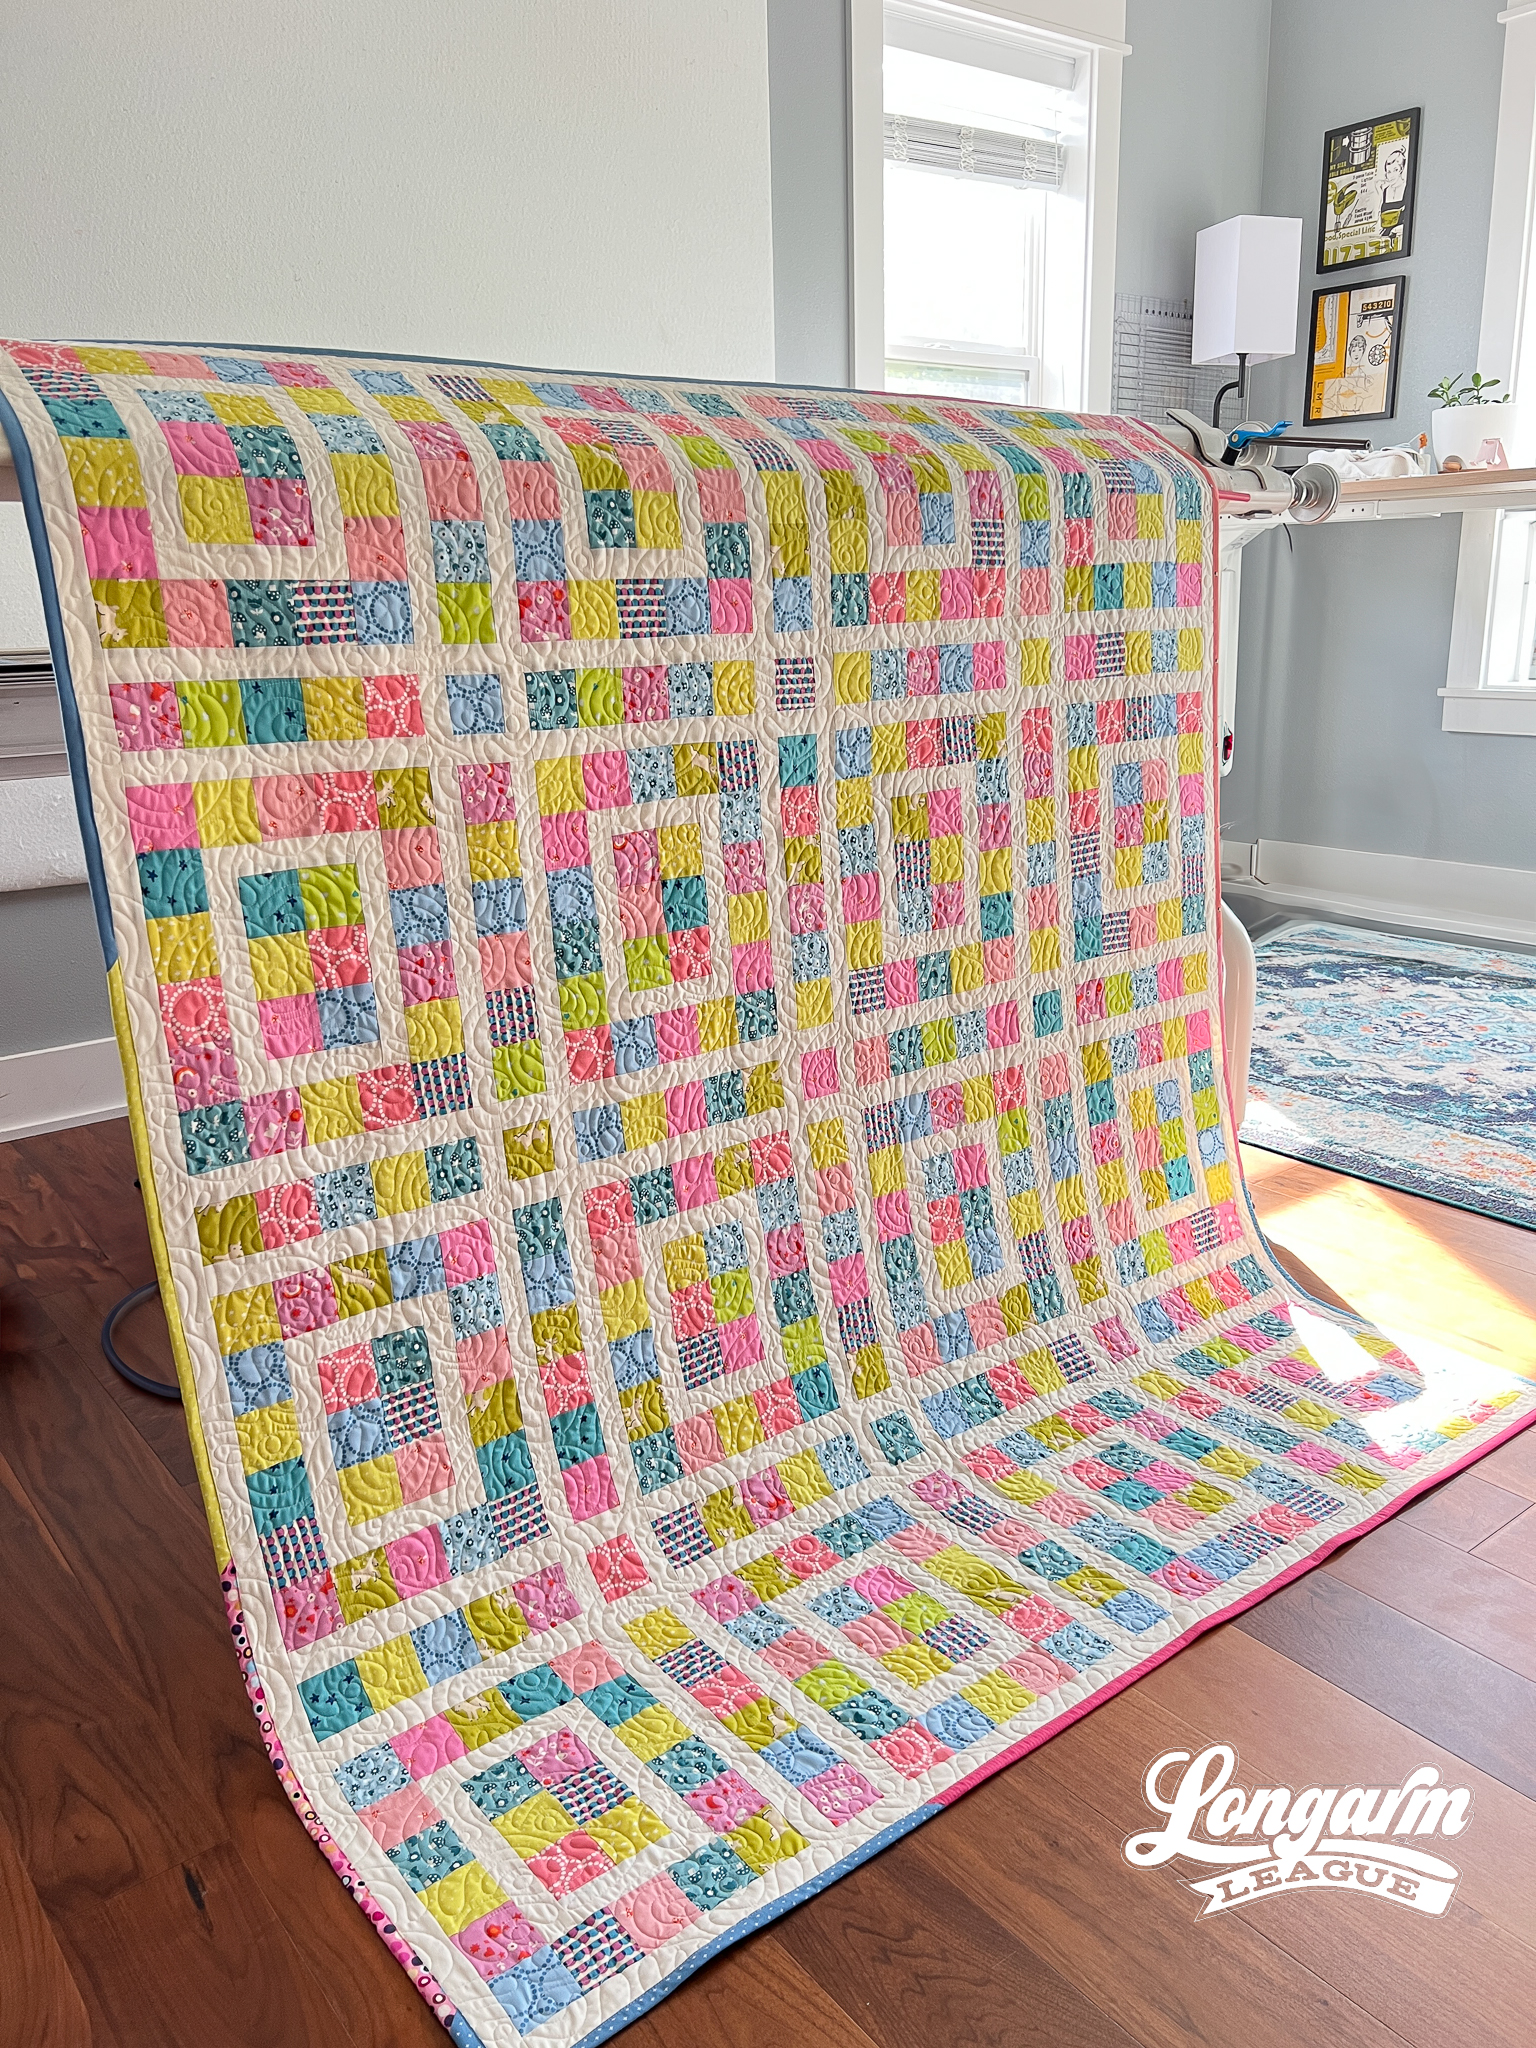
This quilt pattern is called Pathways by Doug Leko of Antler Quilt Design. It can be found in his Stashtastic! 2 book. I've now made three out of the twelve patterns in this book. Well worth the price of admission! ;) The other two projects I've blogged about are the pattern Interwoven shown with our digital design called Cable Knit and Sparkle shown with my design called Oil Spill.
The only modification I made was omitting the border shown in the pattern. Easy peasy. Without the border, my quilt ended up approximately 53" x 61" before quilting. I really like this size for a lap quilt.
Fabrics
Most of the fabrics came from my friend and retreat buddy Meg's Etsy shop called Monograms for Makers. I'd guess the prints are probably 95% from various Ruby Star Society lines, which have a way of coordinating with each other. And the other 5% are the Pearl Bracelet prints from Lizzy House.
The Backing
I finally did it! I seamed remnants of previous backings together to make a backing to fit this small quilt. It was probably the smaller size that helped me get over the hump and tackle it. Otherwise, it's just too easy to take the yardage off the wide bolt. 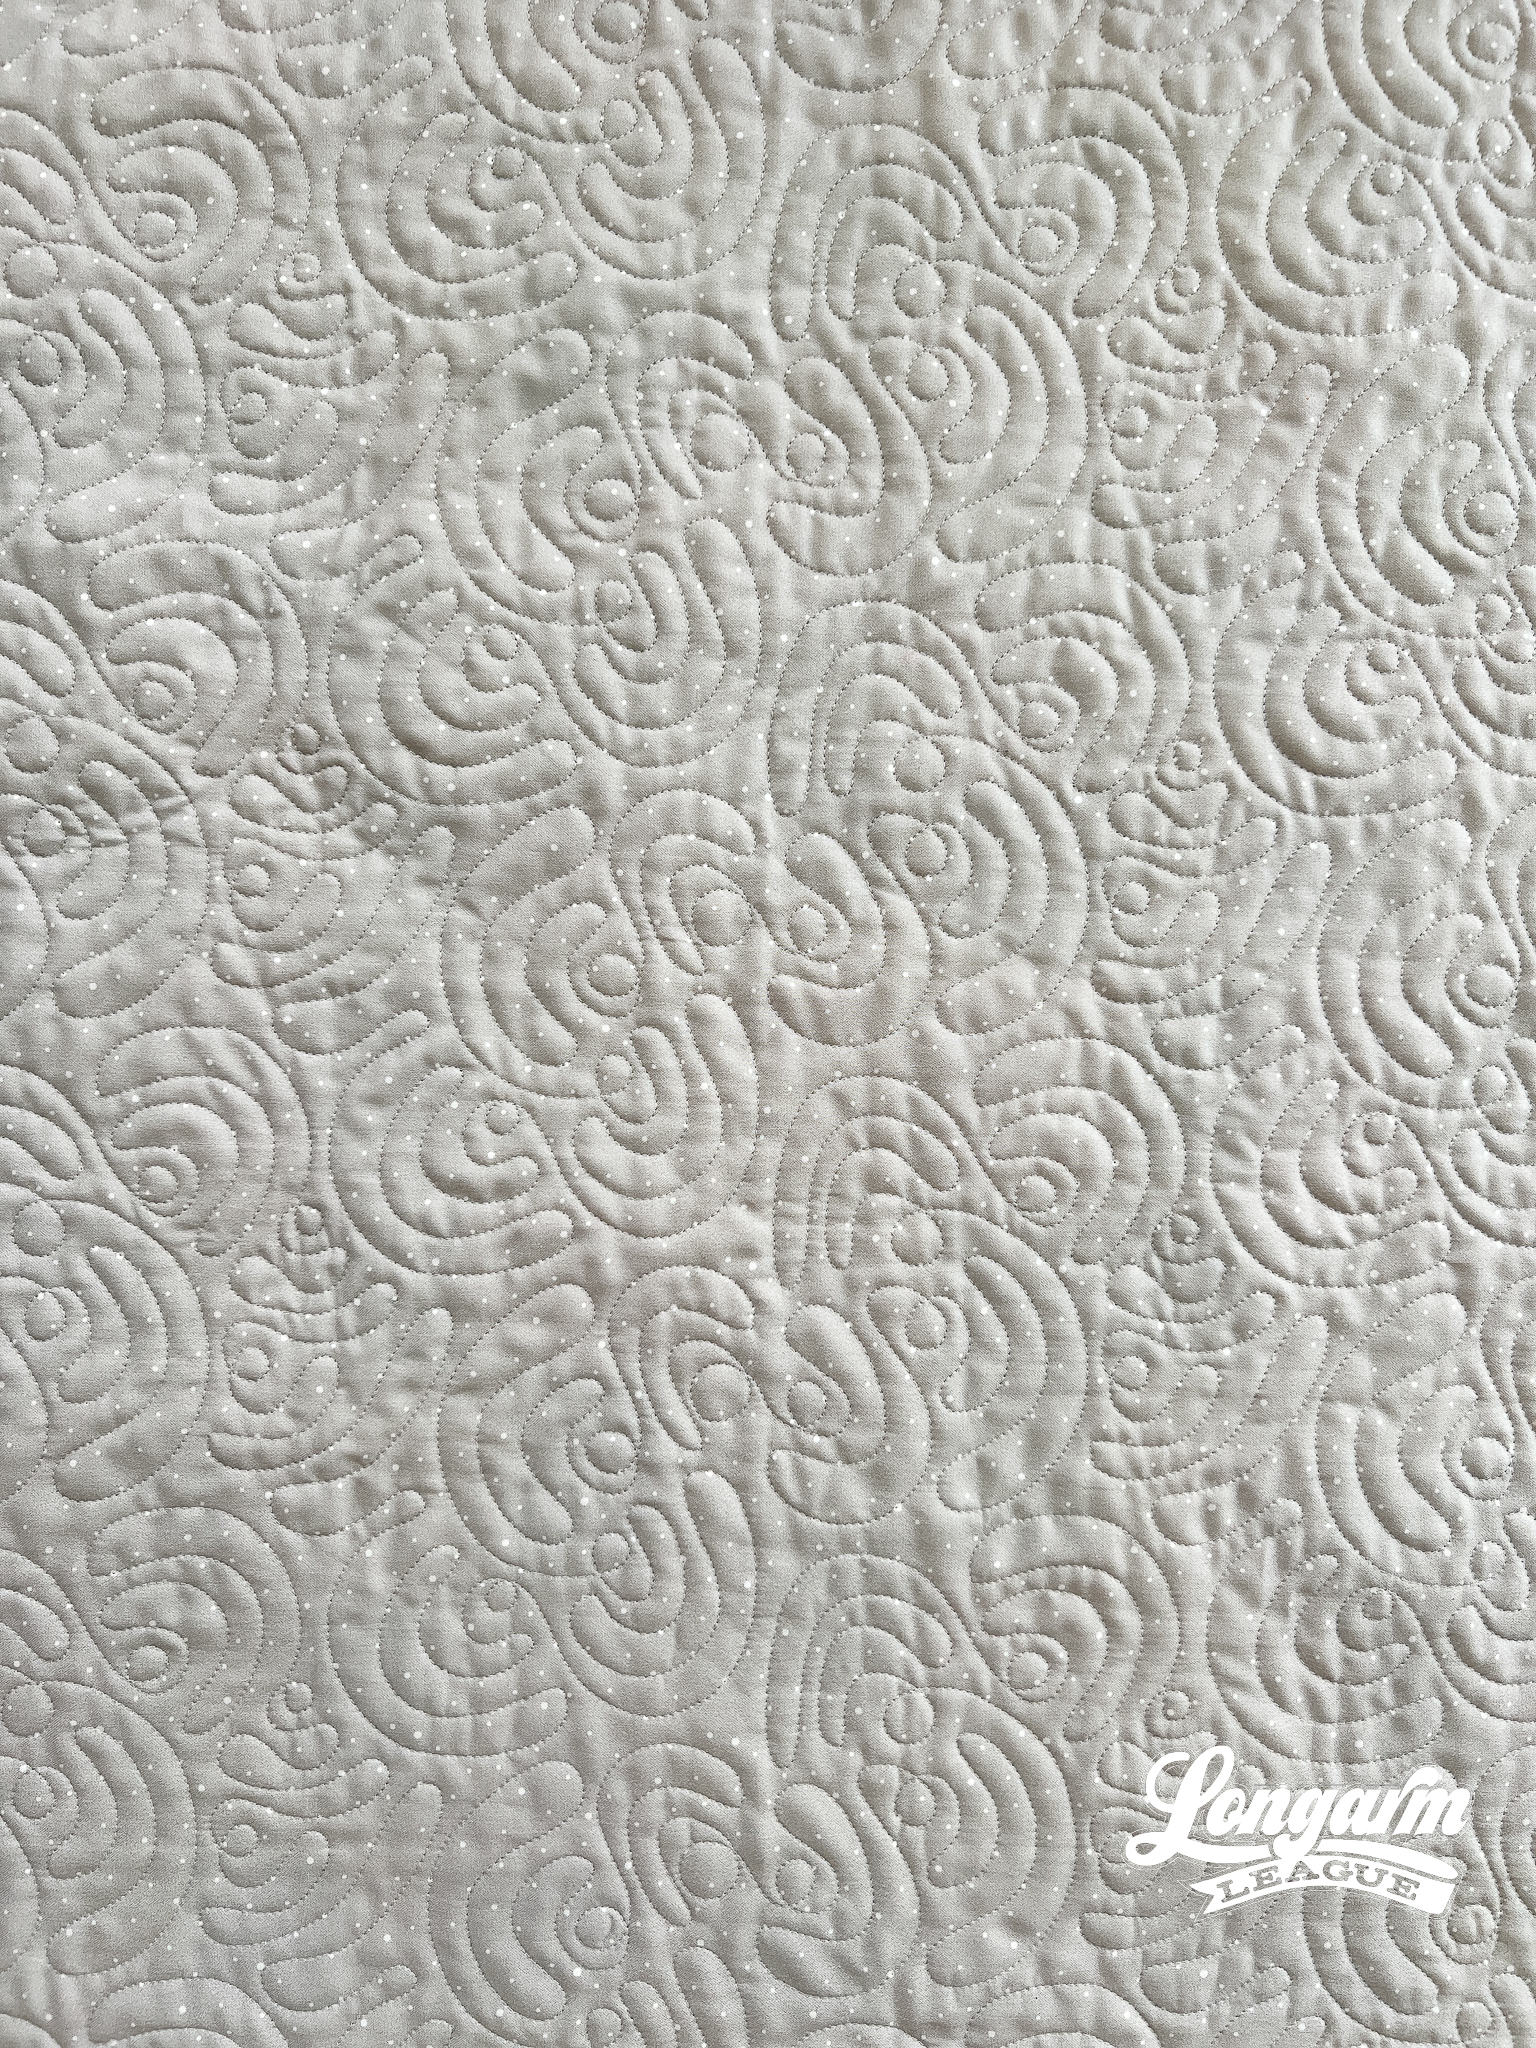
While I was at it, I also zig-zag stitched strips of leftover batting together to make a "frankenbatting" large enough for this quilt. 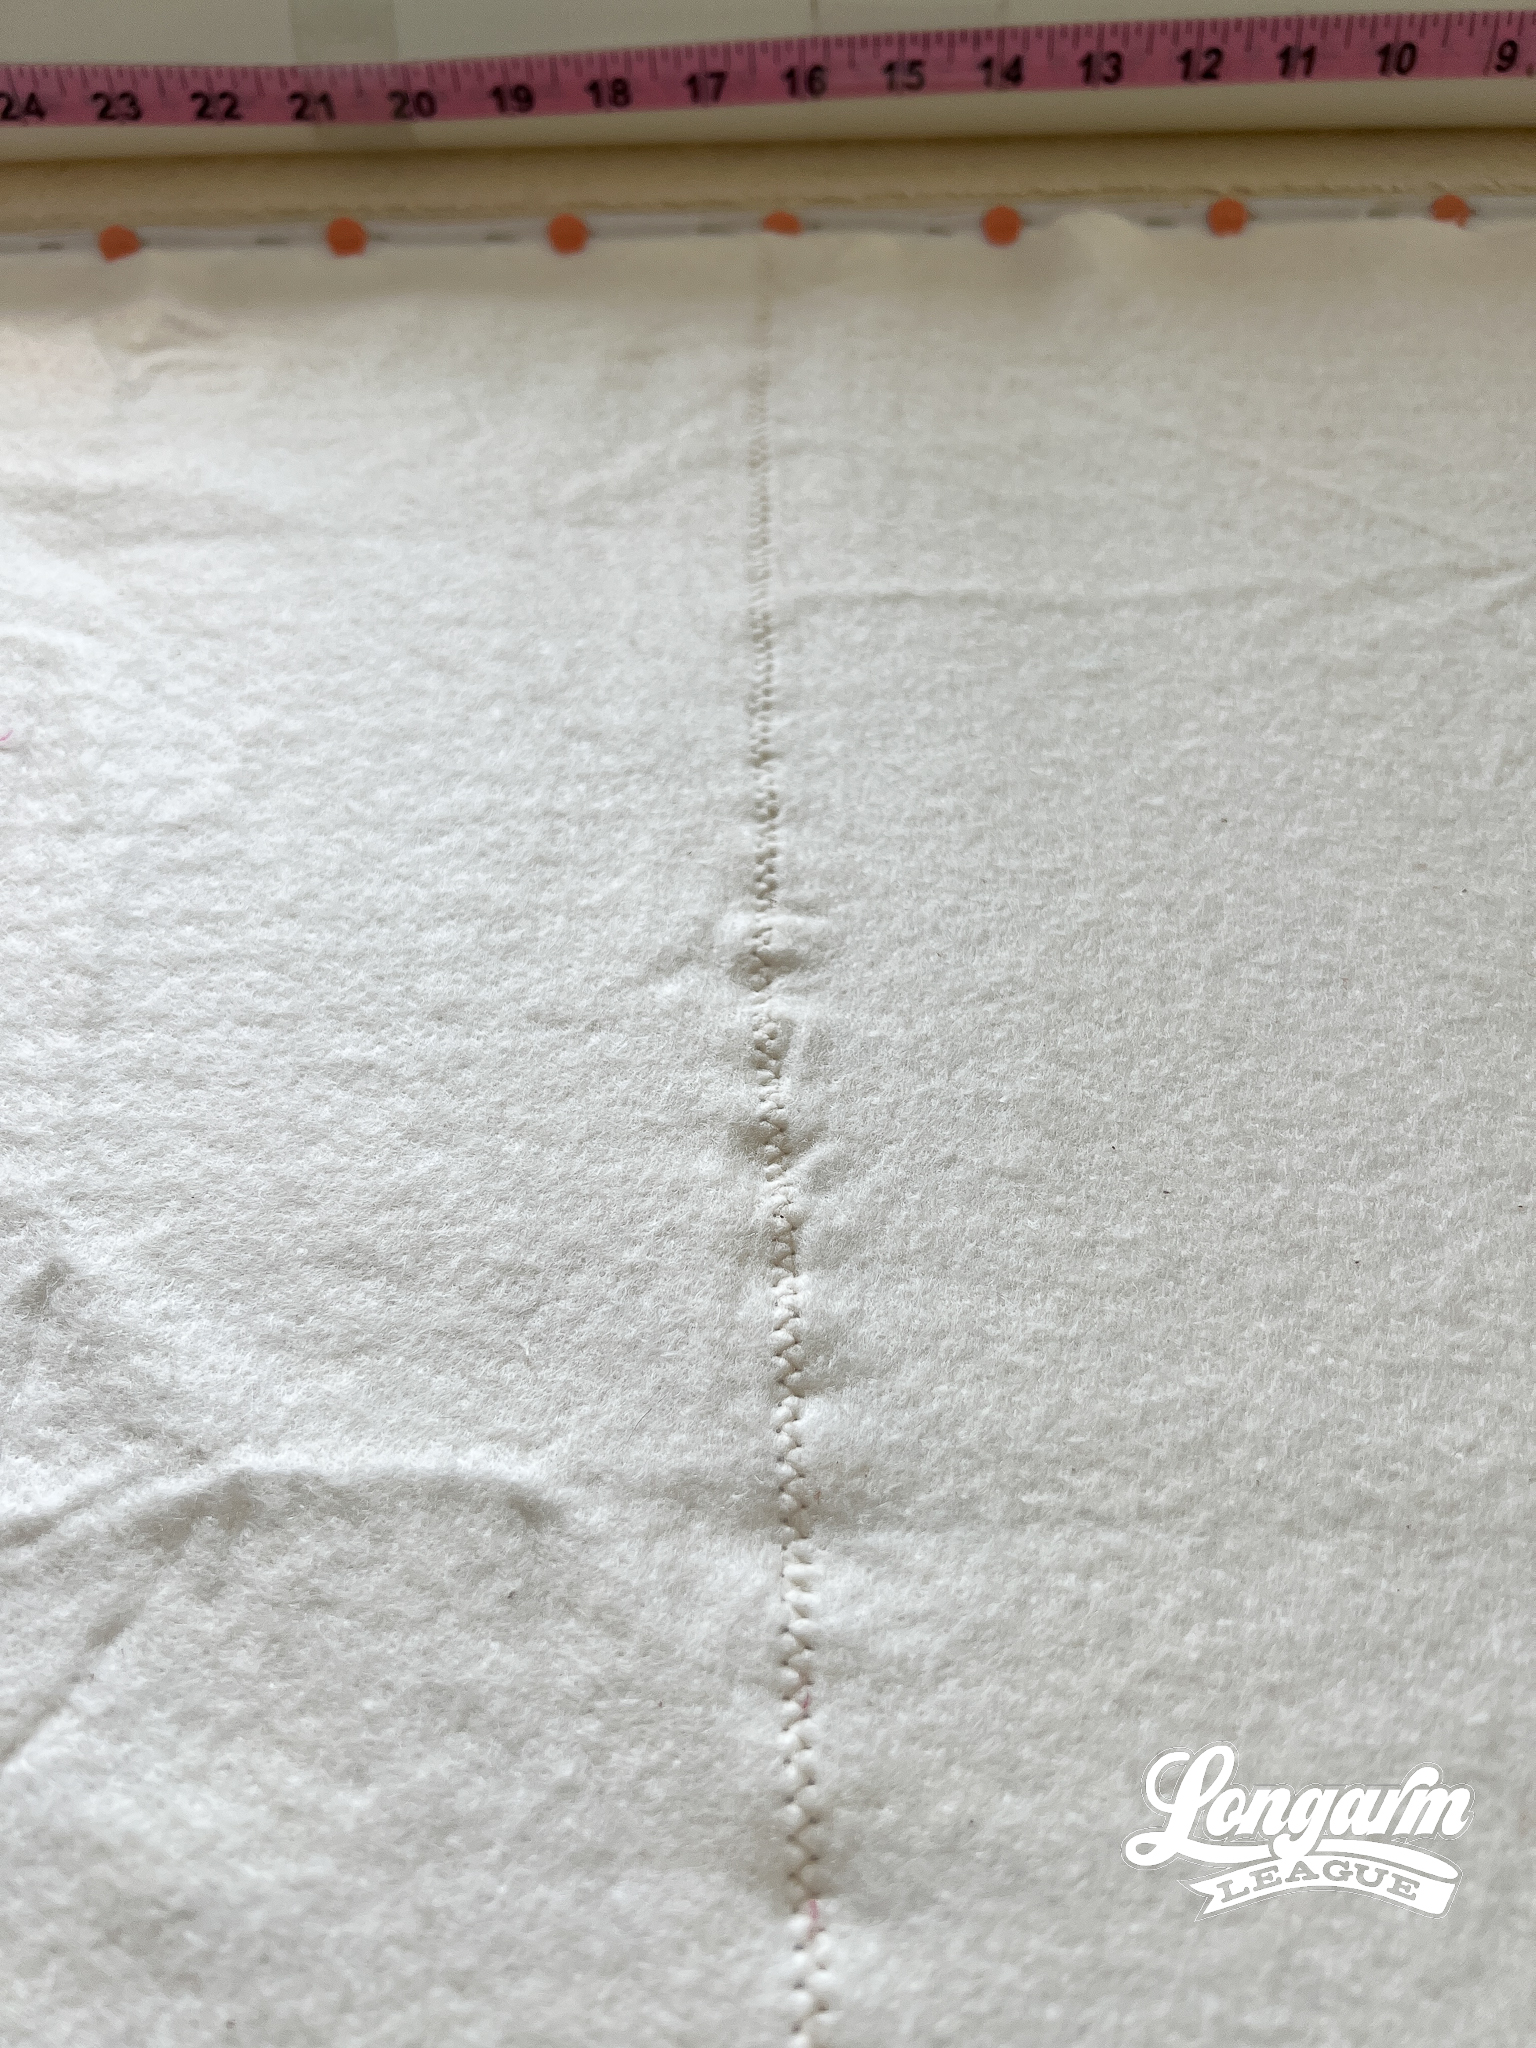
In this case, I abutted the "manufactured" edges of two batting pieces that had been trimmed away from other projects and used the zig-zag stitch on my sewing machine to join them together. I believe my stitch settings were 5.0 wide by 2.0 long. It didn't take much time at all. Again, this is easier to do for a small project.
My batting still wasn't quite big enough, so I had to stitch a third remnant to the others. This time, since there wasn't a good, clean edge, I slightly overlapped the jagged edges and used a rotary cutter to cut a straight line. Then, I repeated the process with the zig-zag stitch to get the size I needed before loading it on my frame.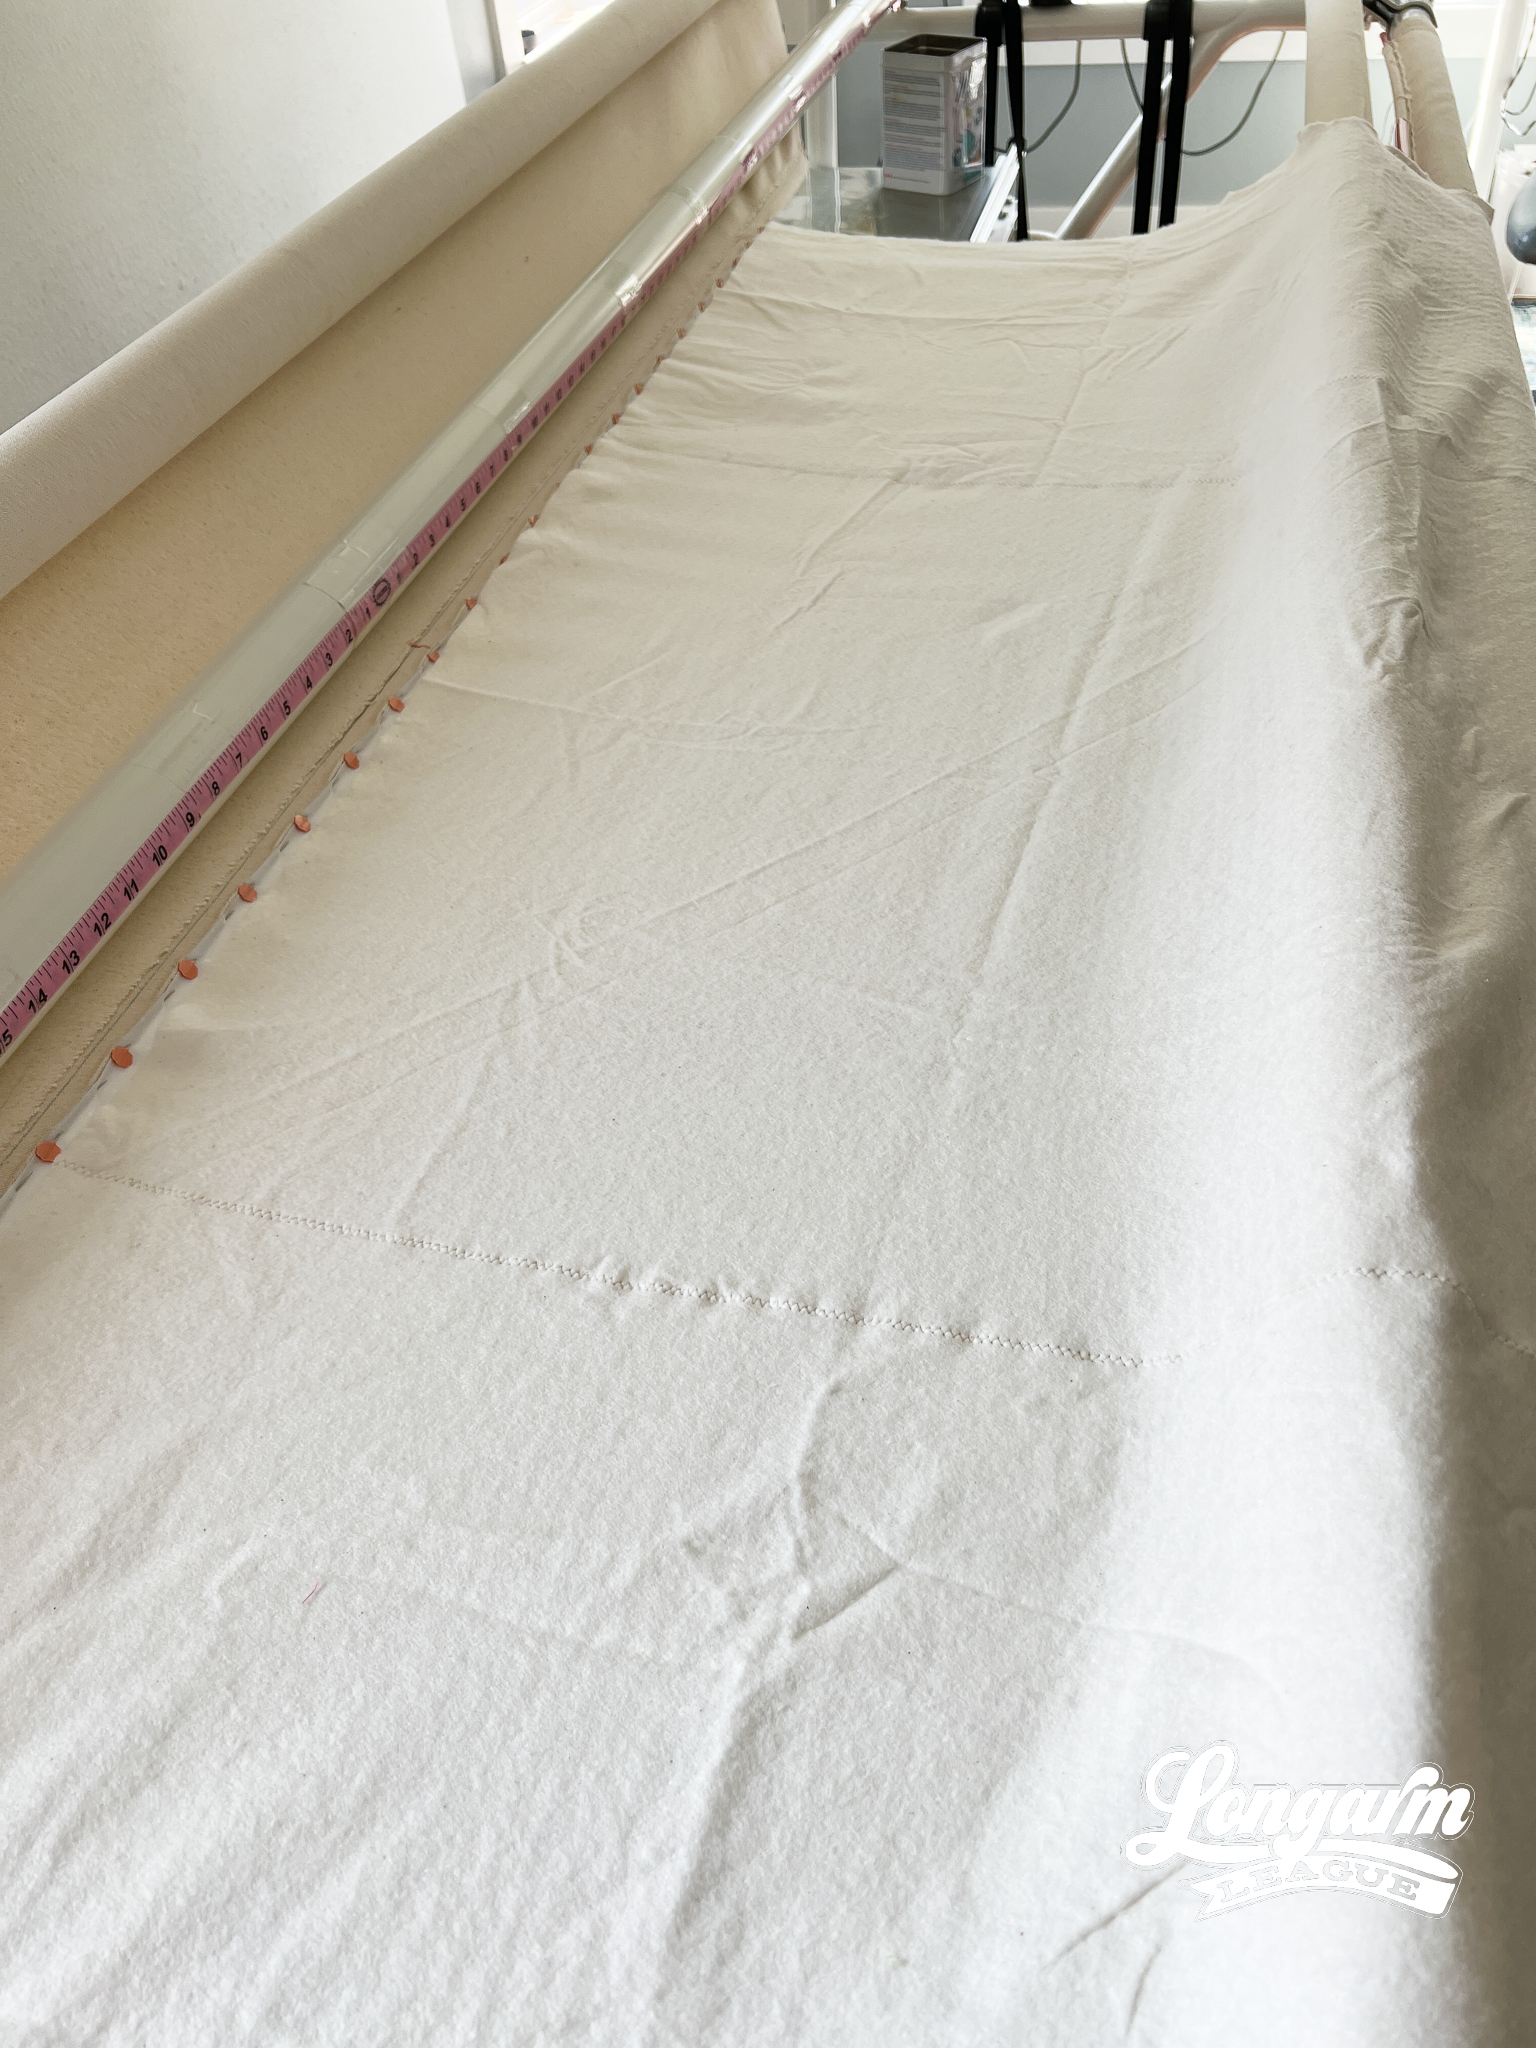
I've also used fusible batting tape to add length to batting, and that works well, too. Especially, if you are adding batting to a quilt that's already loaded and partially quilted! :) 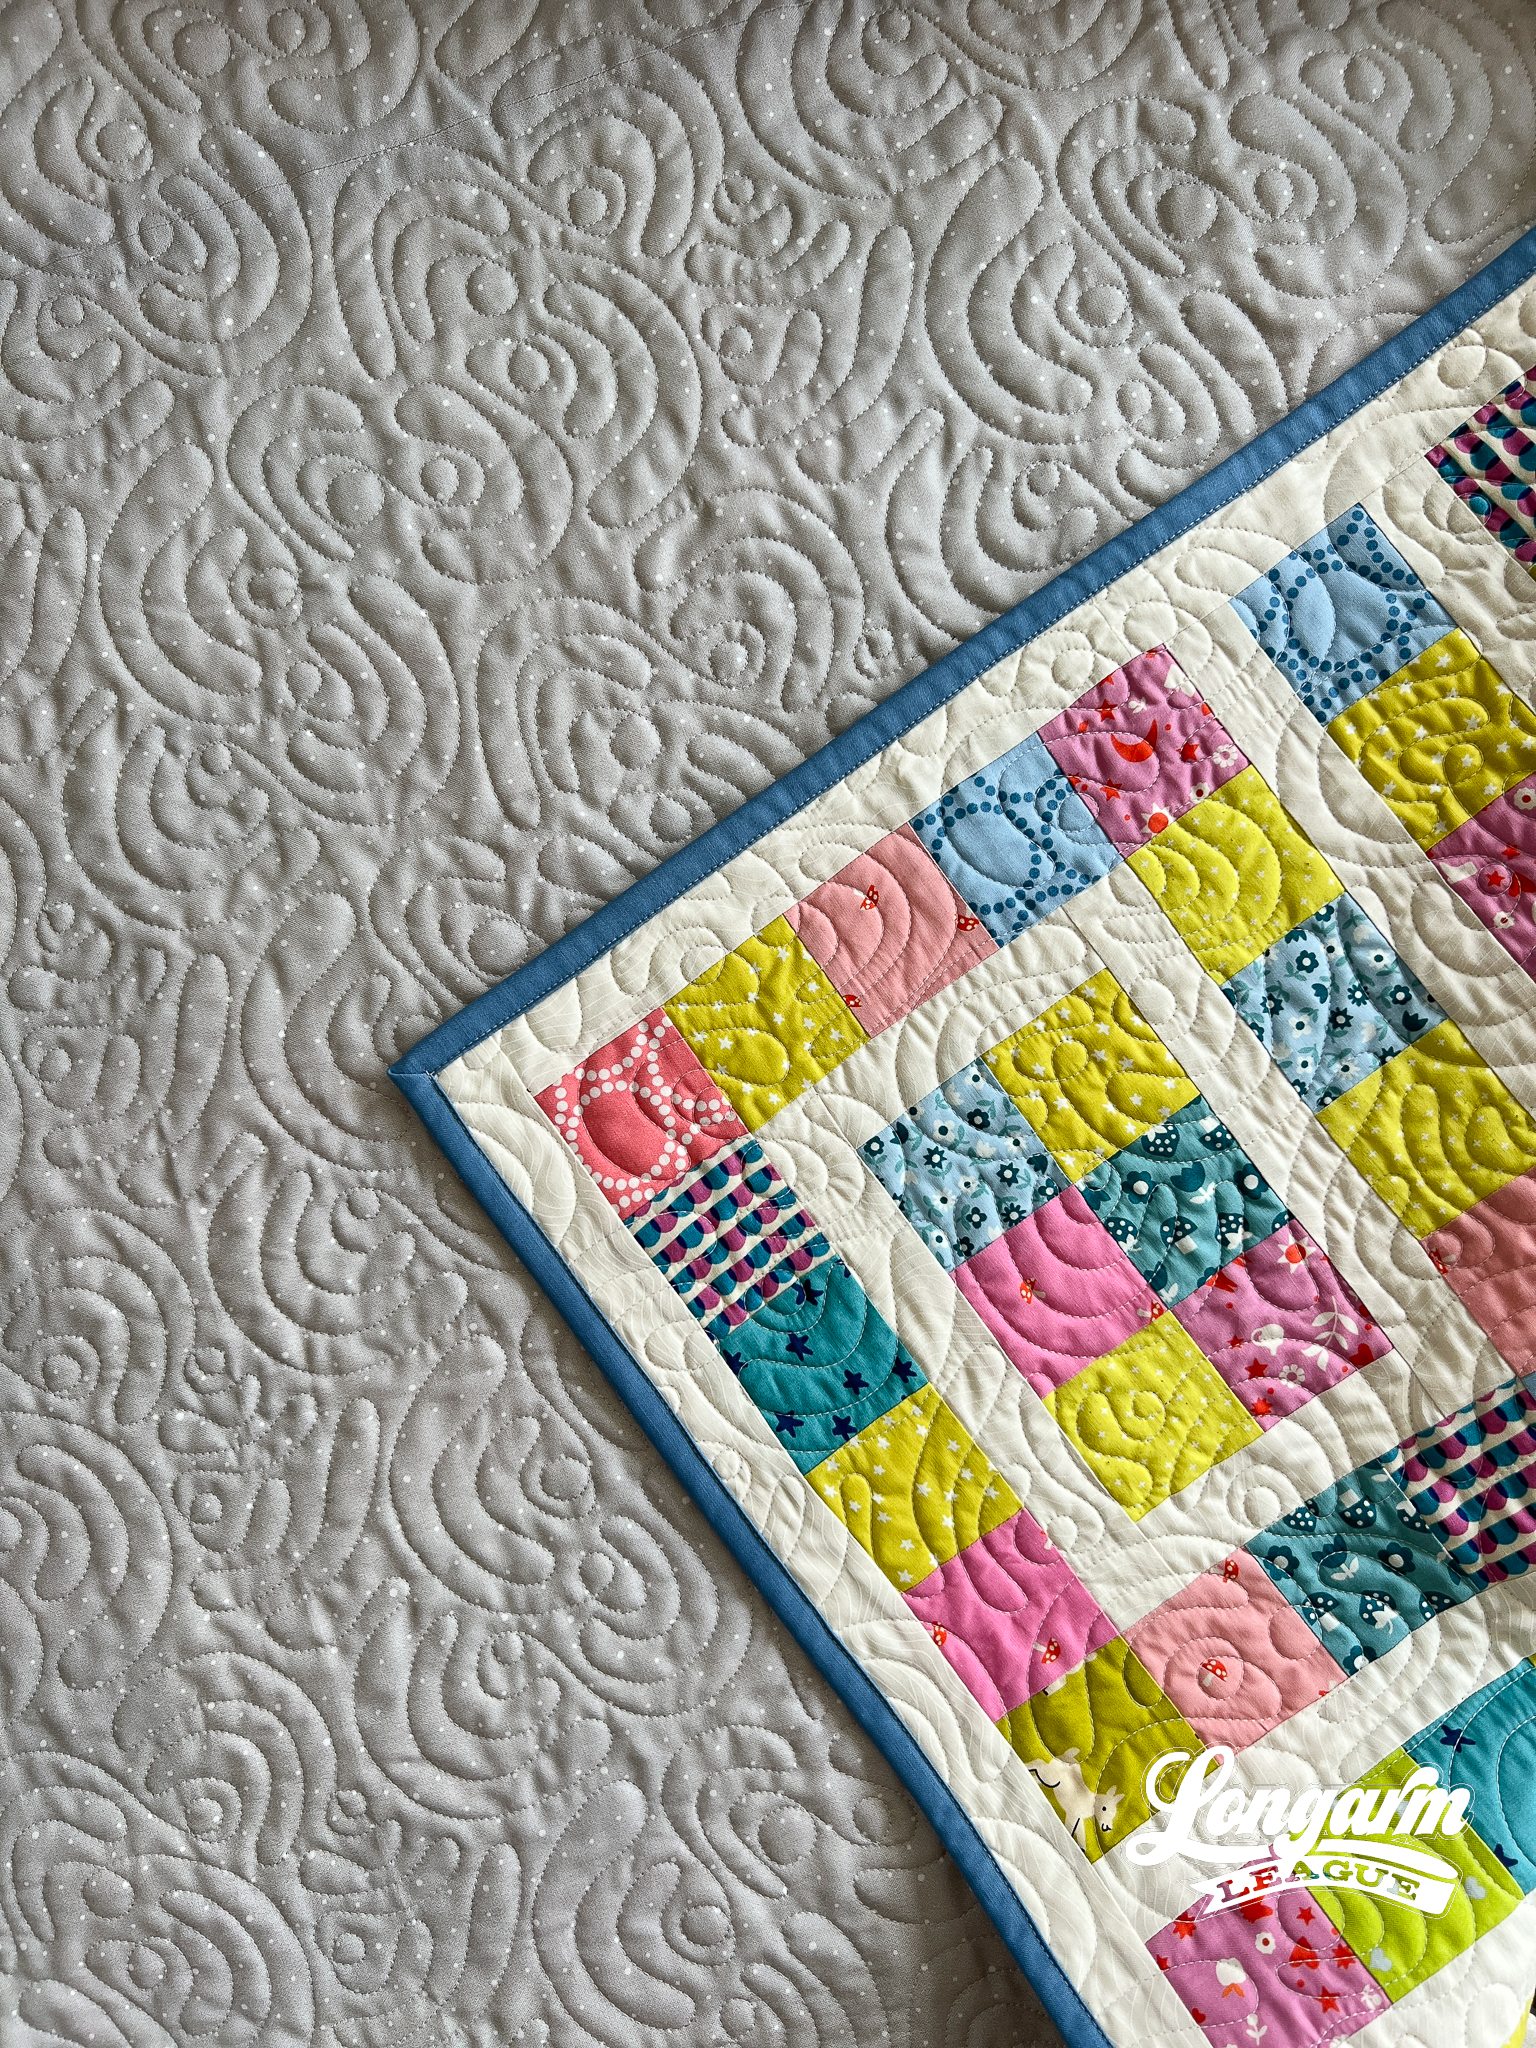
The Quilting Details
Difficulty Level
I gave this design an "easy" rating in terms of difficulty to use. No offsetting is necessary, and there is no backtracking. If you'd like to view the stitch path, a video is available at the top of the blog post that shows its progression.
Scale
I'm not sure if this is "inside baseball", but I'll include it in case it helps anyone who is a panto designer or who wants to be.
To achieve a smooth stitch path around the curves, I had to increase the default dimensions beyond those used in the sample. I don't know if this is universal, but I've found that if I create the motif at small-ish dimensions in my software (I do not know the magic size, but it probably depends on the motif), it may not apply enough stitches for a smooth experience. So, in the process of stitching this out, I noticed I had some herky-jerky stitches around some of the tighter curves. So, I re-saved the same exact motif at a larger size, then imported it into my machine, selected the same dimensions as before, and had smooth sailing around all the curves.
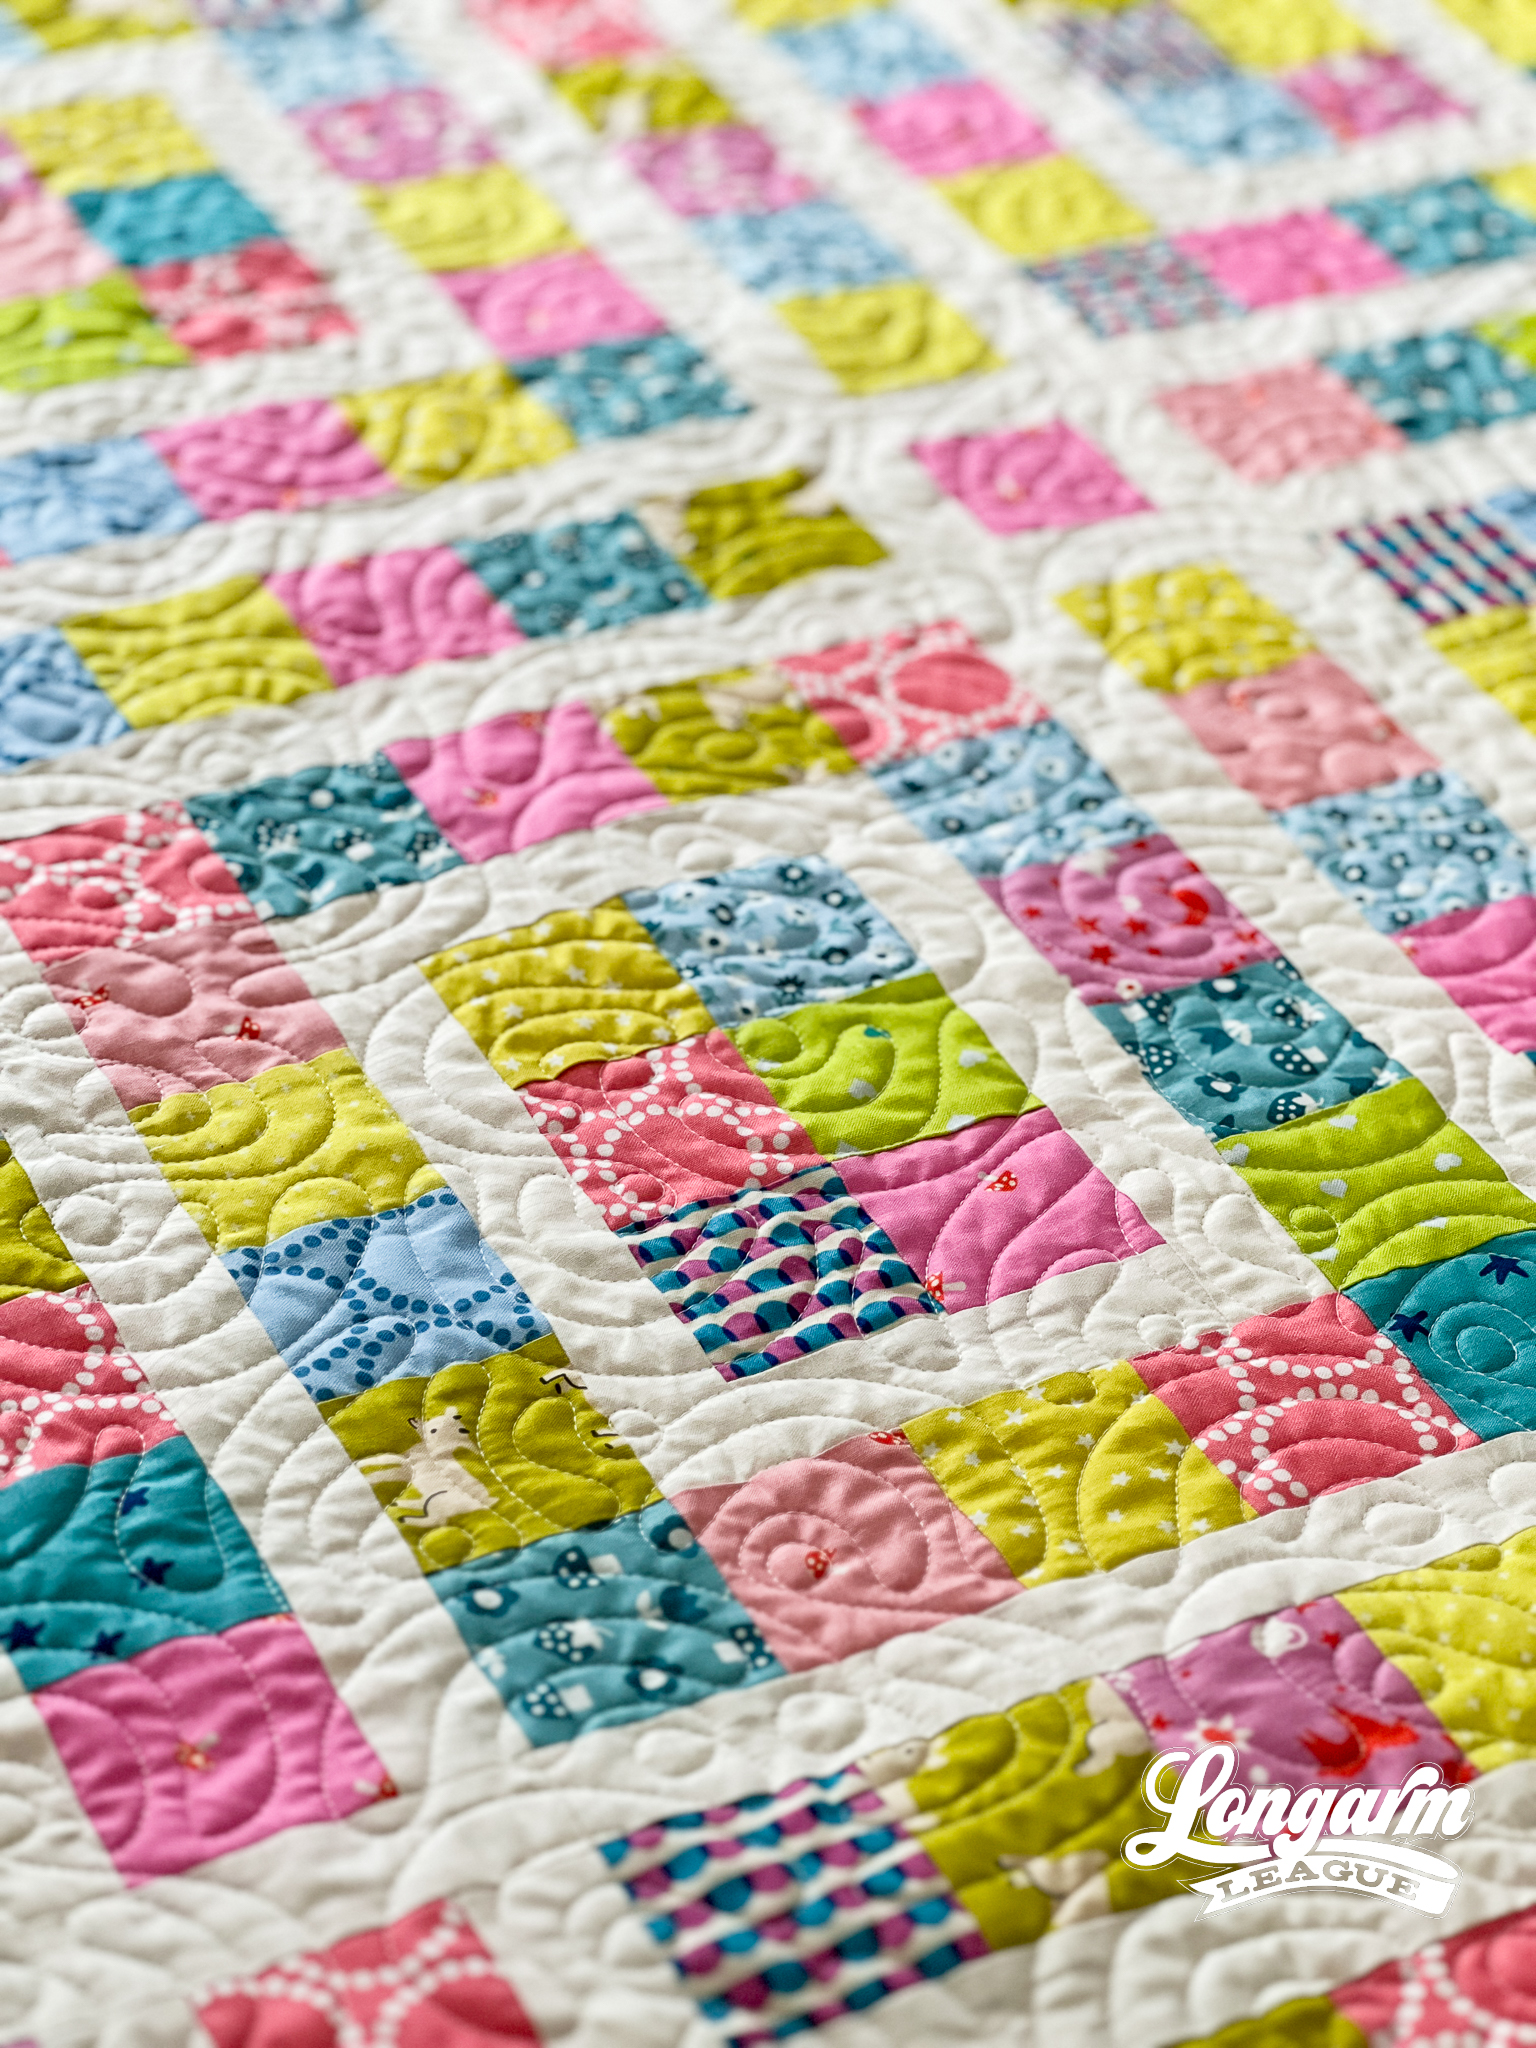
At the dimensions given below, most line spacing was between 0.5" and 0.75" apart. Sizing used in the sample (53" x 61" quilt size):
Row height: 6"
Gap: -3.091"
Pattern height: 9.091" (measurement from top to bottom of the repeat)
Offset: none
Backtracking: none
Here's a look at the included PDF:
Interested in getting new digital pantograph designs like this one on the day they're released (and at a deep discount)? Sign up for our Digital Panto Club and get them delivered directly to your inbox on the first Wednesday of each new month.

Jess Zeigler
Longarm League Commish & Owner of Threaded Quilting Studio, LLC.


