Chandy Digital Quilting Design on a Ruby Star Society Spring Sew Along Swatch Quilt


First thing's first. It's pronounced shandy.
I didn't want to spell it with an "s" because I think the descending circles give off big chandelier energy and wanted to maintain that attribute as part of the name. Also, I believe there are other chandelier named pantographs, so Chandy seemed like a fun way to distinguish this one.
As far as other design attributes, this pattern features repeated lines at opposing angles and at different intervals that provide interesting texture. Throw in some circles, and you get a dynamic result!

The interplay of the rows is central to the design, so make sure to read the technical details before using this digital pantograph.
True story: I stitched probably a good 20" of another design (that I'll release soon) on this quilt before I decided it was all wrong and unpicked everything. It actually could have been cute at a smaller scale, but against the simple shapes of the patchwork, I felt the quilting needed a bit more oomph. That's wh...
QuiltCon 2023 Recap

Hi everyone! Cheryl here, Executive Assistant at the Longarm League (that's me kneeling down in the red Longarm League sweatshirt in the photo below). I'm taking over the blog today to recap my first trip to QuiltCon! Later in the post we're also highlighting several of our members' thoughts on the show. There's lots to dive into, so grab your favorite beverage (coffee anyone? 🙋🏻♀️) and settle in for a fun read.

Thoughts on My First QuiltCon
I’ve wanted to go to QuiltCon for years, but it was either not in the budget, wrong timing, you name it. So when Jess mentioned the idea of vending last summer and asked what I thought, I was 110% in!
Planning for QuiltCon
Months before heading to the show we started planning and working on all the backend stuff, like renting the booth and planning / designing how we’d set it up. In my past corporate life I used to manage the tradeshows my company vended at, so it was fun to revisit tasks like mocking up and designing a booth and planning fo...
Petal Pursuit Digital E2E Quilting Design from Red Willow Quilts

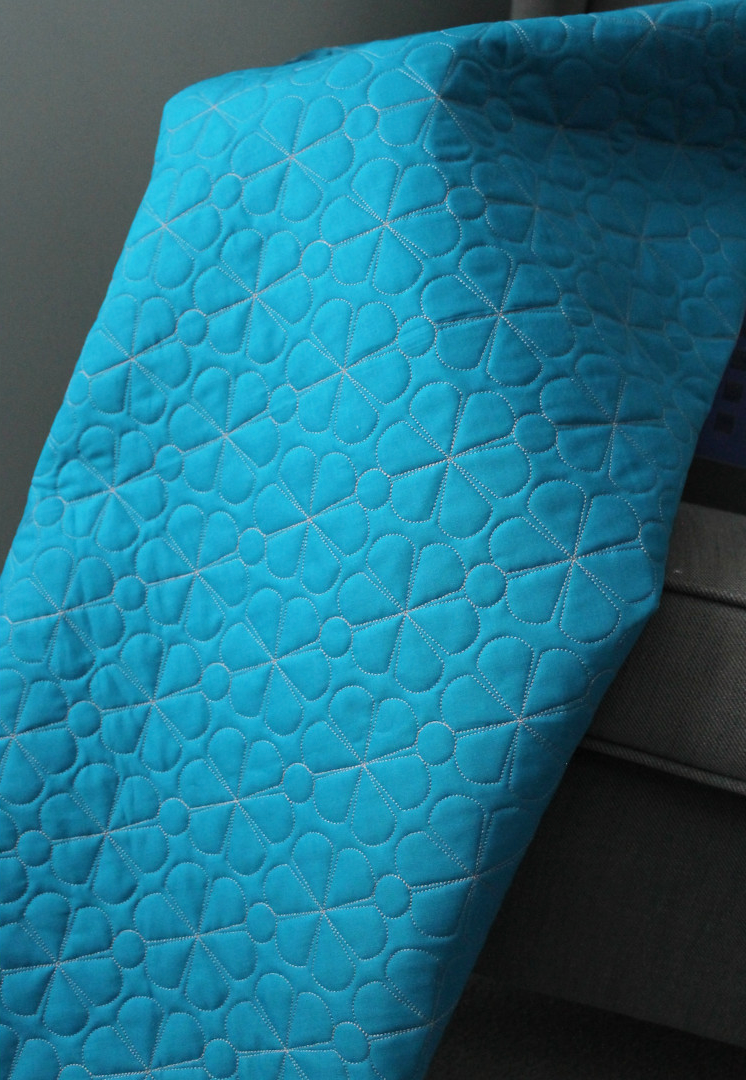
This week our Longarm League and Digital Panto Club members are getting a bonus design in their inboxes from Heather Derksen of Red Willow Quilts. Meet Petal Pursuit! You can buy it here in Heather's shop.
Petal Pursuit
From Heather:
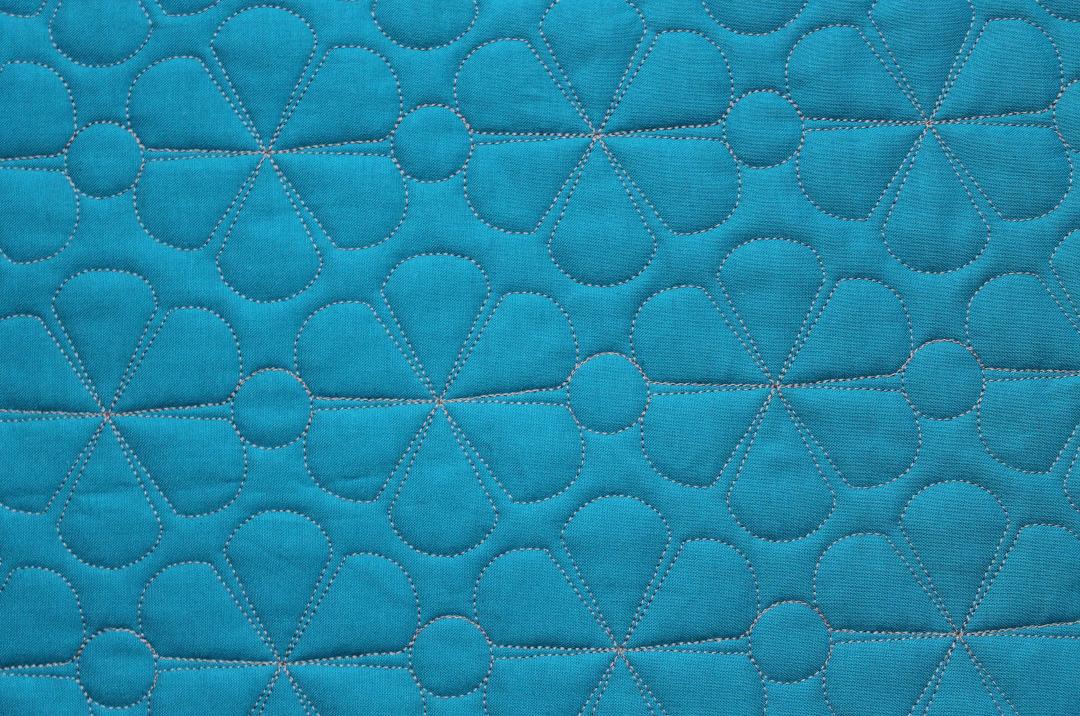
The initial iteration of this design had twice as many circles but required precise alignment between rows. However, with a bit of tweaking I was able to create a design with only a small amount of backtracking. It has the same feeling I set out to create with a small space between rows to reduce the difficulty of the alignment.
This design is set up with rows being offset, leaving a small gap between the rows. As I mentioned, there is a small amount of backtracking, but it sits right in the middle of the ‘flower’ design and shouldn’t pose too many problems as it’s not overstitching previous rows.
Technical details
Specifications for this stitch out test are as follows:
Row Height: 3.25”
Rows are offset by 50%
Gap between rows: -0.58”

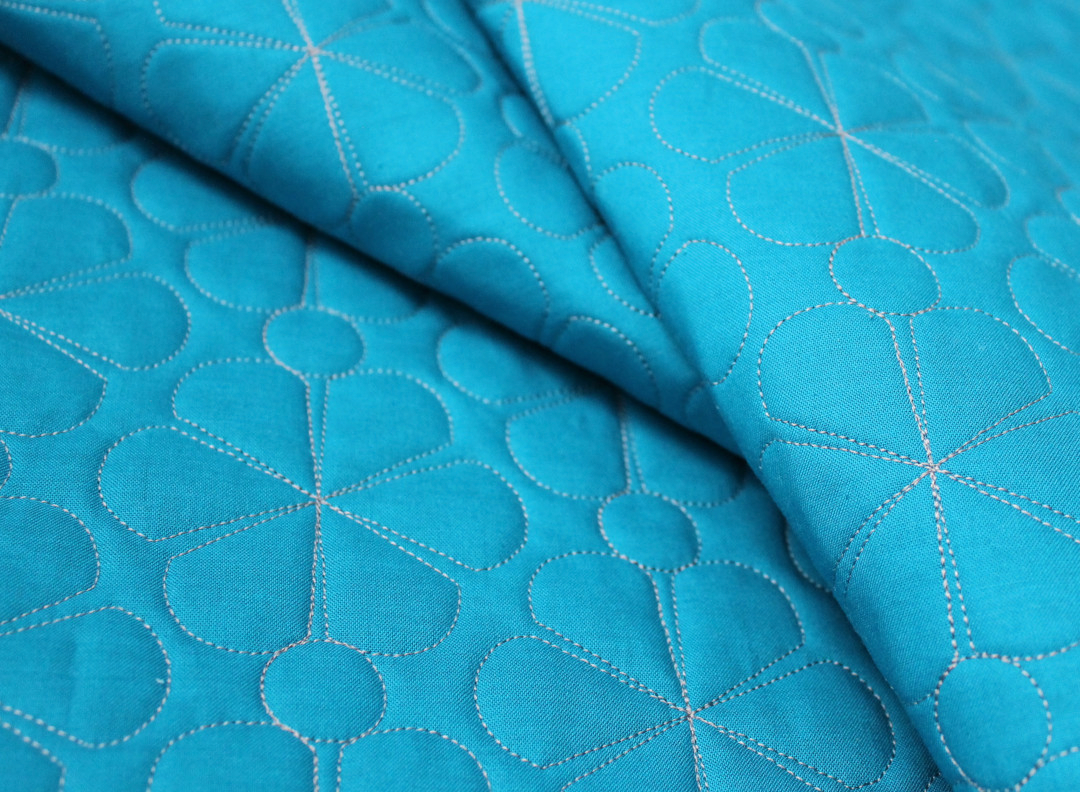
You c...
Leslie Reid of Reedy River Quilts

Each month in the Longarm League, we hold a coaching call with one of our members to talk about their business. This month I sat down with Leslie Reid of Reedy River Quilts. We talked about her quilting journey - moving from decades of hand quilting to finding a love of longarm quilting after developing arthritis, using social media to find your quilt community, and strategies for building a client base.
While League members have full access to the recording of the call, we asked Leslie to share a little more about herself and her business with our blog readers.
Without further ado, let's meet Leslie...
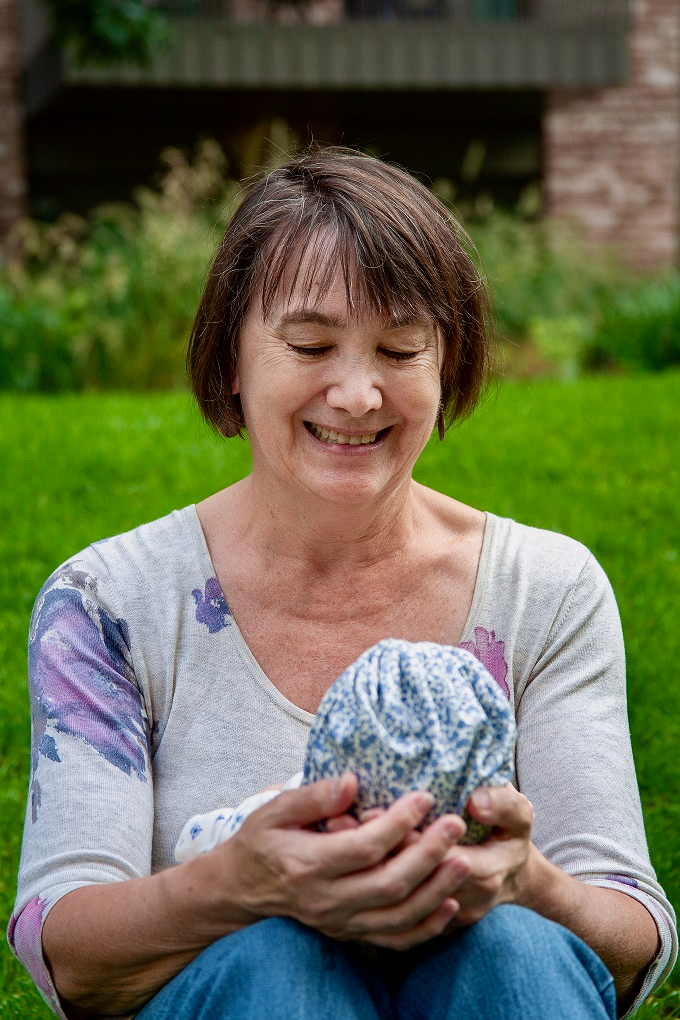
Leslie Reid, Reedy River Quilts
Located: Greenville, SC
In business: 8 months
Machine and software: Innova Mach 3 with Auto Pilot
In the Longarm League: Almost one year
Where to find Leslie
Website: https://www.reedyriverquilts.com/
Instagram: @reedyriverquilts
Best way for someone to contact you for quilting? Fill out my intake form here, or email questions to [email protected]...
Adding a Design Wall Behind My Longarm Machine

Unusable Wall Space
Since moving into our house over four years ago, I had accepted the fact that I would not have a design wall in my long, narrow sewing room (18.5' long x 10.5' wide). I felt lucky enough to have a space to accommodate my 12-foot longarm frame with some room to spare. In order for the huge machine to fit, it had to be positioned in front of the only wall that could have functioned as a design wall-wall. If I had to choose, I would had given up a design wall any day to have easy access to my longarm. It was a no-brainer.
Possible Solution
But, what if I didn't have to choose?
In mid-November of last year, I had an idea that would make the wall behind my longarm machine useful.
Furniture sliders.
I bought the product pictured below from Amazon (affiliate link.)

Please note, these are for hardwood floors, so if you have a different flooring surface, another variety of slider might work better for you.
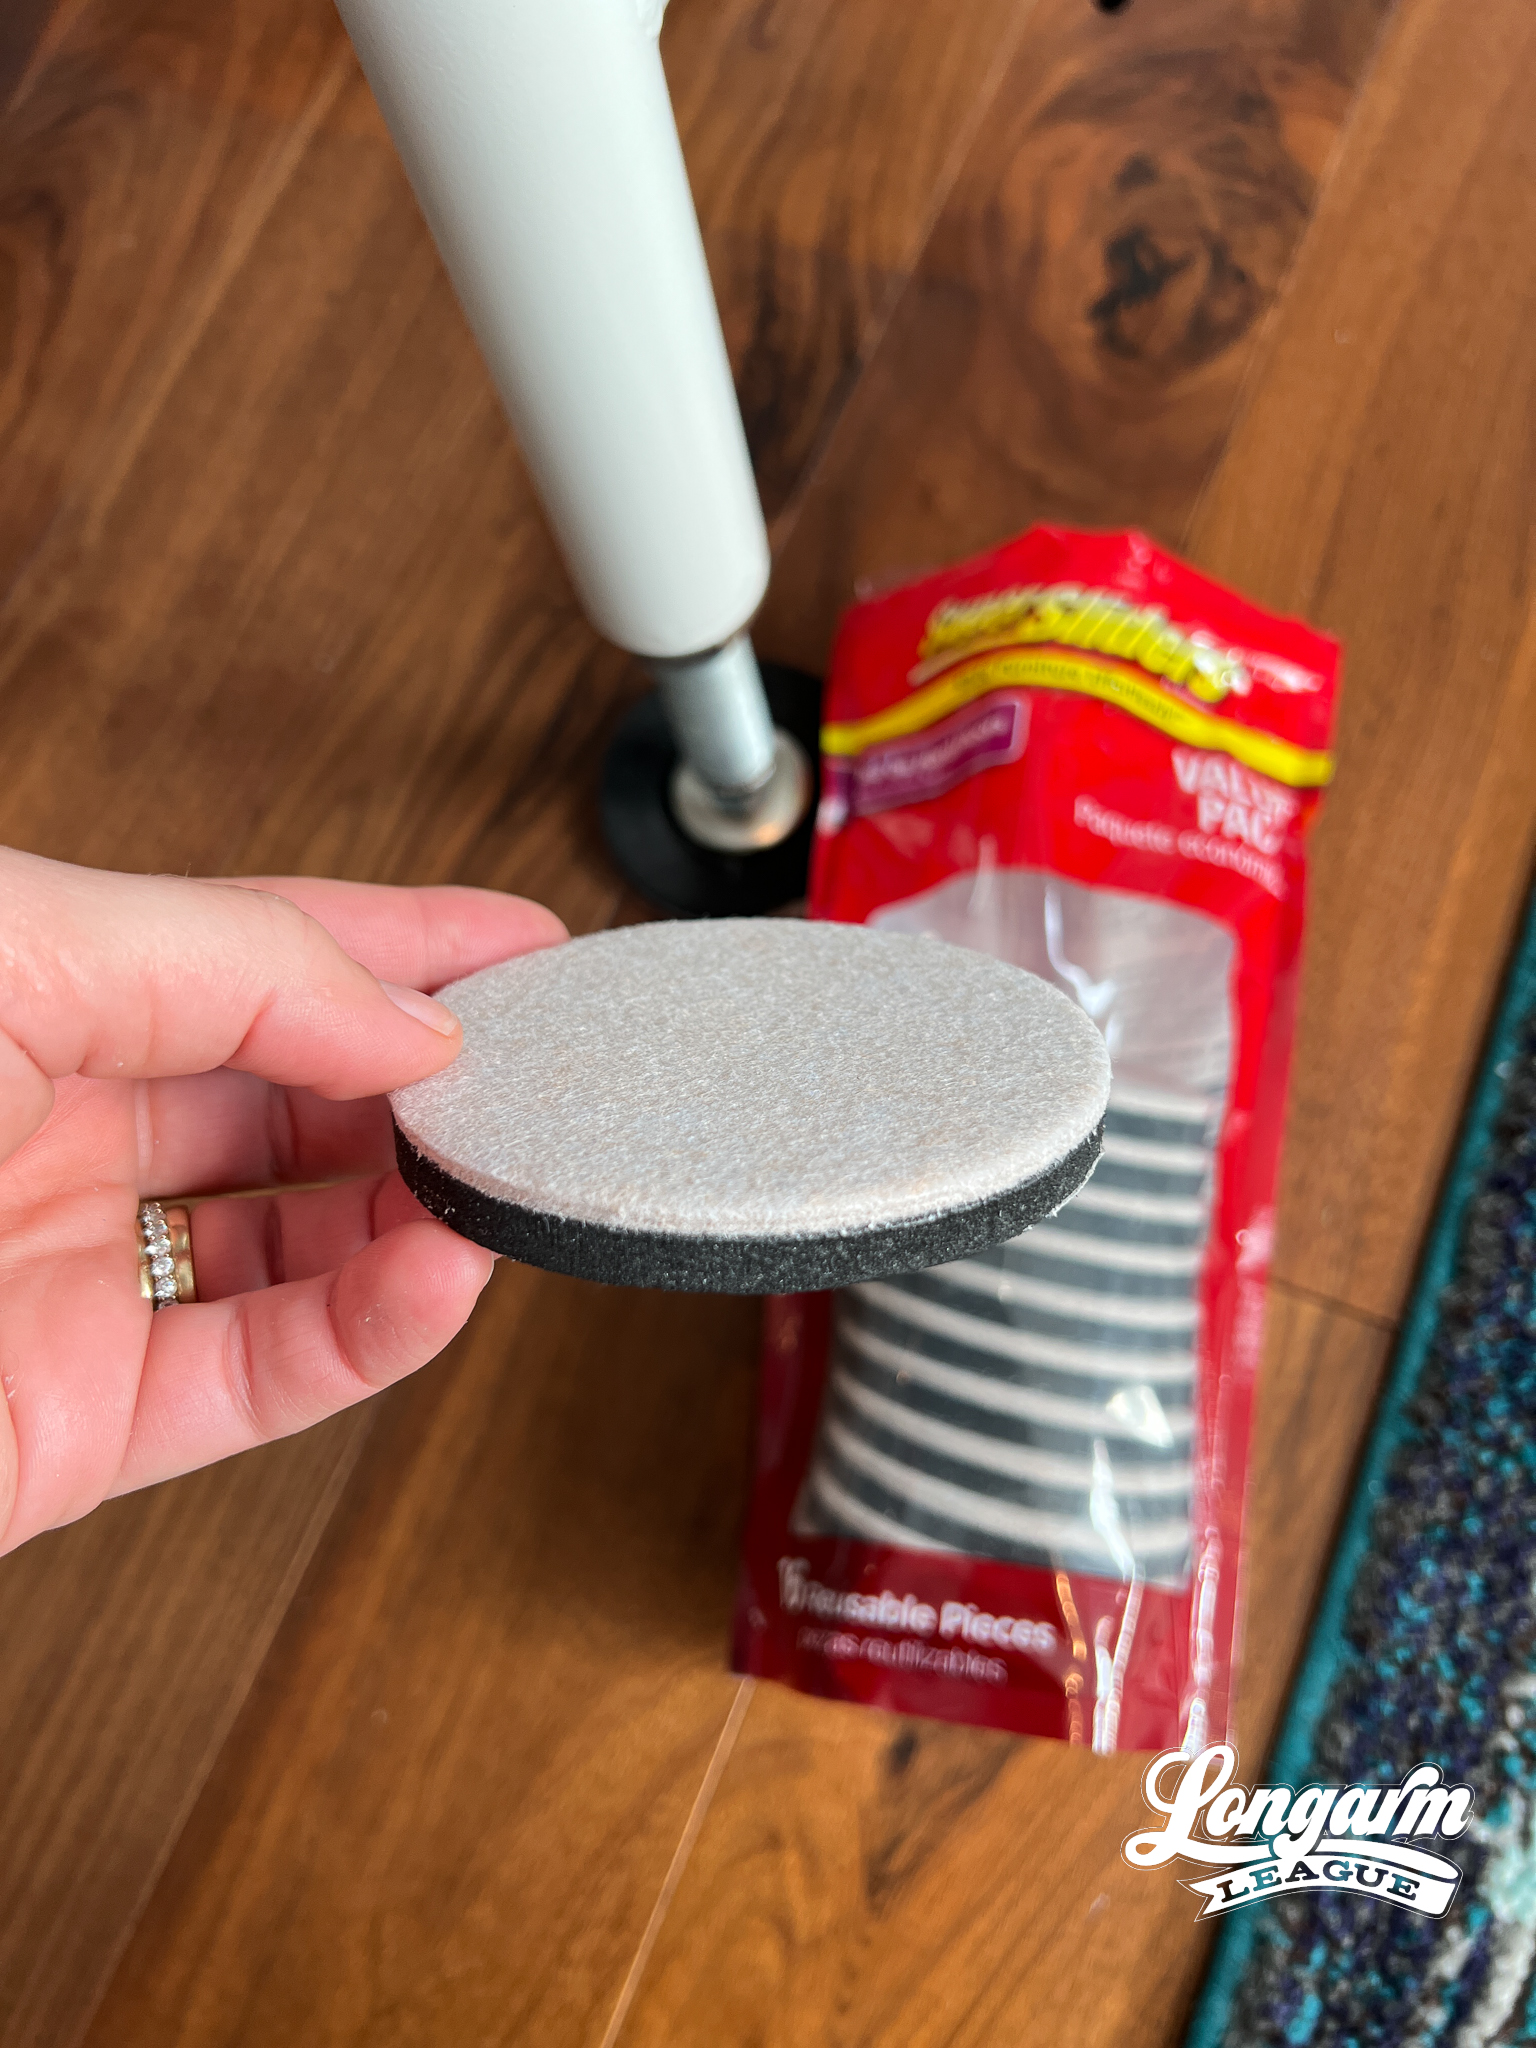
The picture above shows the layer that's against the floor. Th...
Pluma Digital Quilting Design on the 2023 Stronger Together Quilt
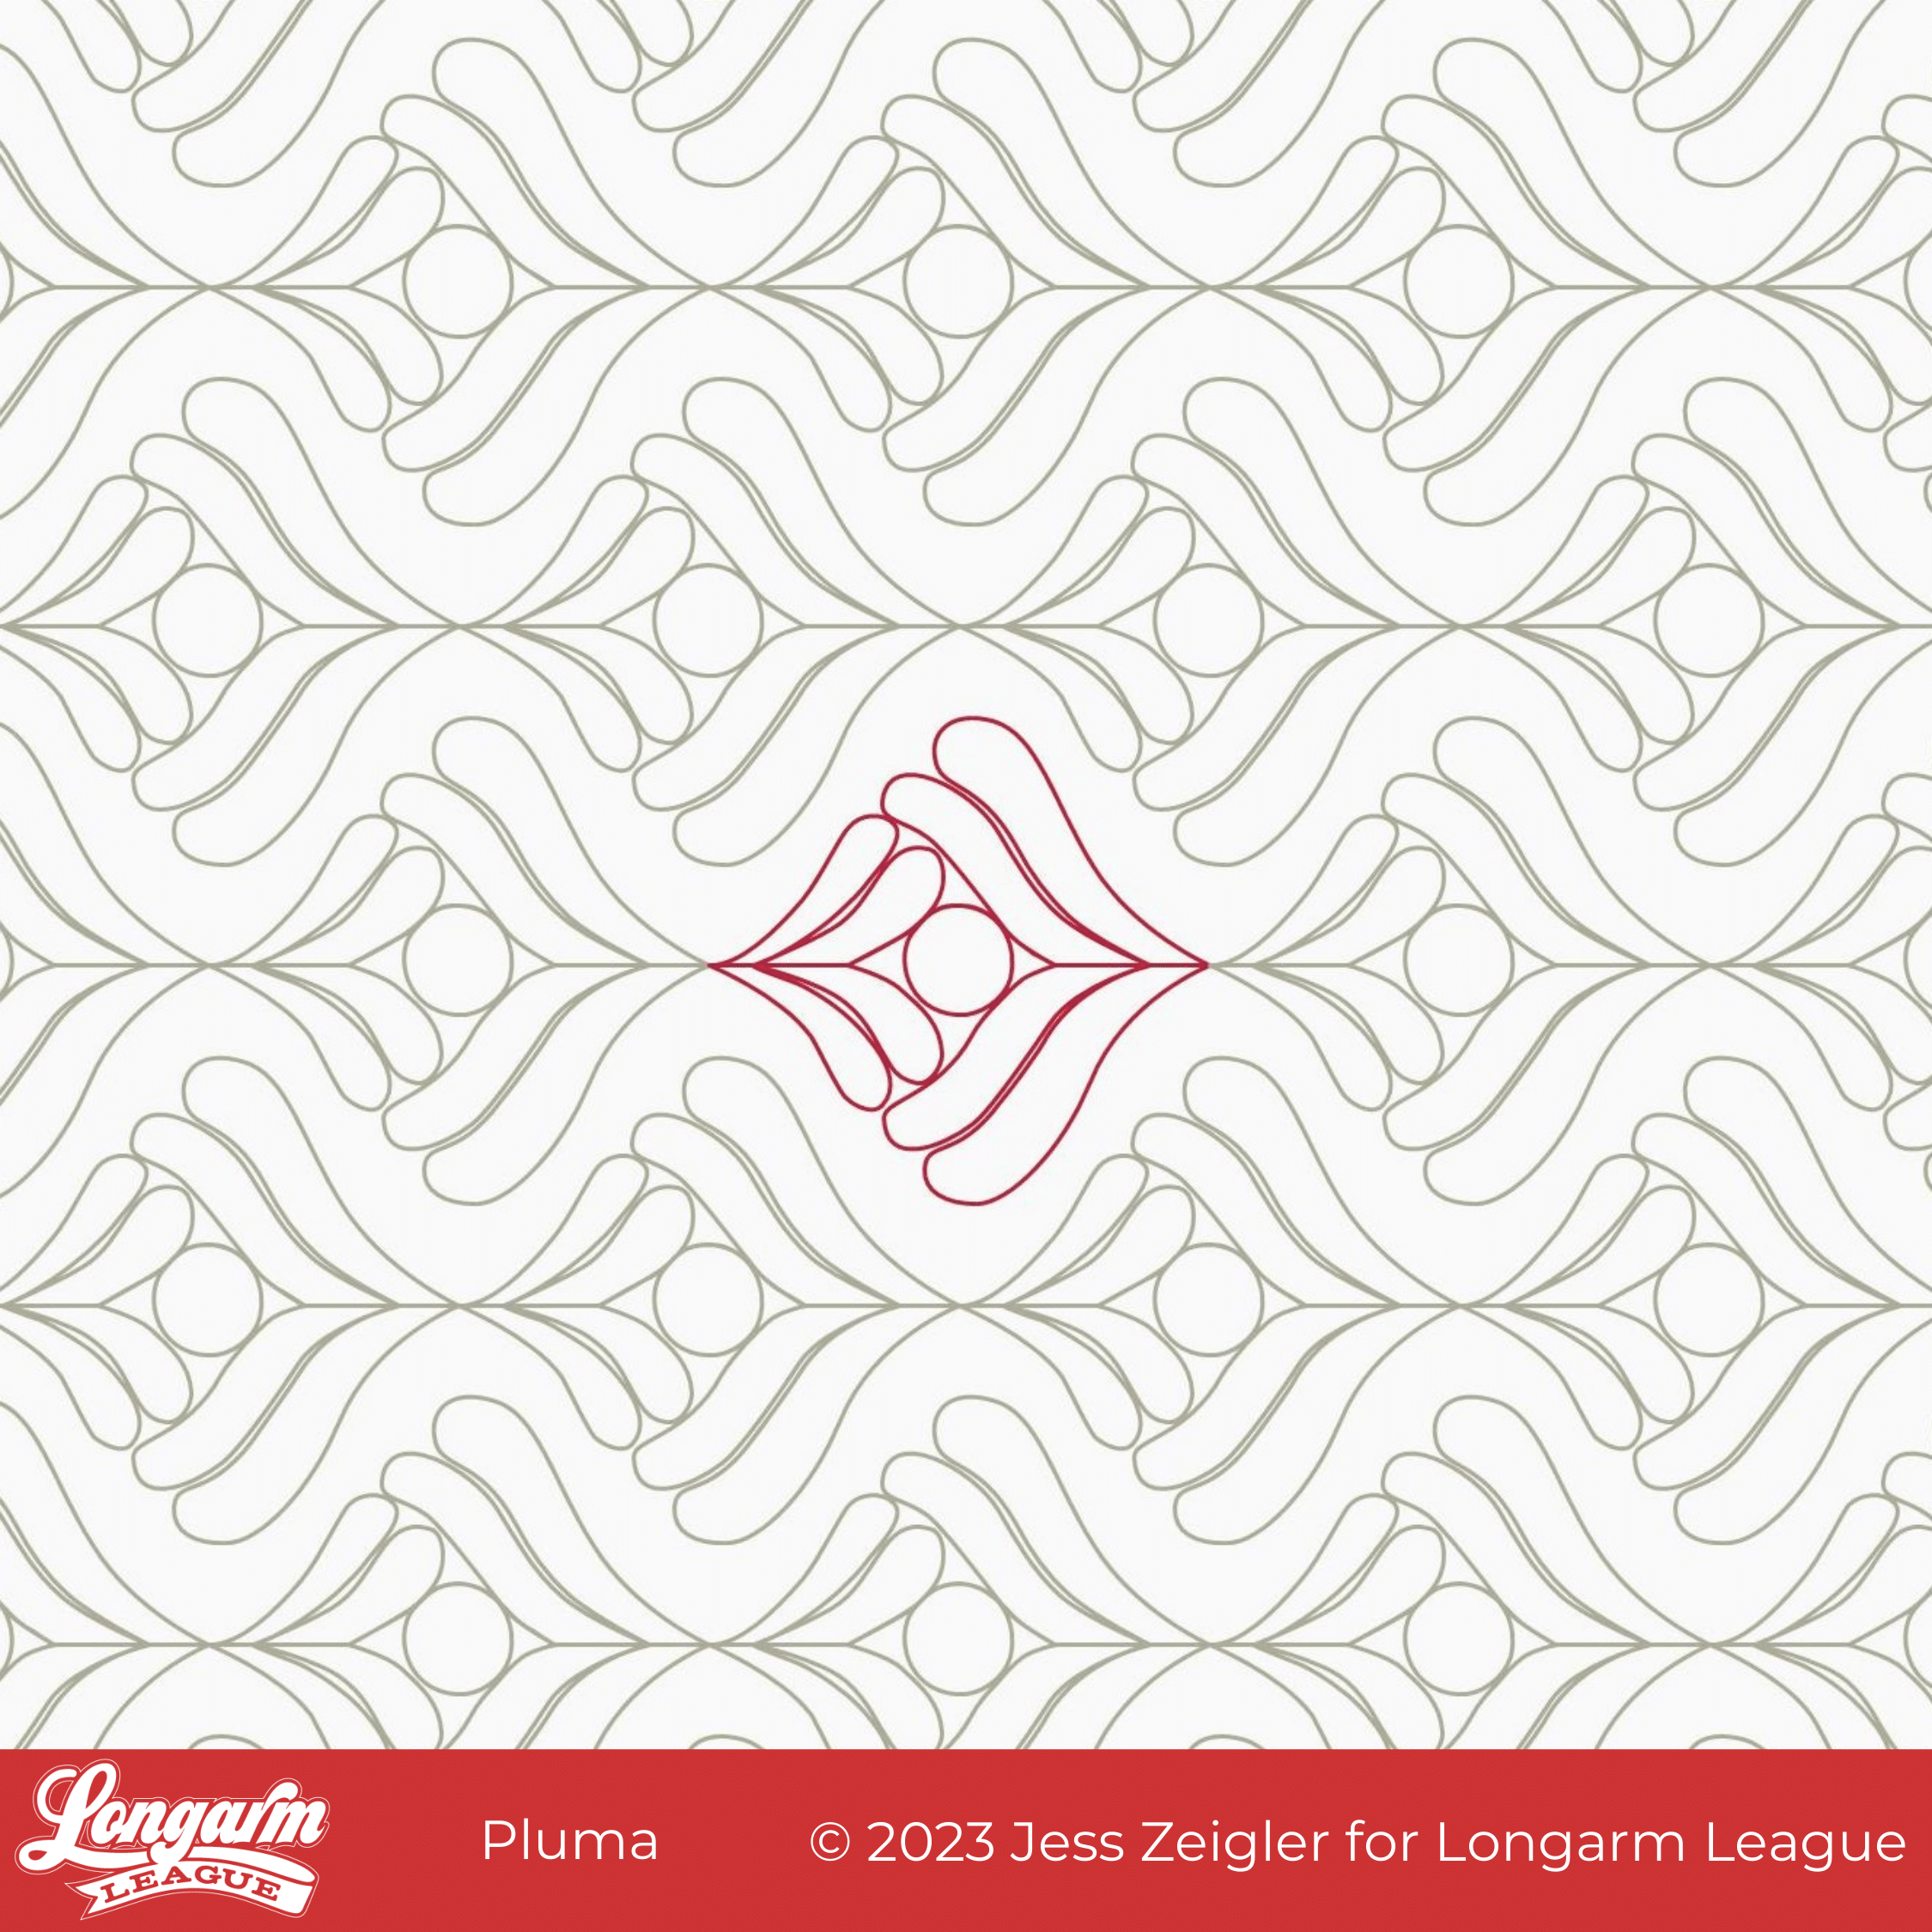
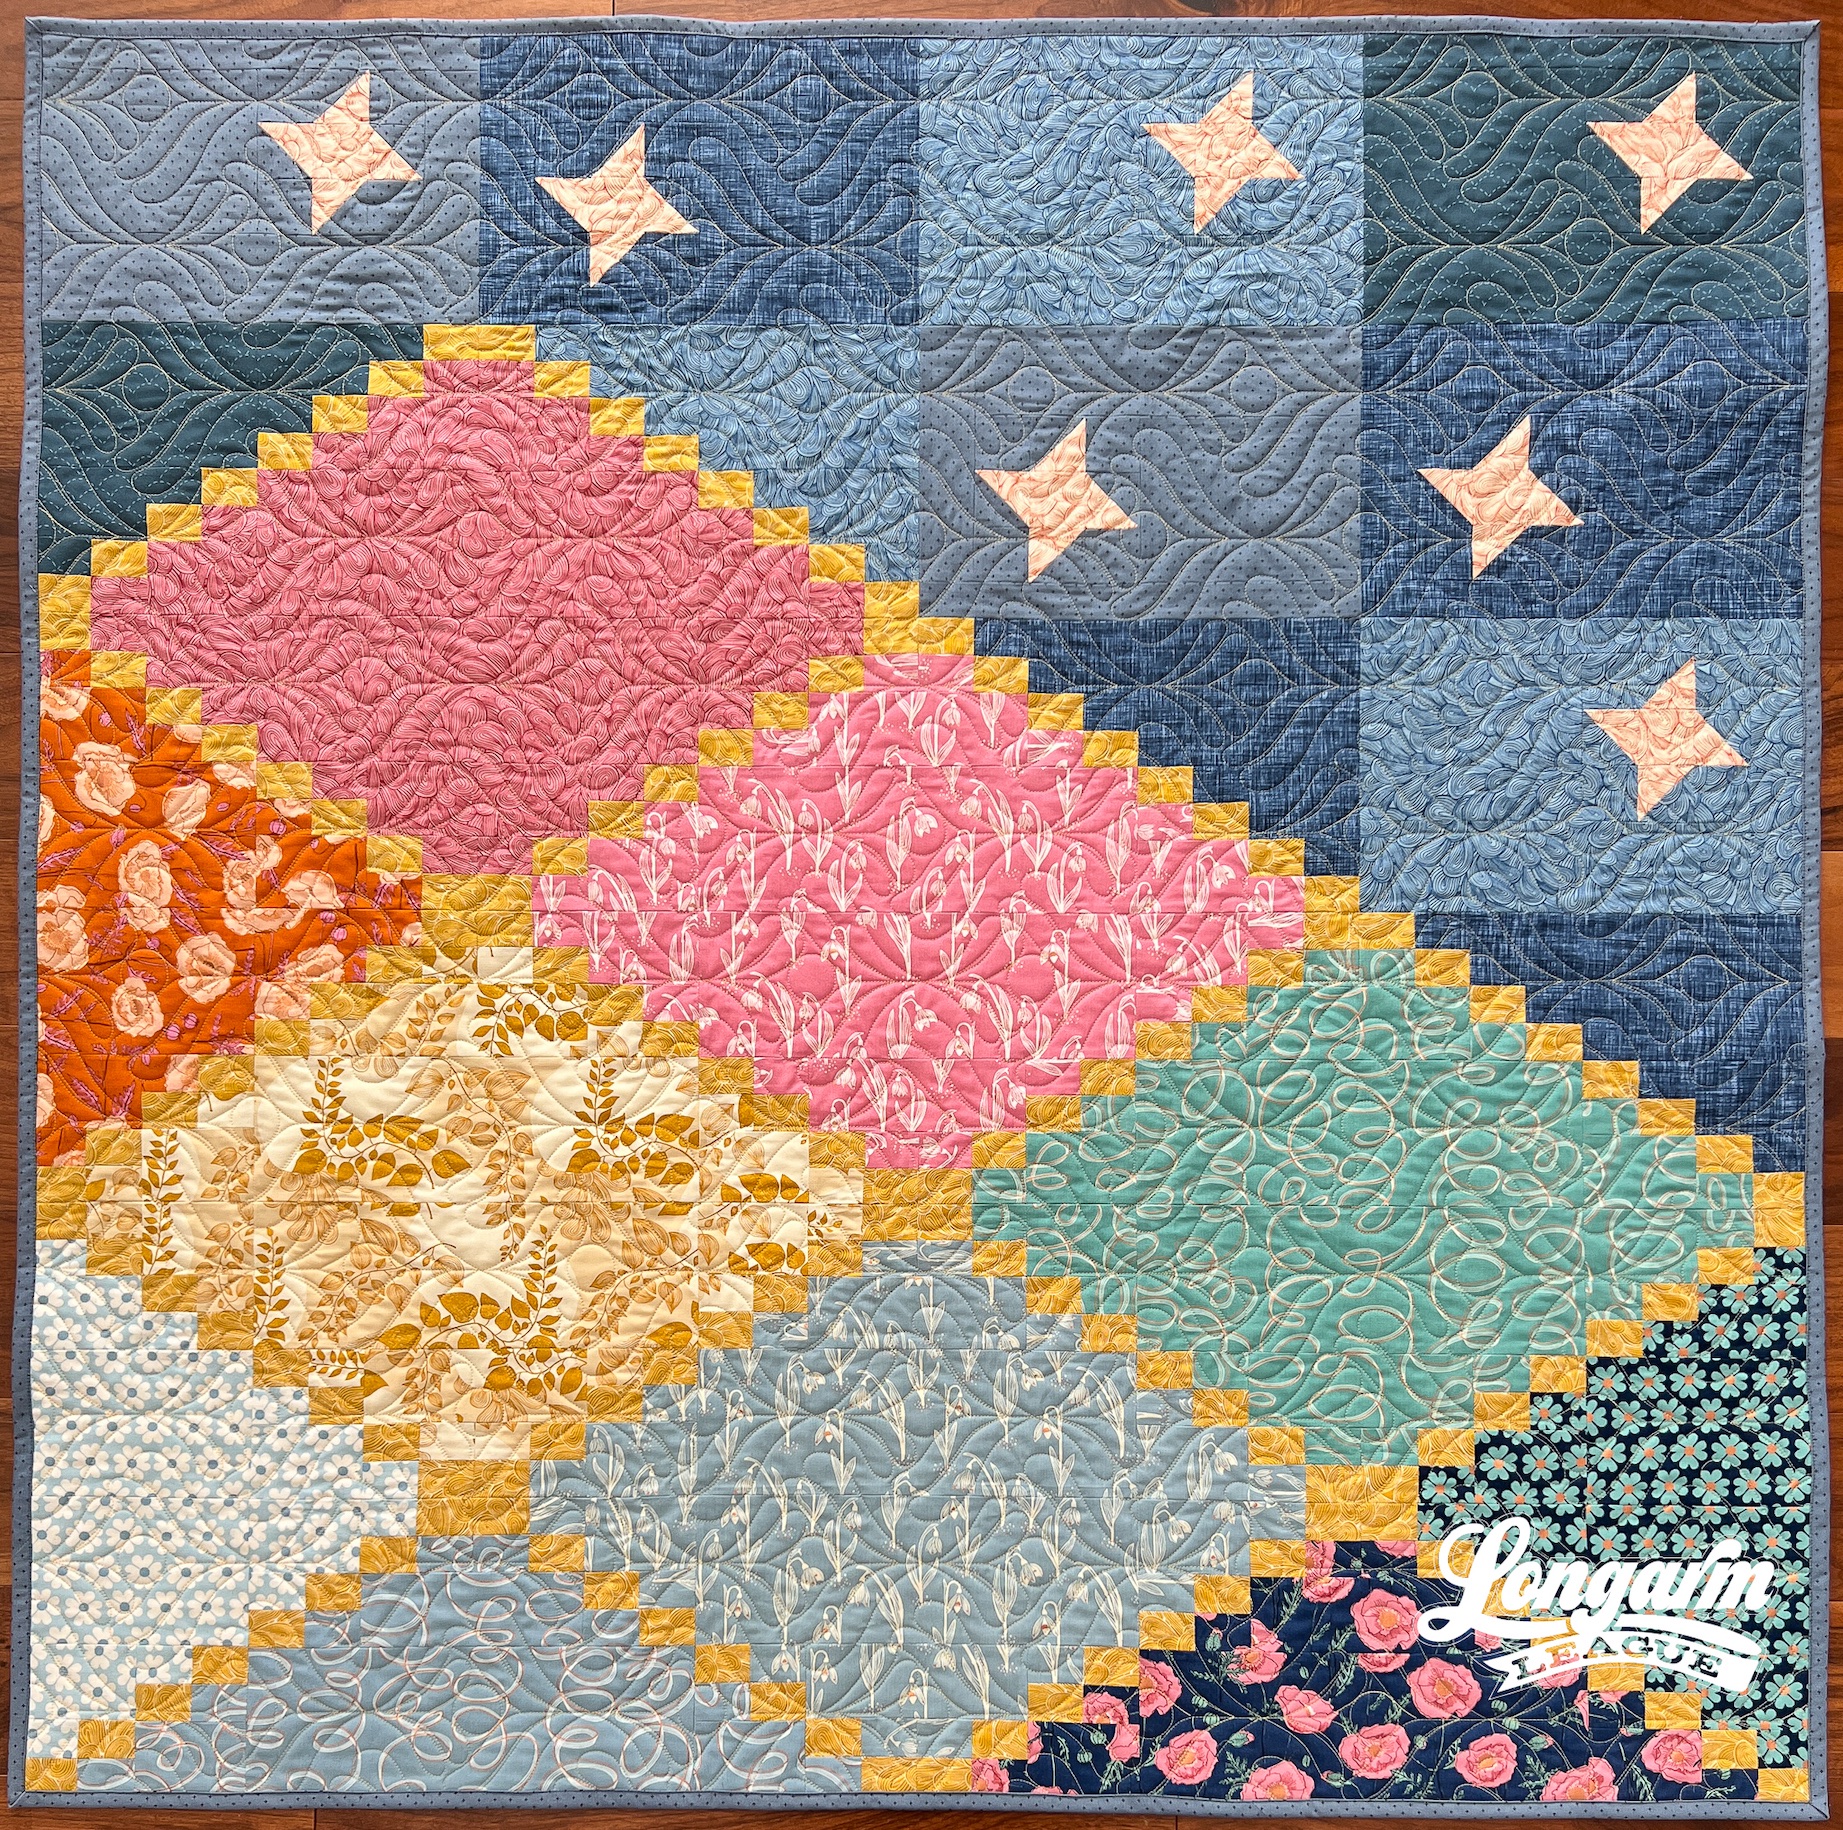
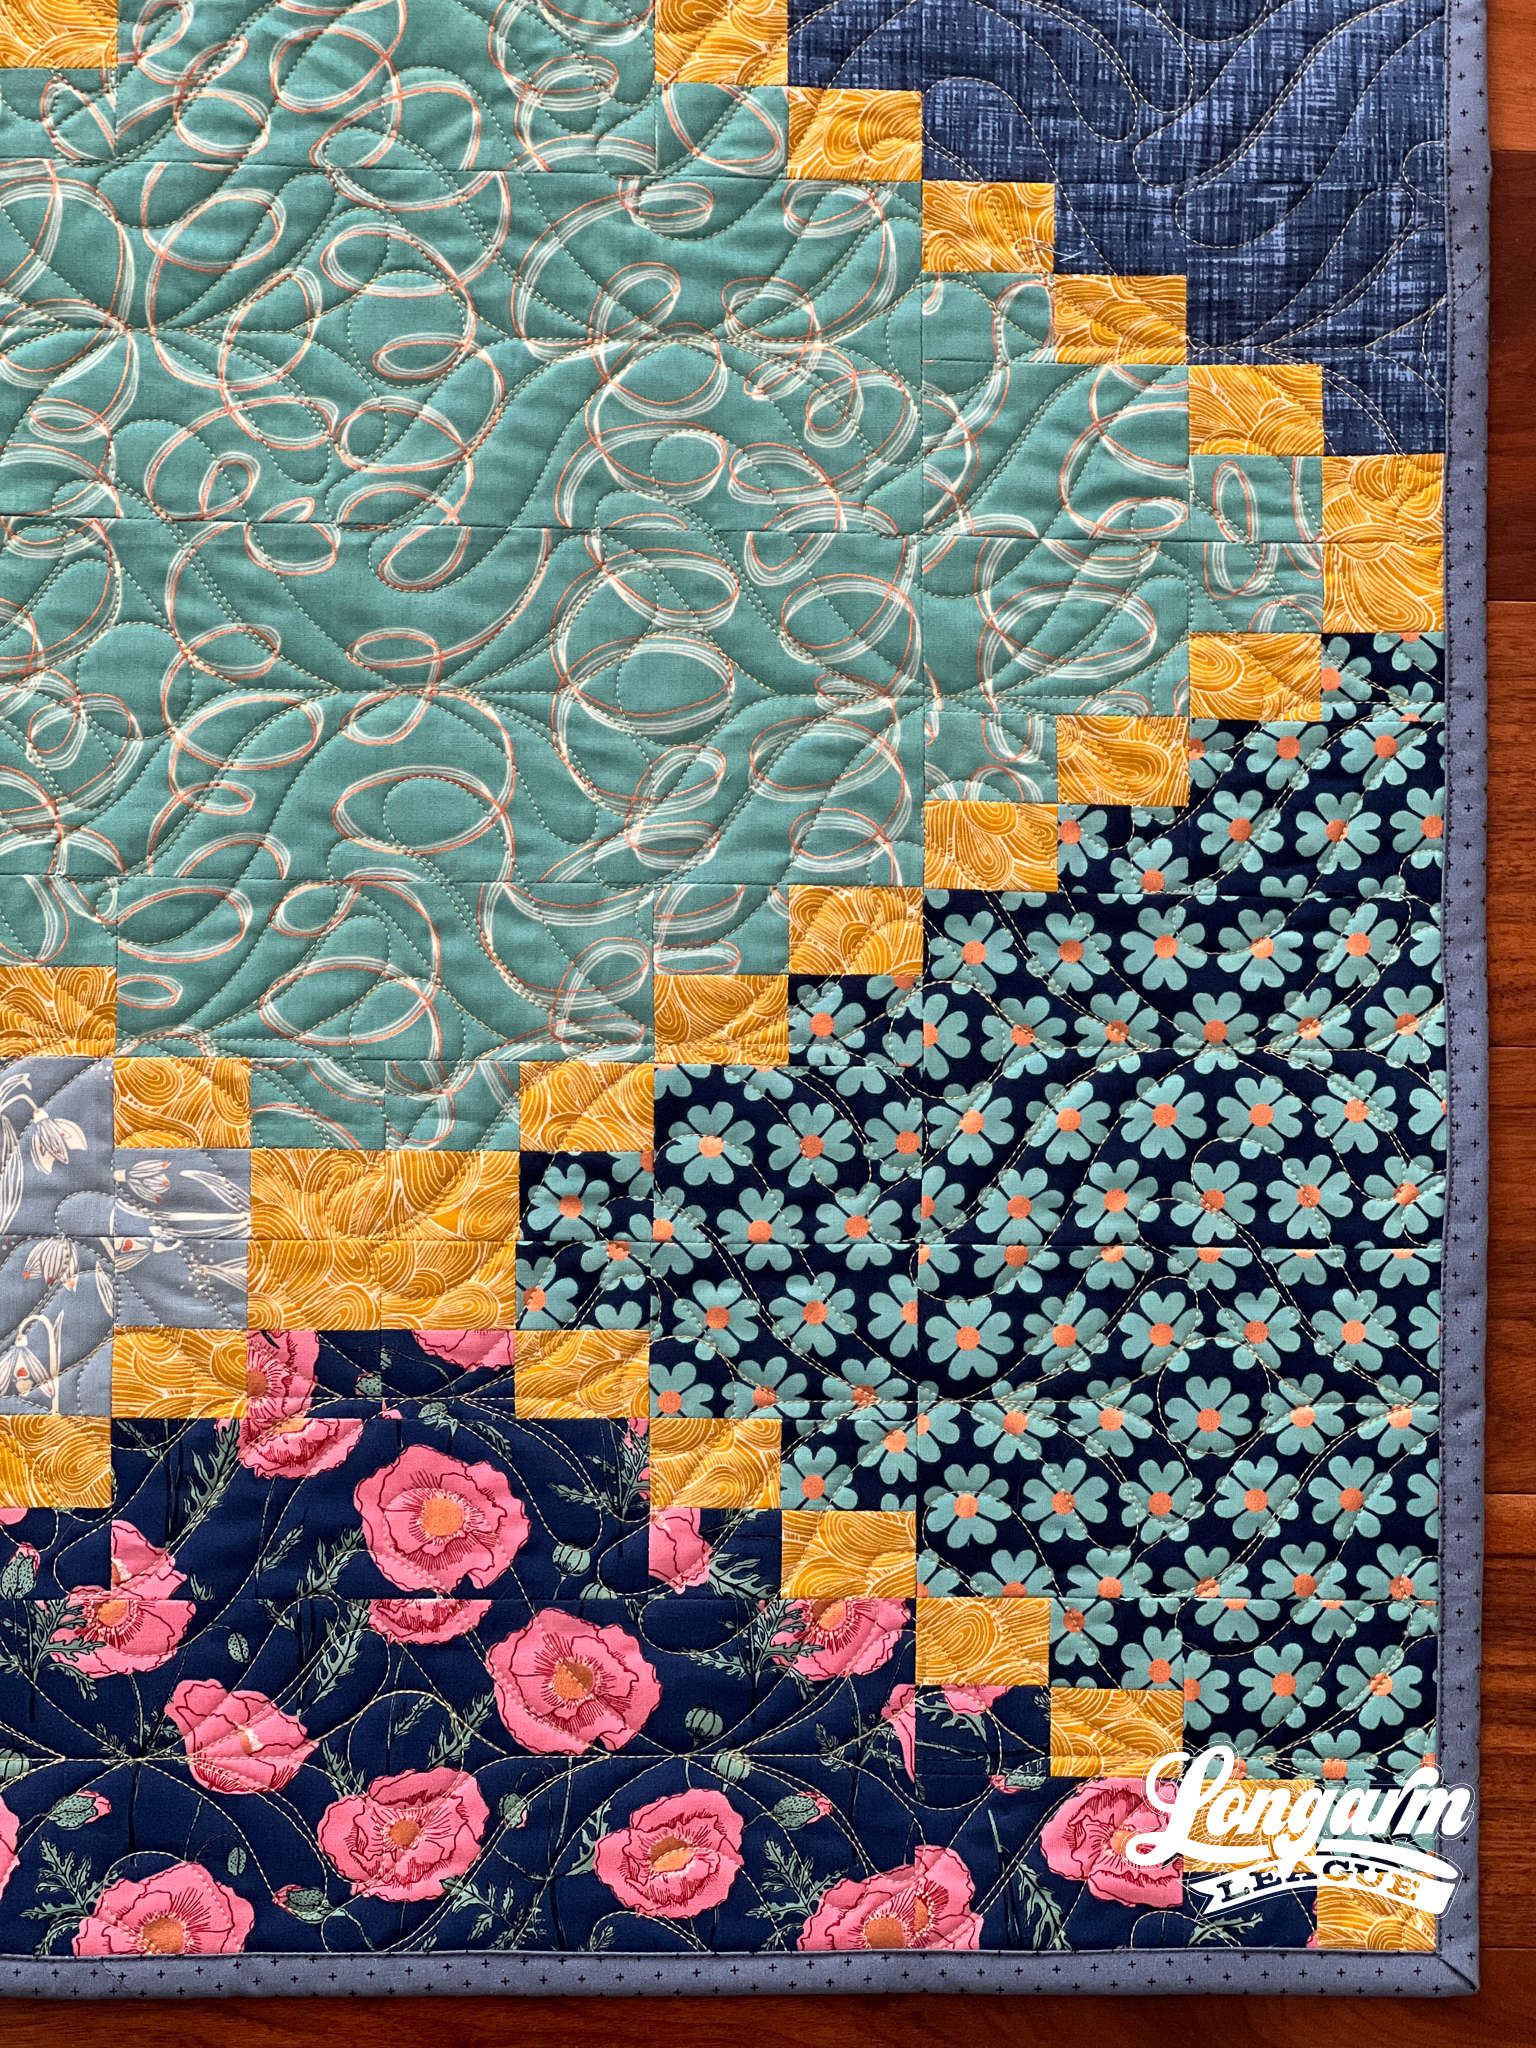
This is Pluma! Not only was it on display in our booth at QuiltCon last weekend, but it was the most popular quilt in our booth! More on the pattern later in this post.
Pluma is a unique digital panto in that it features feather plumes going against each other in each repeat. It's almost as if the larger couplet of plumes swallows the smaller couplet. It makes for interesting movement.
As a way of connecting the two halves of the design, there's a circle in the center of the motif. This provides another interesting textural element.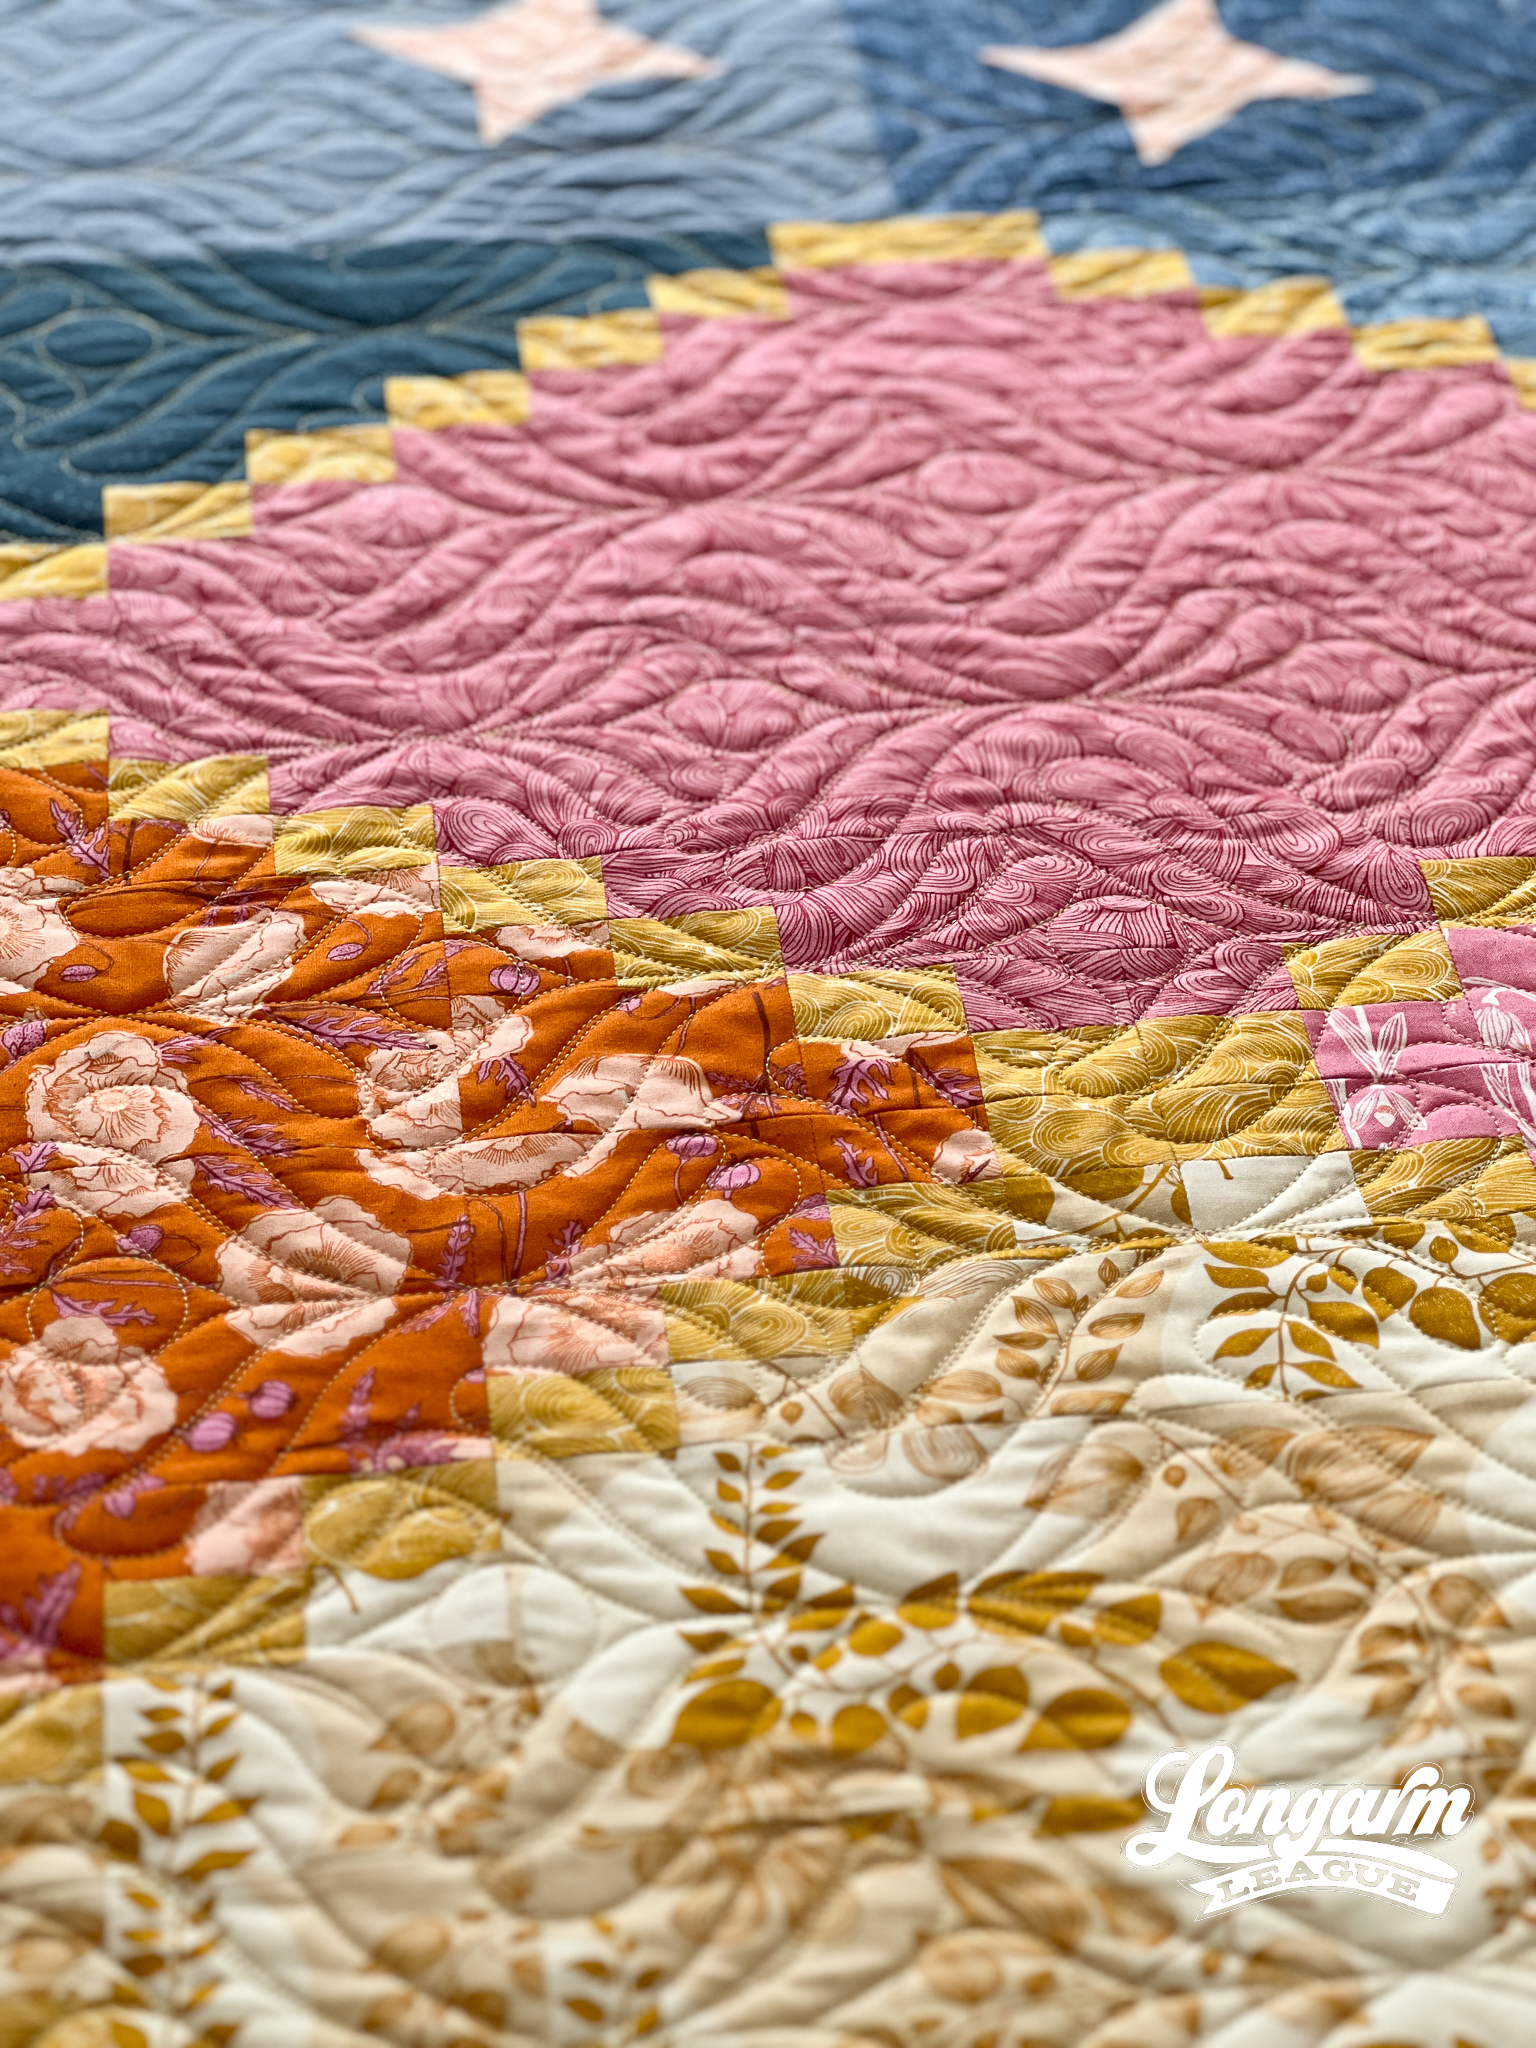
The plumes are stitched out individually with each plume nestled closely with its neighboring plume. While there is some minimal backtracking/overstitching in the design, it does not occur in the feathers.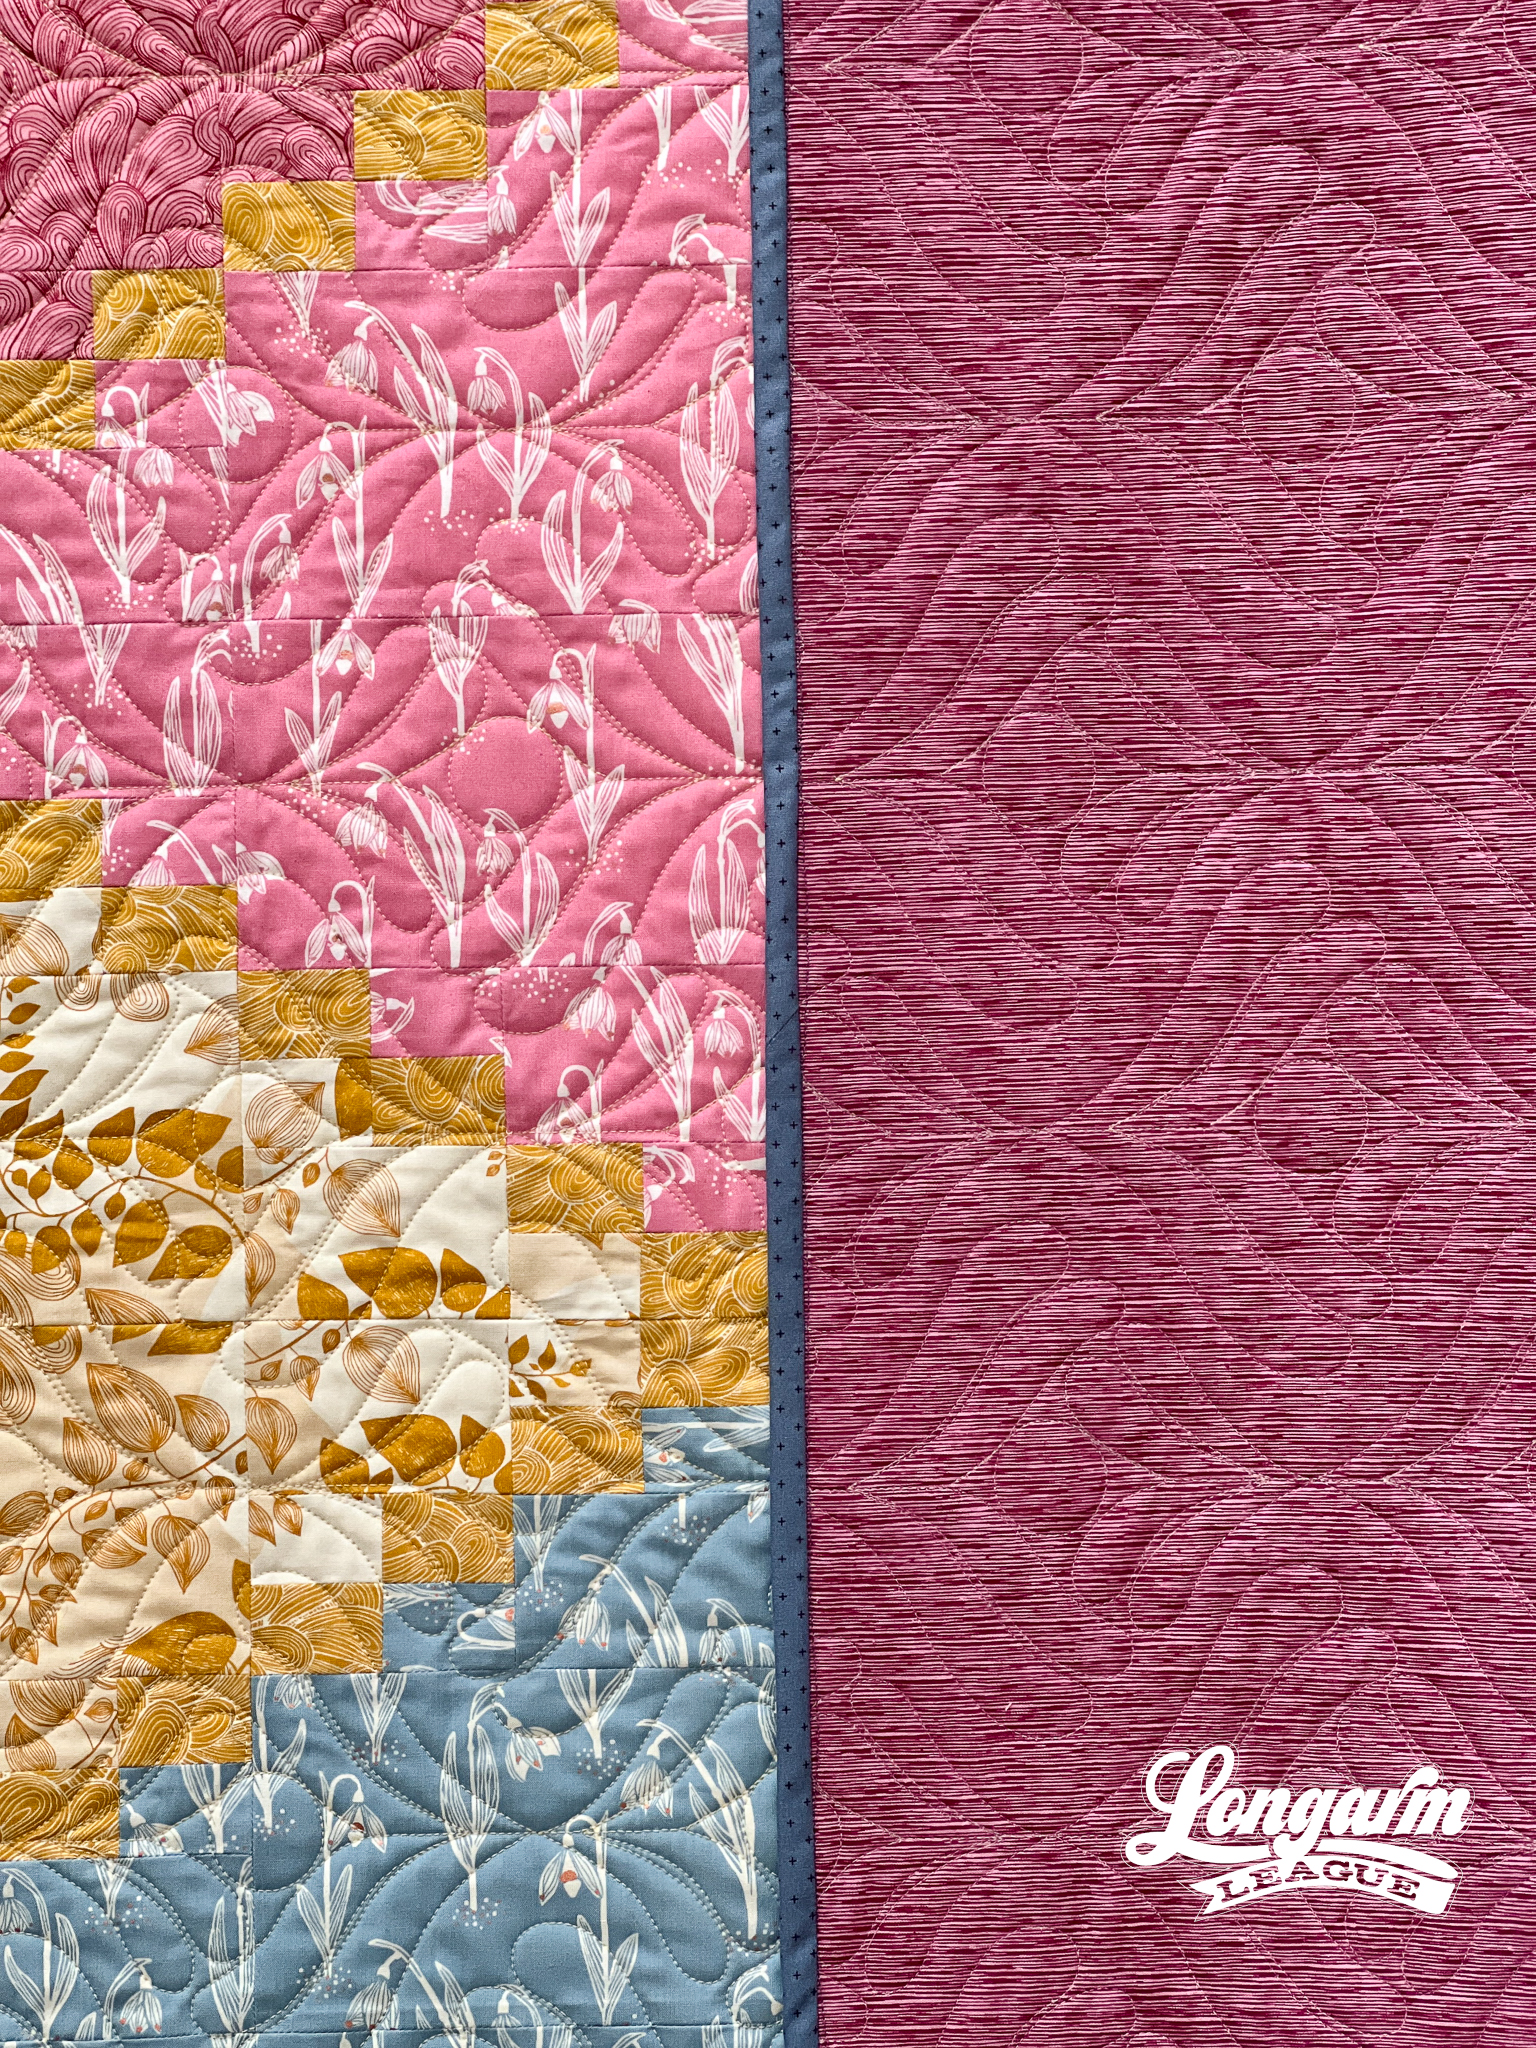
The Quilt Design
I used the 2023 Stronger Together Quilt designed by Michelle Ramsay of Quilts Made with Love. She hosted the Quilt Along for this last month during Black History Month. This pattern can be downloaded with a donation to ...
Meet Meghan Morris of A Piece of Quiet Quilts
Each month in the Longarm League, we hold a coaching call with one of our members to talk about their business. This month I sat down with Meghan Morris of A Piece of Quiet Quilts. We talked about the work she's put in building her business over the past year, smart branding, the recent release of her second quilt pattern, and prepping for Quiltcon!
While League members have full access to the recording of the call, we asked Meghan to share a little more about herself and her business with our blog readers.
Without further ado, let's meet Meghan...
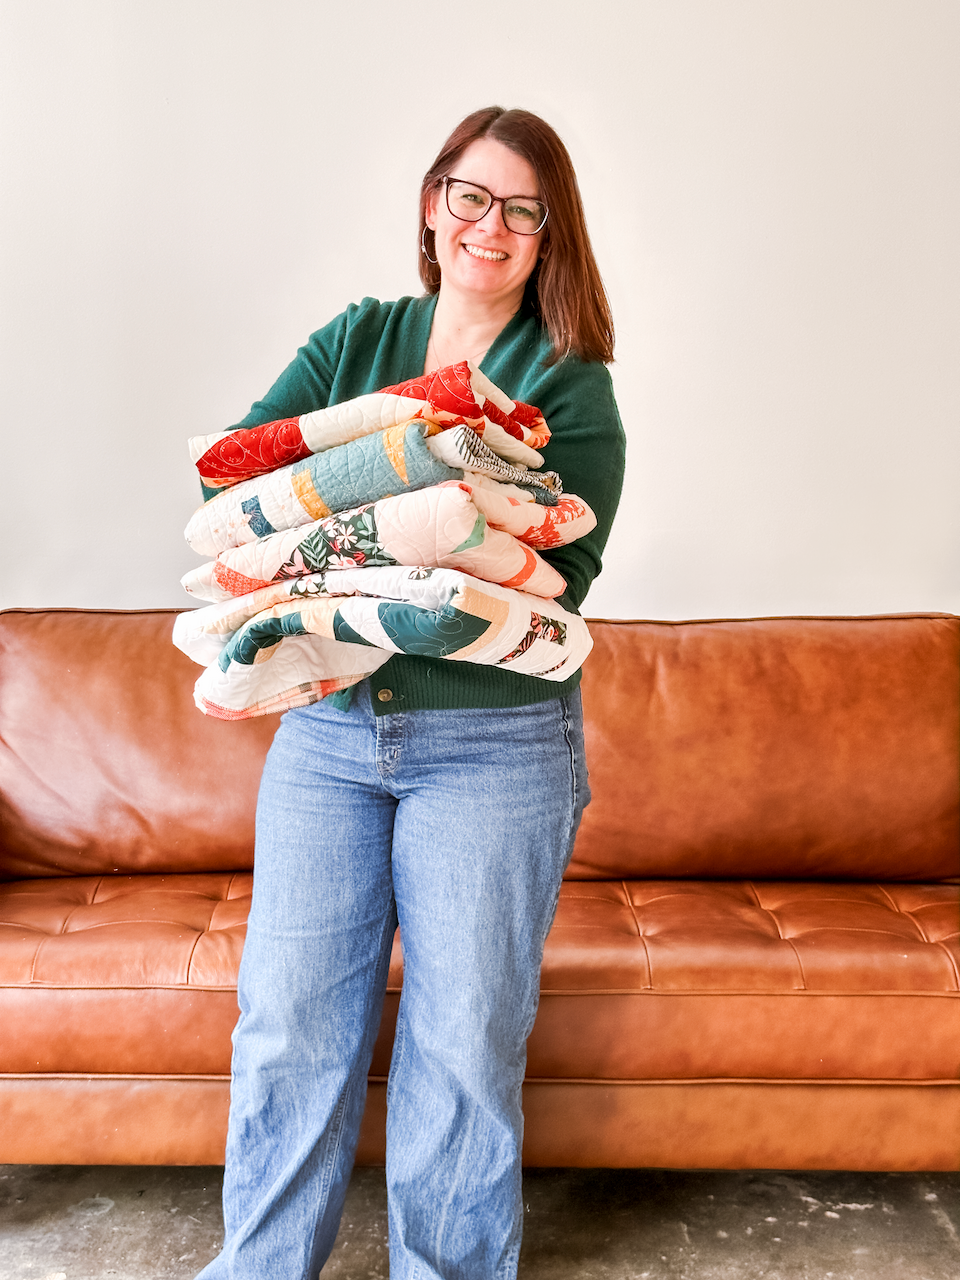
Meghan Morris, A Piece of Quiet Quilts
Located: Durham, NC
In business: Just over one year!
Machine and software: APQS Lucey with Intelliquilter
In the Longarm League: 1.5 years - I joined the Summer 2022 Rookie Season cohort
Where to find Meghan
Website: https://www.apieceofquietquilts.com/
Instagram: @apieceofquietquilts
Best way for someone to contact you for quilting? I will gladly email with clients if they have questions (especially t...
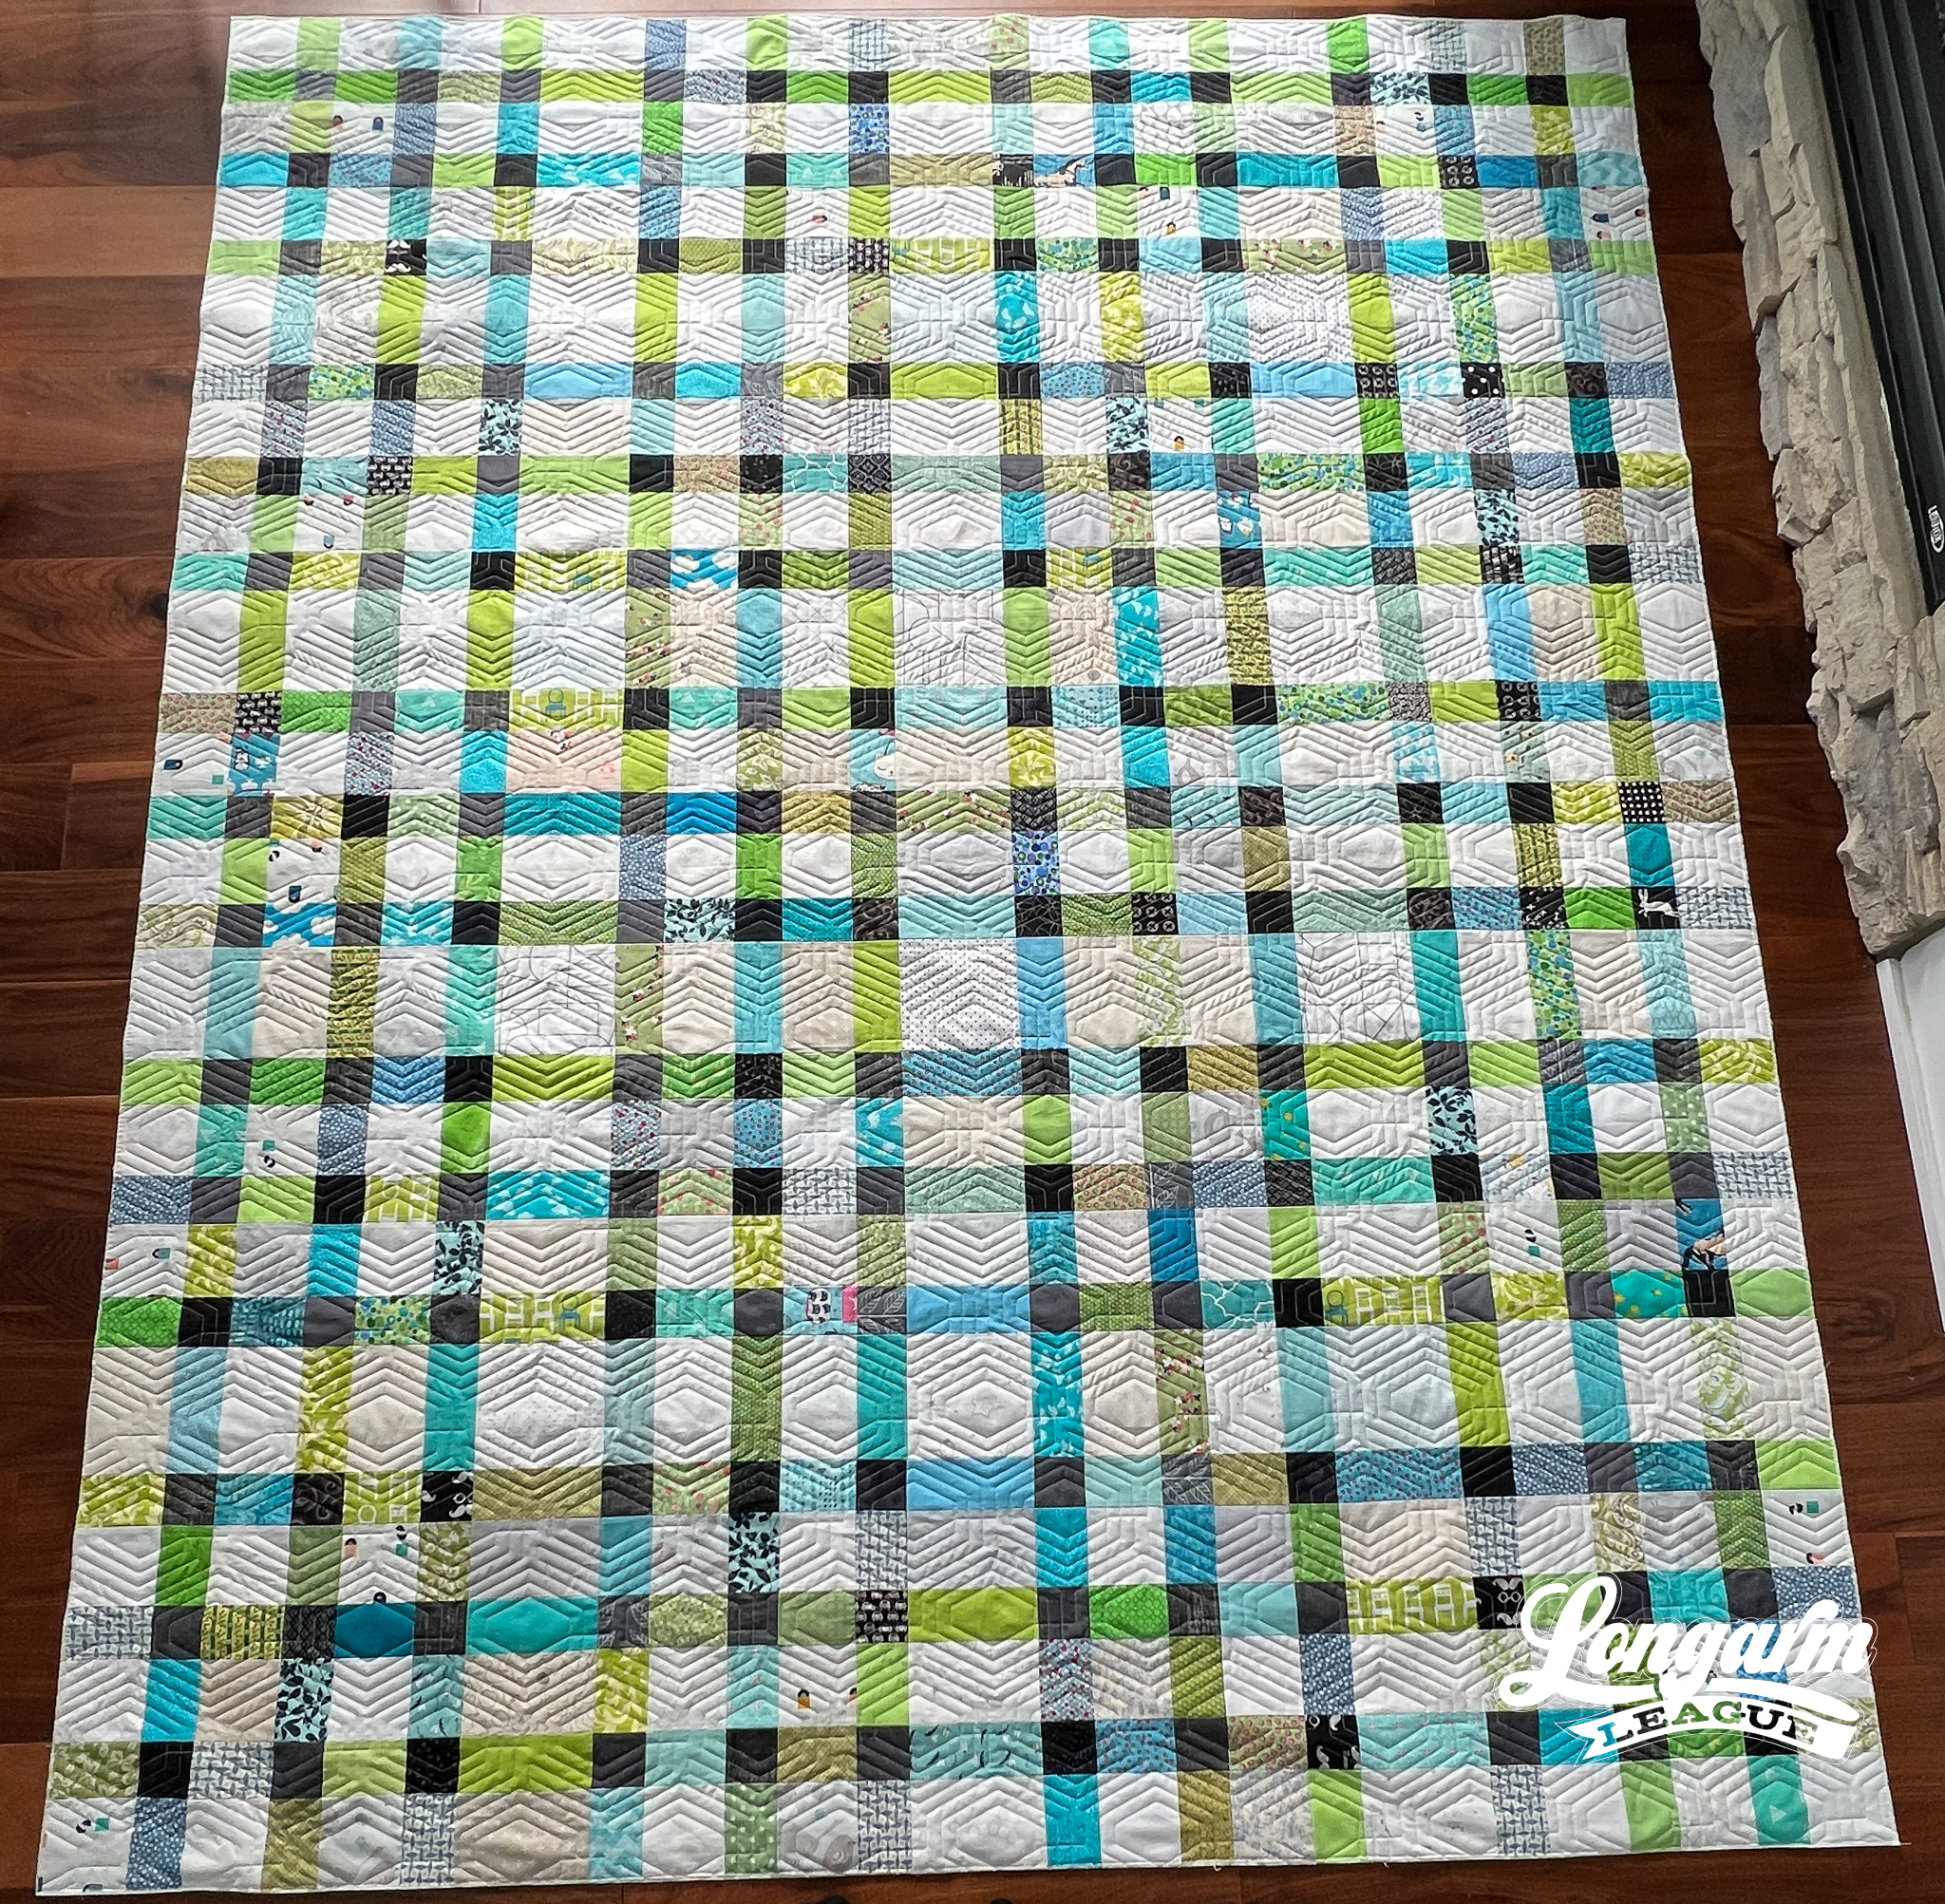
Seis Edge-to-Edge Digital Quilting Design on my Plaid-ish 2 Quilt
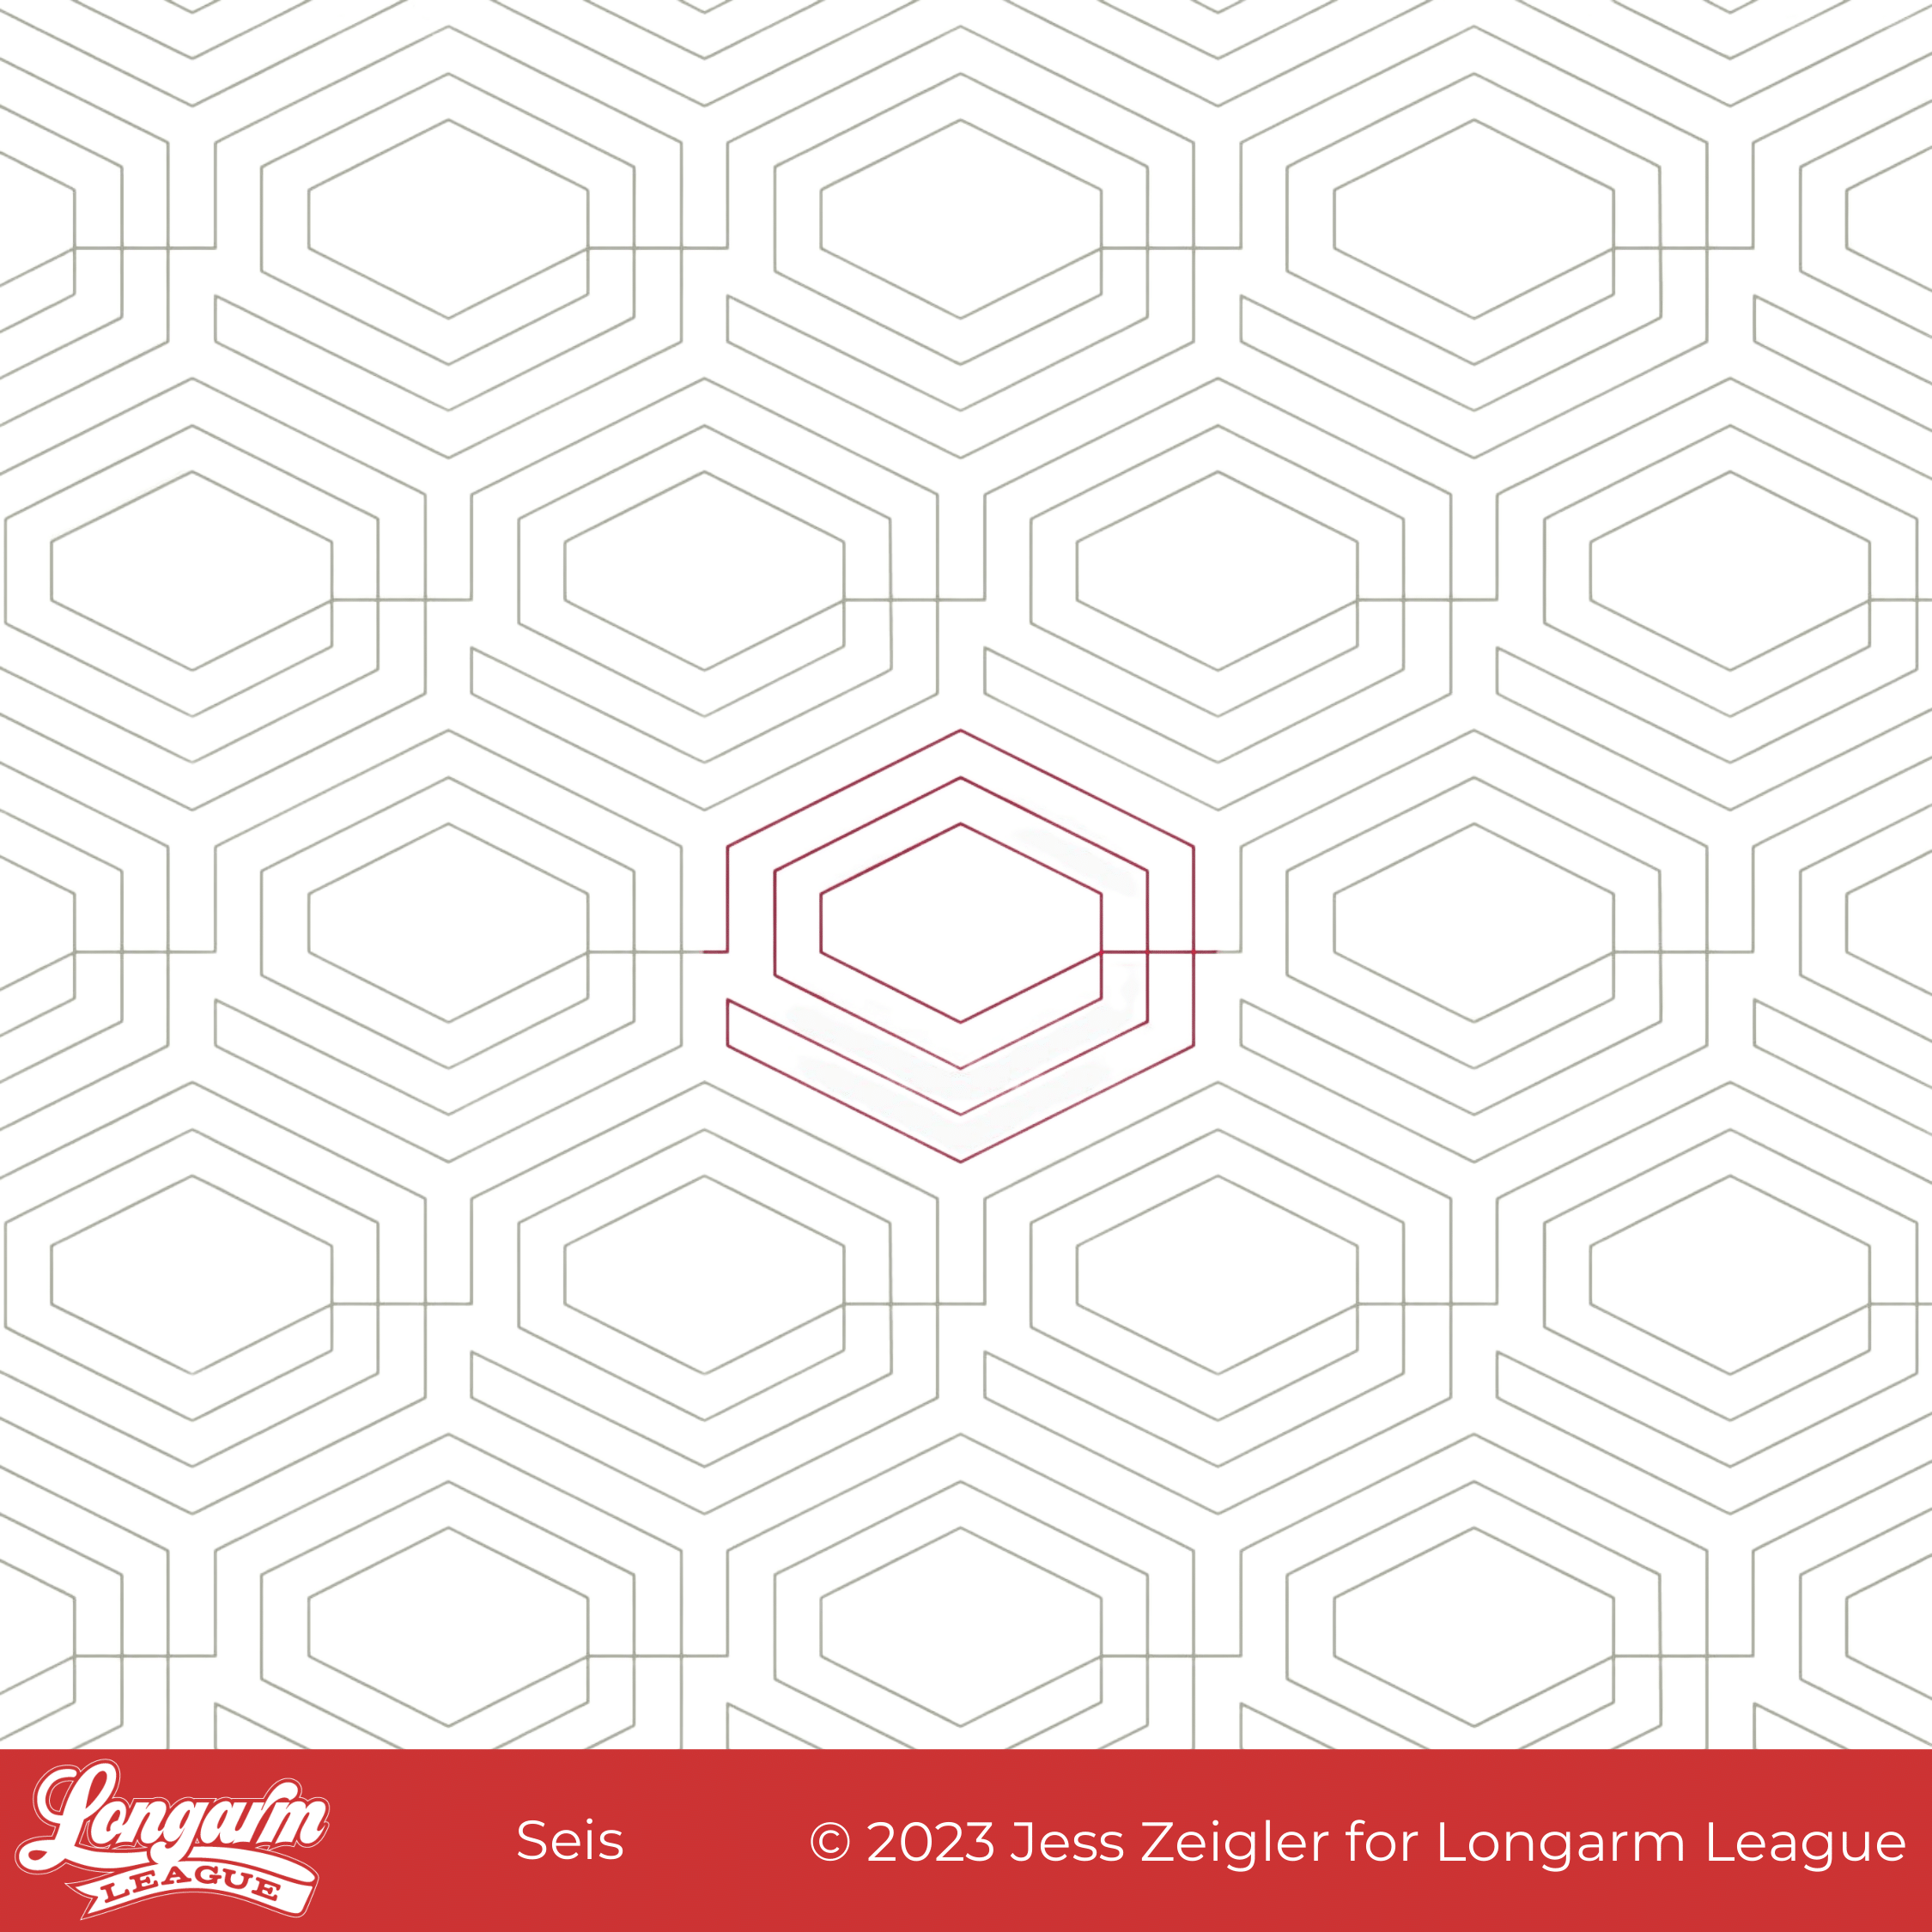
Seis is the word for the number six in Spanish. Based on this design's hexagon shape, I knew I wanted to name it something relating to the hexagon, but I haven't gotten far enough in Duolingo to know the name for hexagon en español yet, so Seis is where I landed.
Okay, Google tells me hexagon is hexágono in Spanish, but now it's too late! I've already committed to Seis.
If you're on our email newsletter list, you might remember me talking about how obsessed I am with Duolingo. I am learning Spanish these days (streak of 57 days, nbd) to augment my high school Spanish education which started some 28 years ago. Ouch! It's one thing to recall the years since high school graduation, but it's another experience to count back to the time you began high school. I wasn't ready for that number!
Anyway, if you are interested in learning another language (they offer courses for 40+ languages), check out their website or download the app. They have a free tier, but I've found the paid f...
White Space Digital E2E Quilting Design
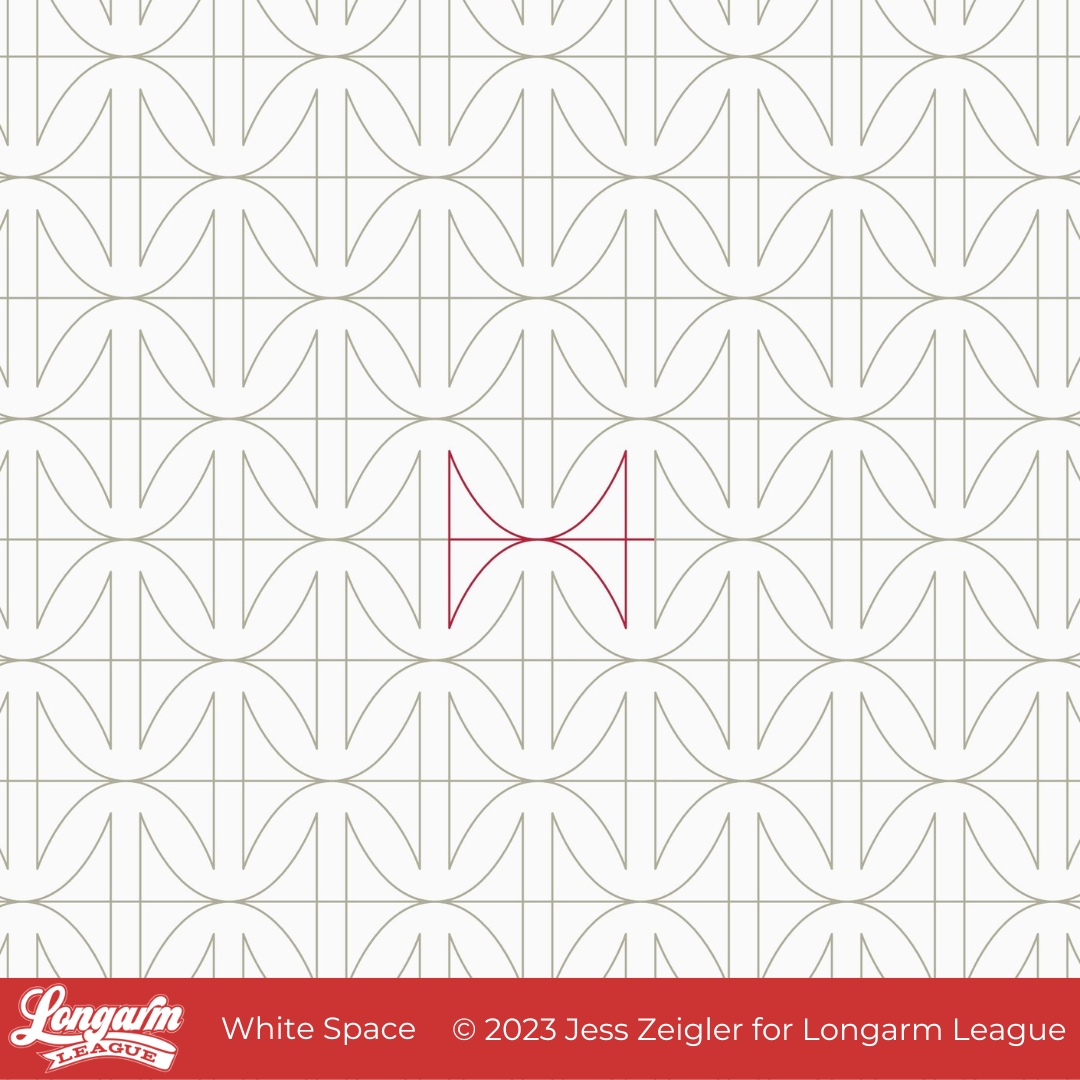
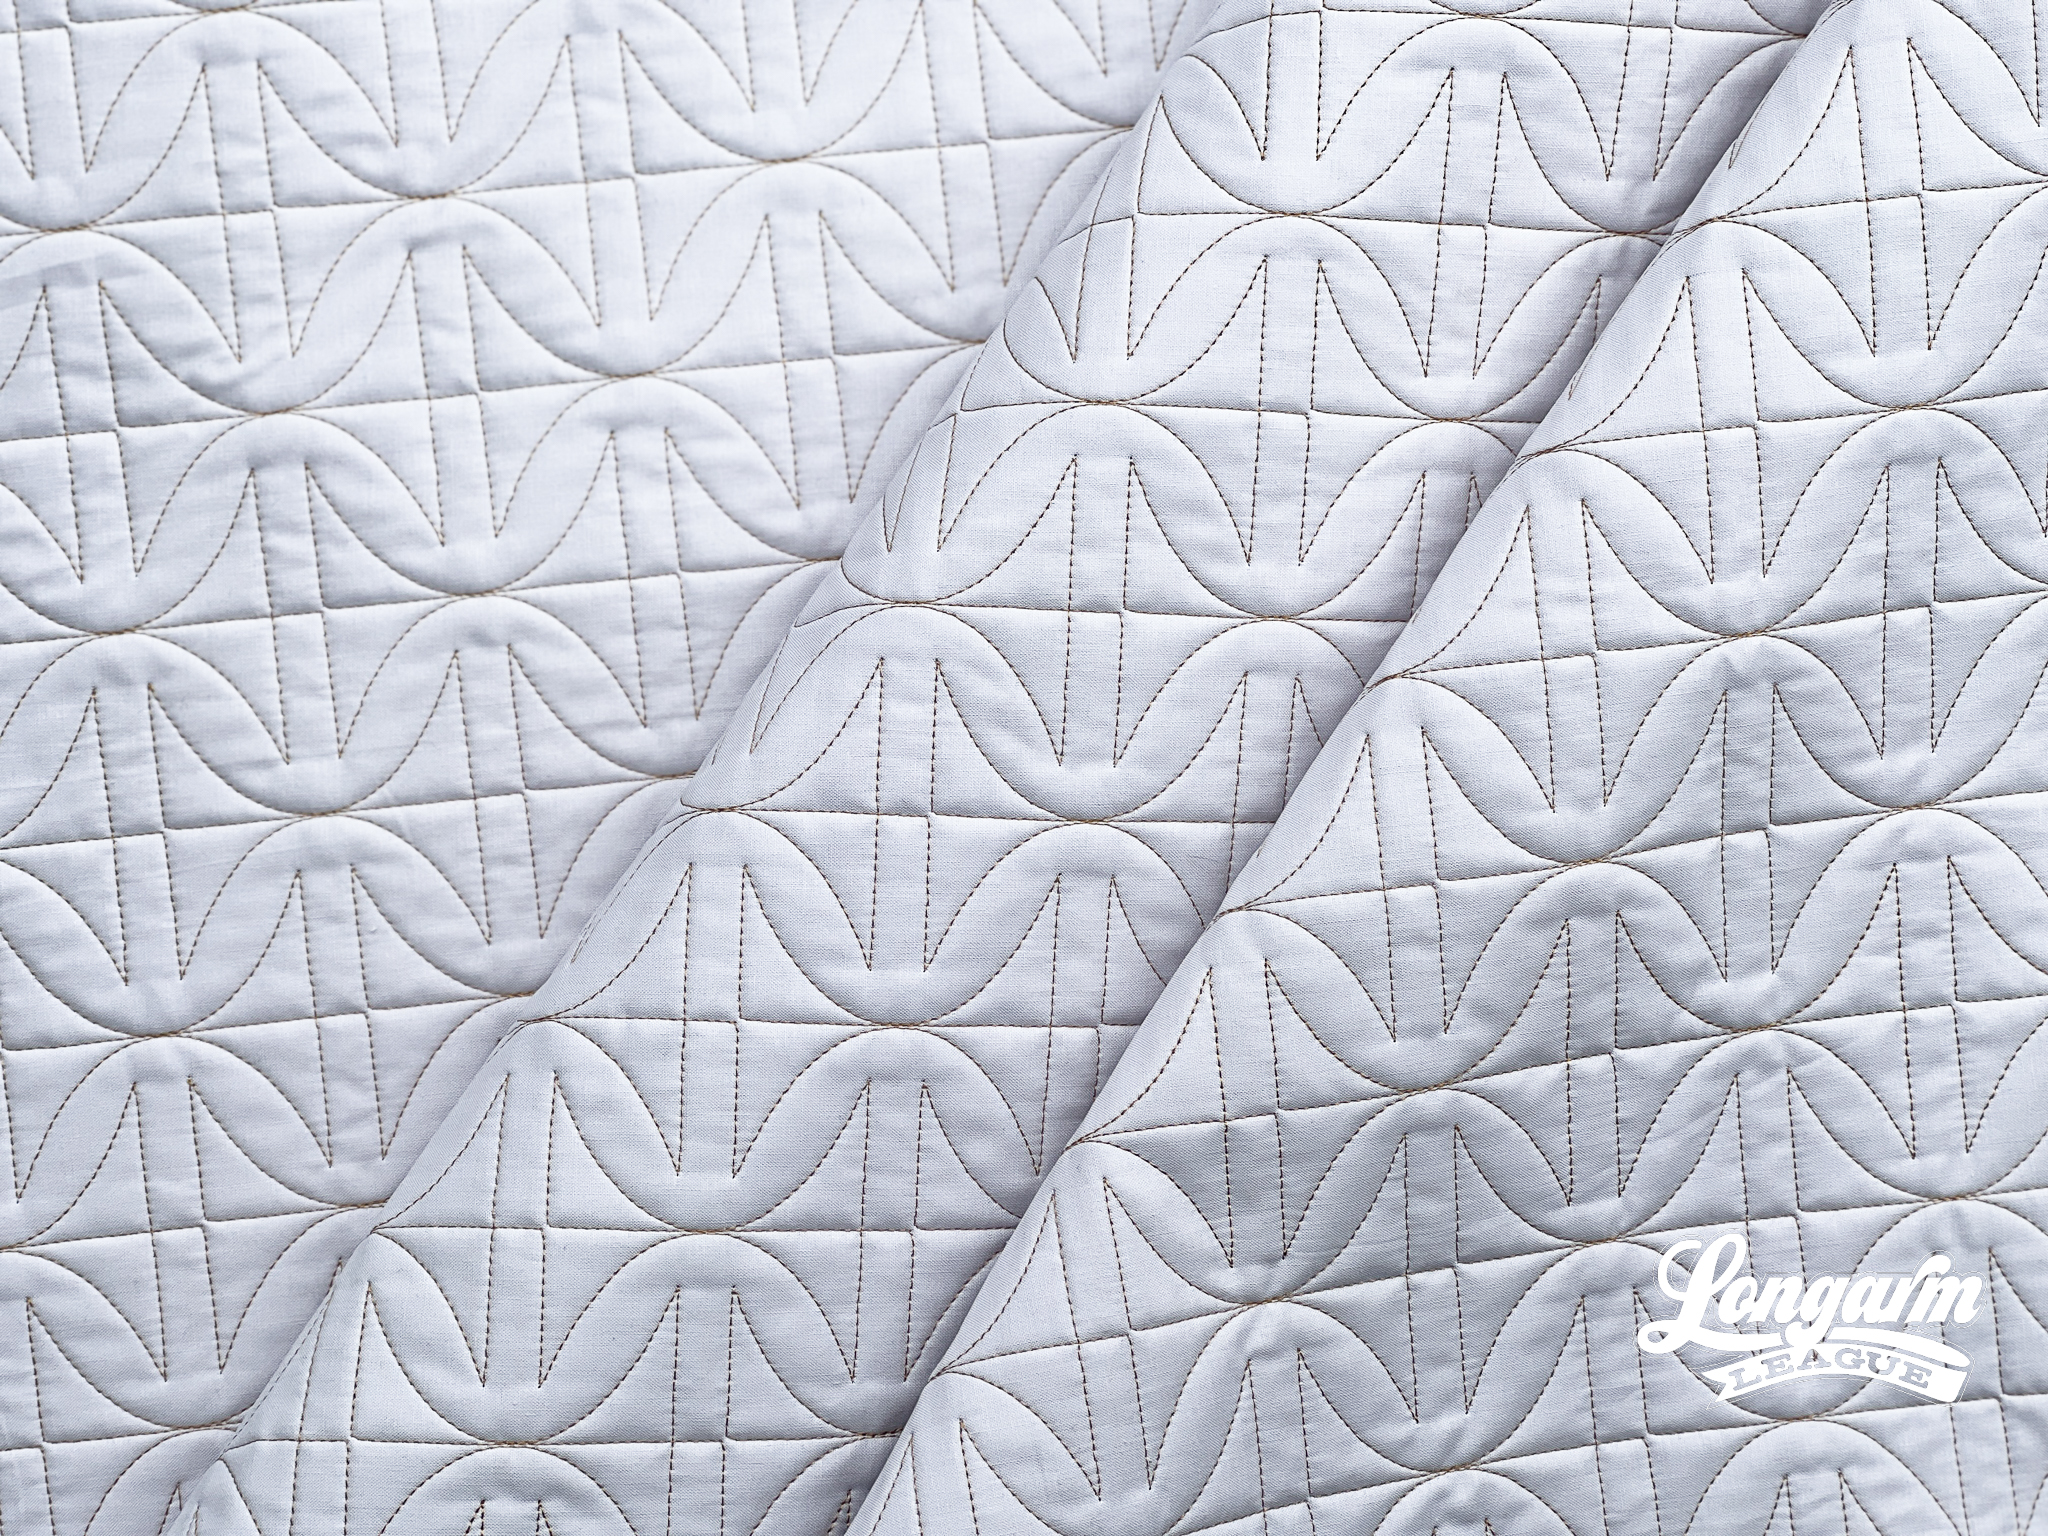
This design is all about the negative space—also known as white space—around the lines. I love how the curvy parts of the design are reminiscent of cathedral window blocks and how the straight lines create channels that provide some contrast to the curvy.

If I didn't design this and wasn't sure where the repeats were, it looks like it could be difficult to line up from row to row. That is definitely not the case! This design is very simple to stitch out. Every other row does need to be offset by 50%, but there is no exact matching necessary anywhere. 

If you stitched this design out on a quilt loaded on its side, you'd see results that play up hourglass or spool shapes. I also see asterisks and orange peel variations if I look at the pattern long enough! :) 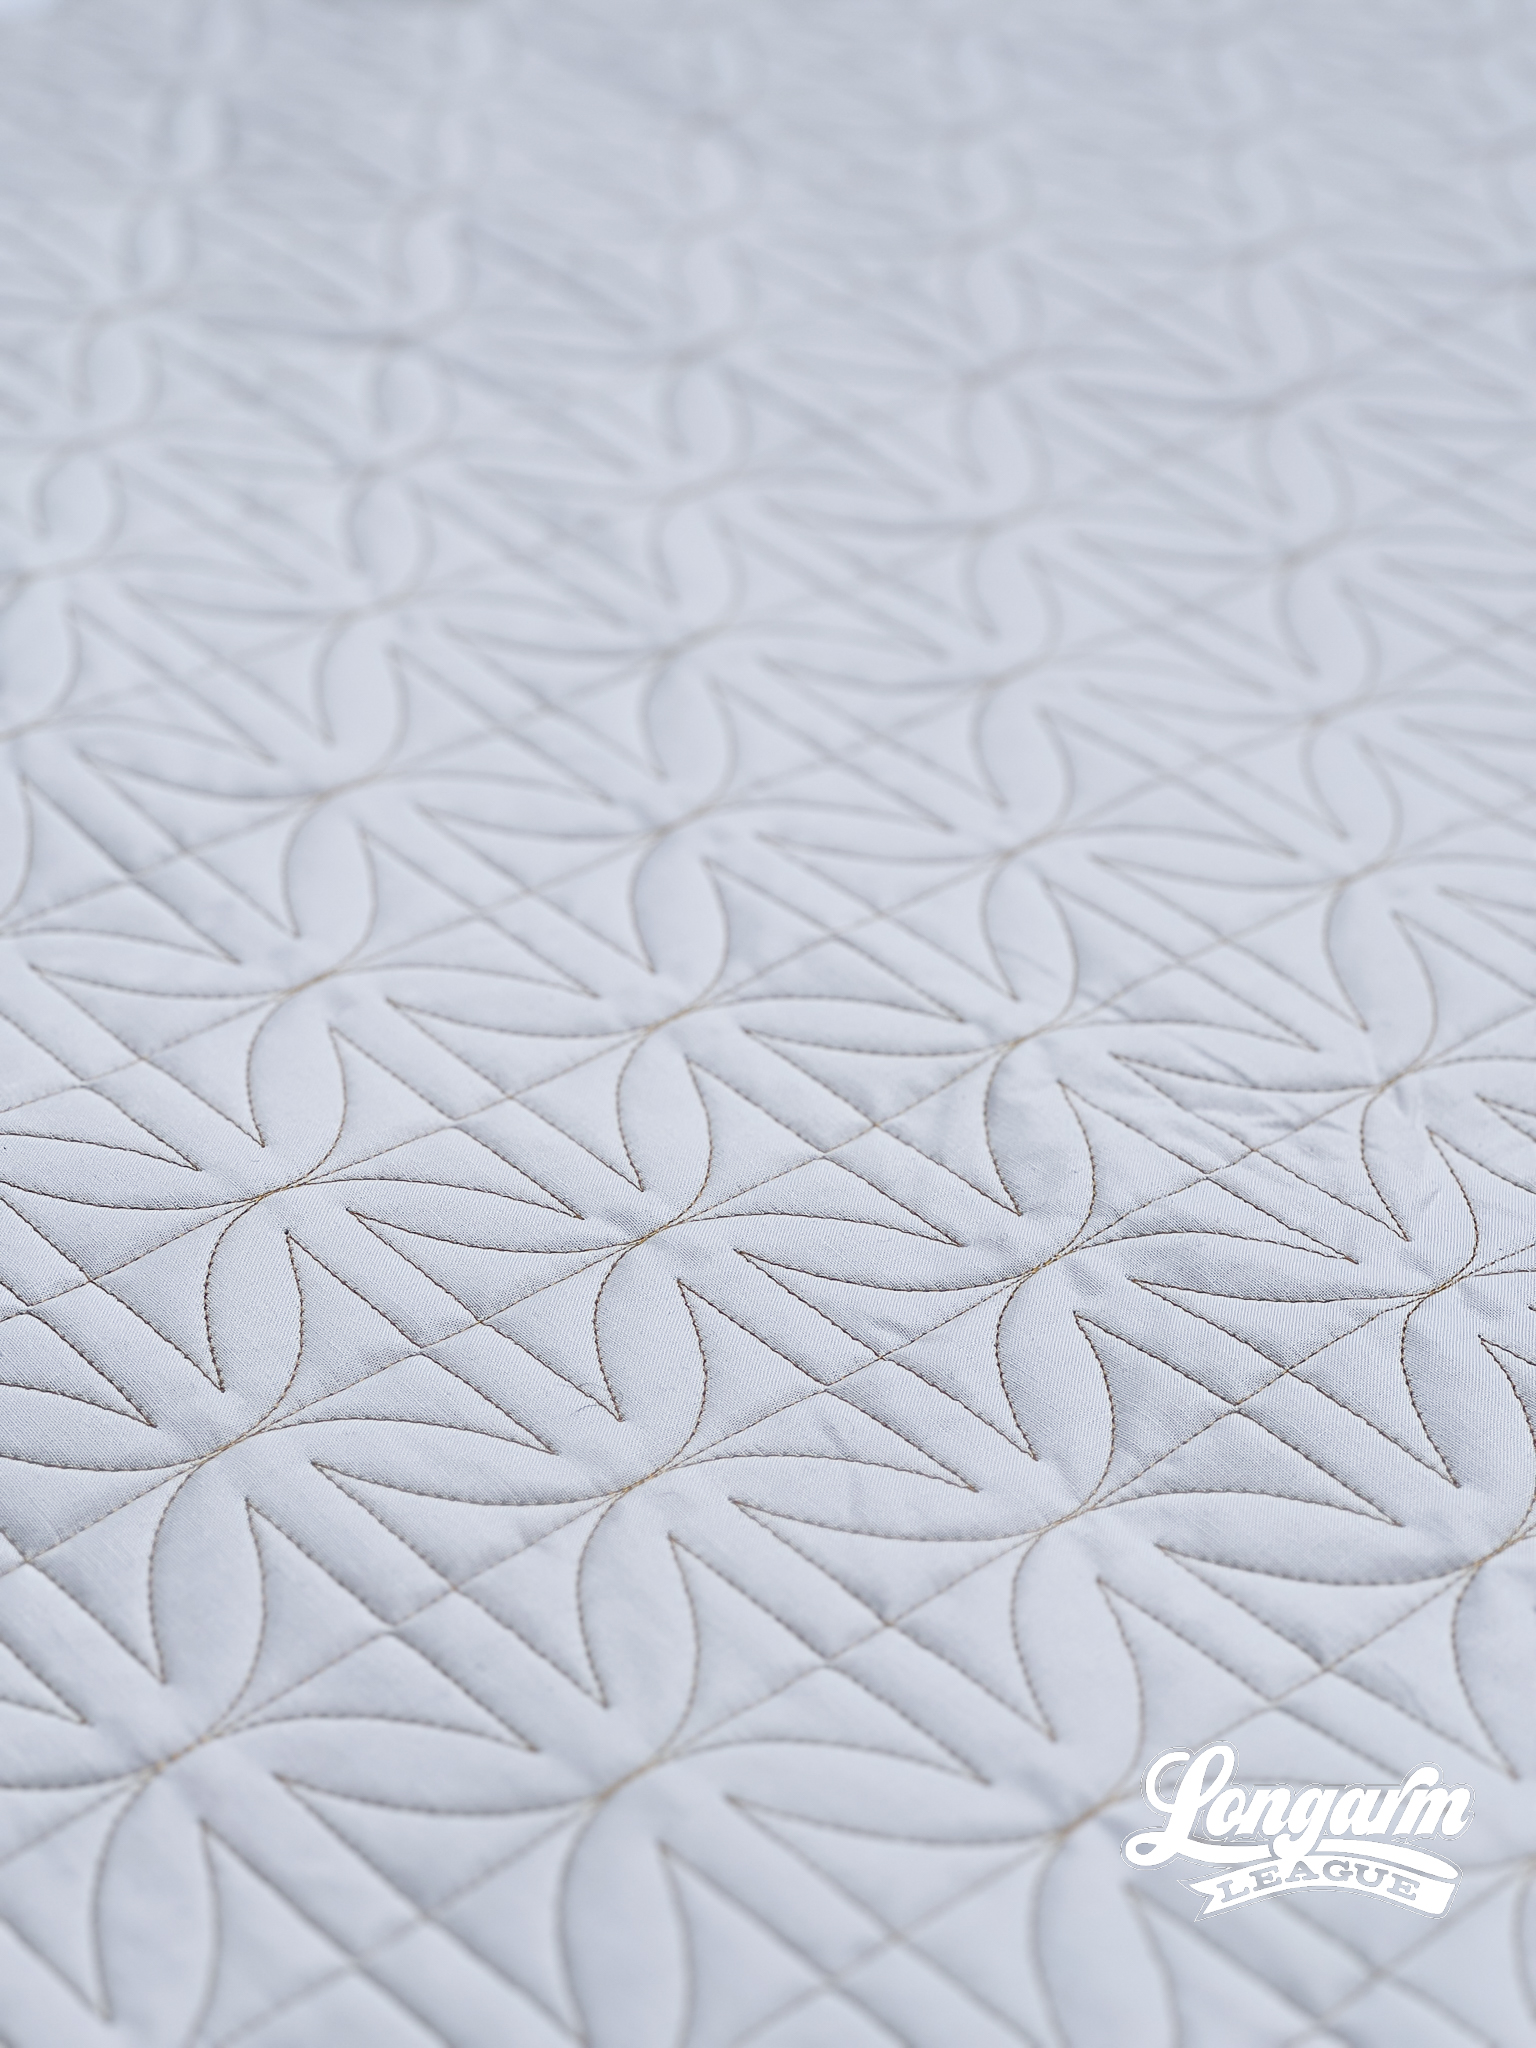

The Technical Details
A video of the stitch path appears at the top of this post. Again, it's a pretty straightforward and simple design with a fluid sequence. On the included PDF, I did indicate "minimal" over...
Fossilized Edge-to-Edge Digital Quilting Design
The Background Story
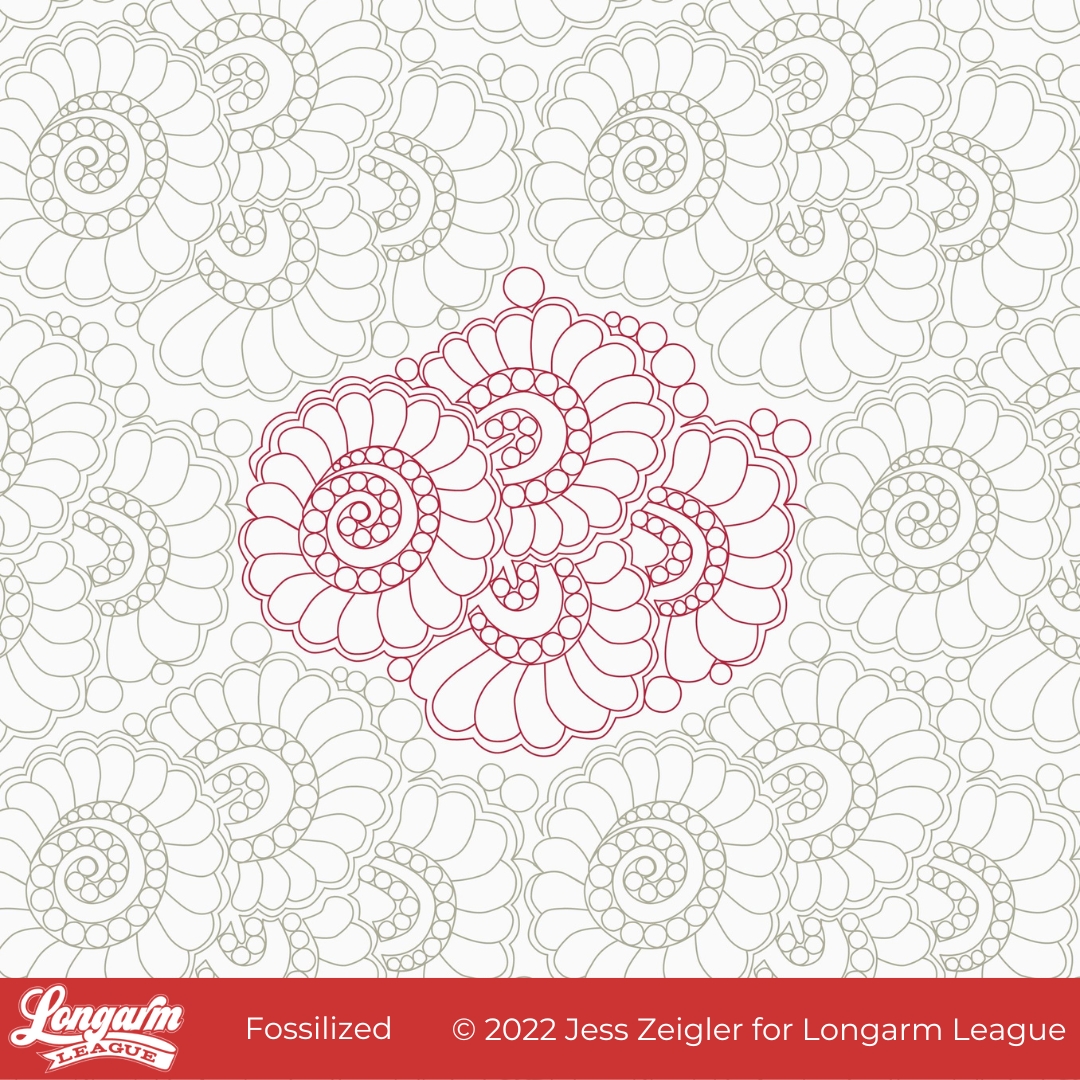
Fossilized is an edge-to-edge design that's been in the works for a long time. In early 2014, I made the small quilt shown below for myself using my own quilt pattern called Star Sighting. It was my first public pattern release under the name Threaded Quilting Studio. Anyway, the quilt used one of my favorite fabric lines ever (Color Me Happy by Vanessa Christianson) and I really wanted to push myself to do something special for the quilting in the negative space.
The quilt above is only 50" x 50" or so, but I remember having to muster the stamina needed to hand-guide all of those dimensional feathered wreaths. :) I thought it took FOREVER, but I was so proud of this quilting motif and thought it worked well in the quilt.
Over the last few years that I've been digitizing designs to be used with a computerized longarm, I've fiddled around with the same motif, struggling with how to make it look dimensional as an edge-to-edge design. The funny thing ...


