
Blackbird Digital Quilting Design
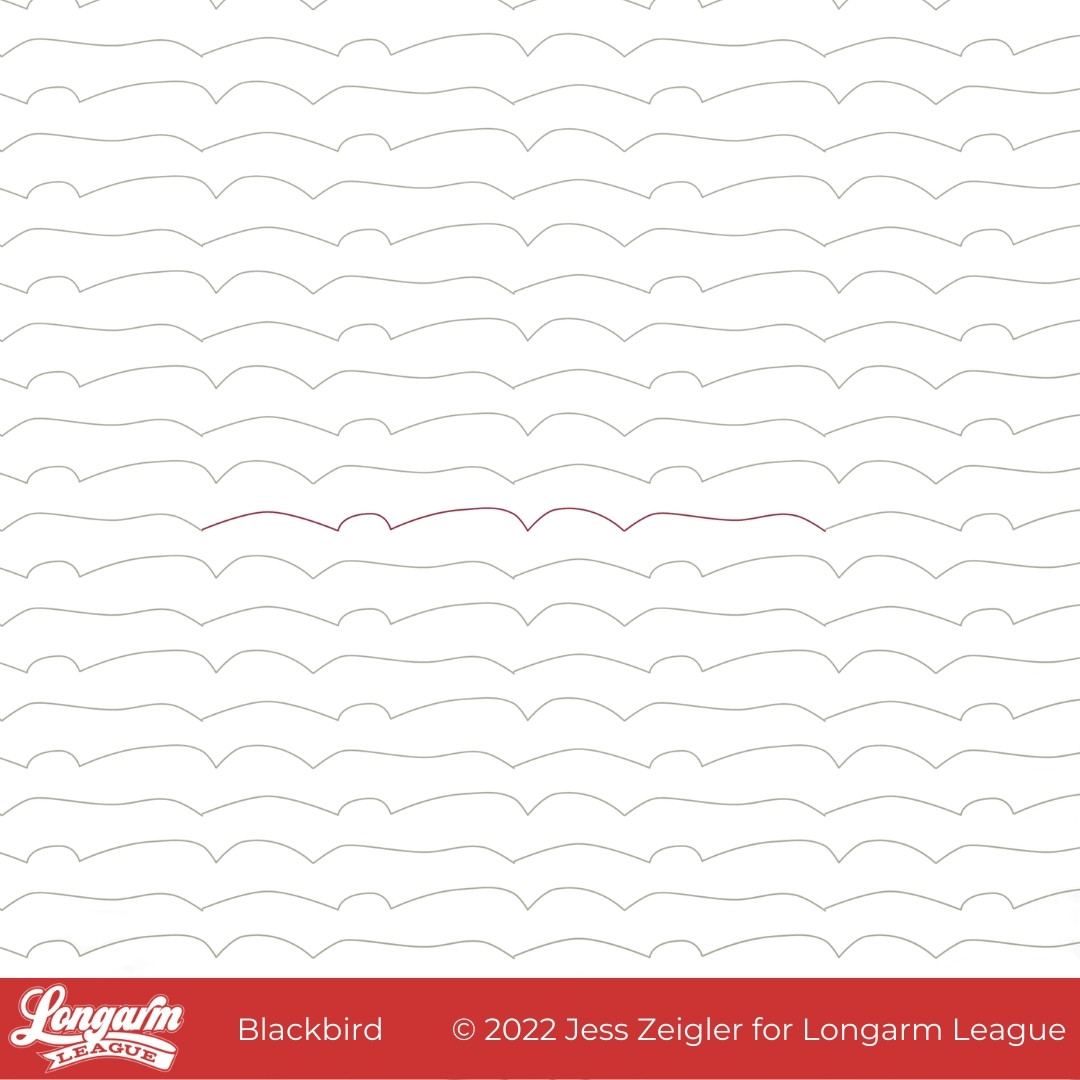
In our Longarm League private community, we have a forum where we can ask each other for pantograph suggestions for clients' quilts. Over and over again, I find myself recommending really simple designs like straight lines, Good Vibrations, Rumble, Wishbone, Soho, etc.
I wanted to make a REALLY simple design that also looked... organic. Blackbird is what resulted.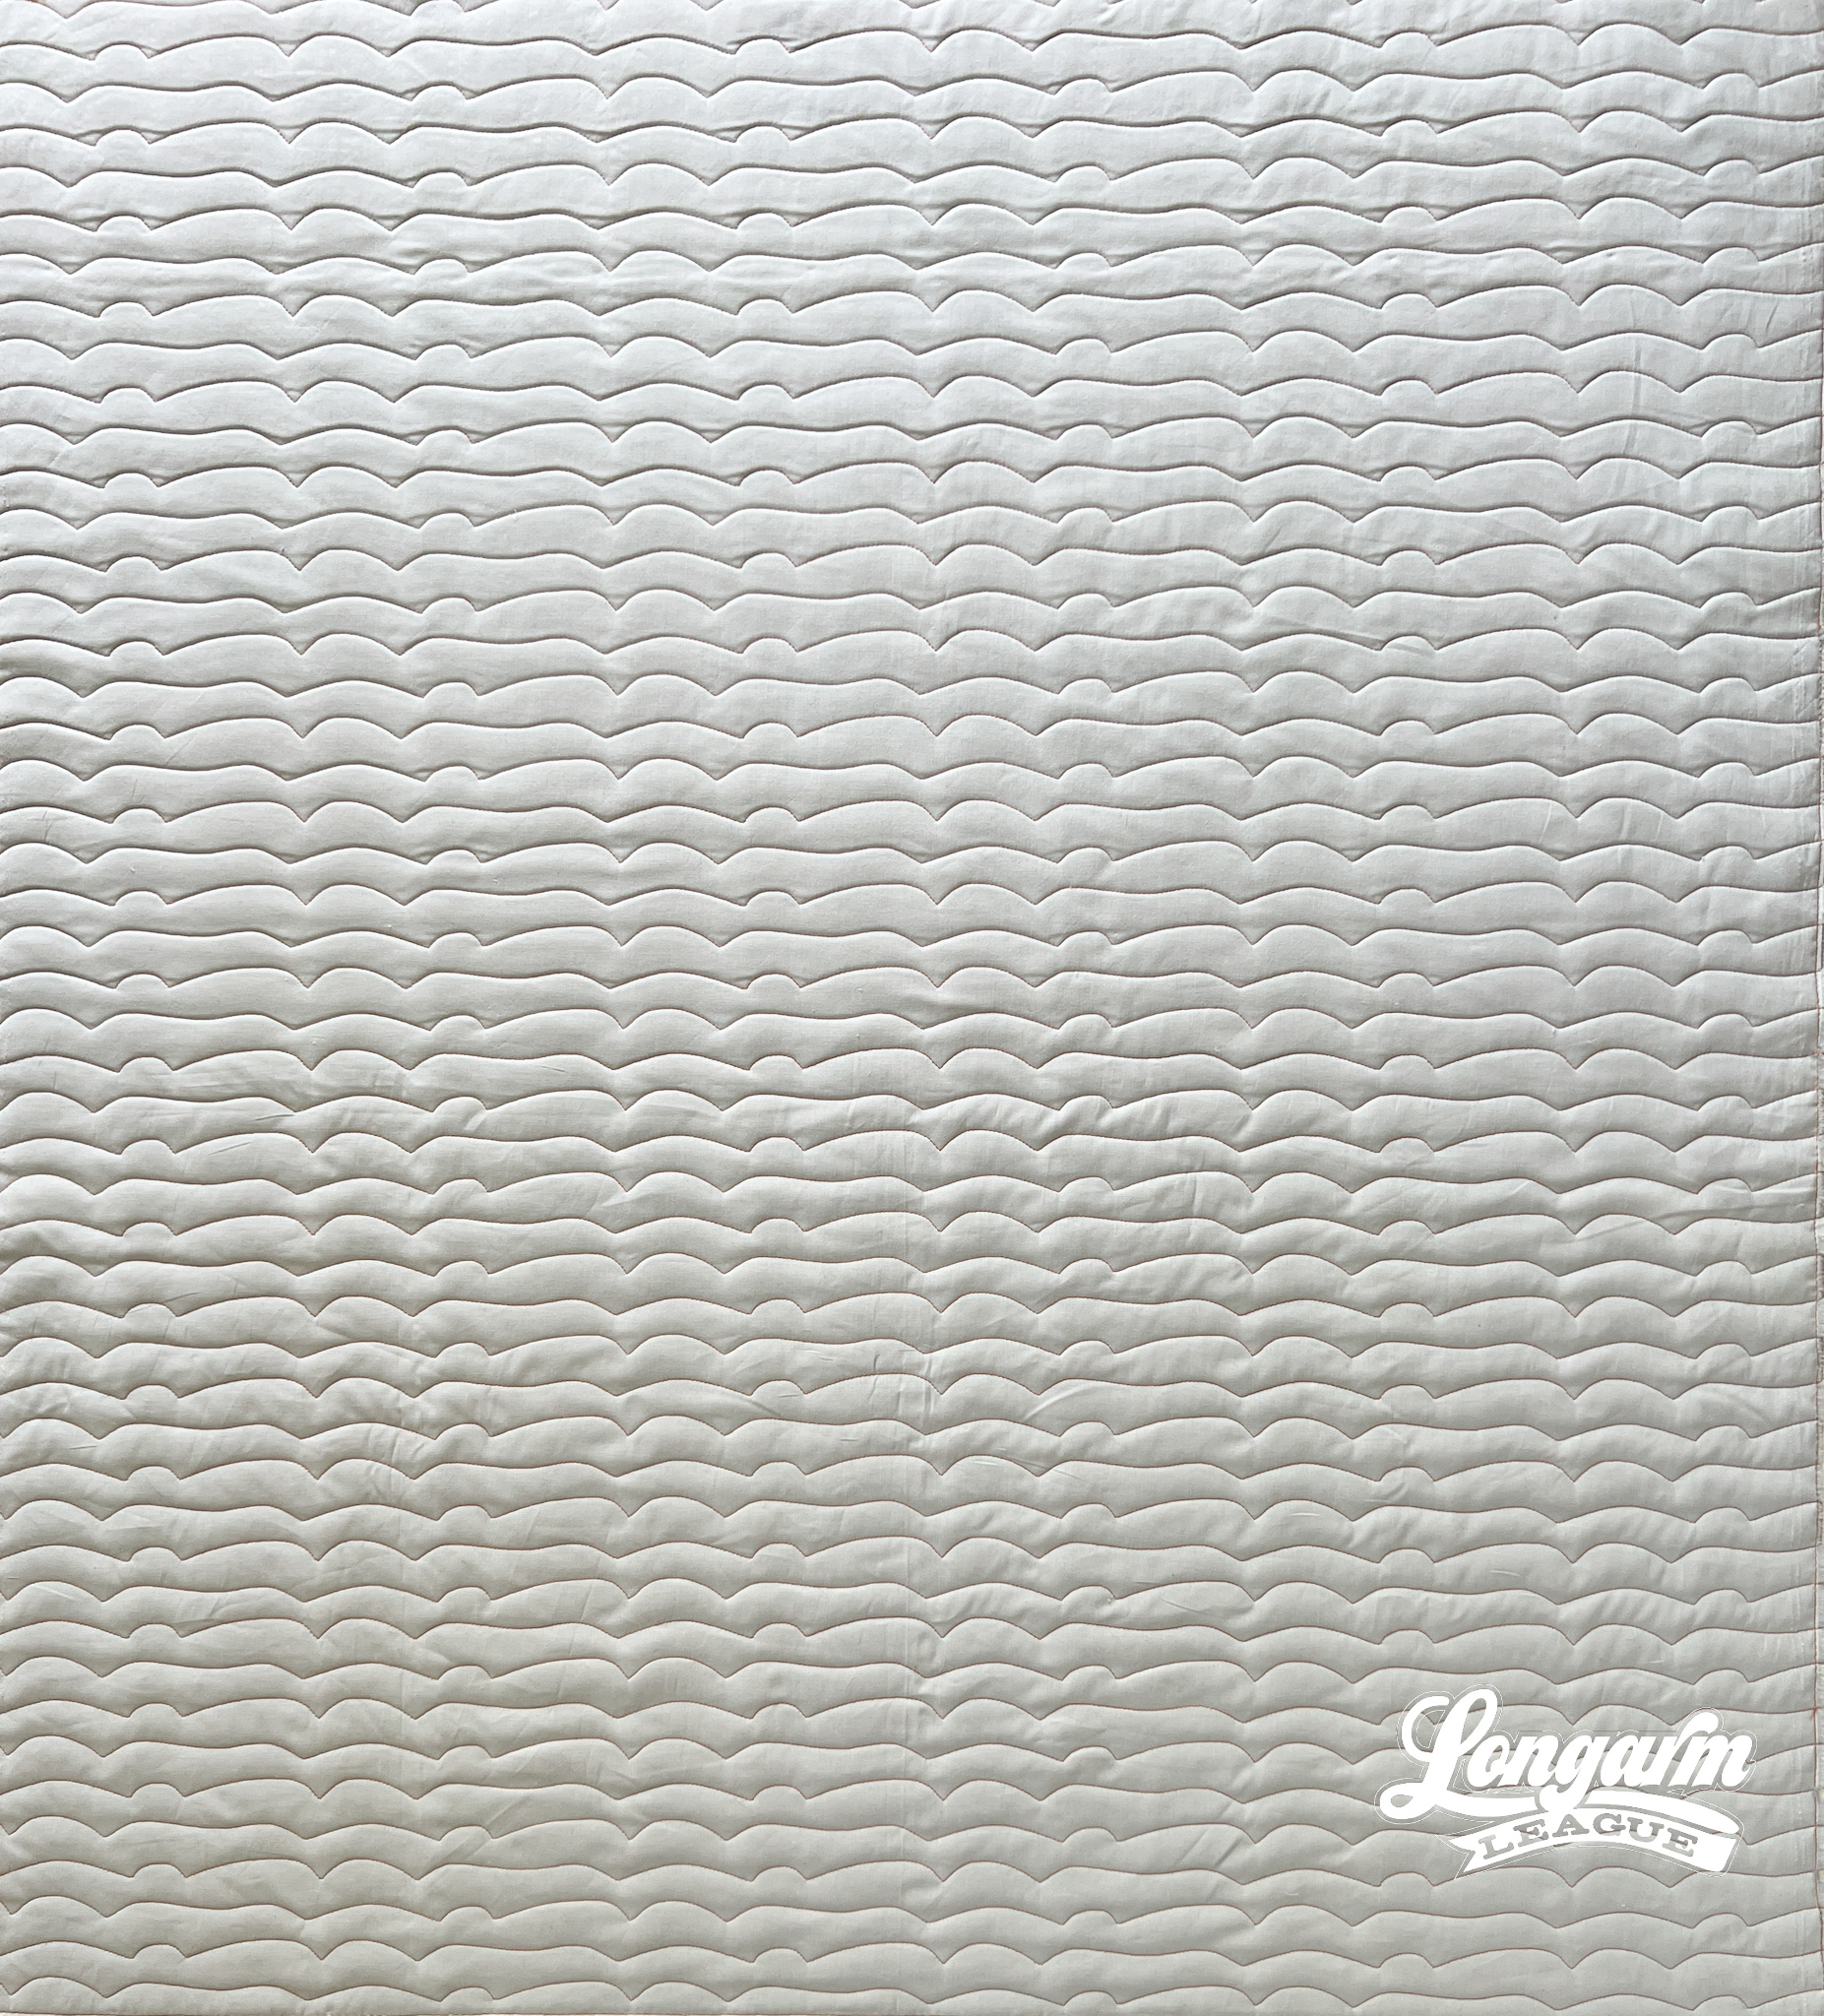
I simultaneously really like this one and am—what's the word, embarrassed?—by its simplicity.
Hey, they don't all have to be head-scratchers. You know, those designs that you have to stare at to find the repeat or are mesmerized by the complexity of the design. This one is pretty darn straightforward.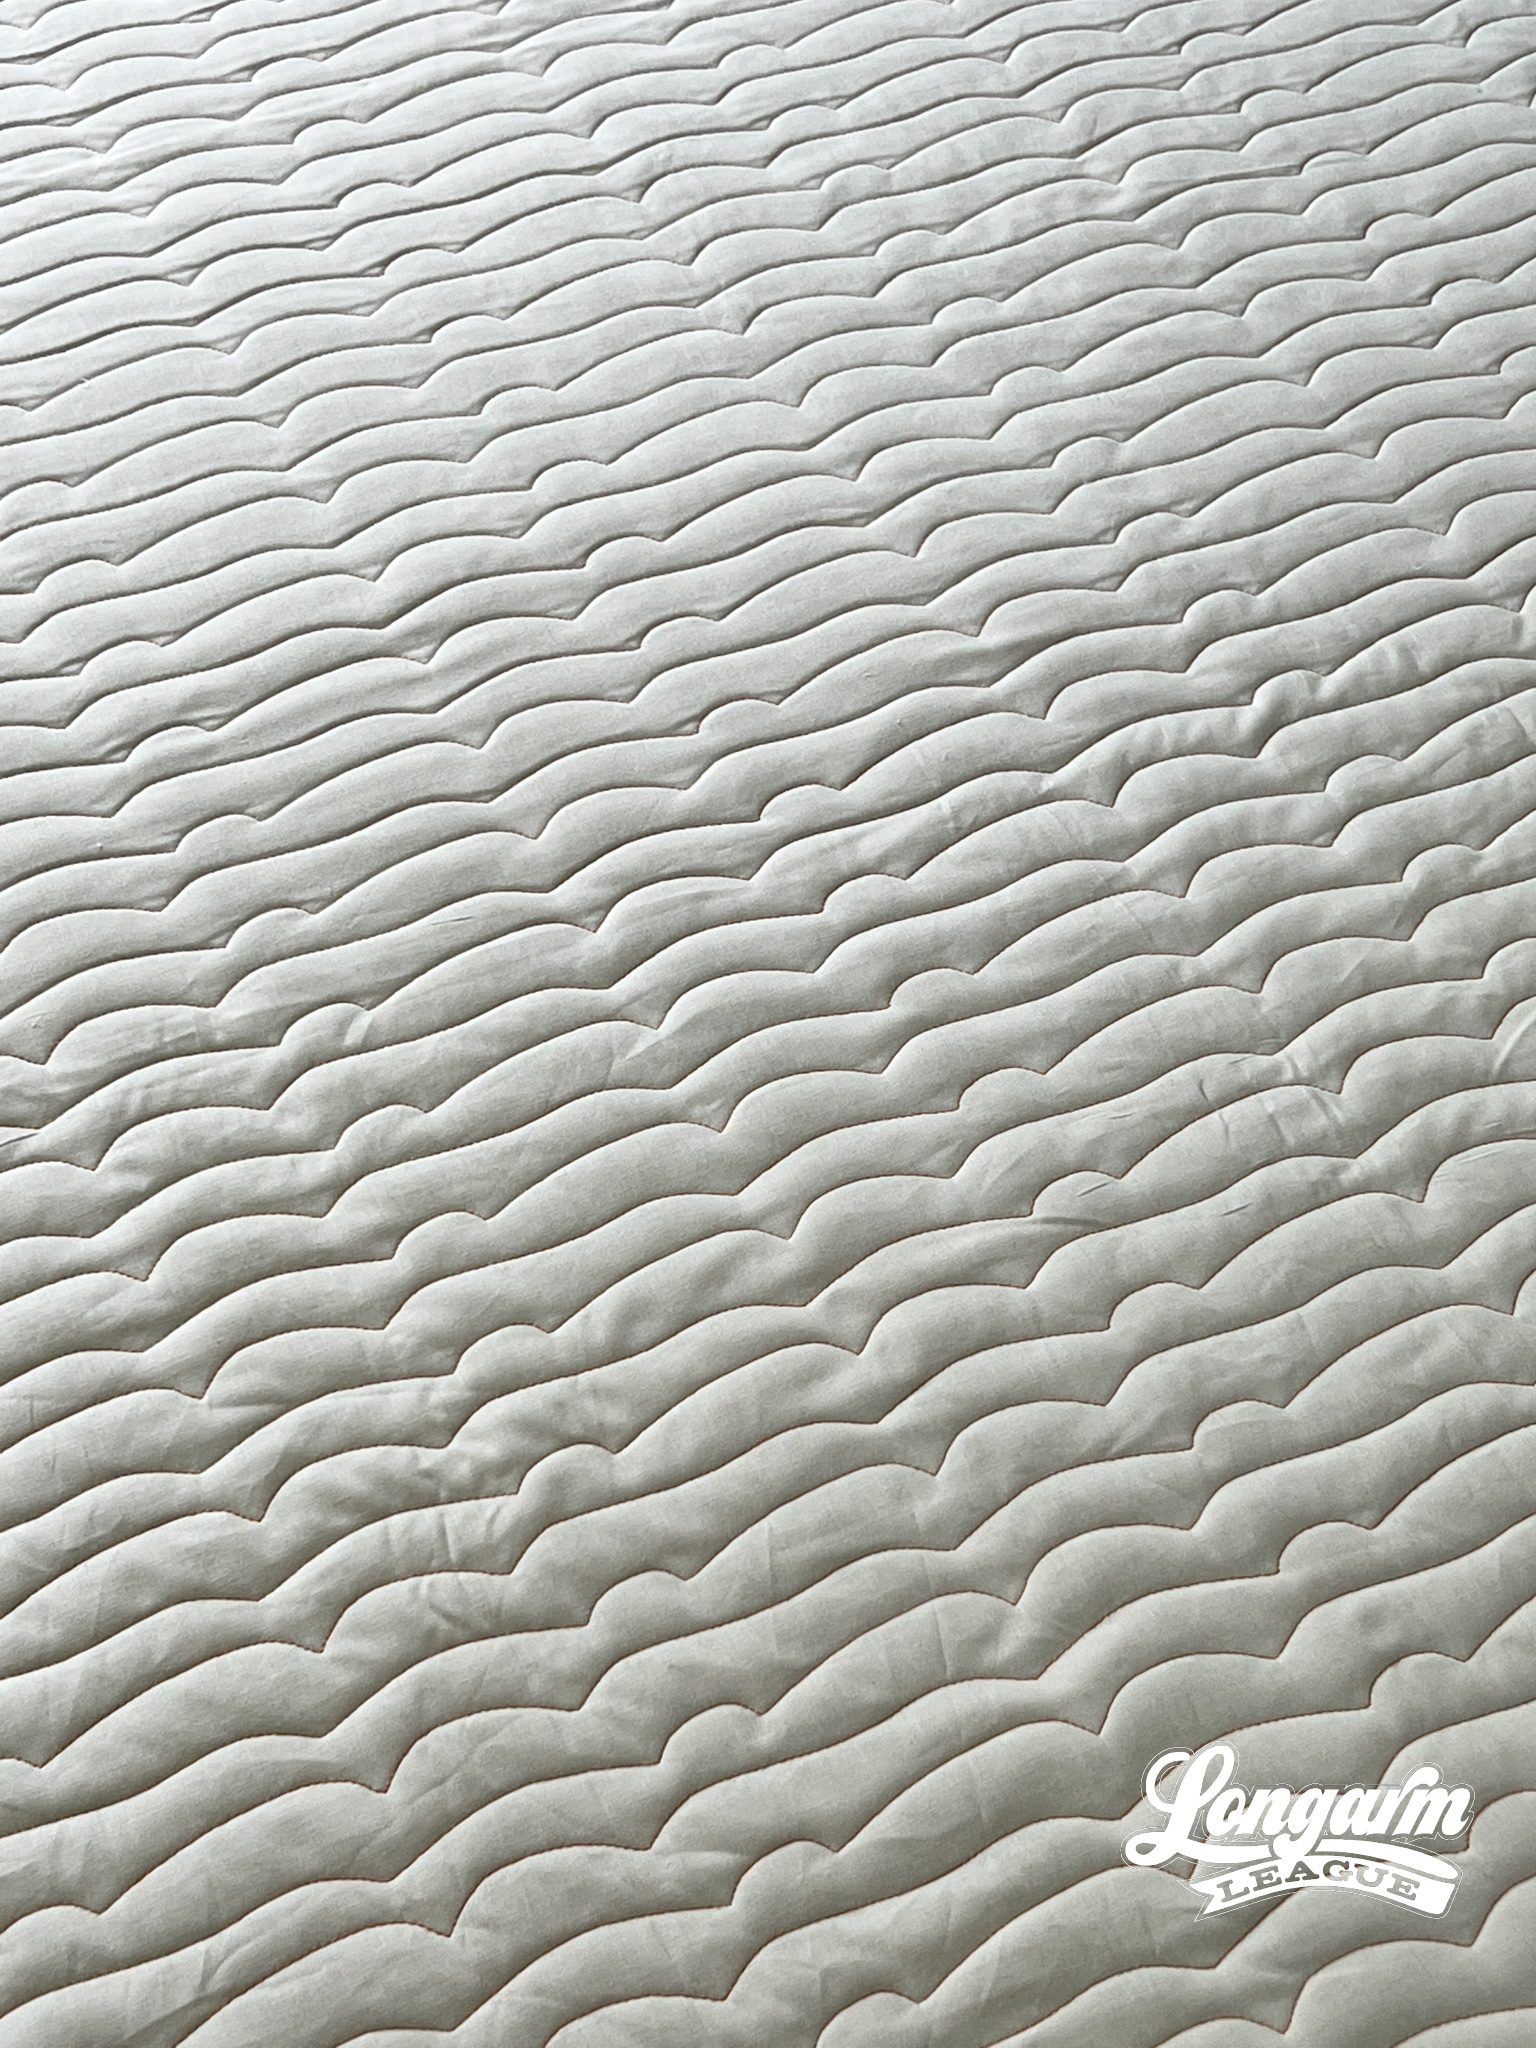
I'll give you four great reasons why we shouldn't shy away from offering simple designs to our clients:
1. FAST - I loaded up this up baby quilt and stitched it all out in an hour's time.
2. EFFICIENT - My machine uses the smaller L bobbins and this took less than one bobbin.
3. PROFITABLE - The faster and more...
Best Fronds Modern Edge to Edge Quilting Design

Longarm League member Rebecca Grace Quilting (if you like reading quilting blogs, you'll love Rebecca's!) sent me an email a while back with a photo of home dec fabric, noting the design would make a great digital pantograph design.
I agreed wholeheartedly and tucked it away in my brain to think about later. You see, being the "Commish" of the Longarm League means that 95+% of the time, I'm working on all things other than designing pantographs. I love this part of the job, though, and hope to devote more time to it in the future.
The leafy design was very appealing to me, but the biggest problem was that I could NOT figure out what portion of the design I could repeat to get the overall effect. It took a few days of playing around in Art and Stitch and doodling on my Remarkable tablet to crack the code.


Once that code was cracked, the other major dilemma was to figure out how to sequence the stitch path so that it'd make "nice" lines. It was pretty clear that I'd ne...
May Flowers Digital Quilting Design
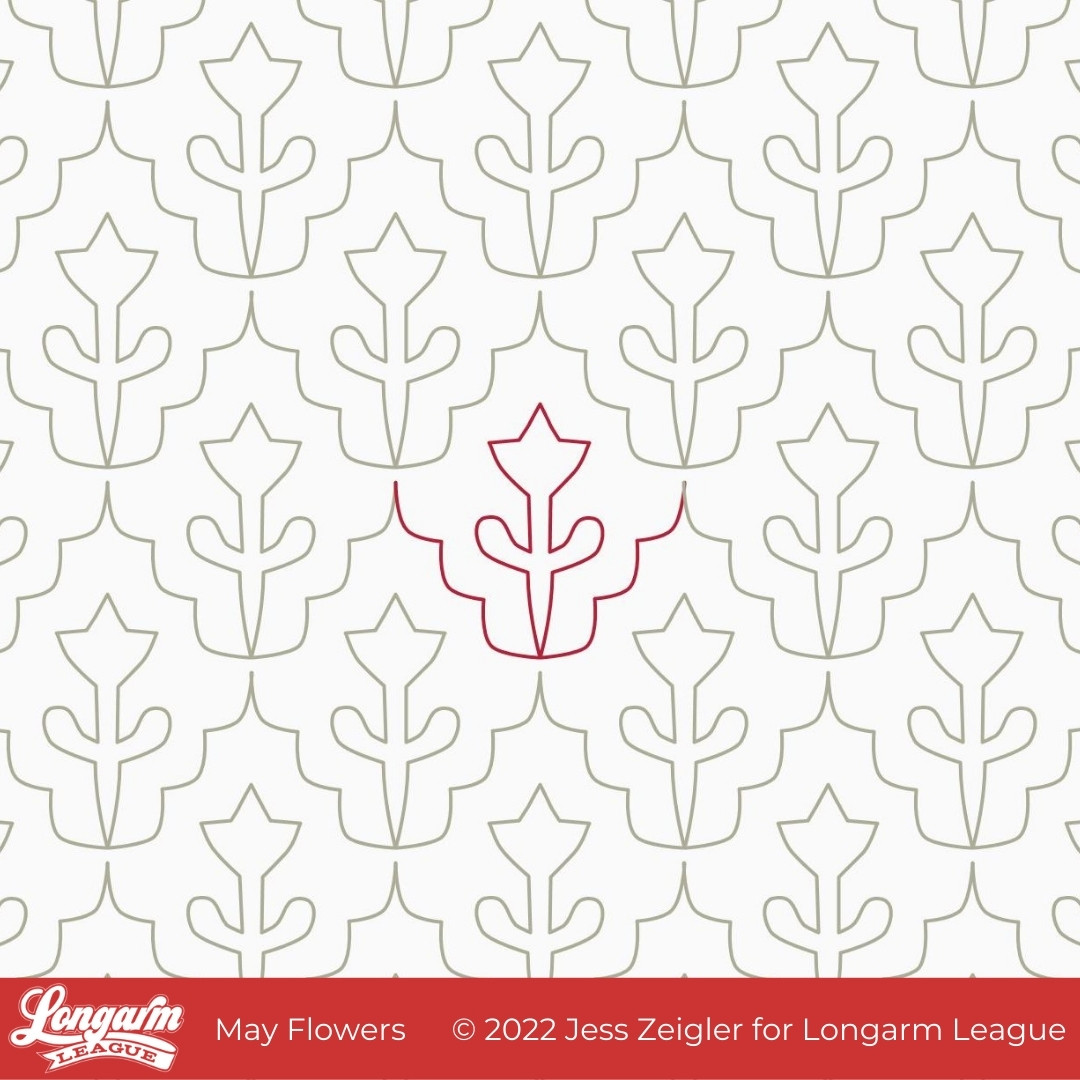
You know what they say about April showers... they bring May Flowers!
April was a dreary, wet month where I live in Central Iowa and it's actually continuing into the first few days of May. But we have hope that sunshine and flowers will appear very soon!
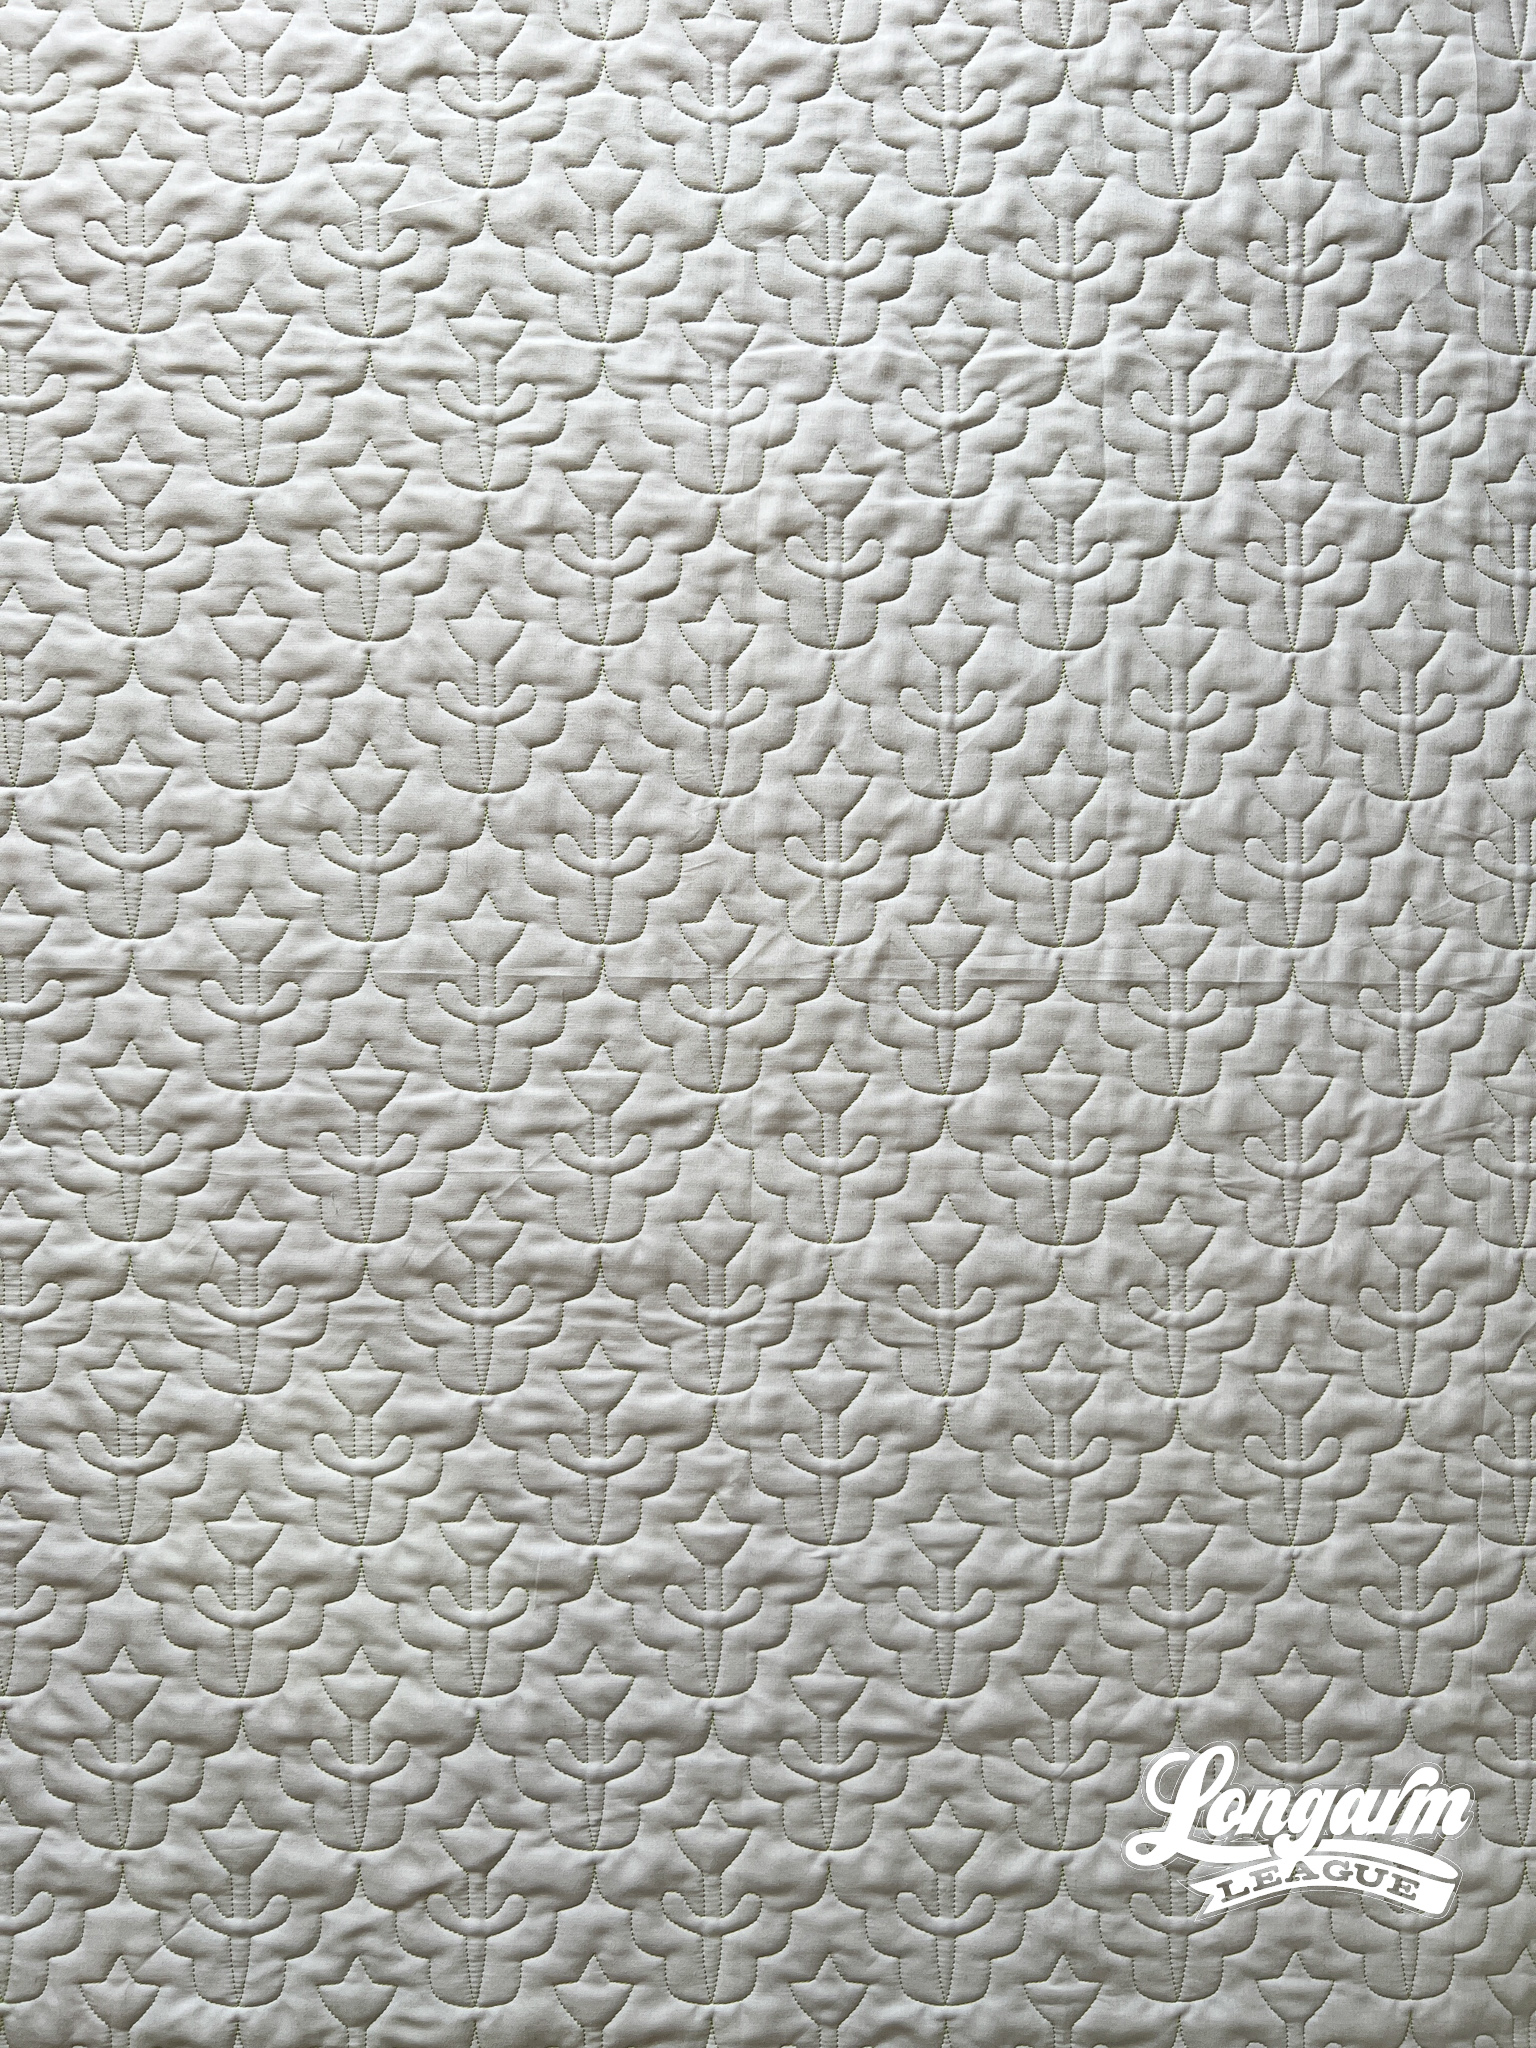
I really love Scandinavian design and I hope that comes across in this simple tulip-esque pantograph. To jazz it up just a bit, I added a scalloped edge to the repeat. It should be a great choice for the upcoming spring quilts in your queue.
May Flowers could be used both on traditional and modern quilts—the scale is adaptable, as well. I'll give you my details for this sample below.
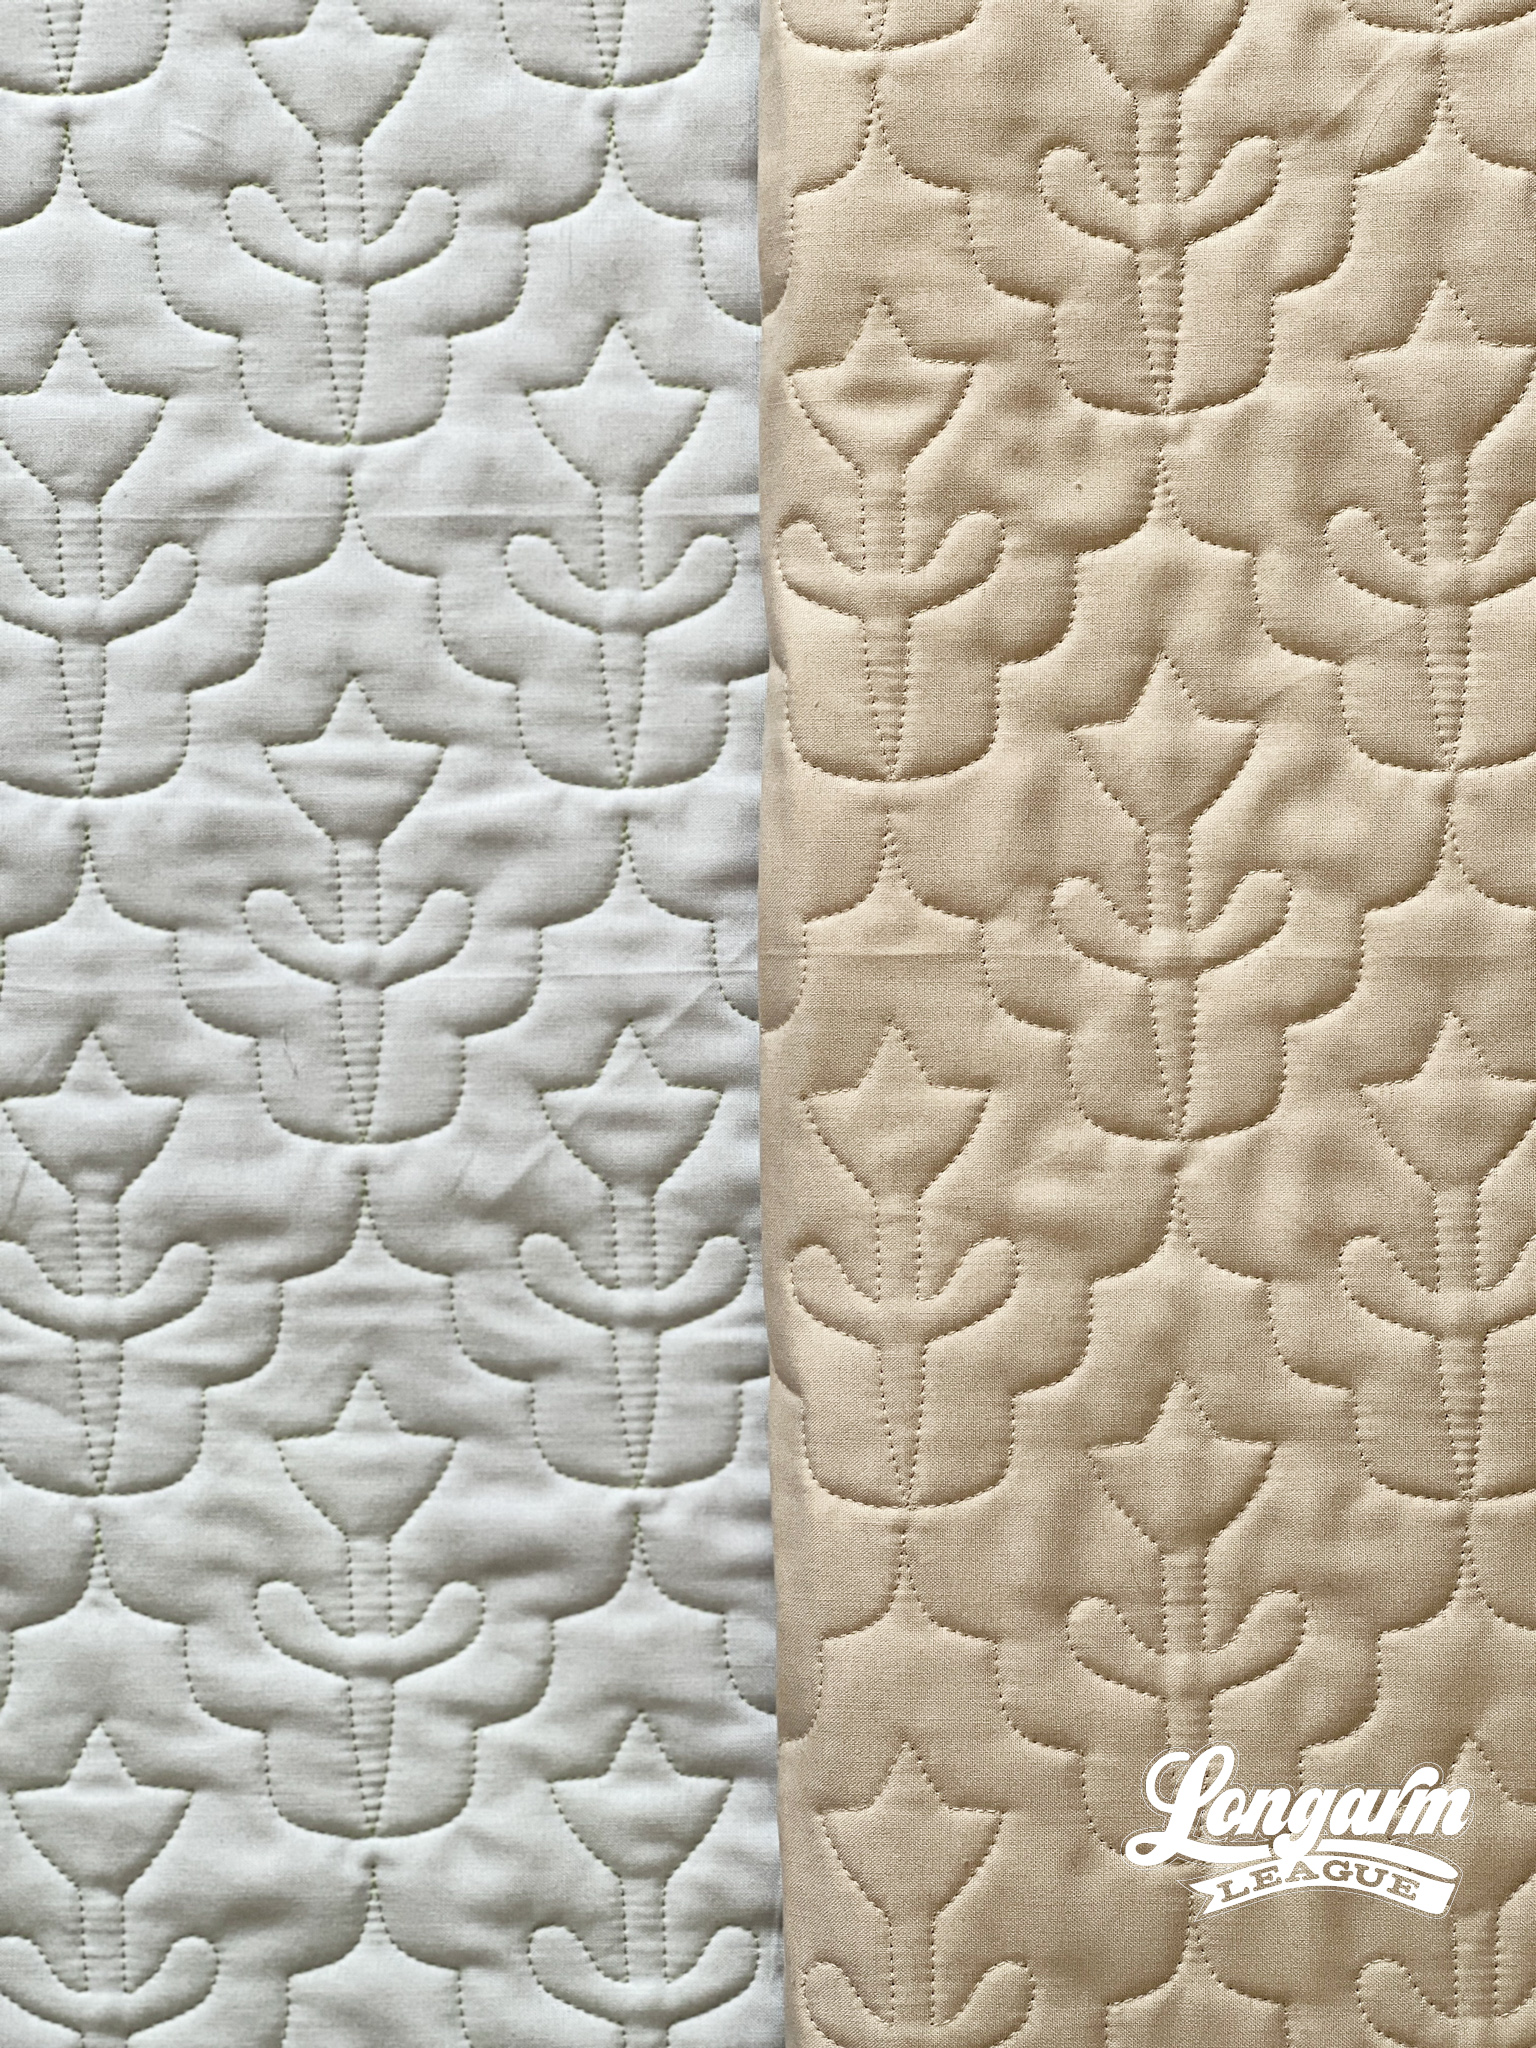
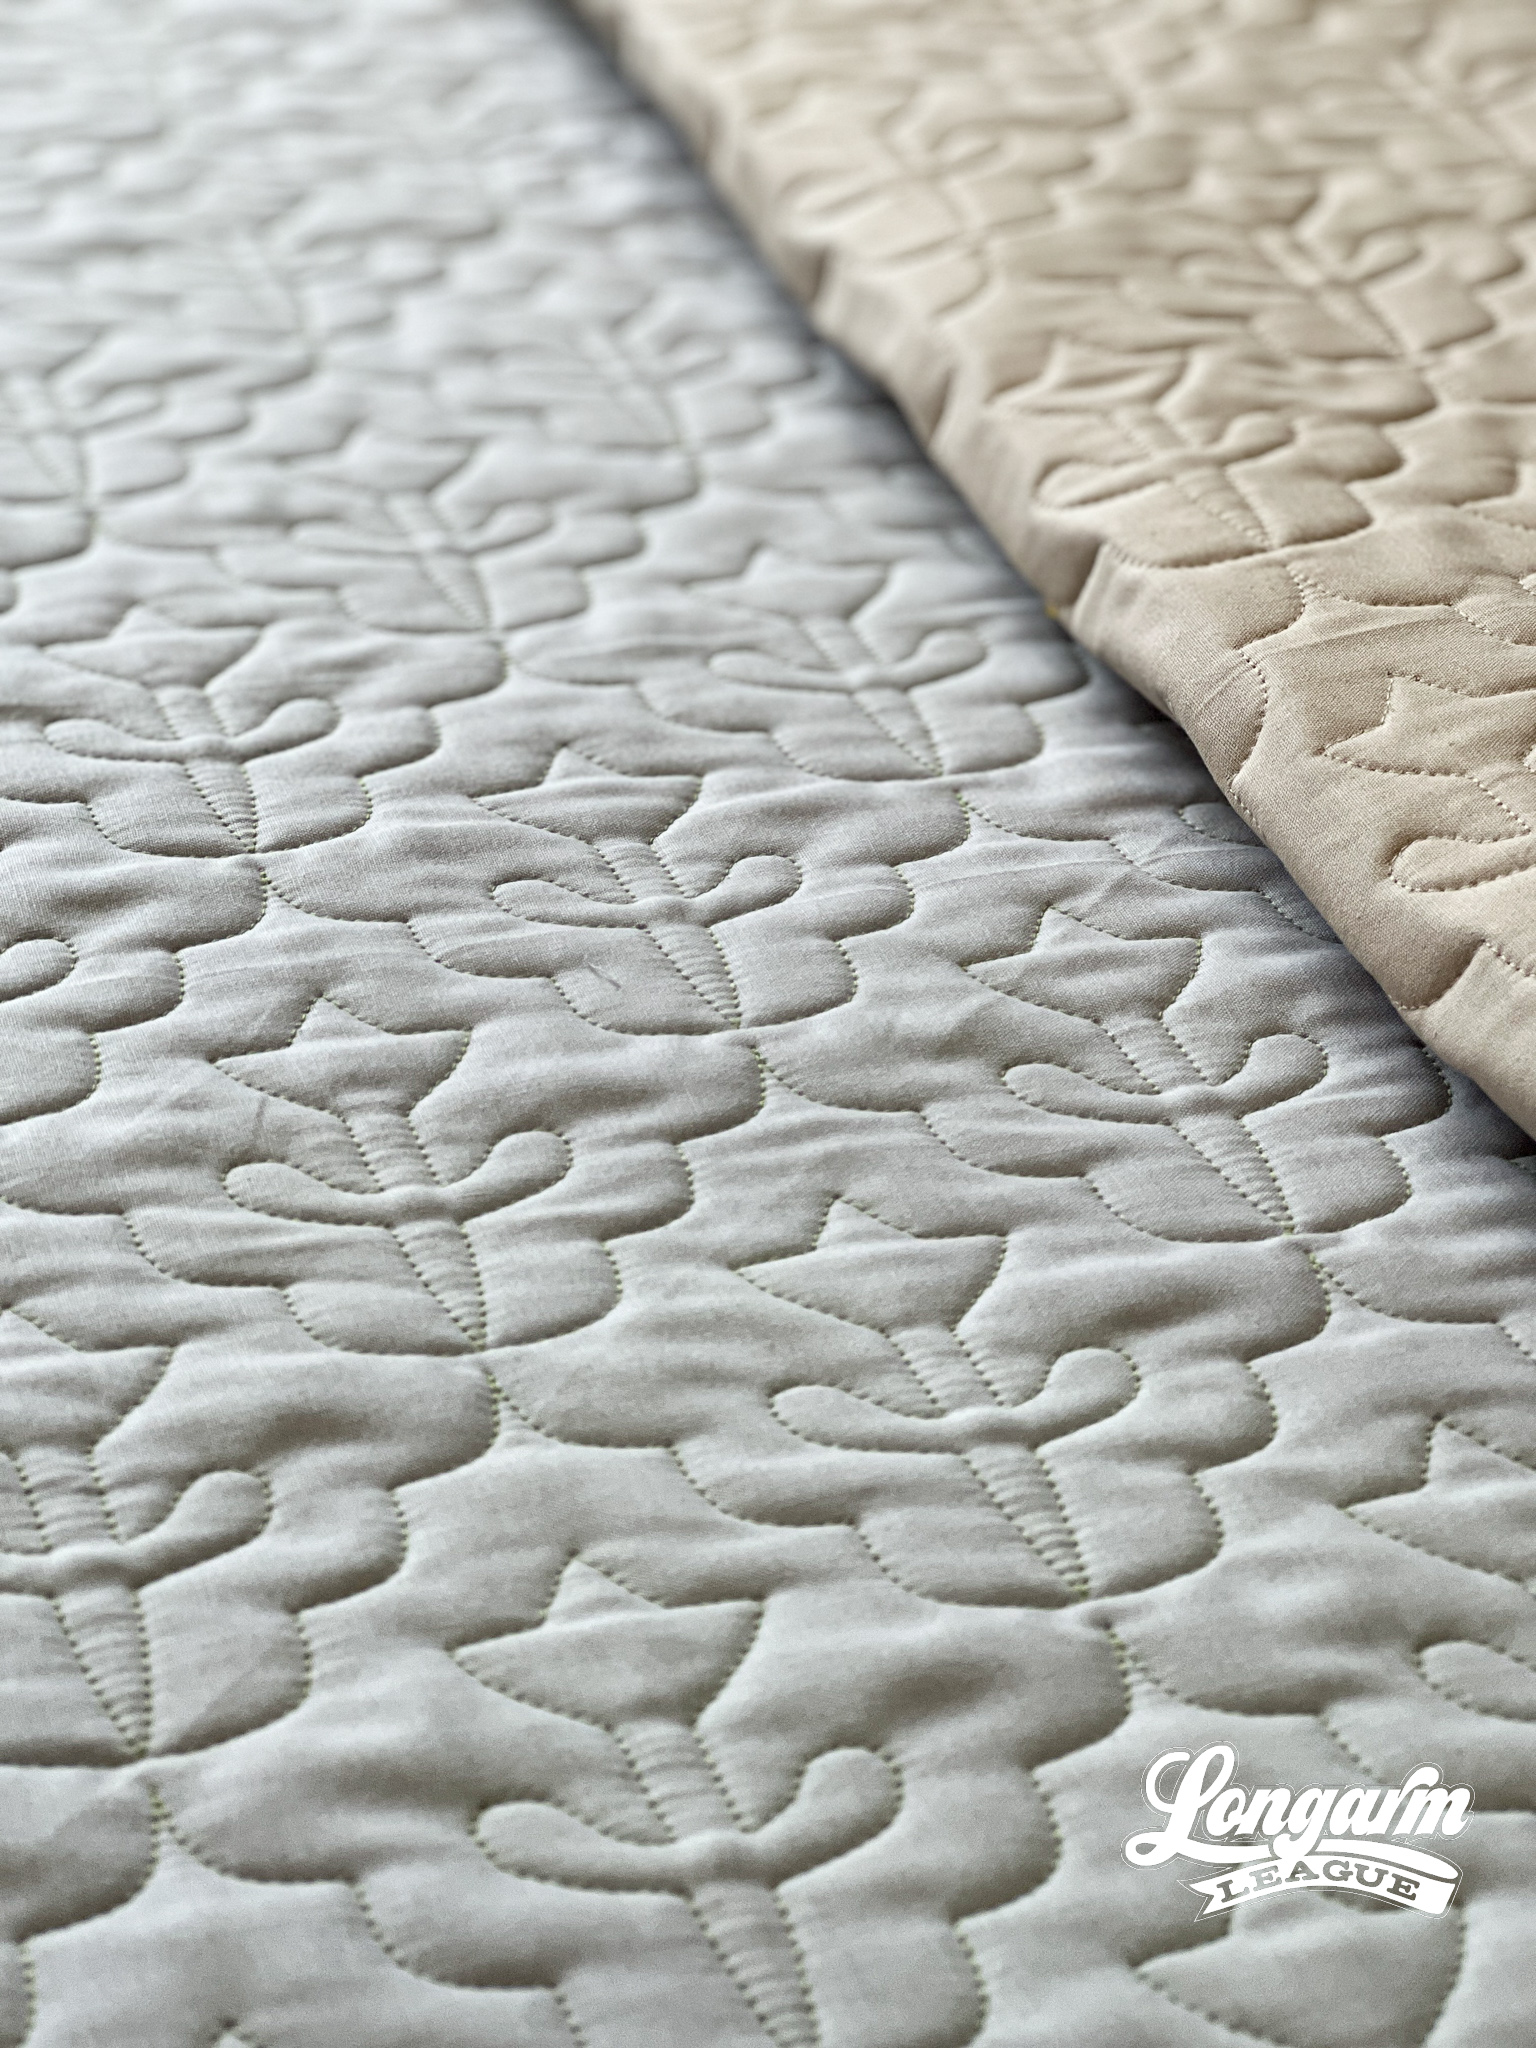
Here are my specifics using a baby-sized sample in the photos (45" x 45" quilt size):
Row height: 3"
Gap: -1"*
Pattern height: 4"
Offset: 50%
Backtracking: none
*Gap refers to the space I'm allowing between rows. I use an Intelliquilter for my computerized quilting, and because that measurement is quantifiable, I provide it here.
The row h...
Echoed Swirls and the Mini Modern Heart Quilt
This is not a drill. I was able to work on a quilt top I started making for myself back in 2017.
About a month ago, I was invited to a quilting retreat at Stitch Supply Co. in Altoona, Wisconsin. I had the best time! It really supercharged my desire for patchwork again. Now I want to finish WIPs and start new projects with the fabulous fabric I bought there.
For this project, the quilt pattern I used is called Mini Modern Heart. It's actually a foundation paper piecing block I designed to use up small scraps of fabric. It certainly is a good pattern for doing just that!
My original intention was to make one block per day for a year—but, you know—life happened and I came up WAYYYY short of my goal.
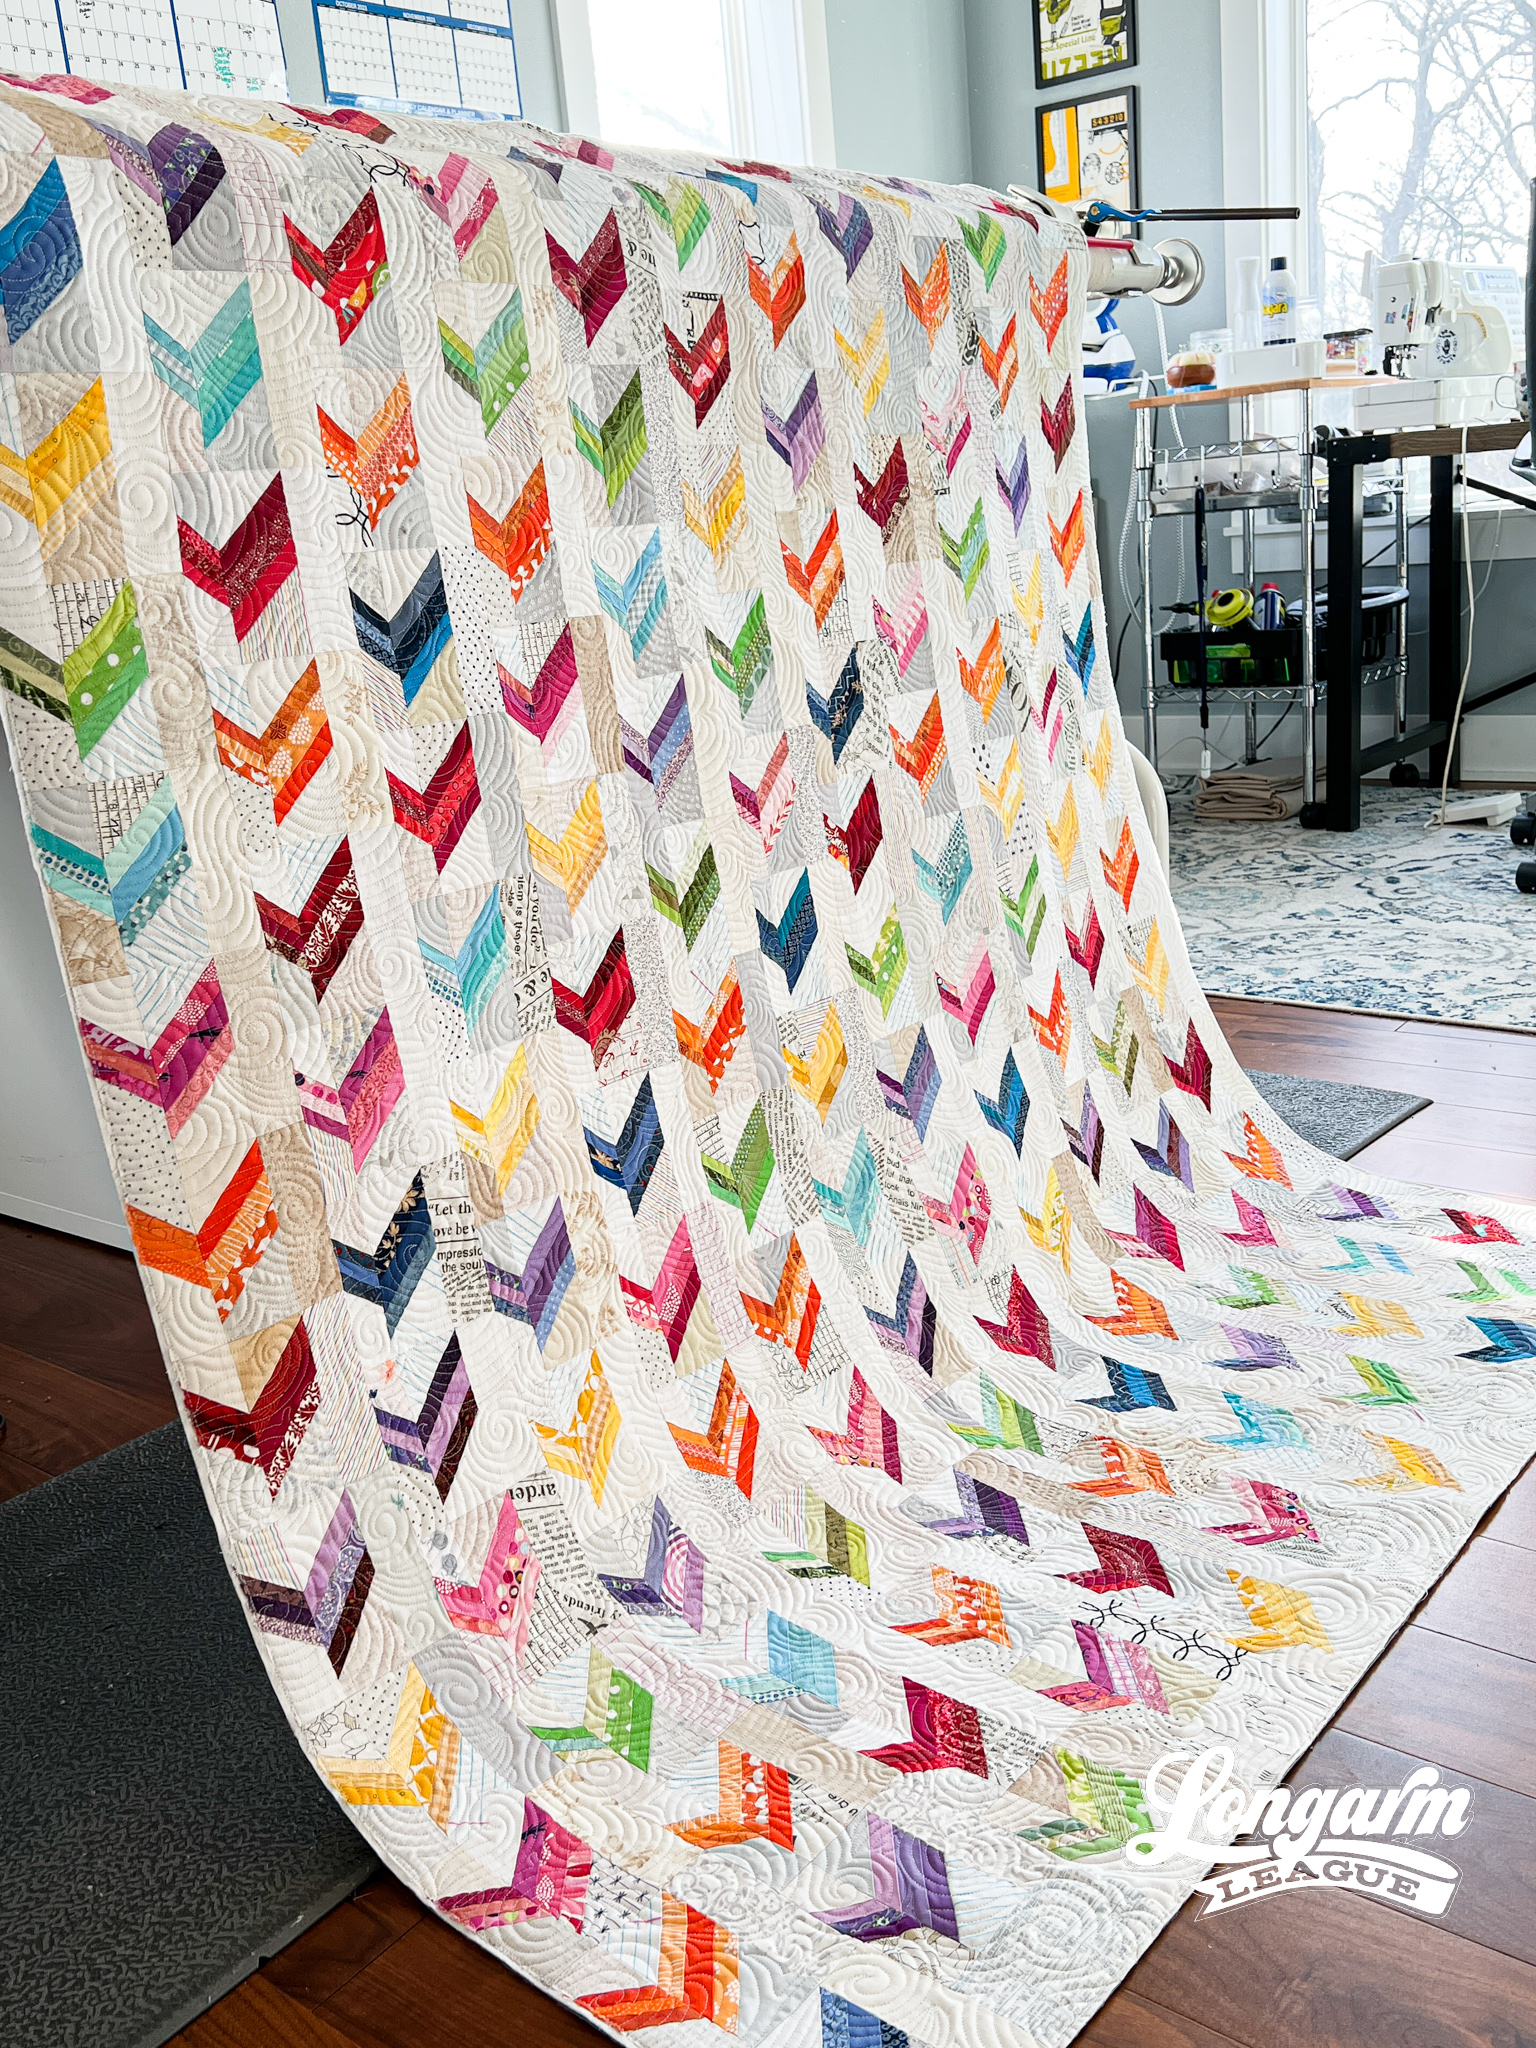
At the retreat, I decided to wrap-up the project once and for all. I abandoned my original plan (365 blocks) when I realized that I had enough blocks to make a nicely sized lap quilt.
And guess what?! I ended up with 11 columns of 13 blocks each, which is drumrolllllllll... 143 ...
Mako and Thresher Digital Quilting Designs
Mako

I promise I'm not six years old and obsessed with sharks... even though both of these designs happen to named after sharks. I don't see it becoming a trend.
I came up with this design about a year ago. I originally named it Shark Smile because
- the repeat looks like a shark's tooth
- there's a song called "Shark Smile" from a band I love called Big Thief. Click here to listen to the song.
For fear that this blog post could start to remind you of those recipes you find online with an ENTIRE personal story attached {when you just want the recipe}, I do have a brief anecdote.
We saw Big Thief perform "Shark Smile" in Des Moines several years ago. The venue was so small and intimate. At one point of the song, the lyrics are "...as we went howling through the edge of south Des Moines". After the song ended, the lead singer talked about being nervous to sing that line in front of us—I don't know if she realized it beforehand. It was the perfect thing to say. We all c...
Sprawl Digital Quilting Design
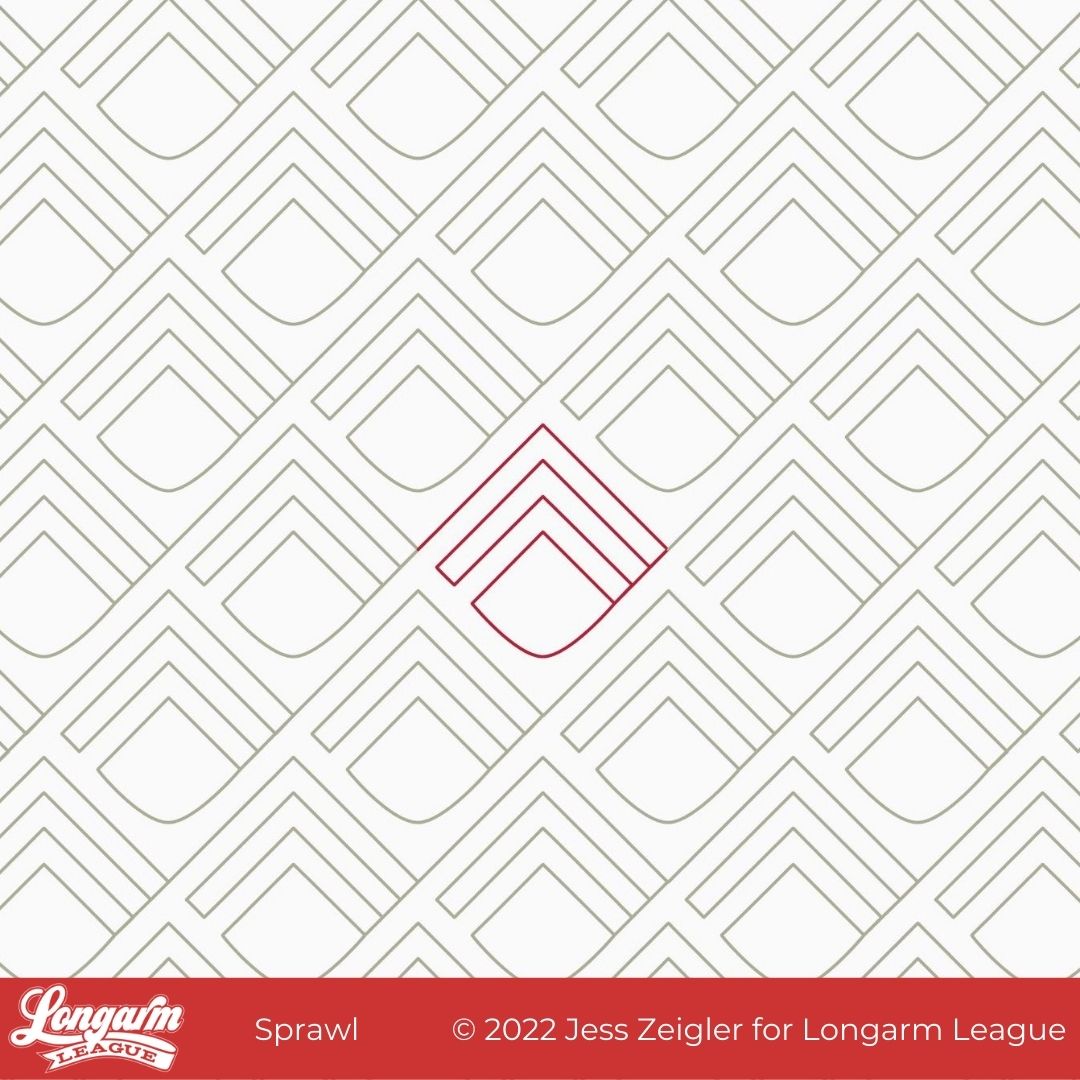
Quilty friends, this design is called Sprawl.
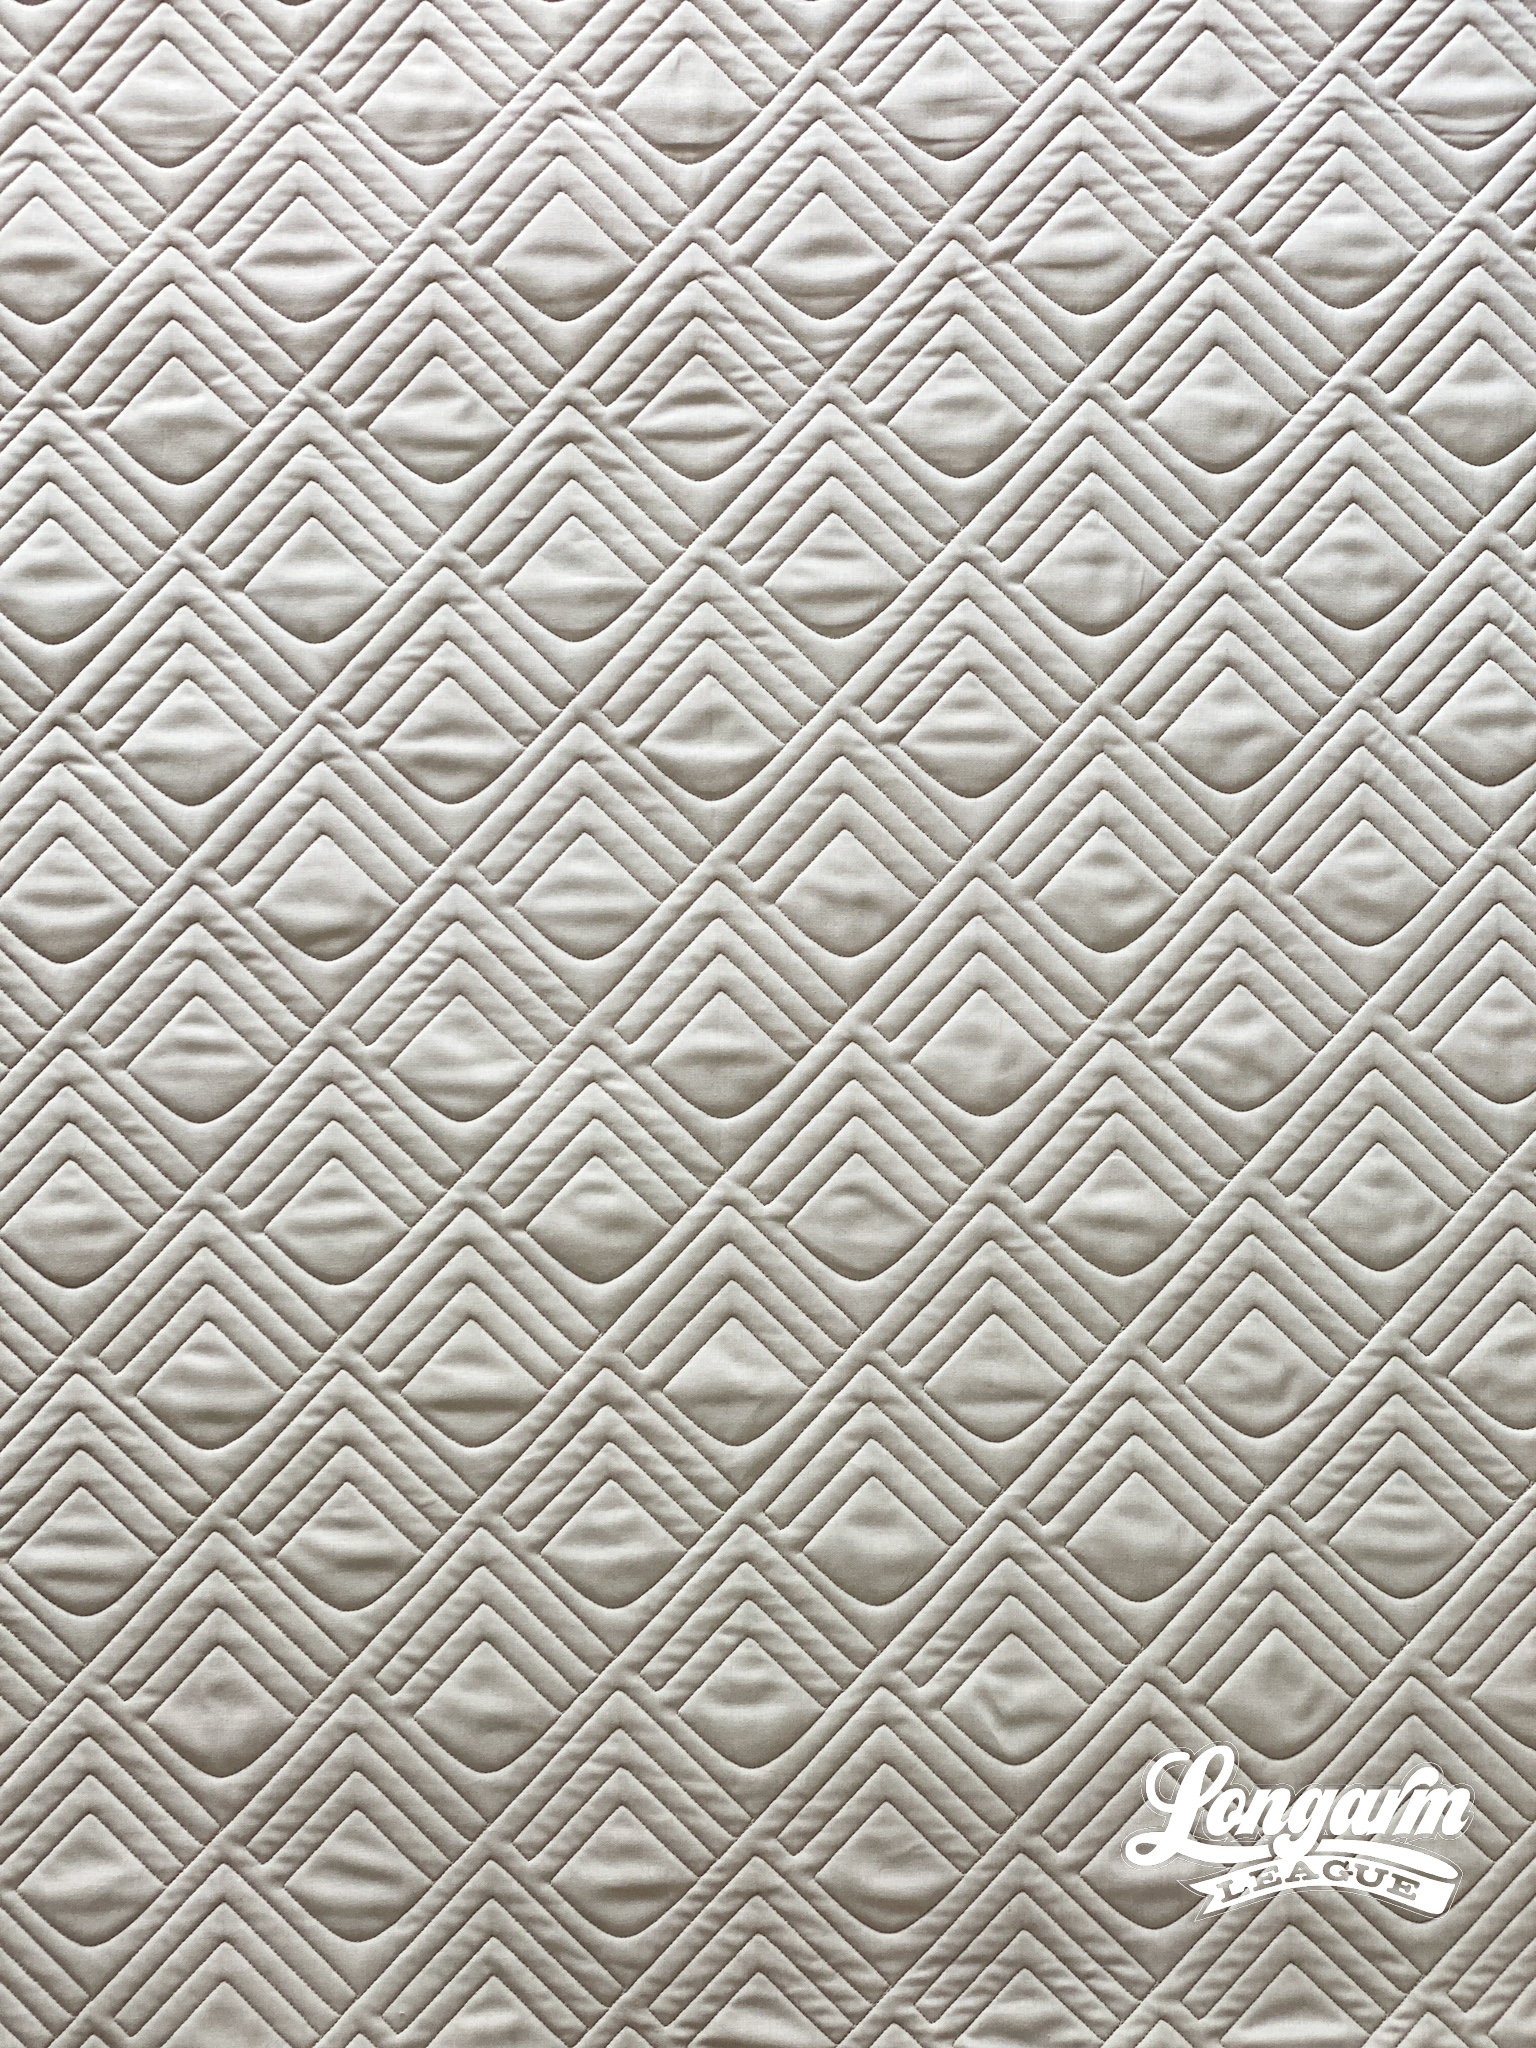
I love, love, love using echoed lines and shapes to make a textural impact. You can see that I used that technique with this design while also incorporating a small curve.
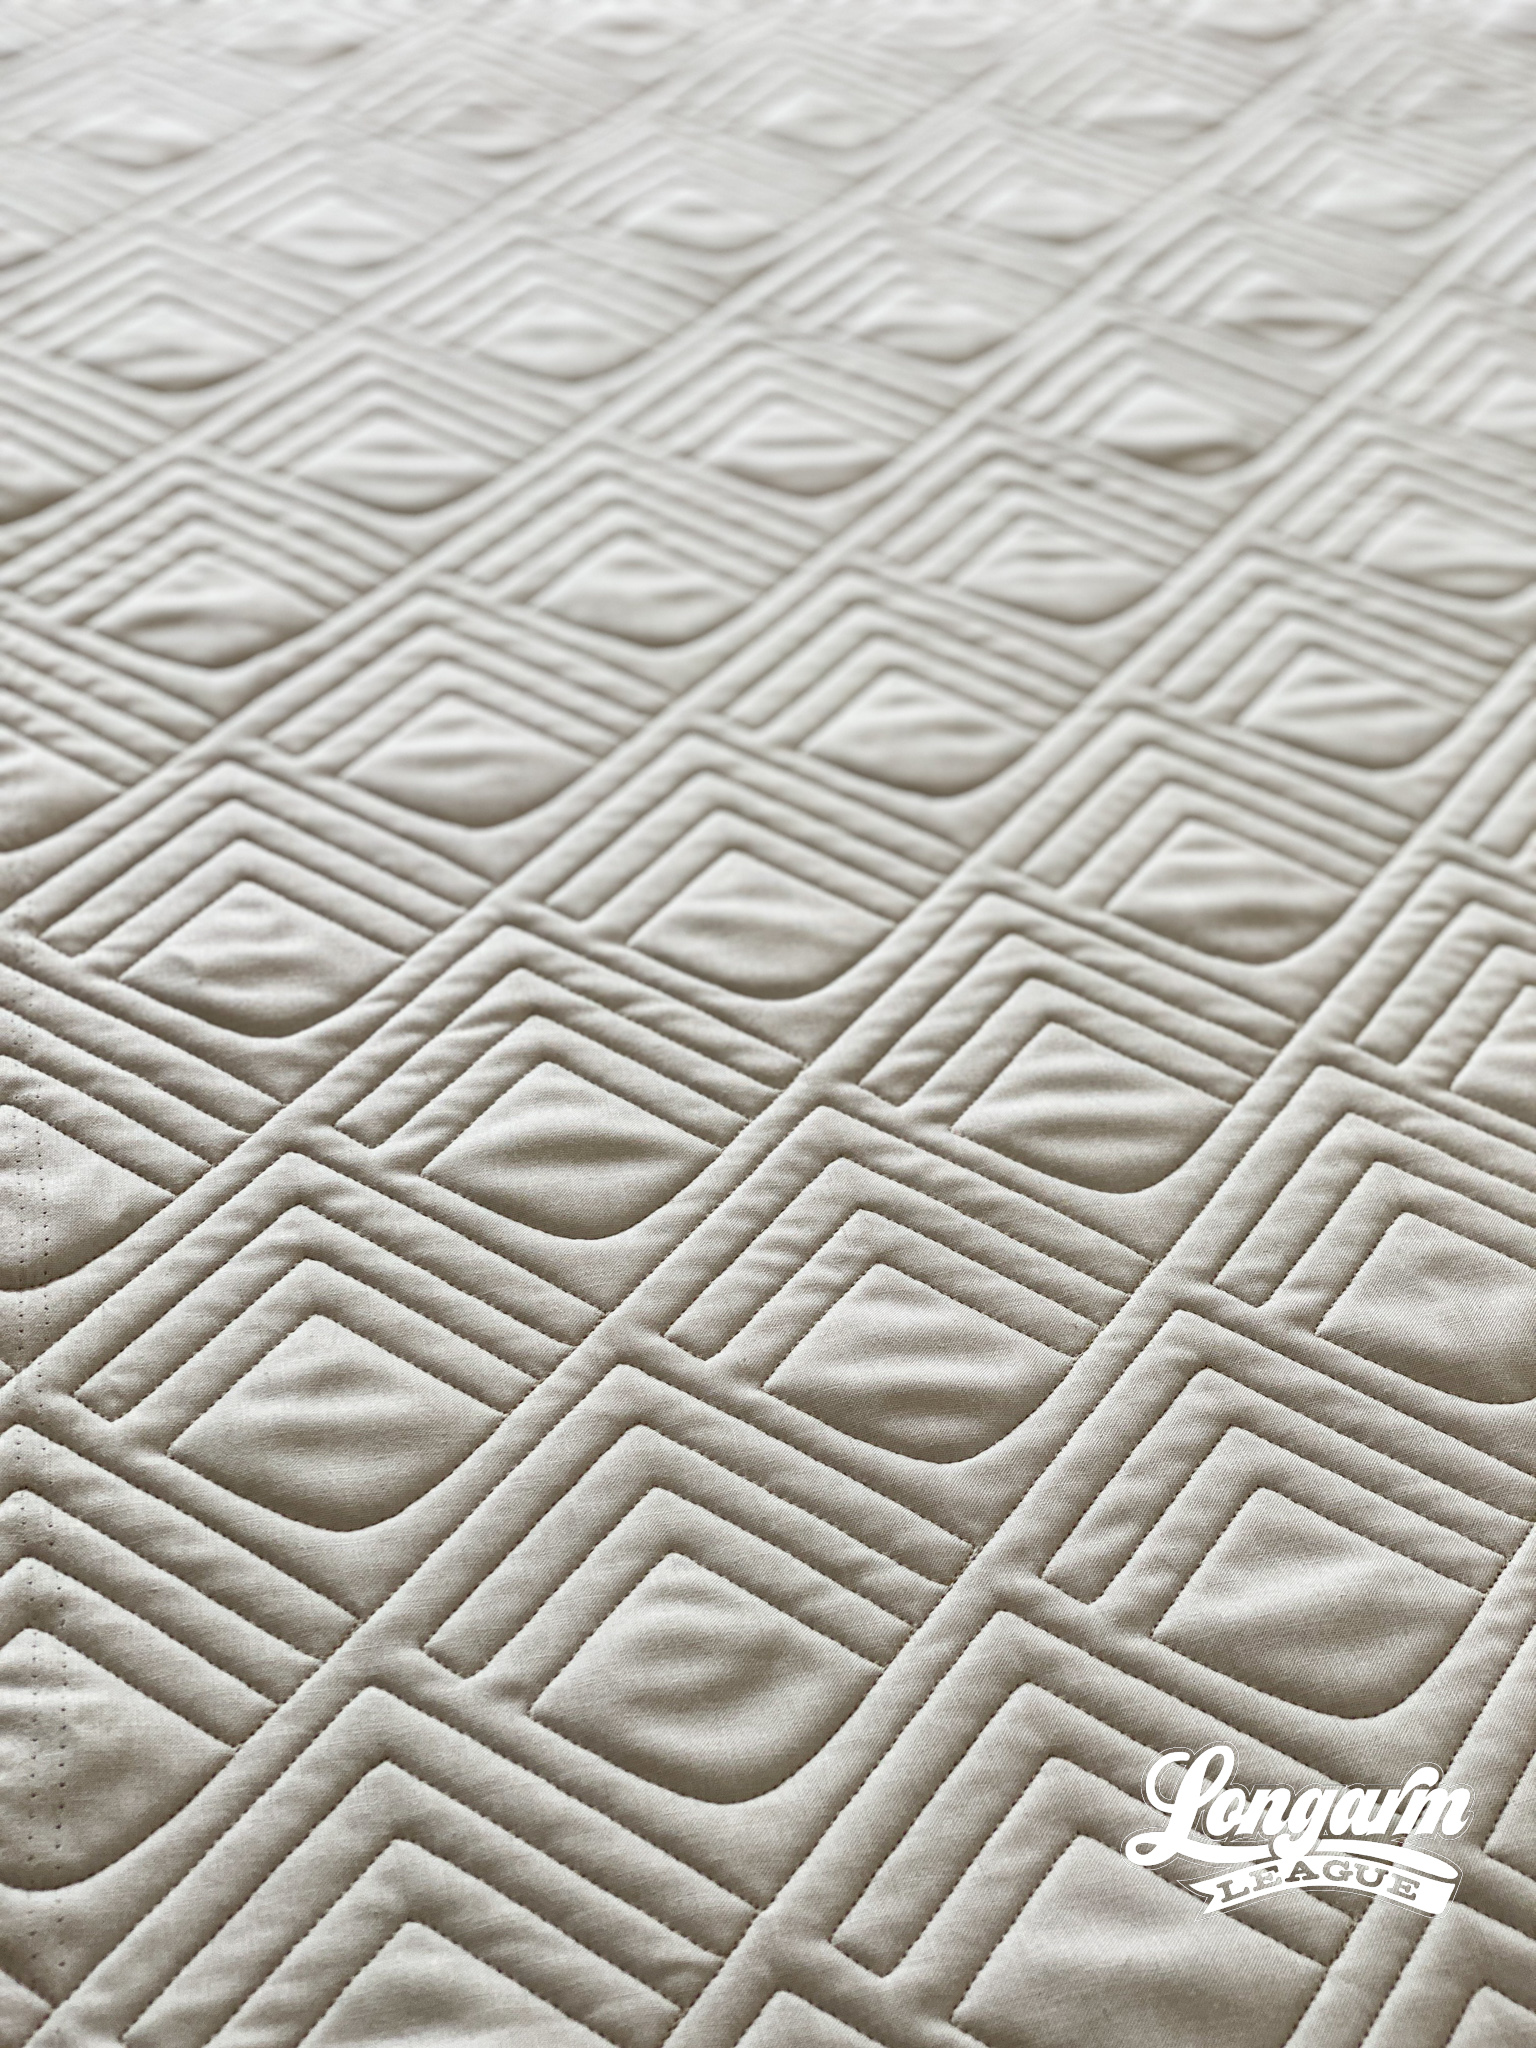
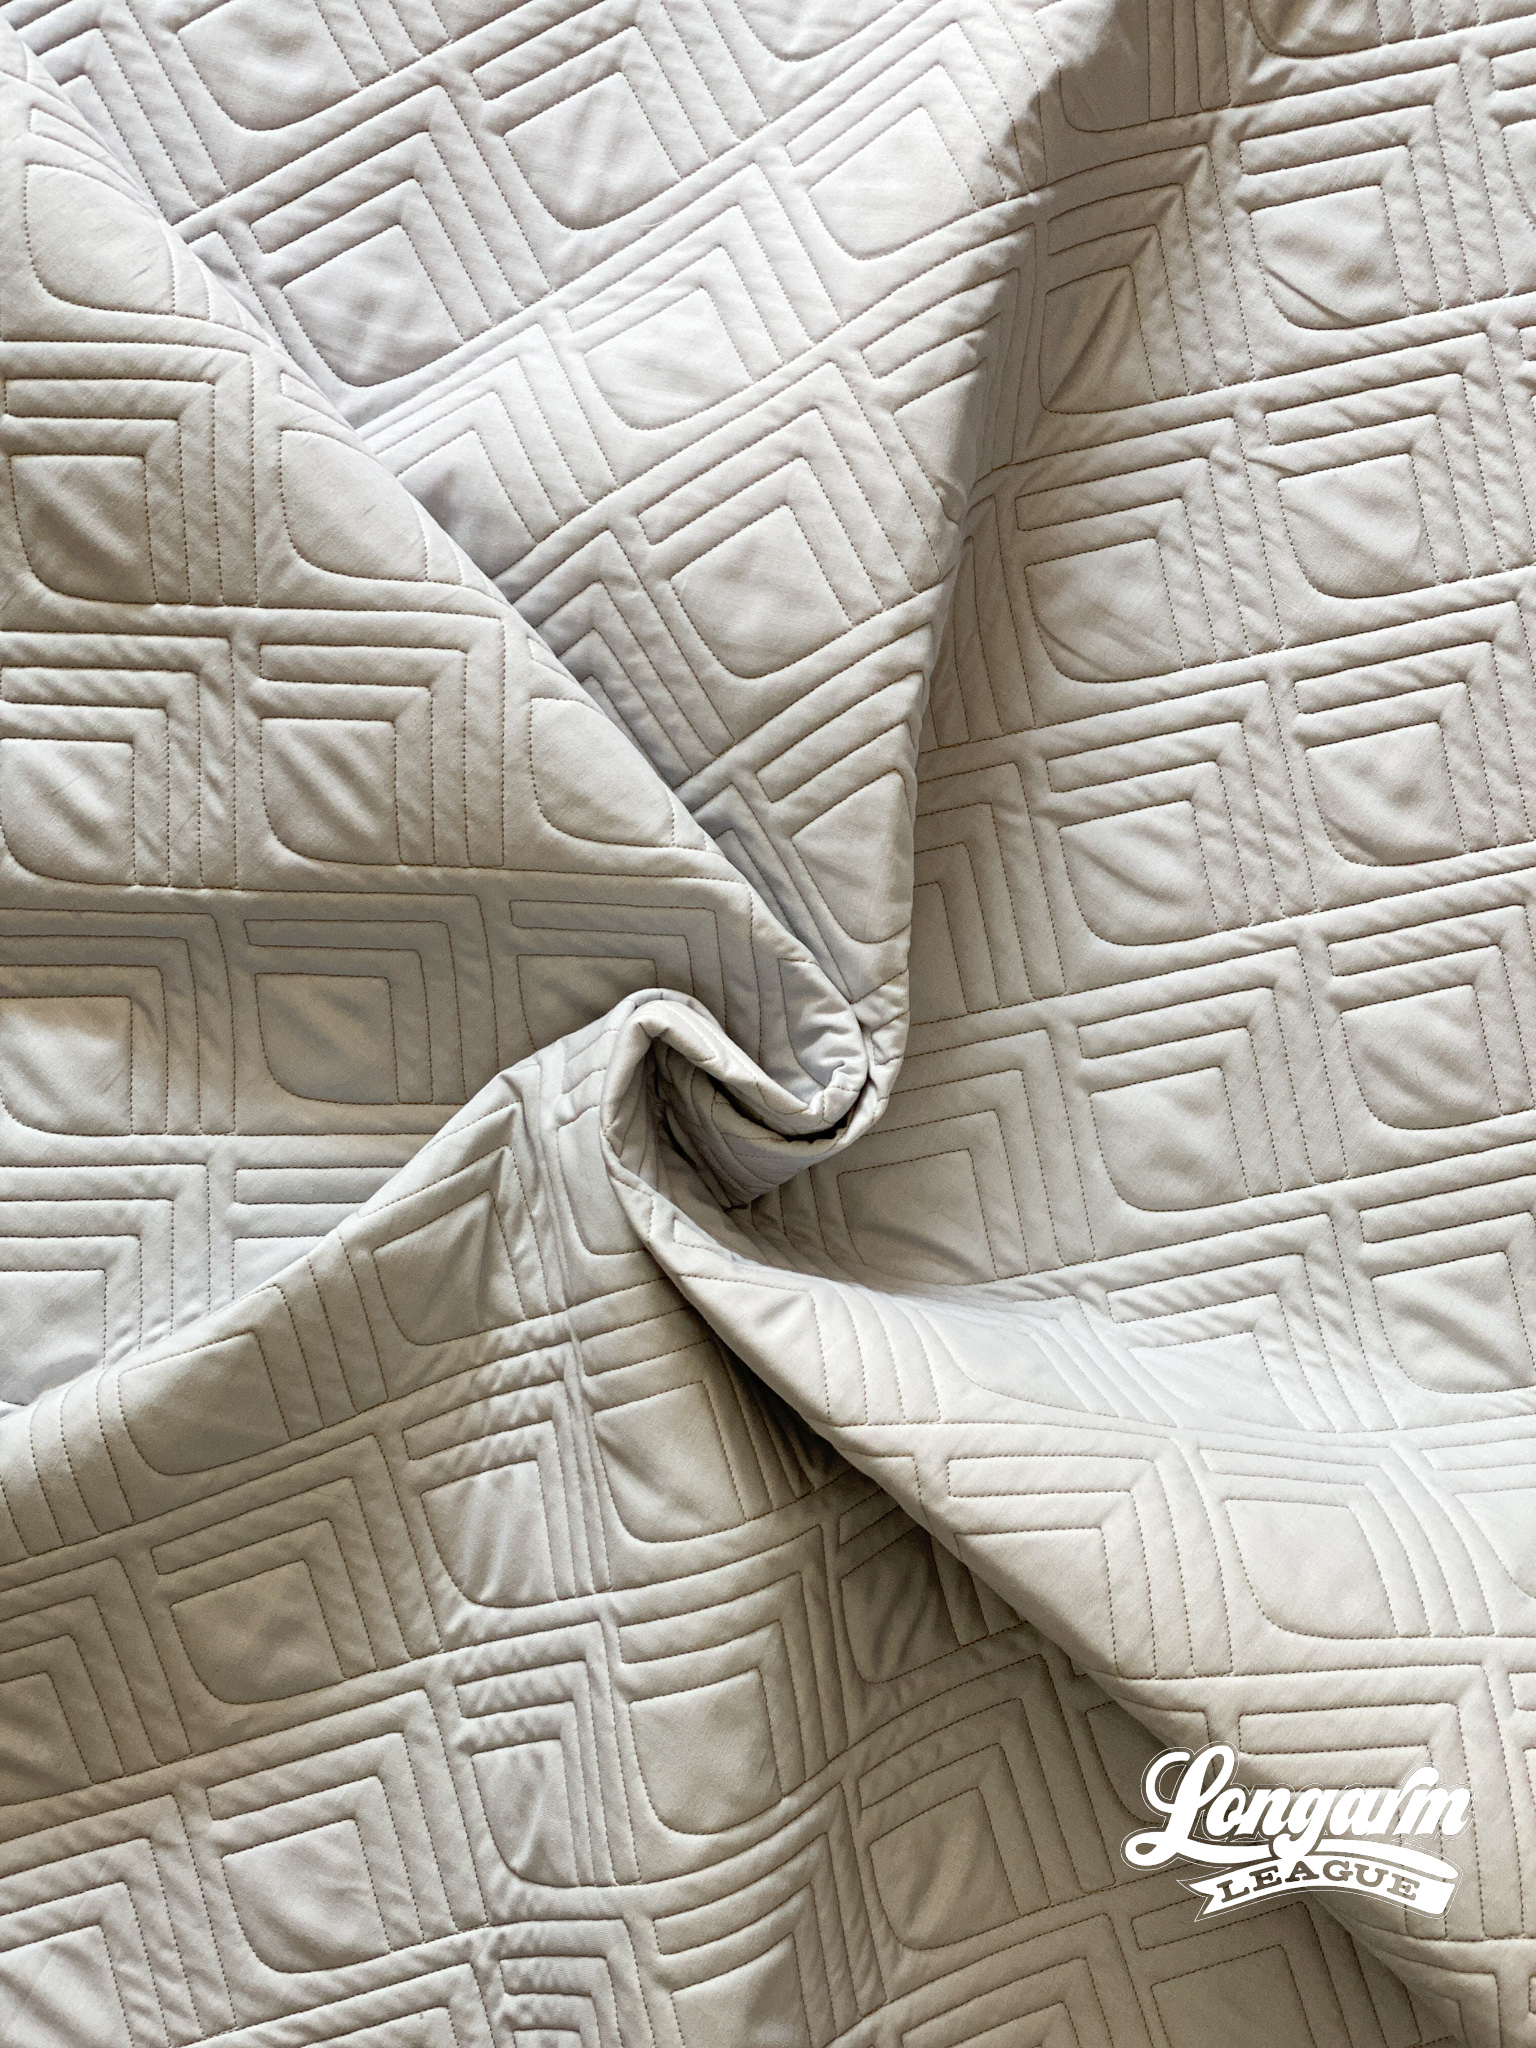
Here are my specifics using a baby-sized sample in the photos (45" x 50" quilt size):
Row height: 3"
Gap: -1.478"*
Pattern height: 4.478"
Offset: 50%
Backtracking: minimal
*Gap refers to the space I'm allowing between rows. I use an Intelliquilter for my computerized quilting, and because that measurement is quantifiable, I provide it here.
The row height PLUS the noted gap amount totals the "pattern height". If you don't use an Intelliquilter, you'll likely want to start sizing with the pattern height number and adjust the spacing between rows to your liking. You may not have a measurement available that tells you the measurement between rows, and that's okay.
We've begun adding a PDF to our zipped file so that you can print out design images and add your ...
Fleur Drive Digital Pantograph Quilting Design
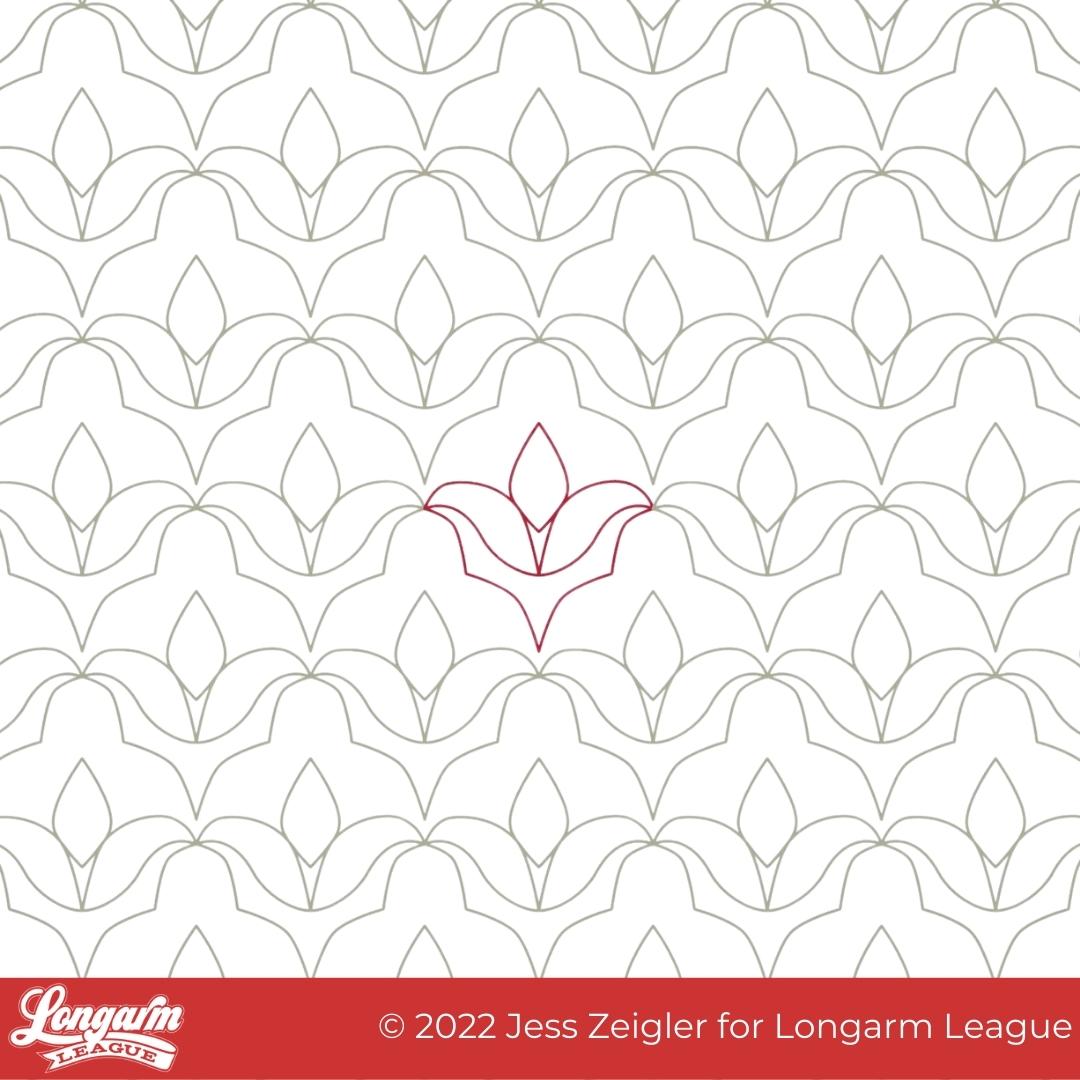
Meet Fleur Drive. It's got a sweet sophistication that'll add a touch of class to your next quilt top.
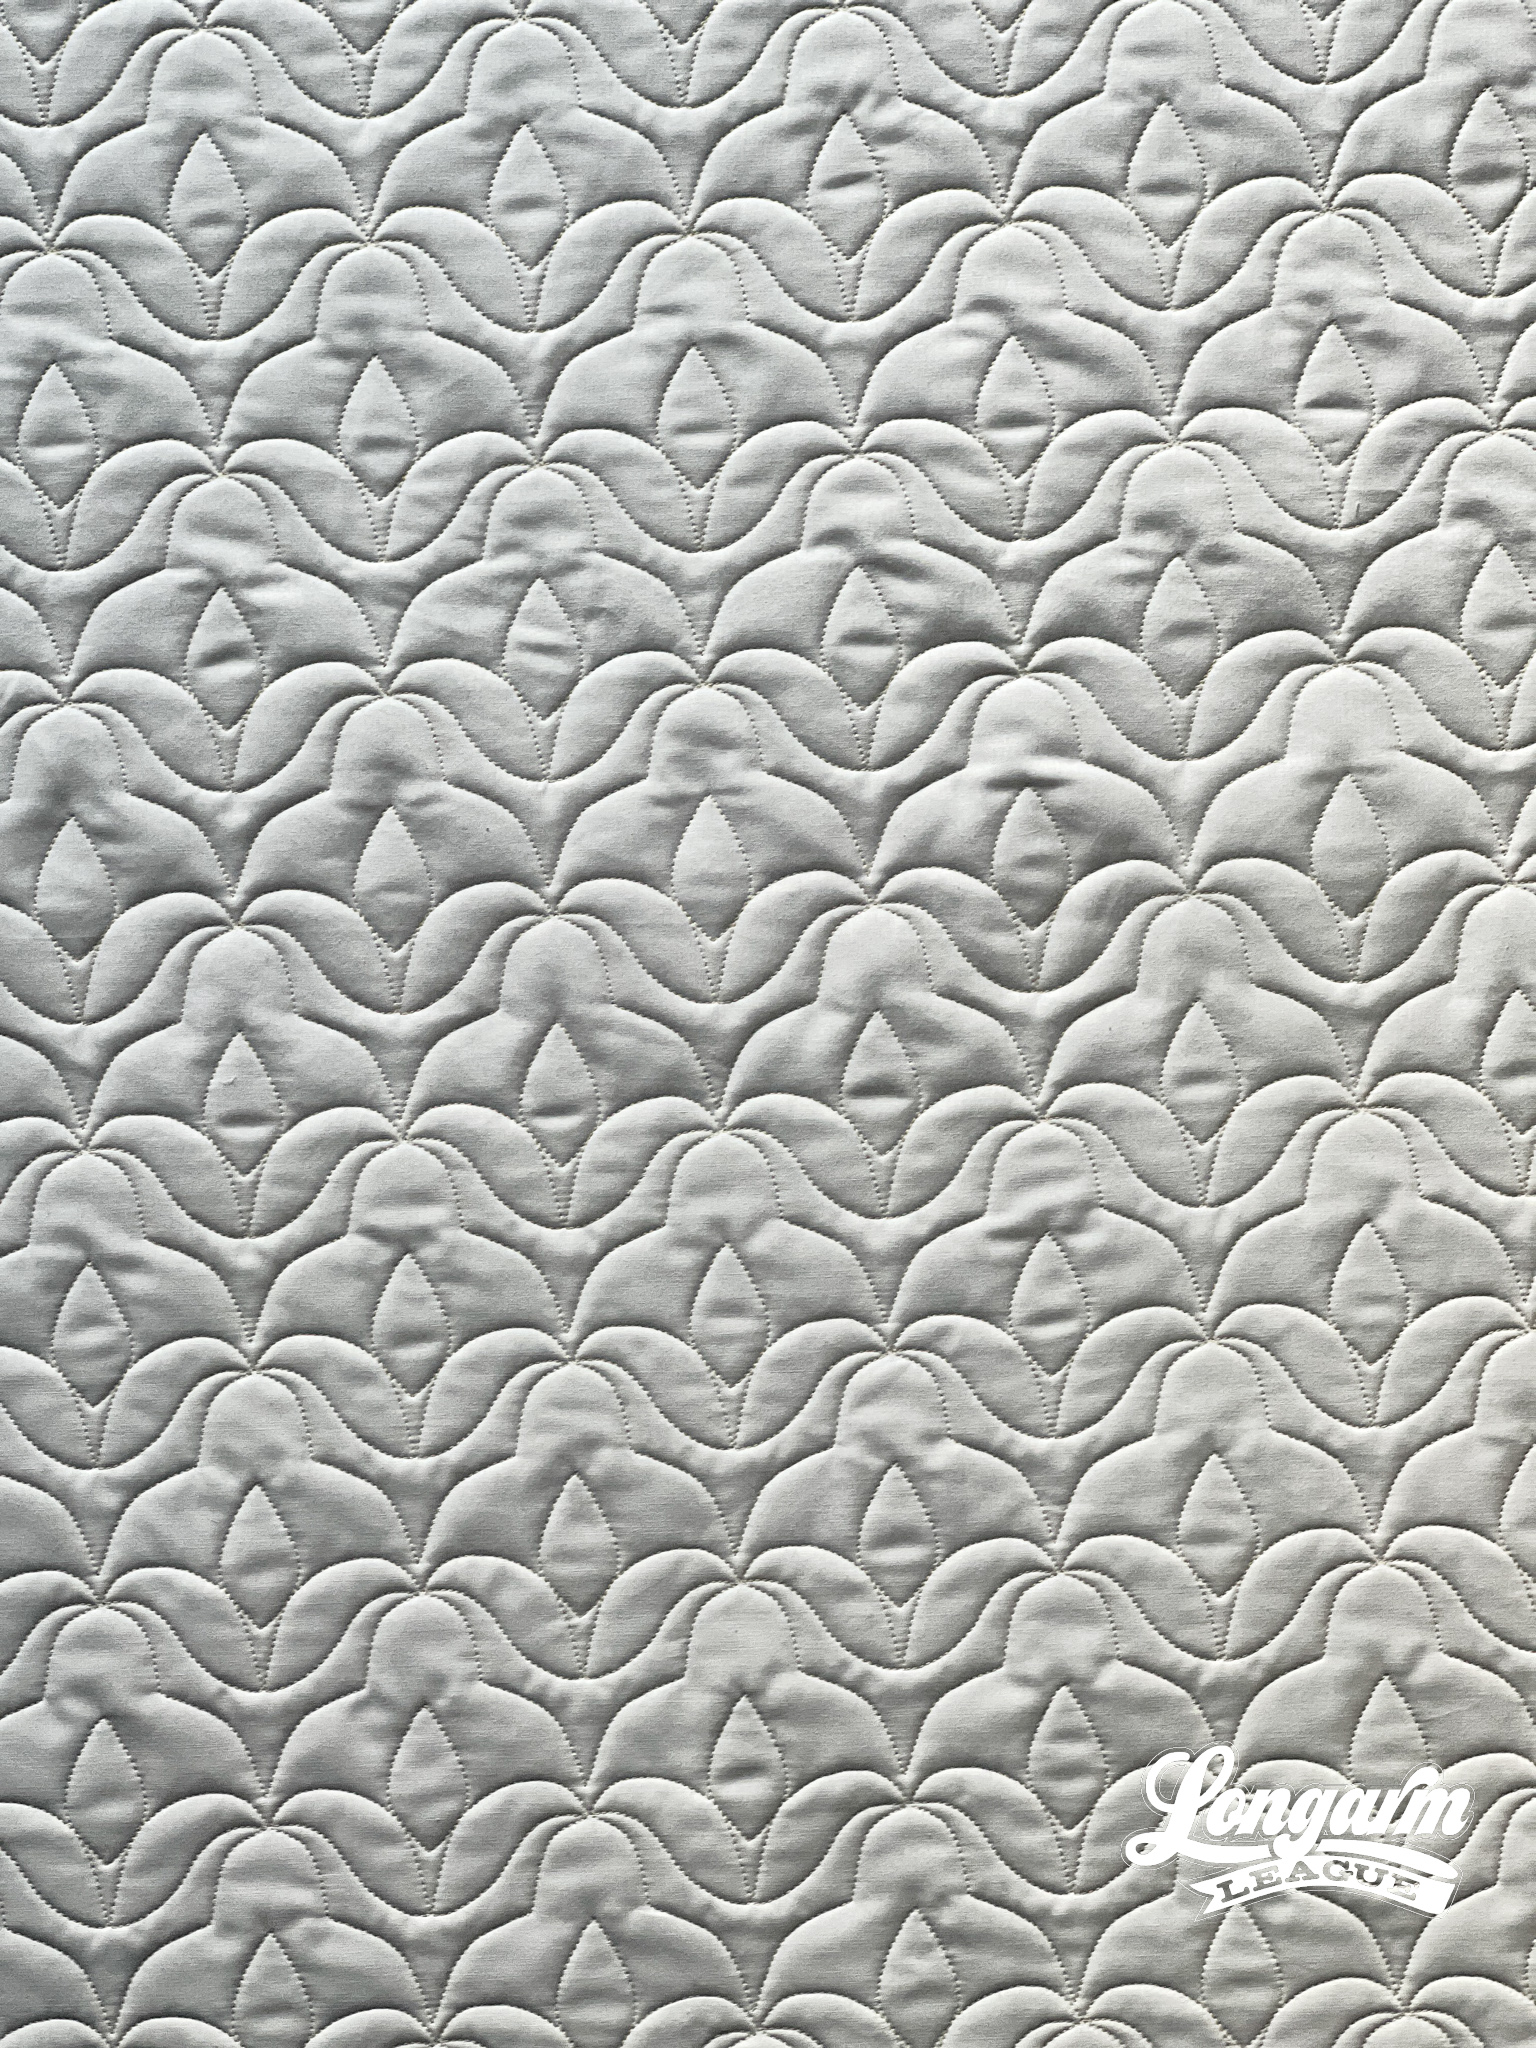
The scalloped bottom edge of the motif has a beautiful way of integrating into the row below. One man's ceiling is another man's floor, as Paul Simon would say.
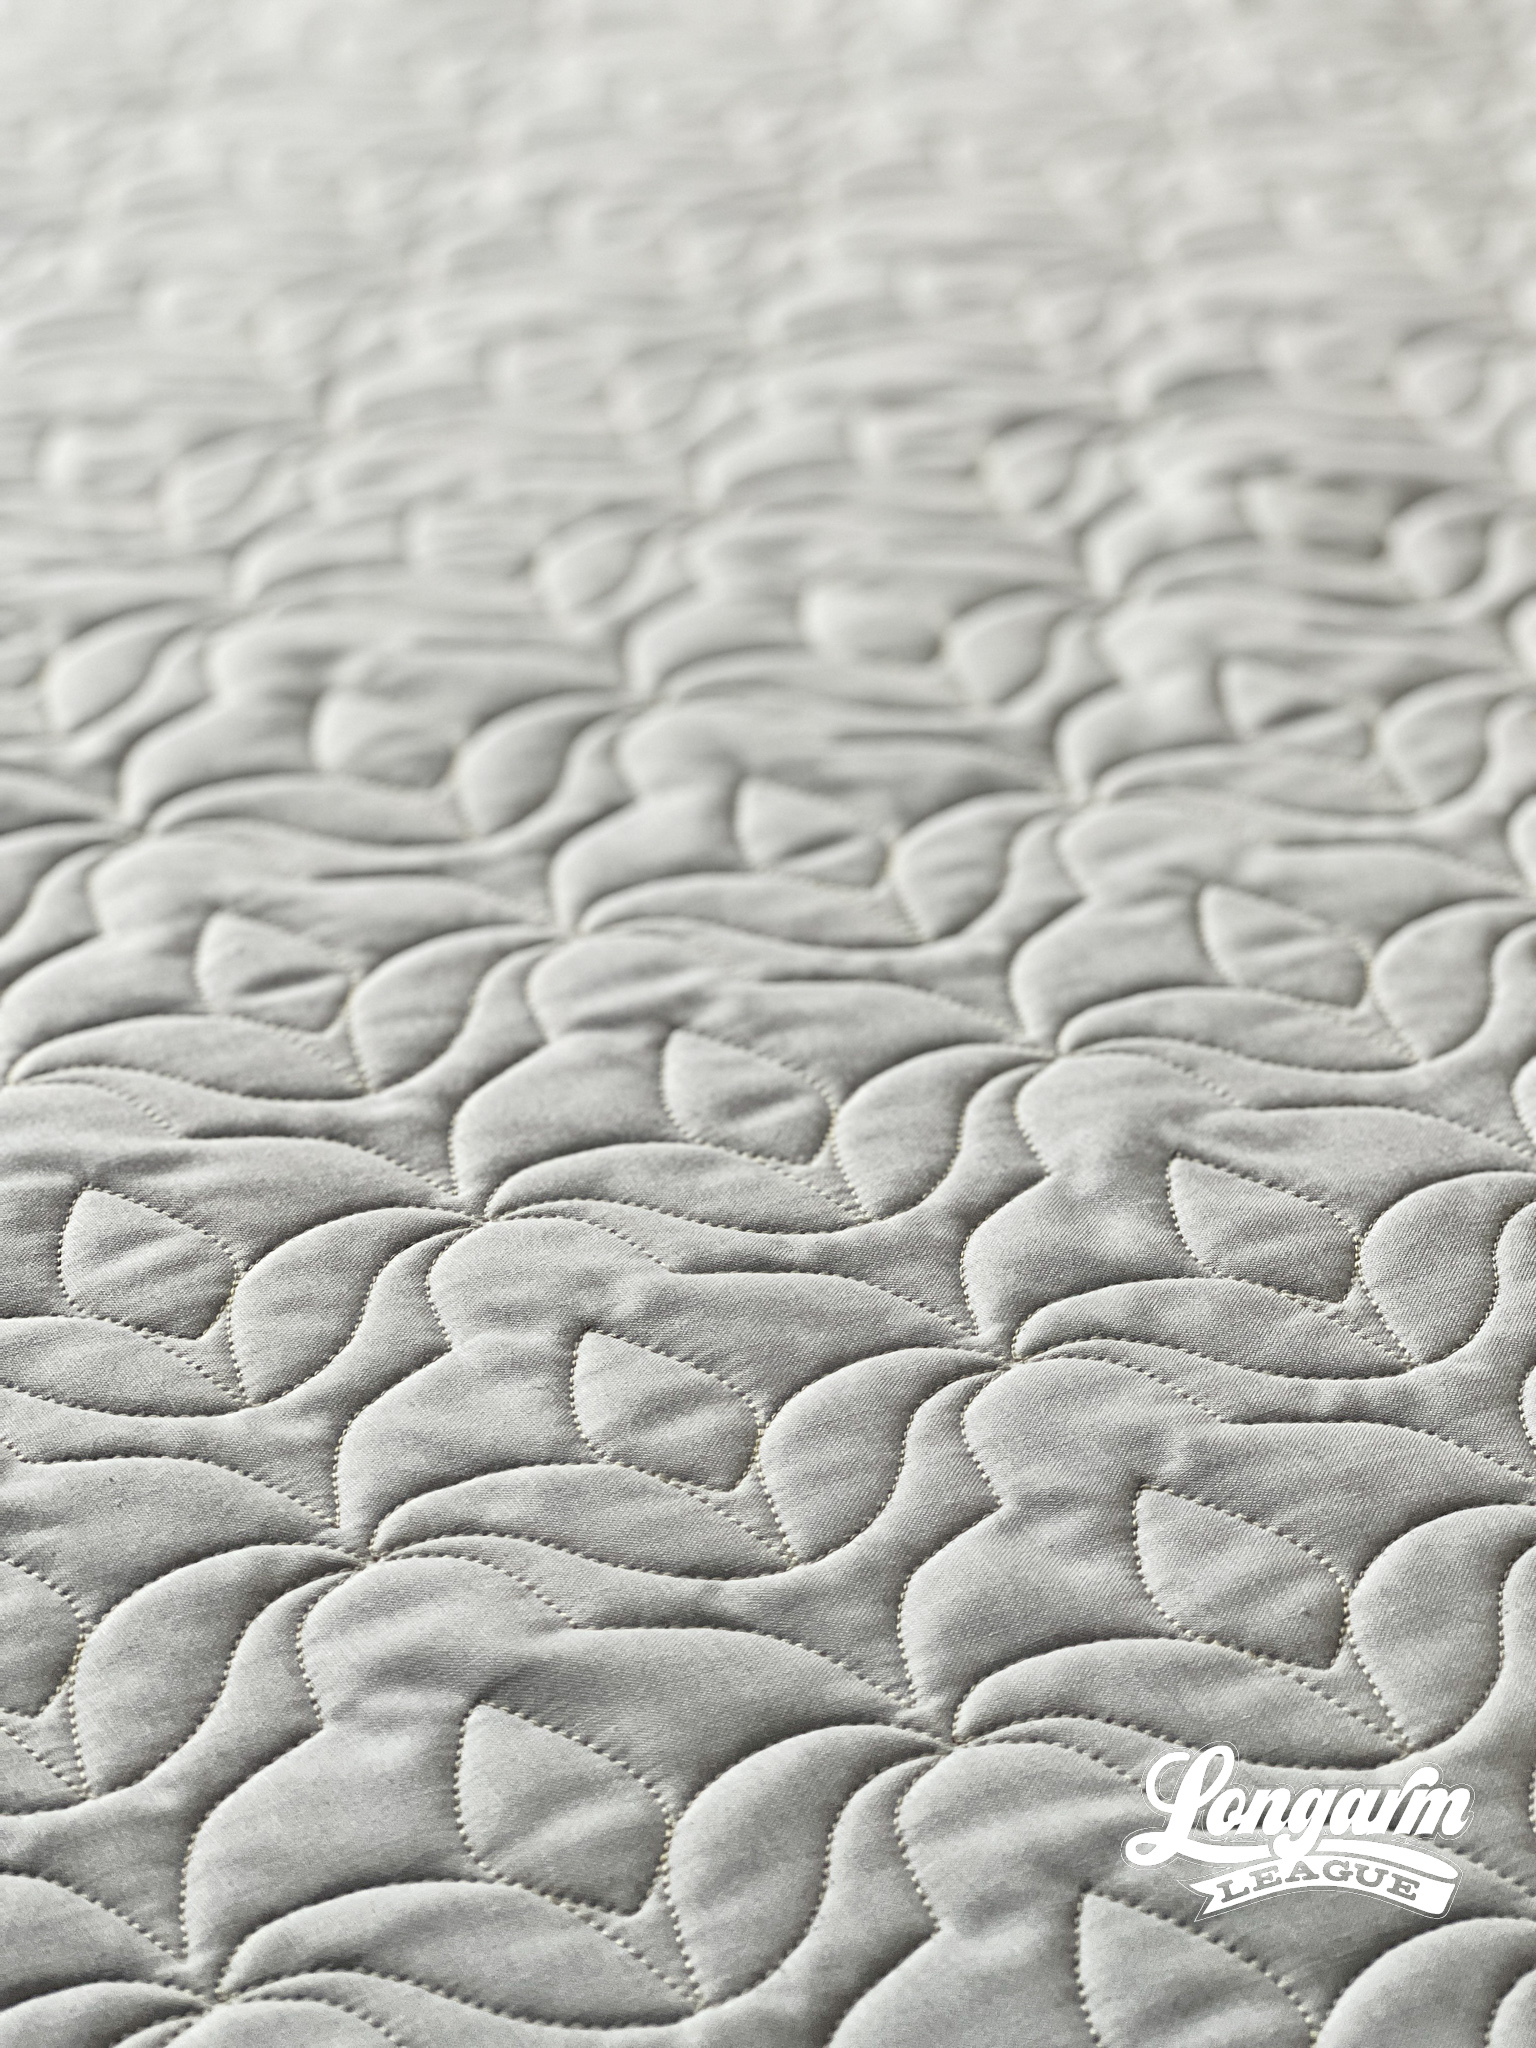
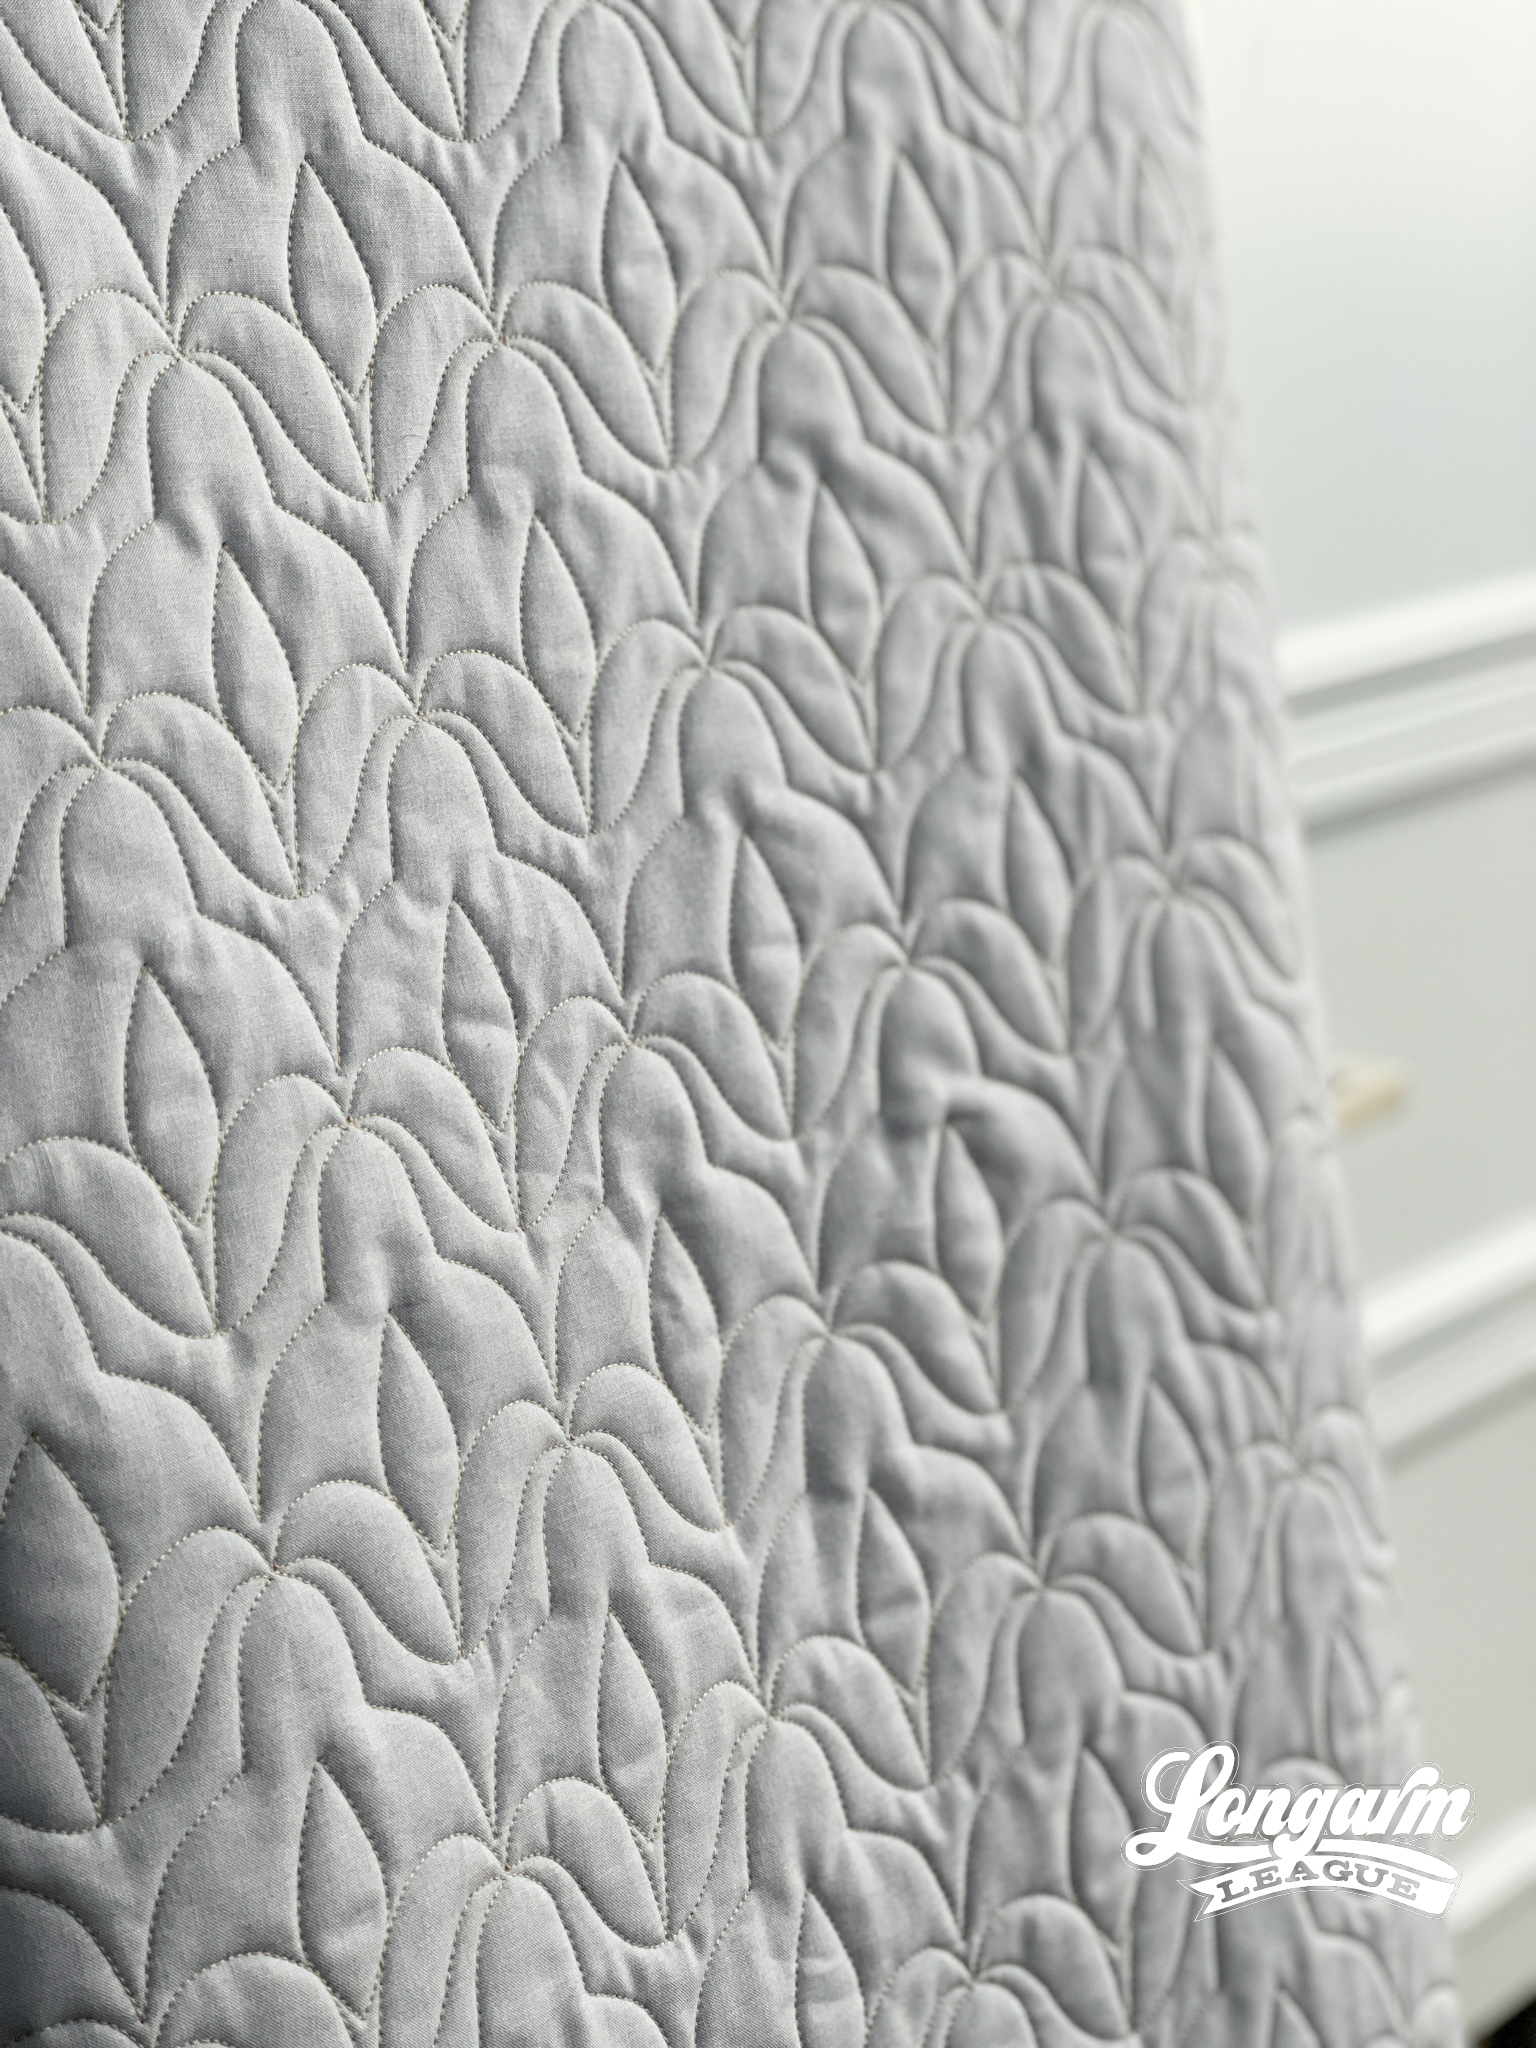
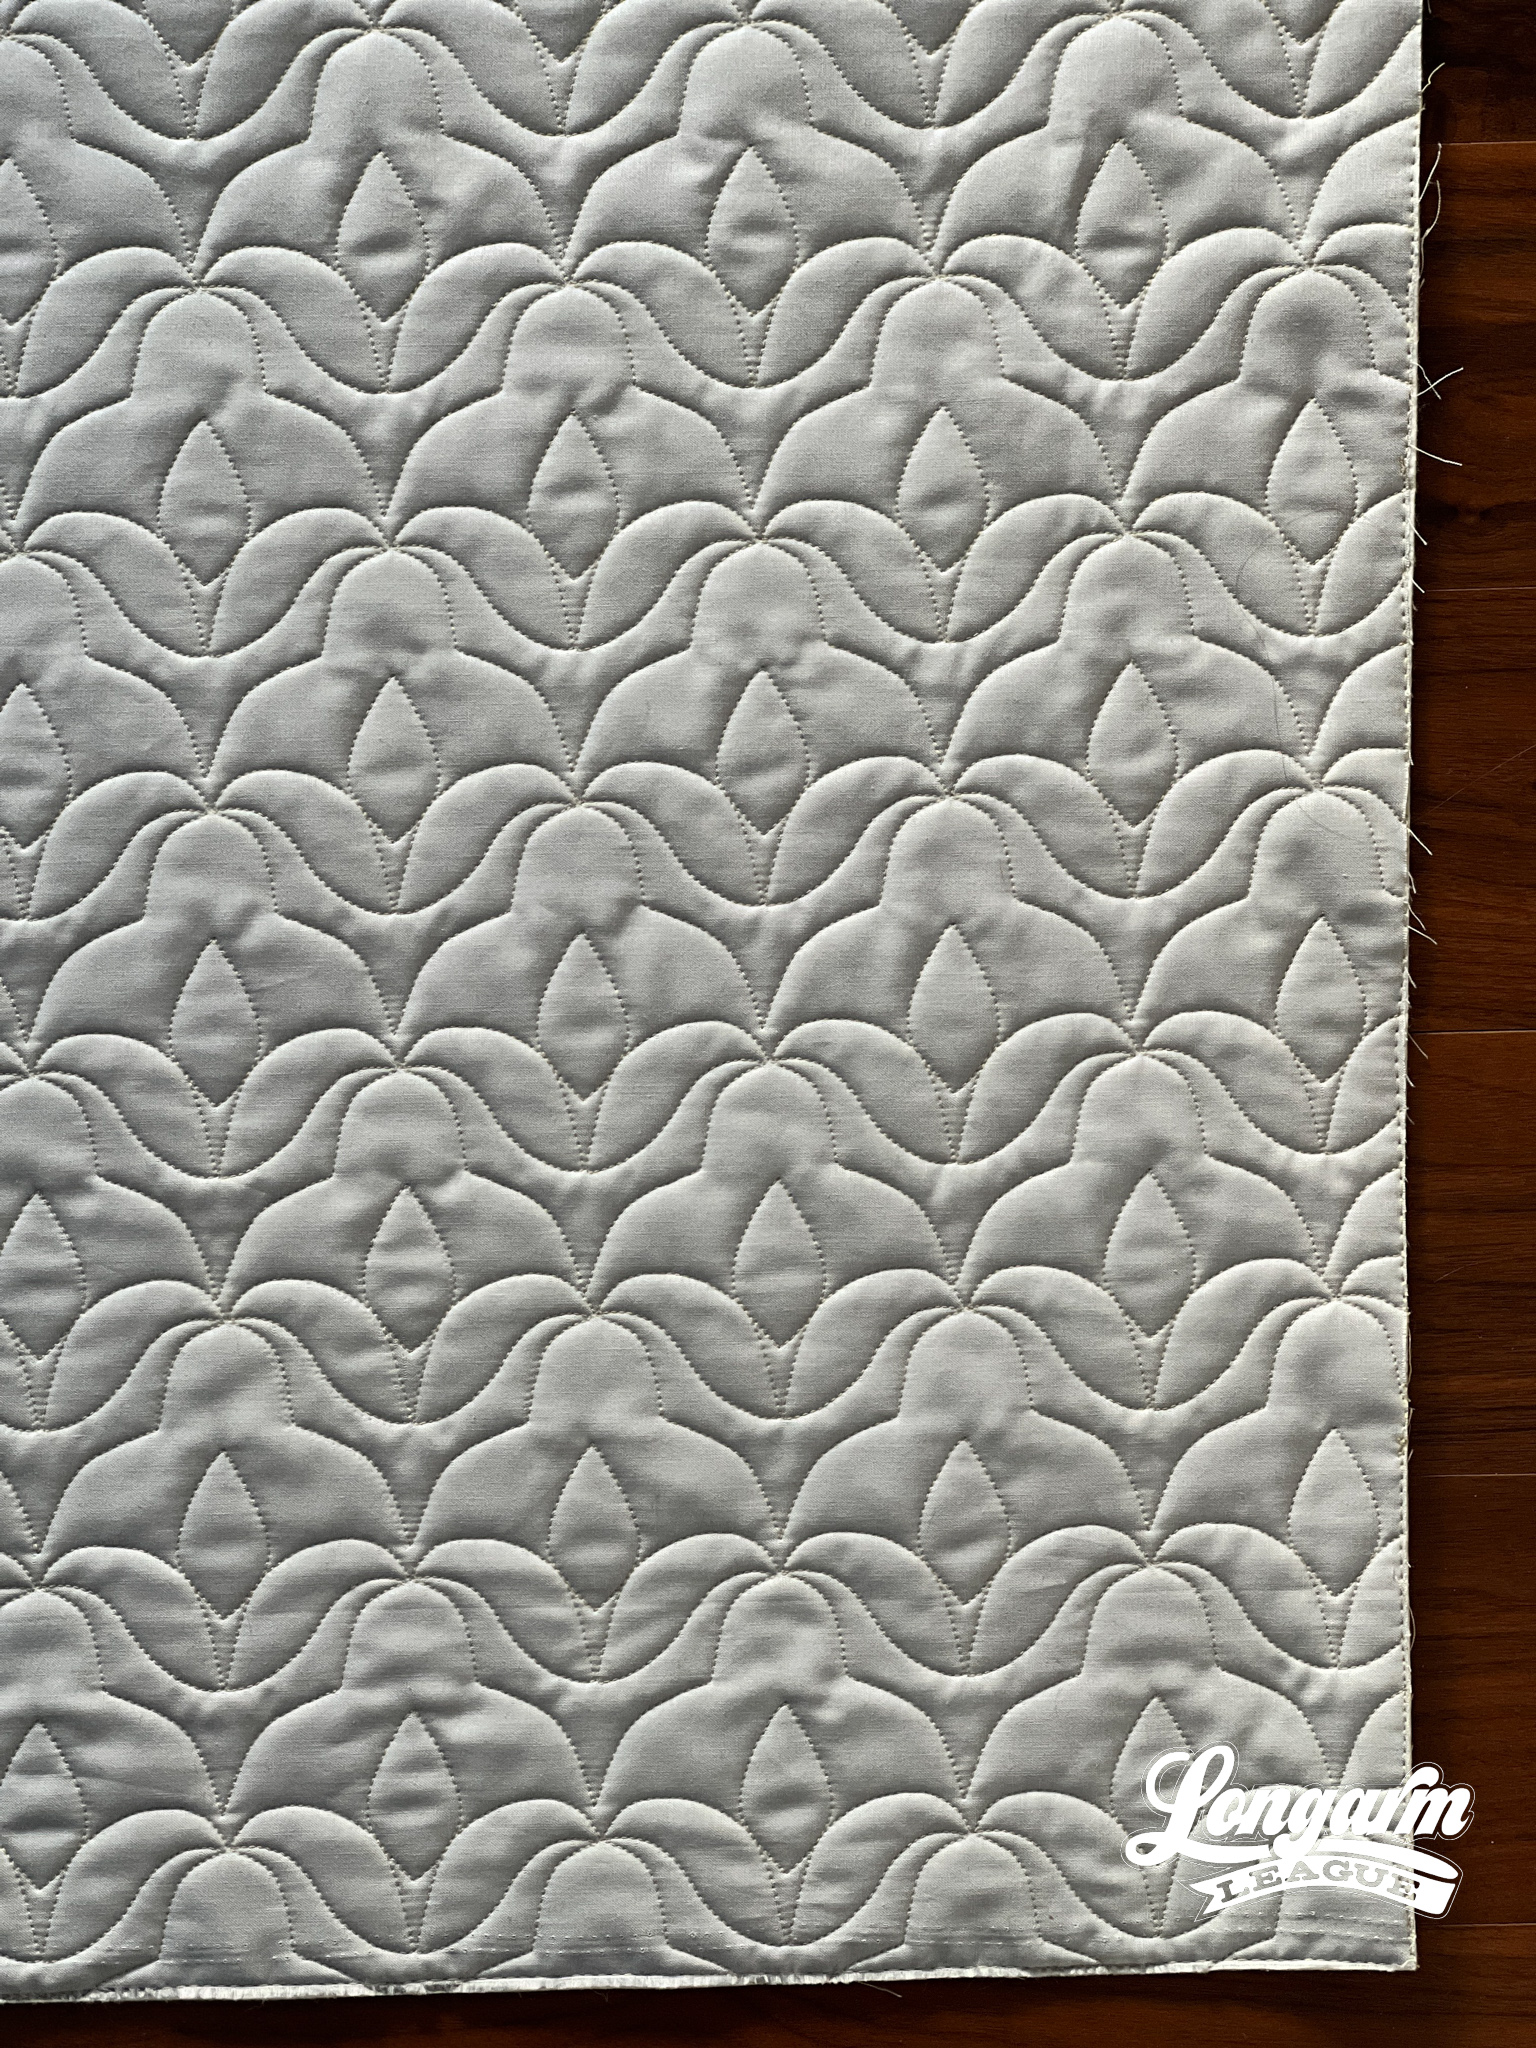
The stitching is simple and straight-forward. It does require every other row to be offset or staggered.
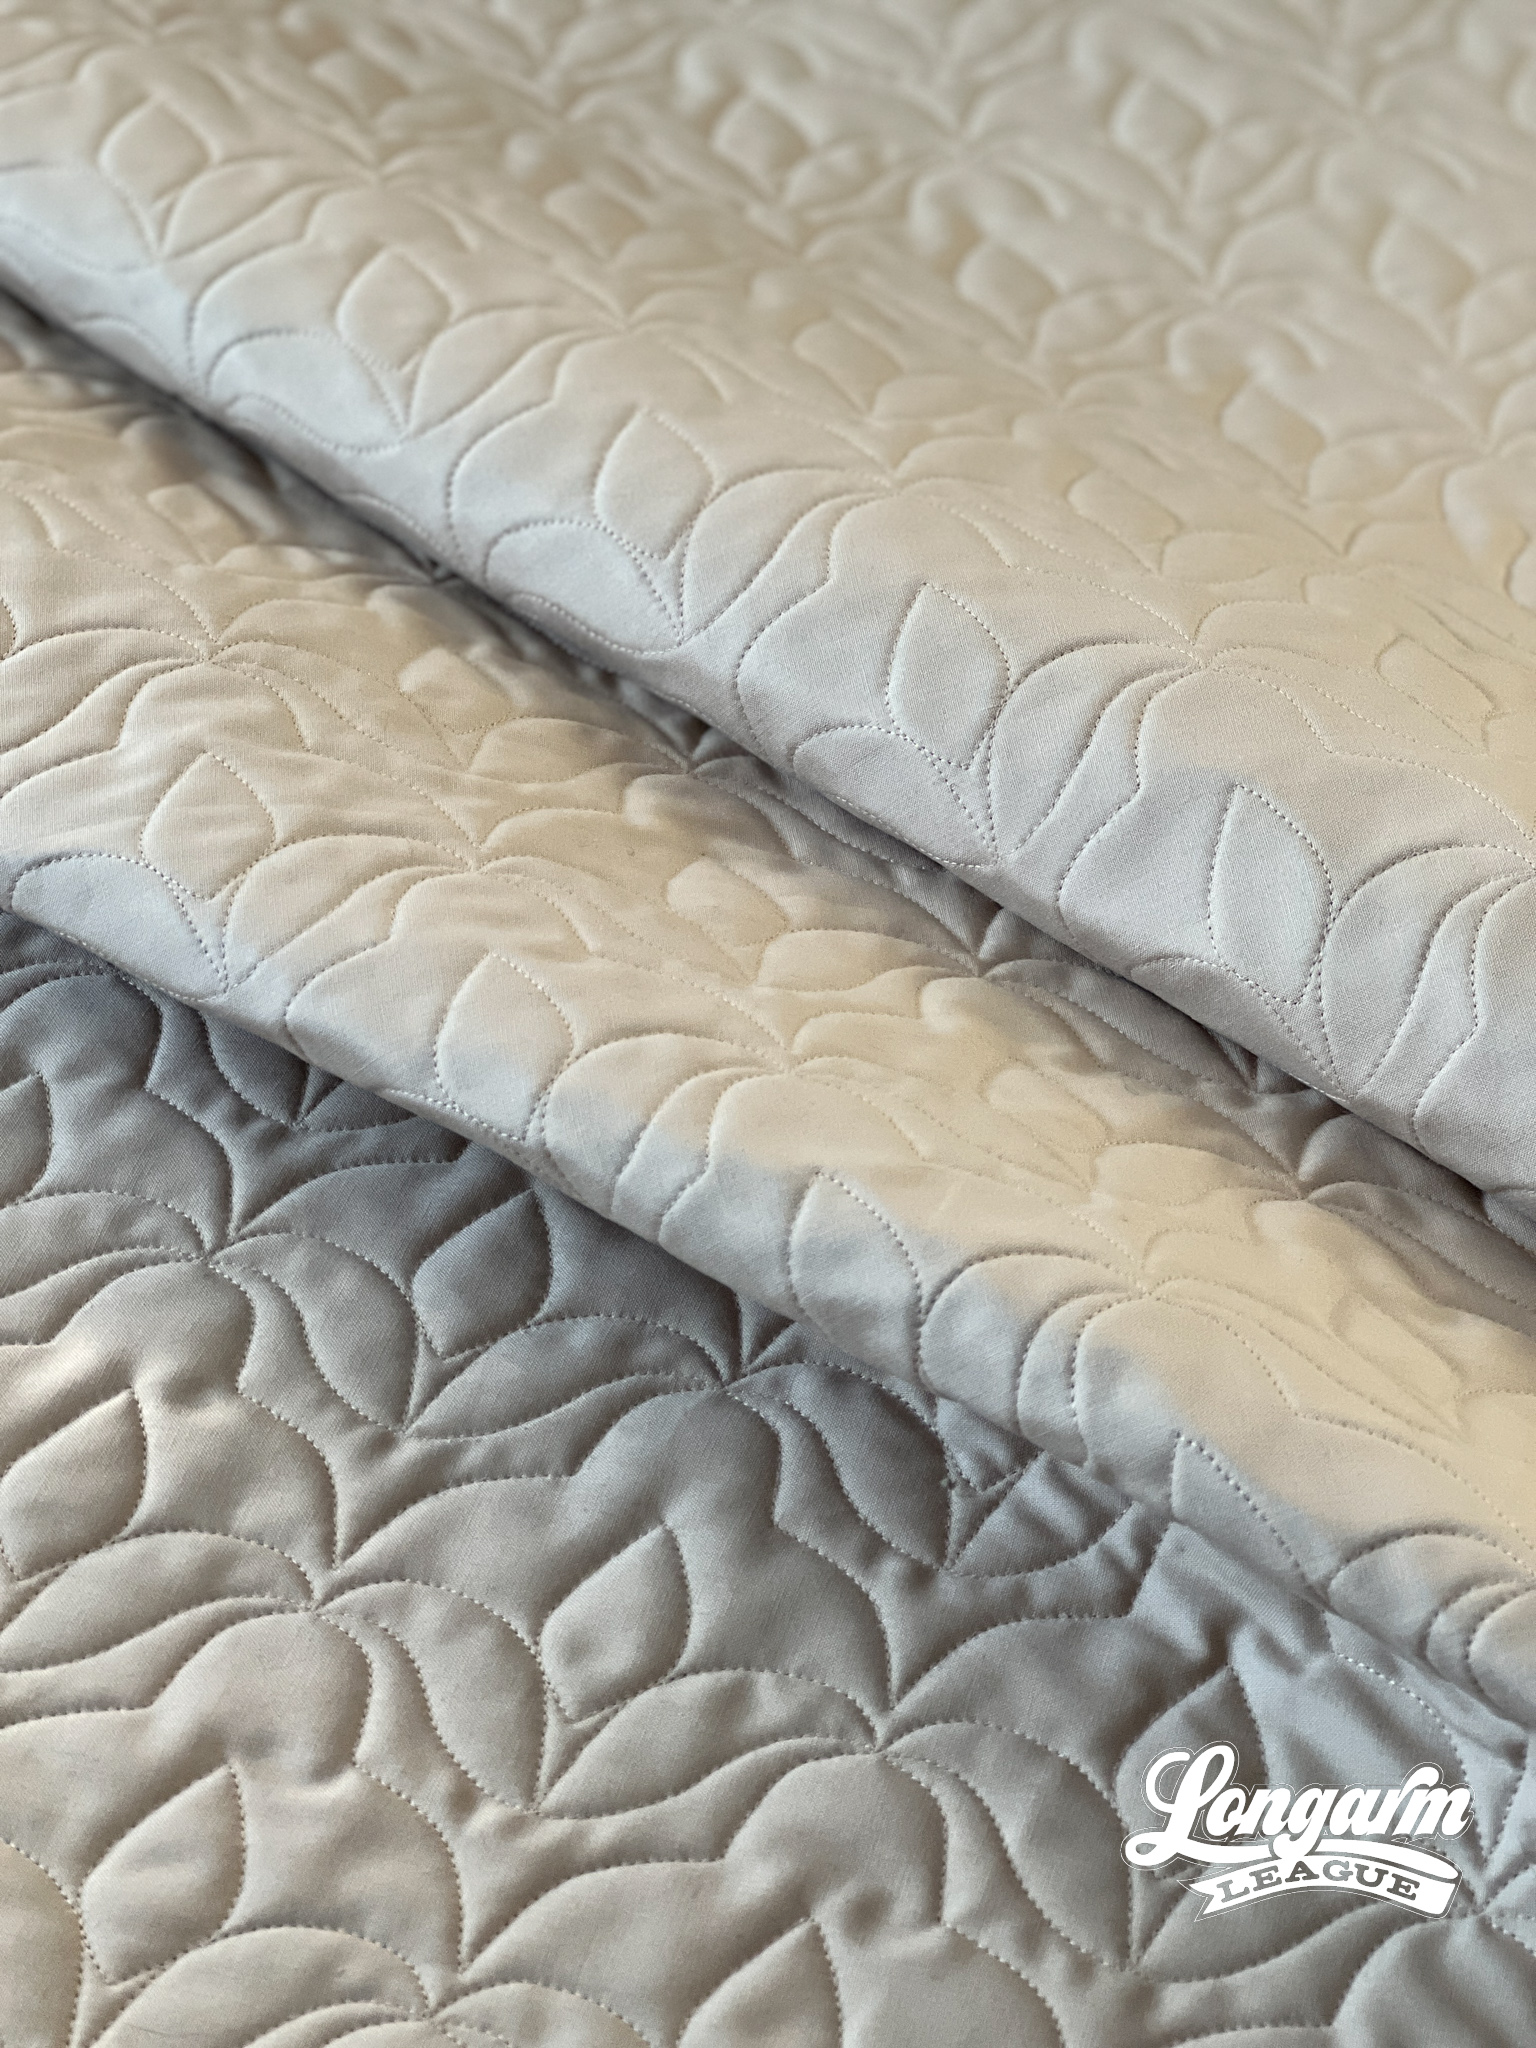
Here are my specifics using a baby-sized sample in the photos (45" x 50" quilt size):
Row height: 3"
Gap: -1.225"
Pattern height: 4.225" (distance from the top to bottom of the repeat)
Offset: 50%
I use an Intellquilter as my computer system, so your terms might differ. I can tell you I started with a pattern height at nearly 5" and it was too large of a scale for my taste... so I ripped out the first row and started again. Part of that might have been due to the scale in relation to this smallish quilt.
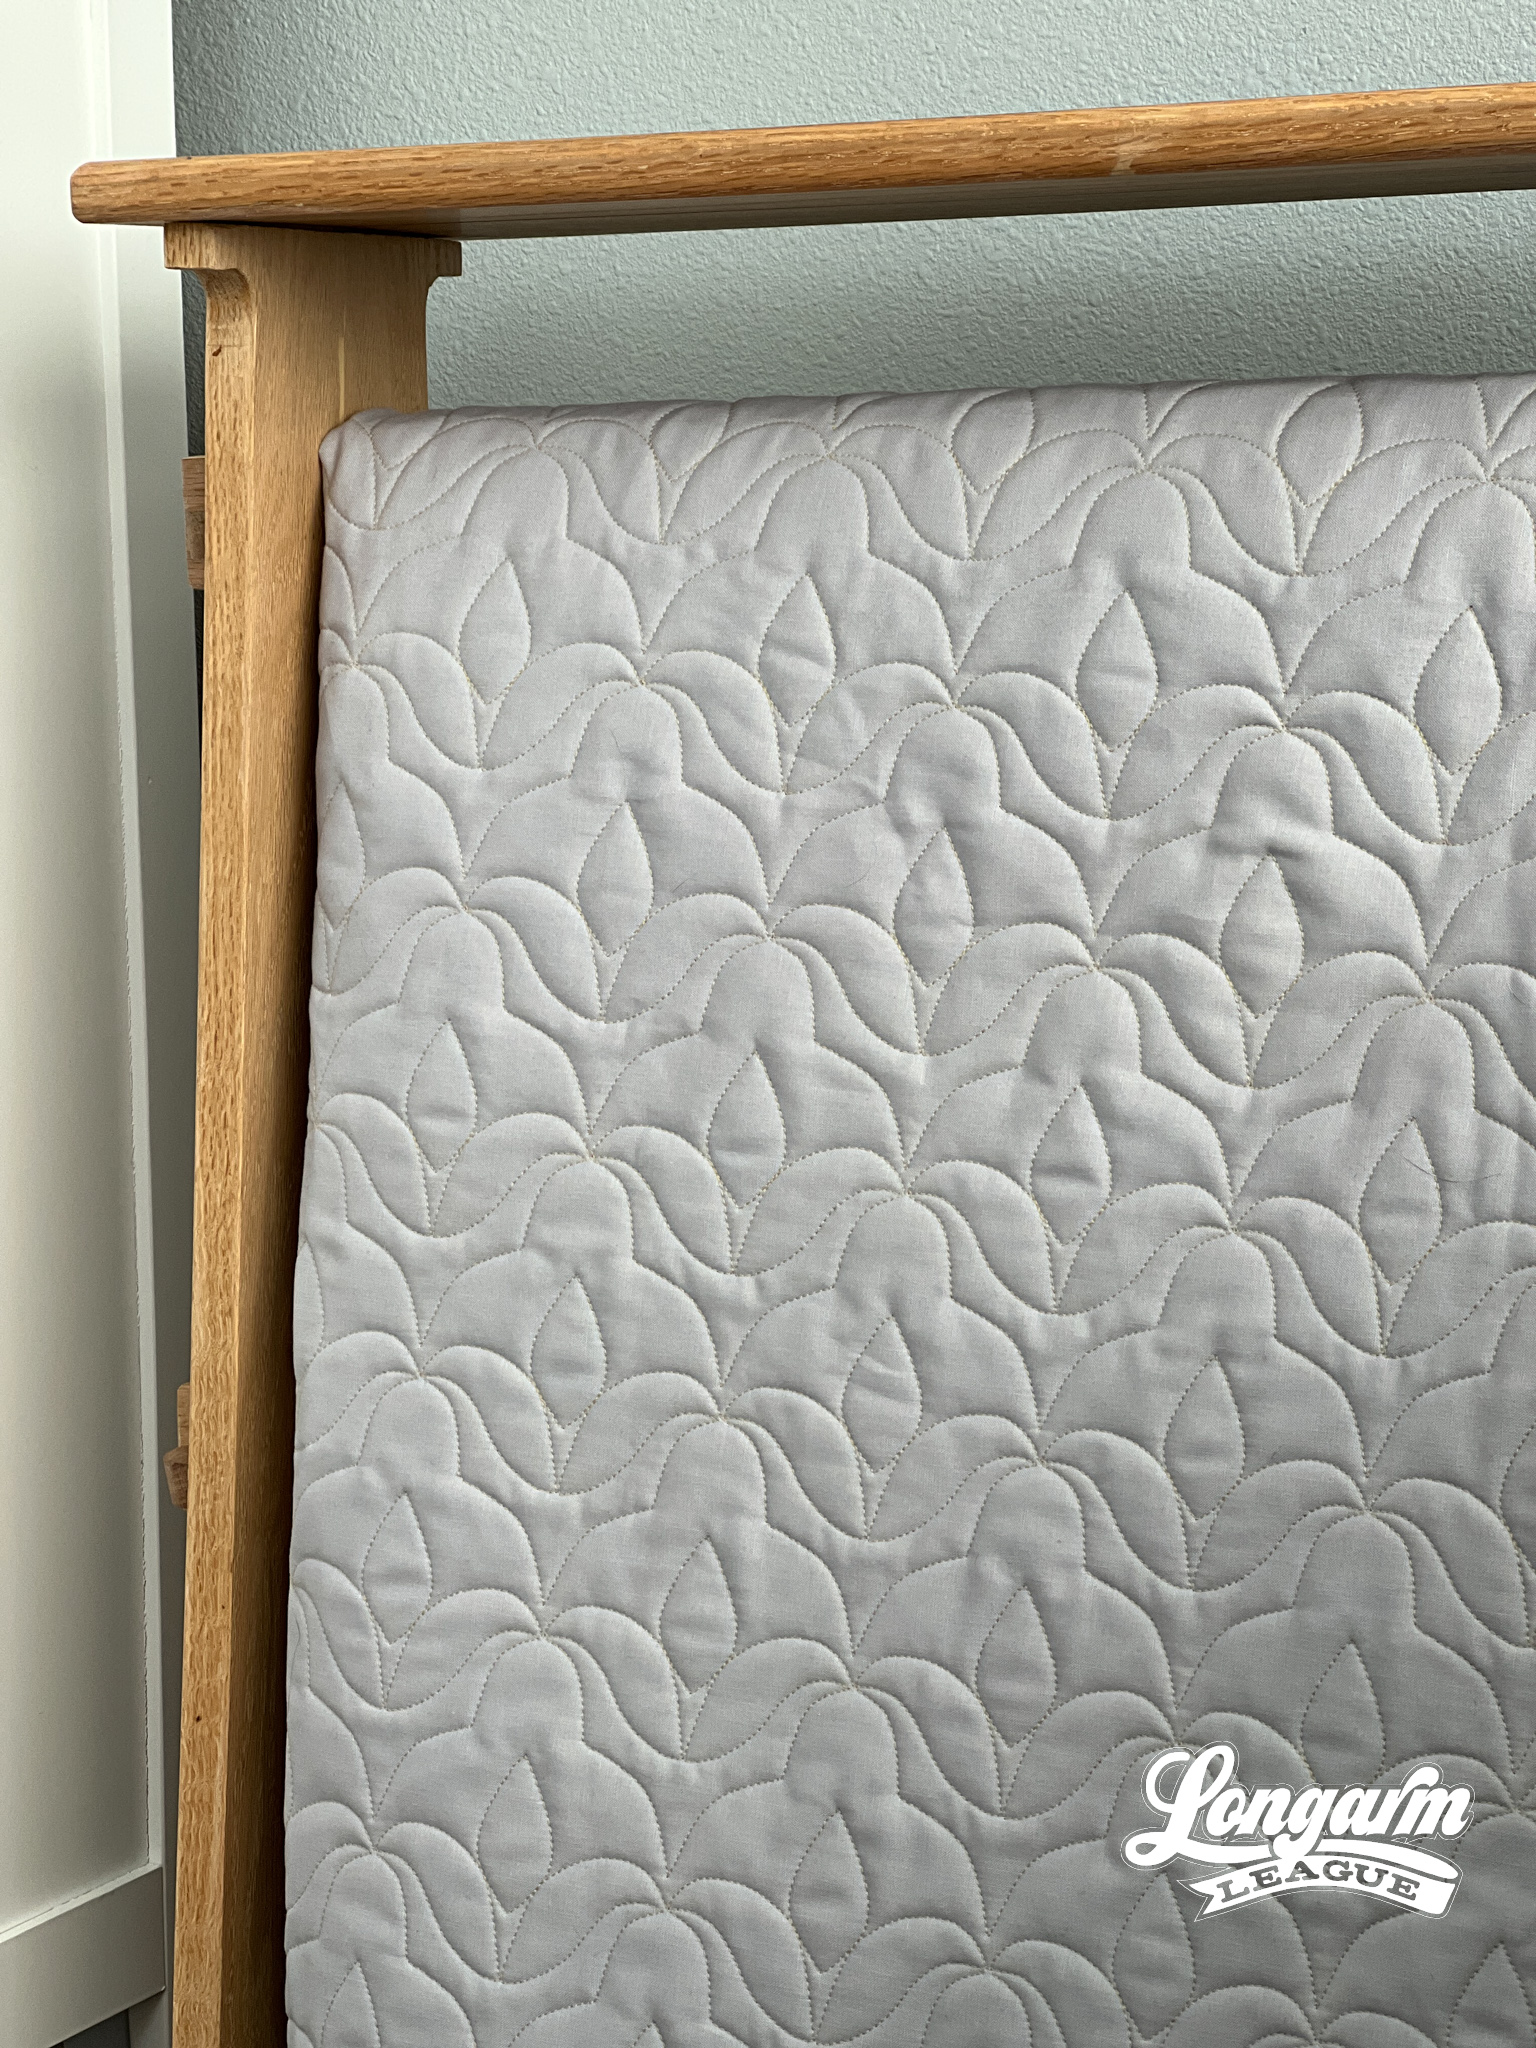
There's no backtracking with this design. It does require a 50% offset, or staggering every other row.
Mister Marbles Digital Pantograph Design
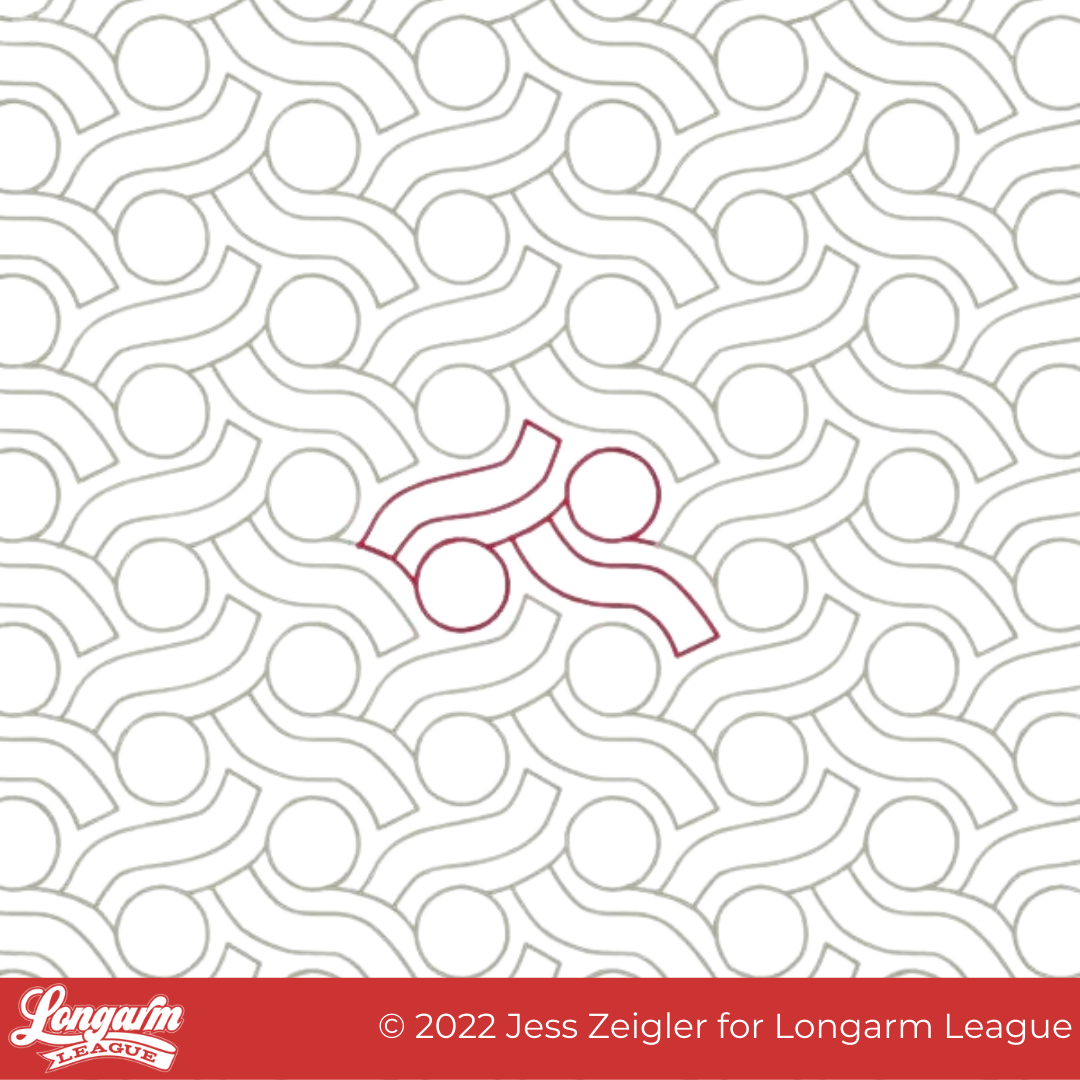
Mister Marbles is a fun-time pantograph when your top needs some extra texture, movement, and pizzazz!
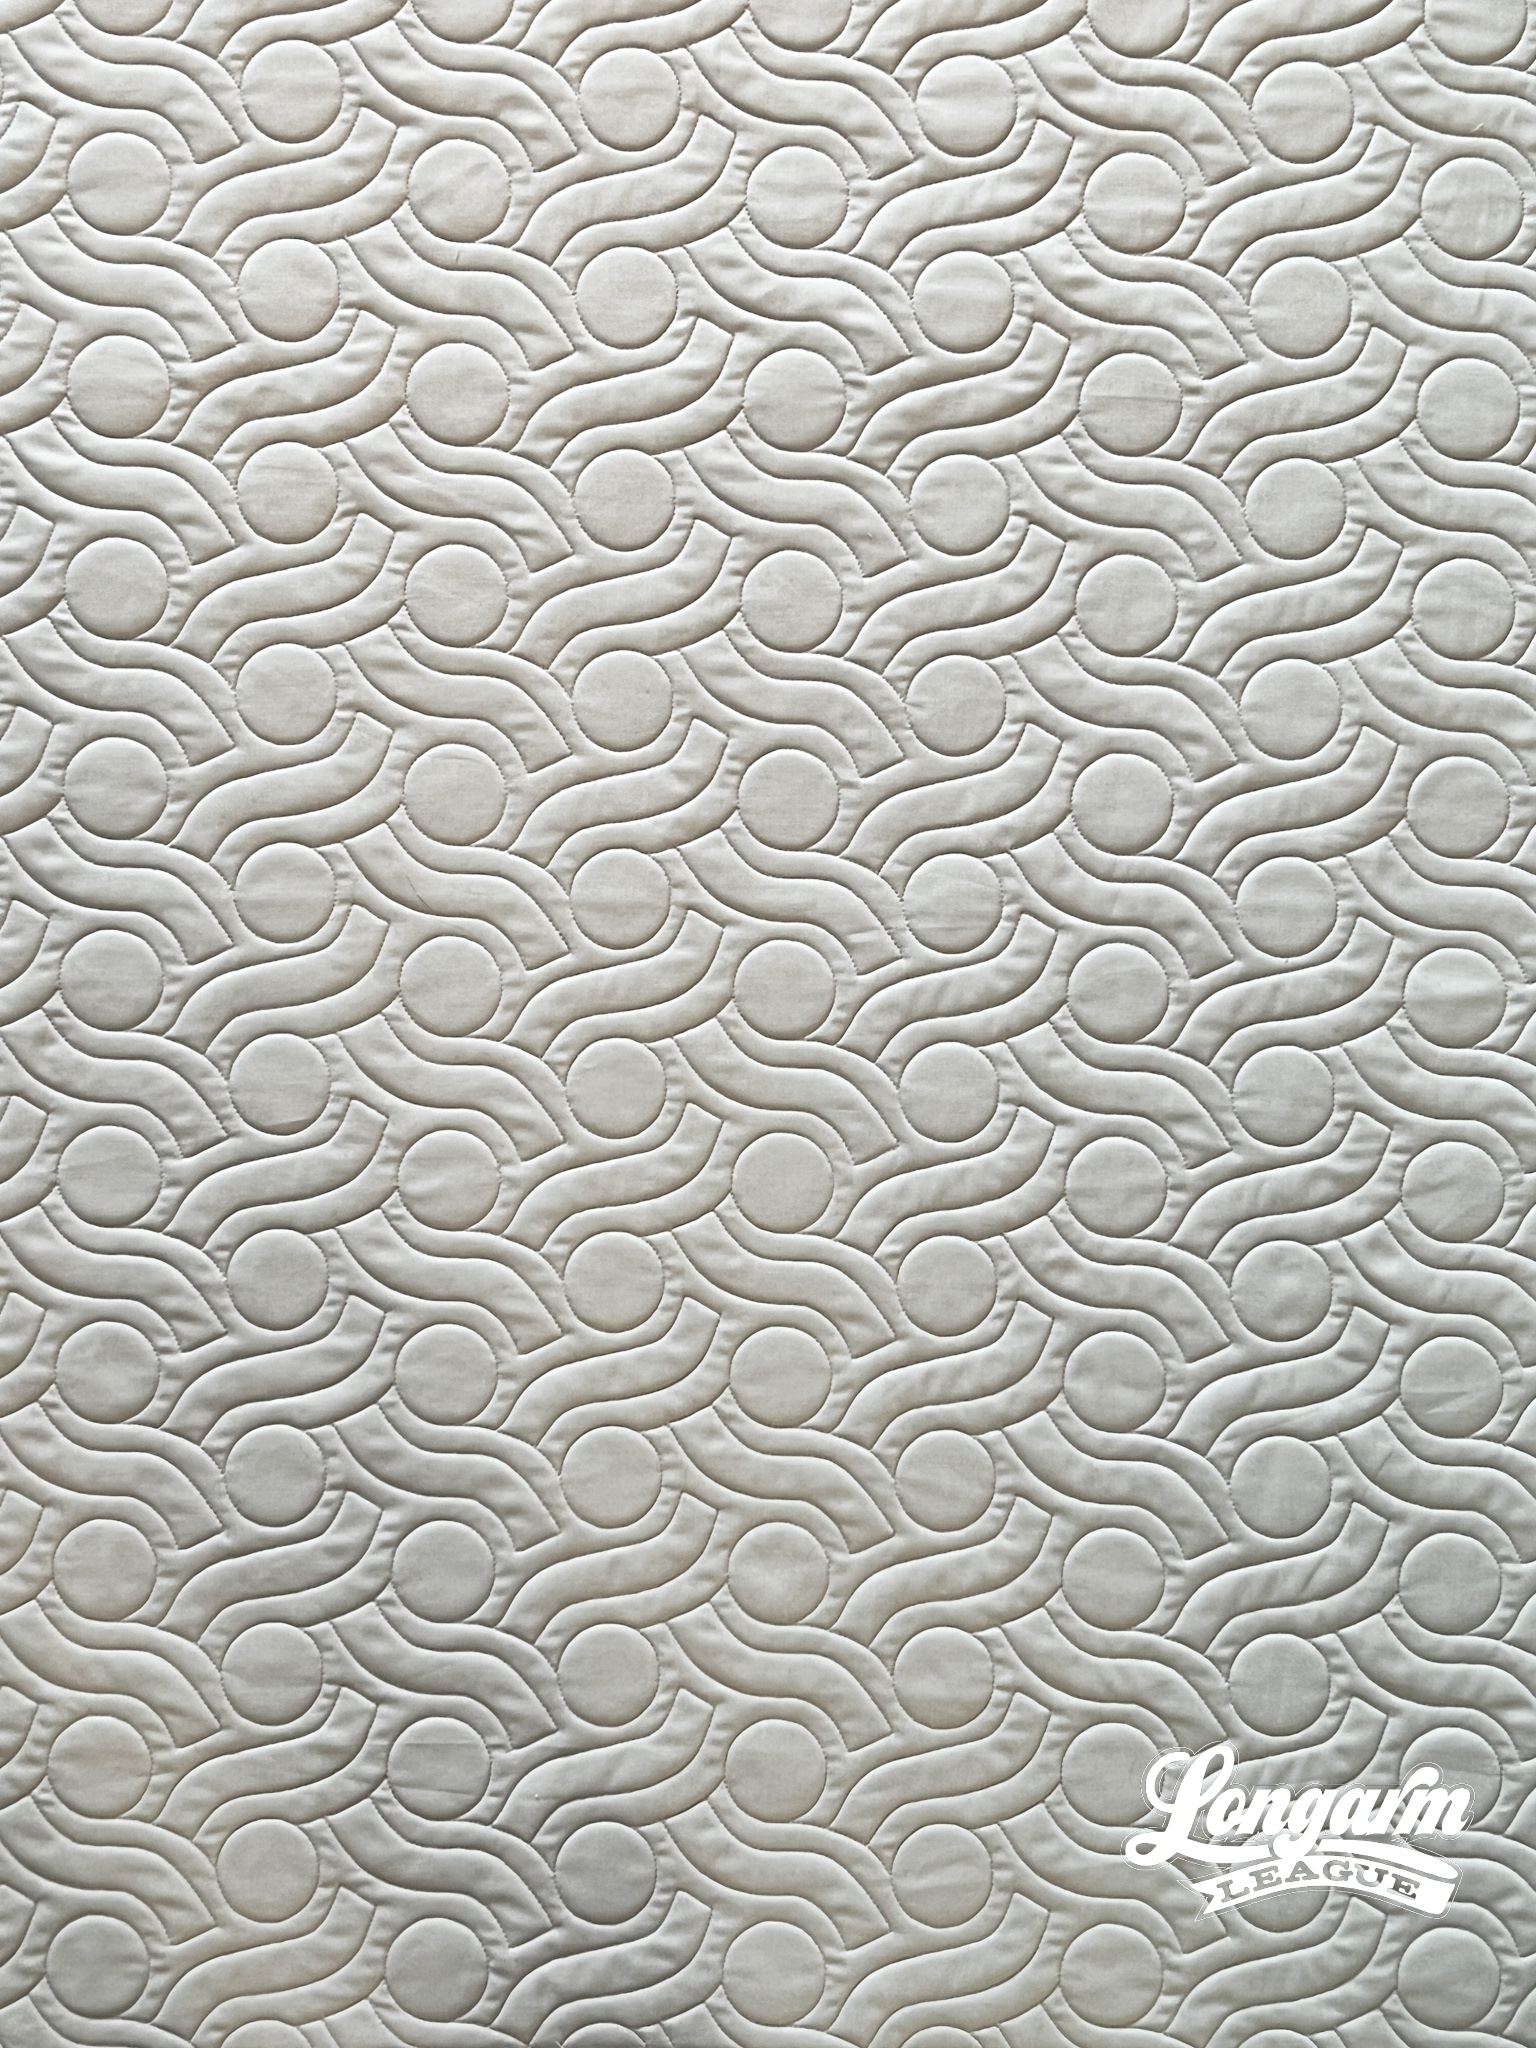
When I look at the design, I think of a marble maze or marble run game. More on the name later, it gets much more nerdy, I promise.
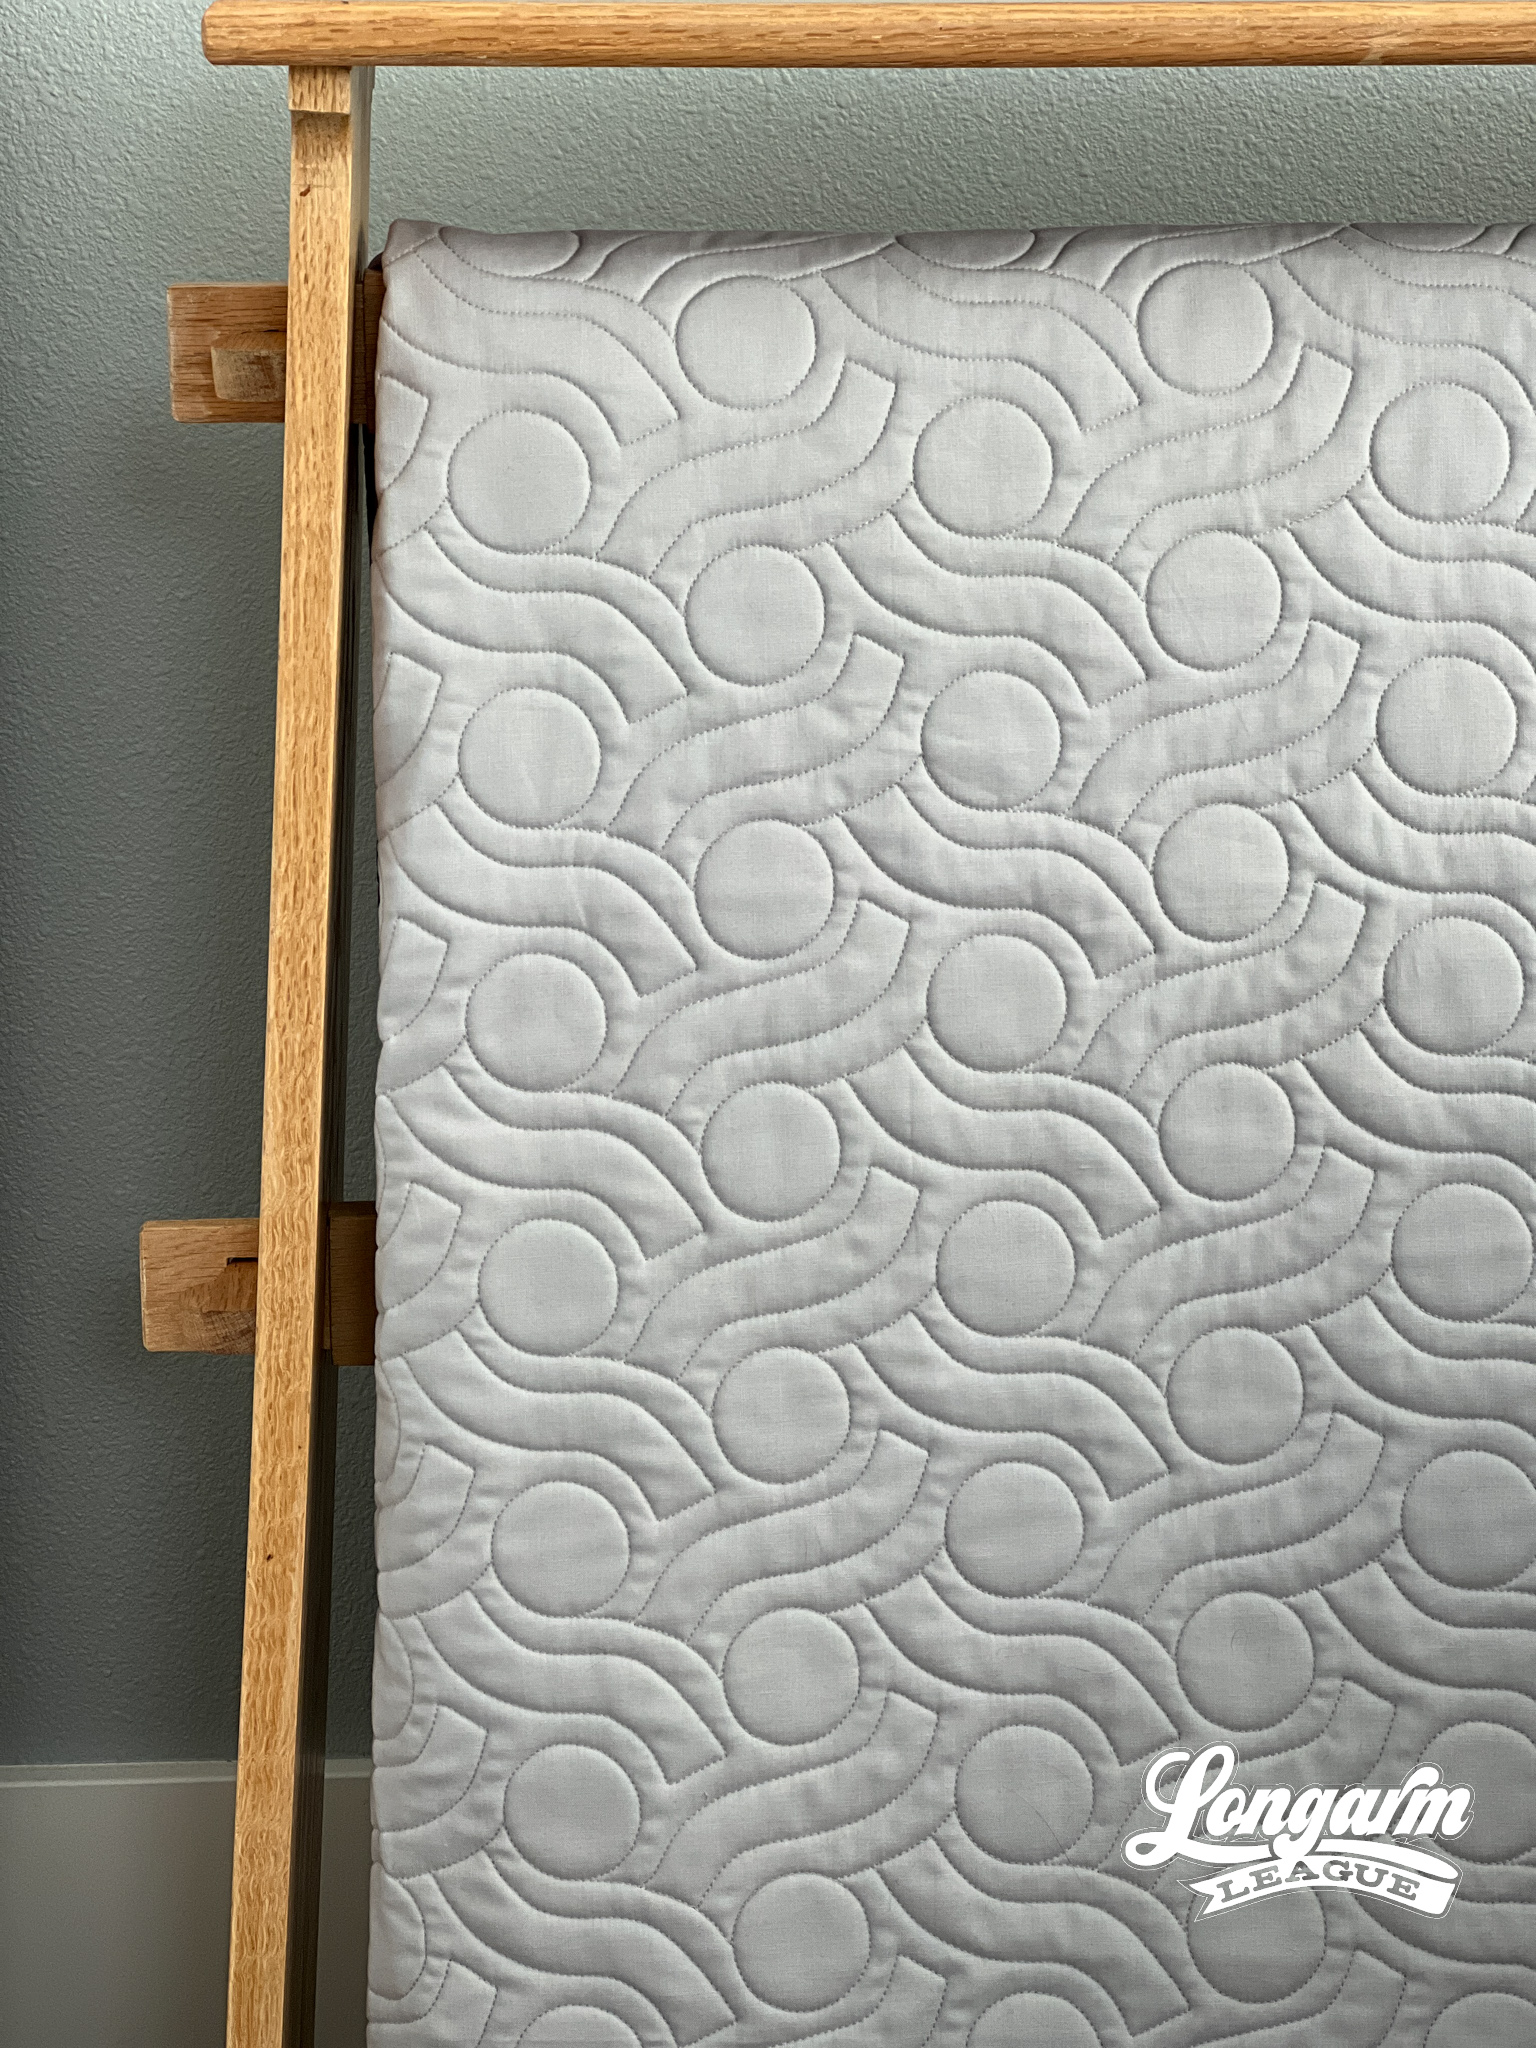
I think this design would look great on quilt tops that are modern, for kids, or have fun and festive fabrics.
The movement is subtle, but it's still there.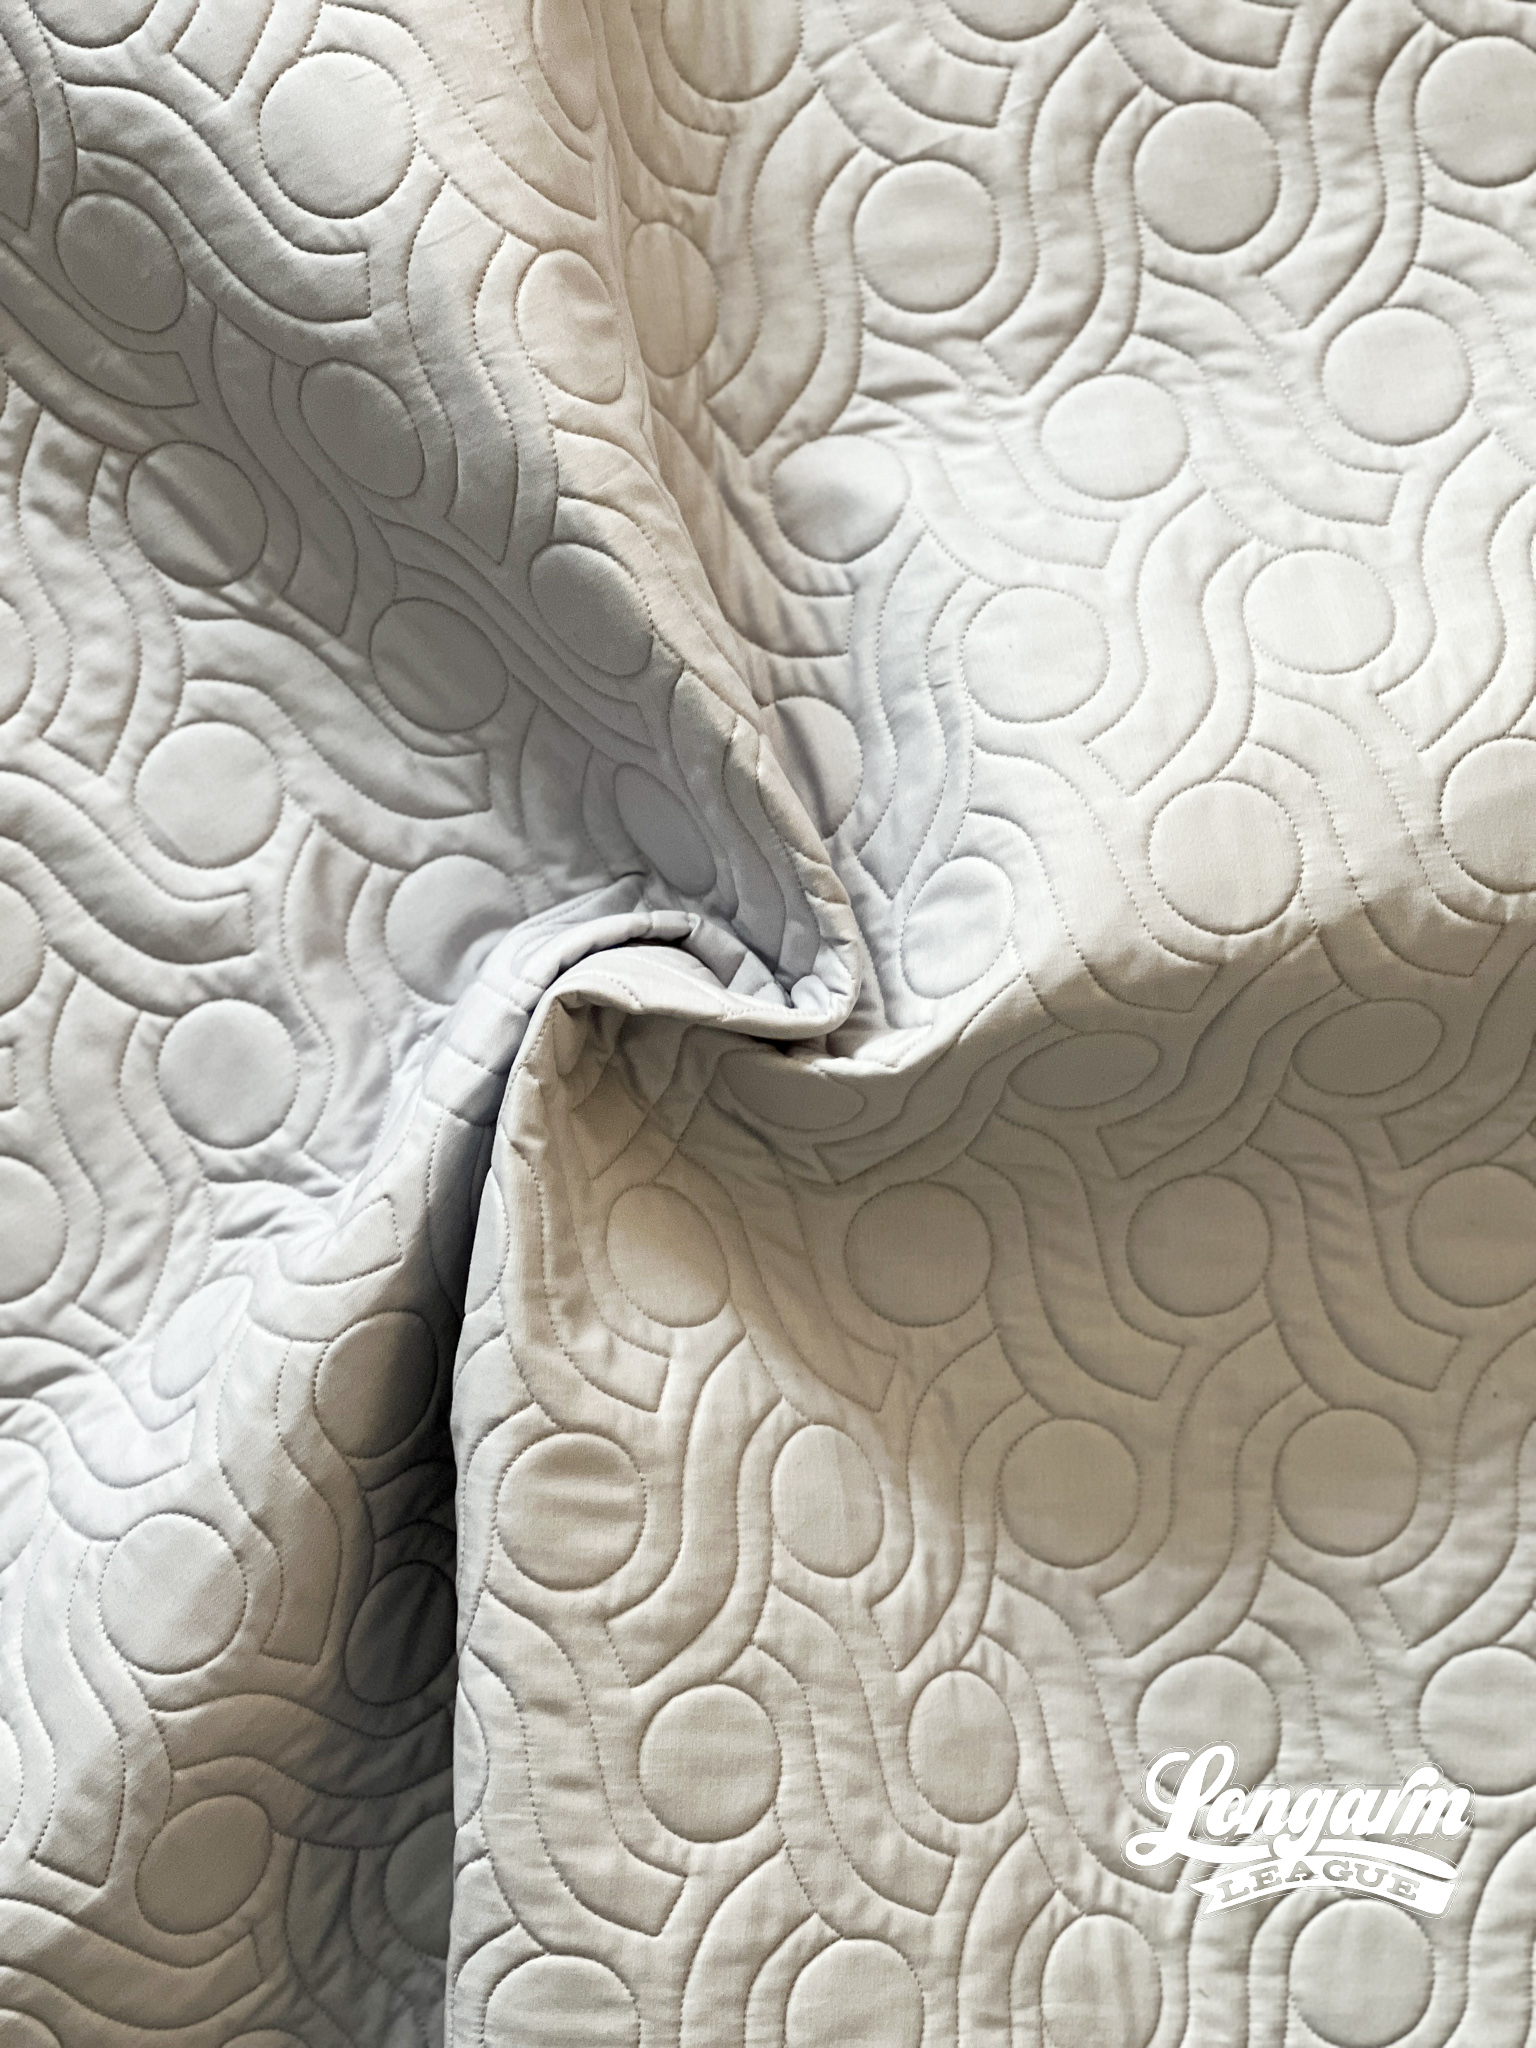
This one has some wiggle room when you're stitching out the rows, so that's nice! It makes it a bit more user friendly than some of my other trickier designs.
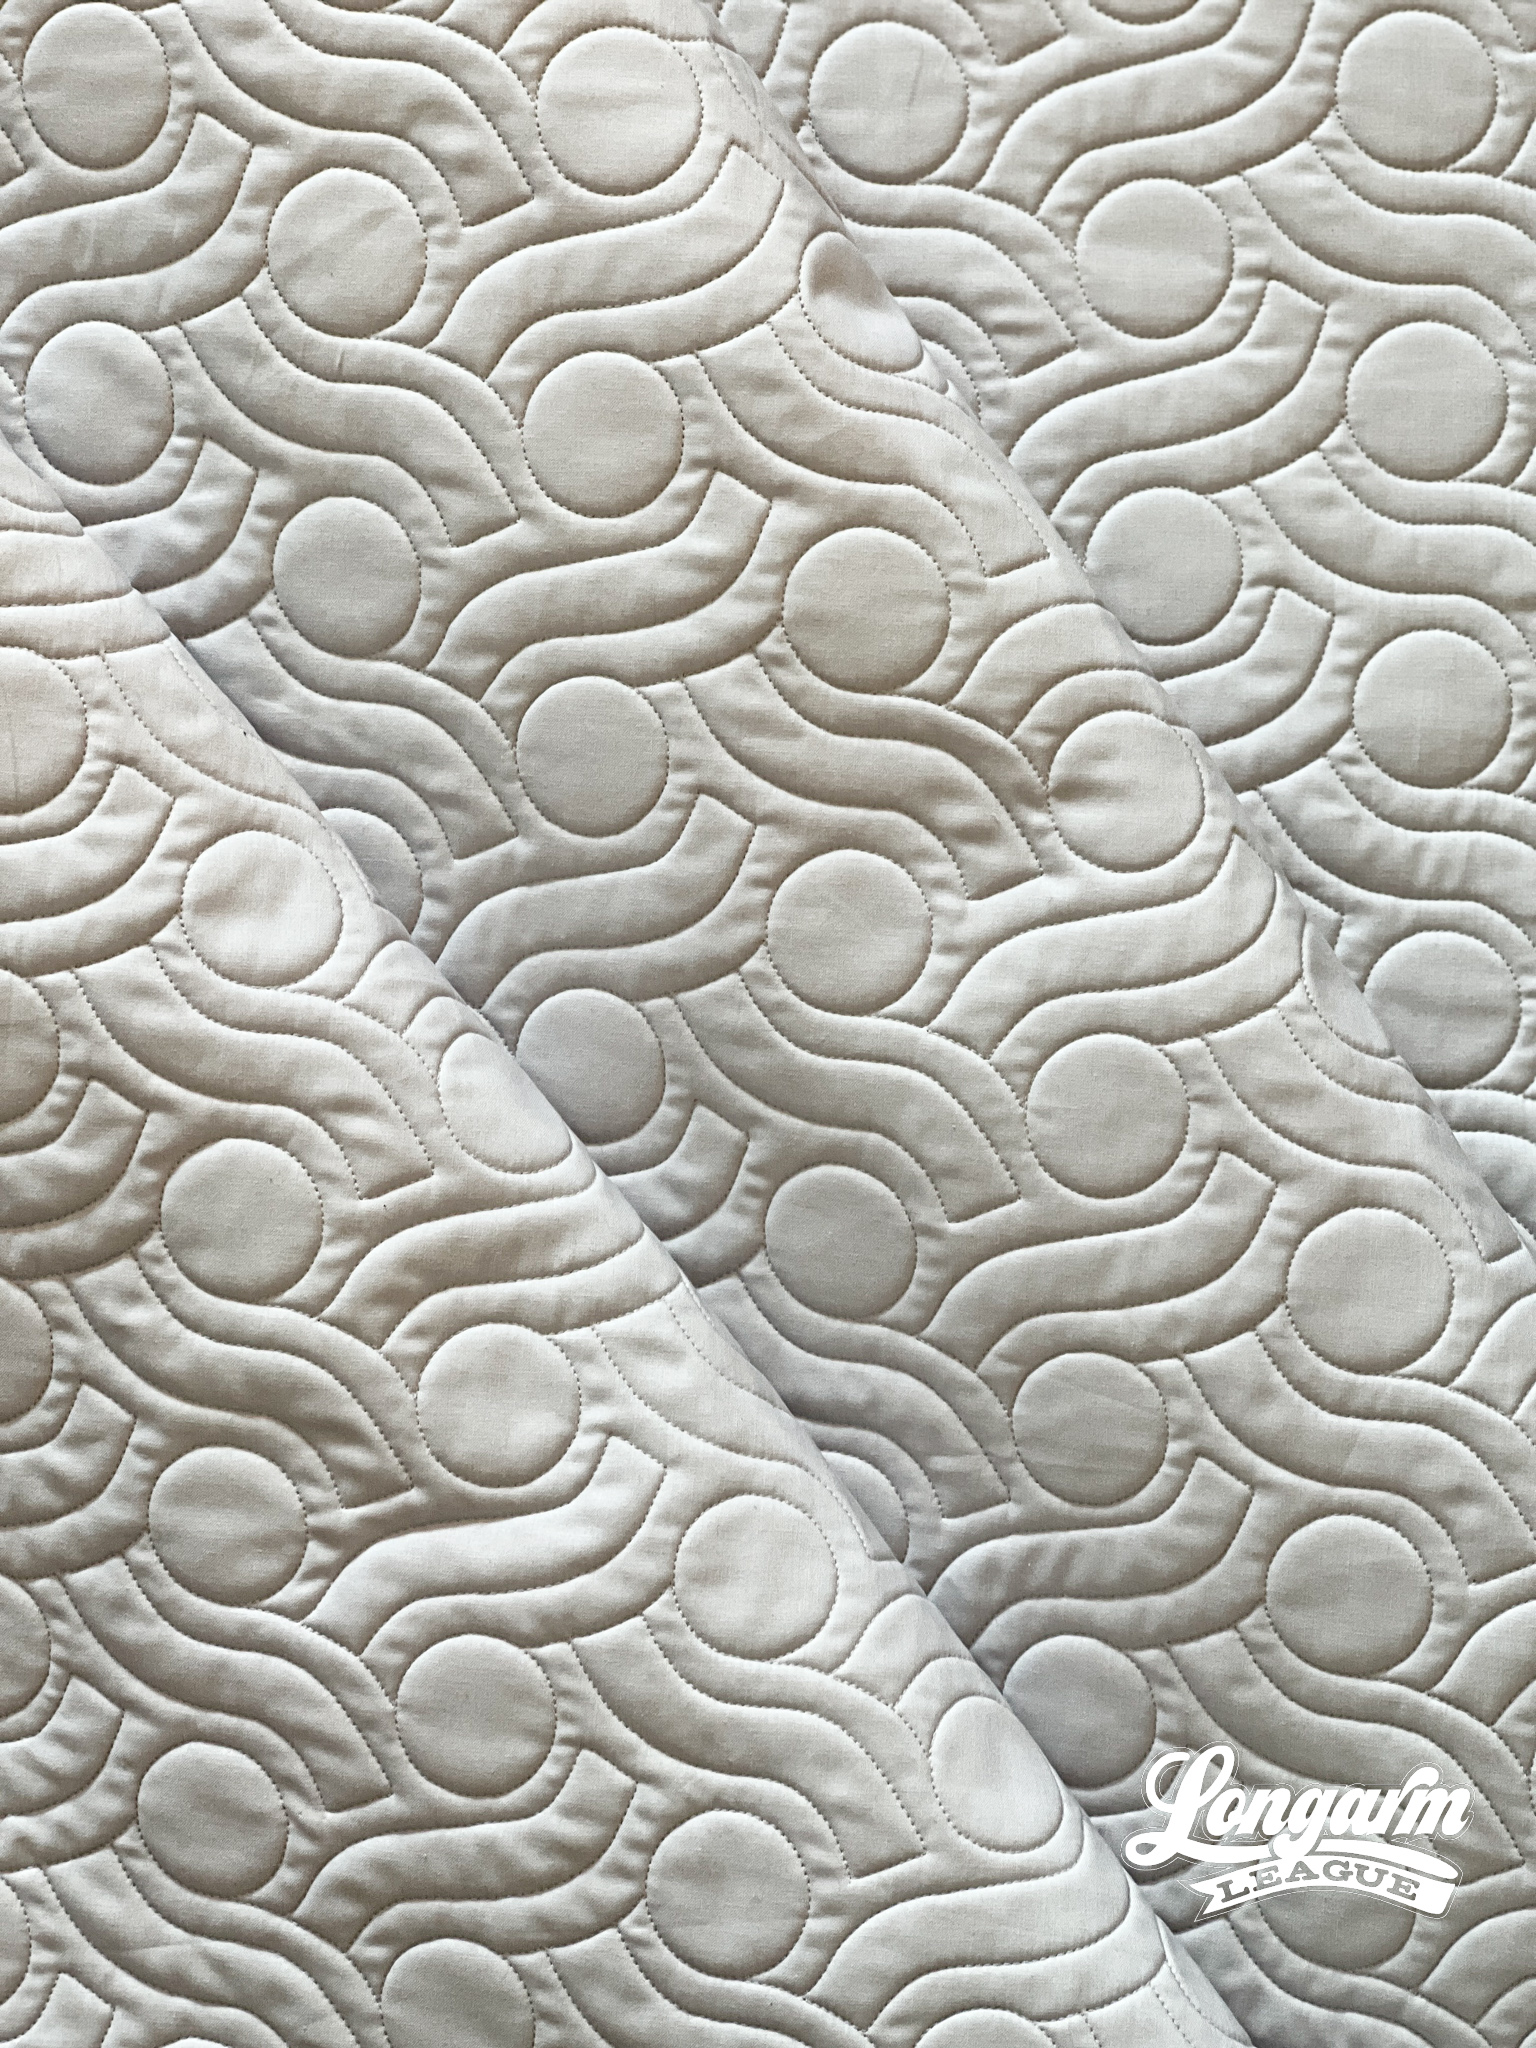
There is minimal backtracking involved with this design, see the video of the stitch path at the top of this post, it's very doable.
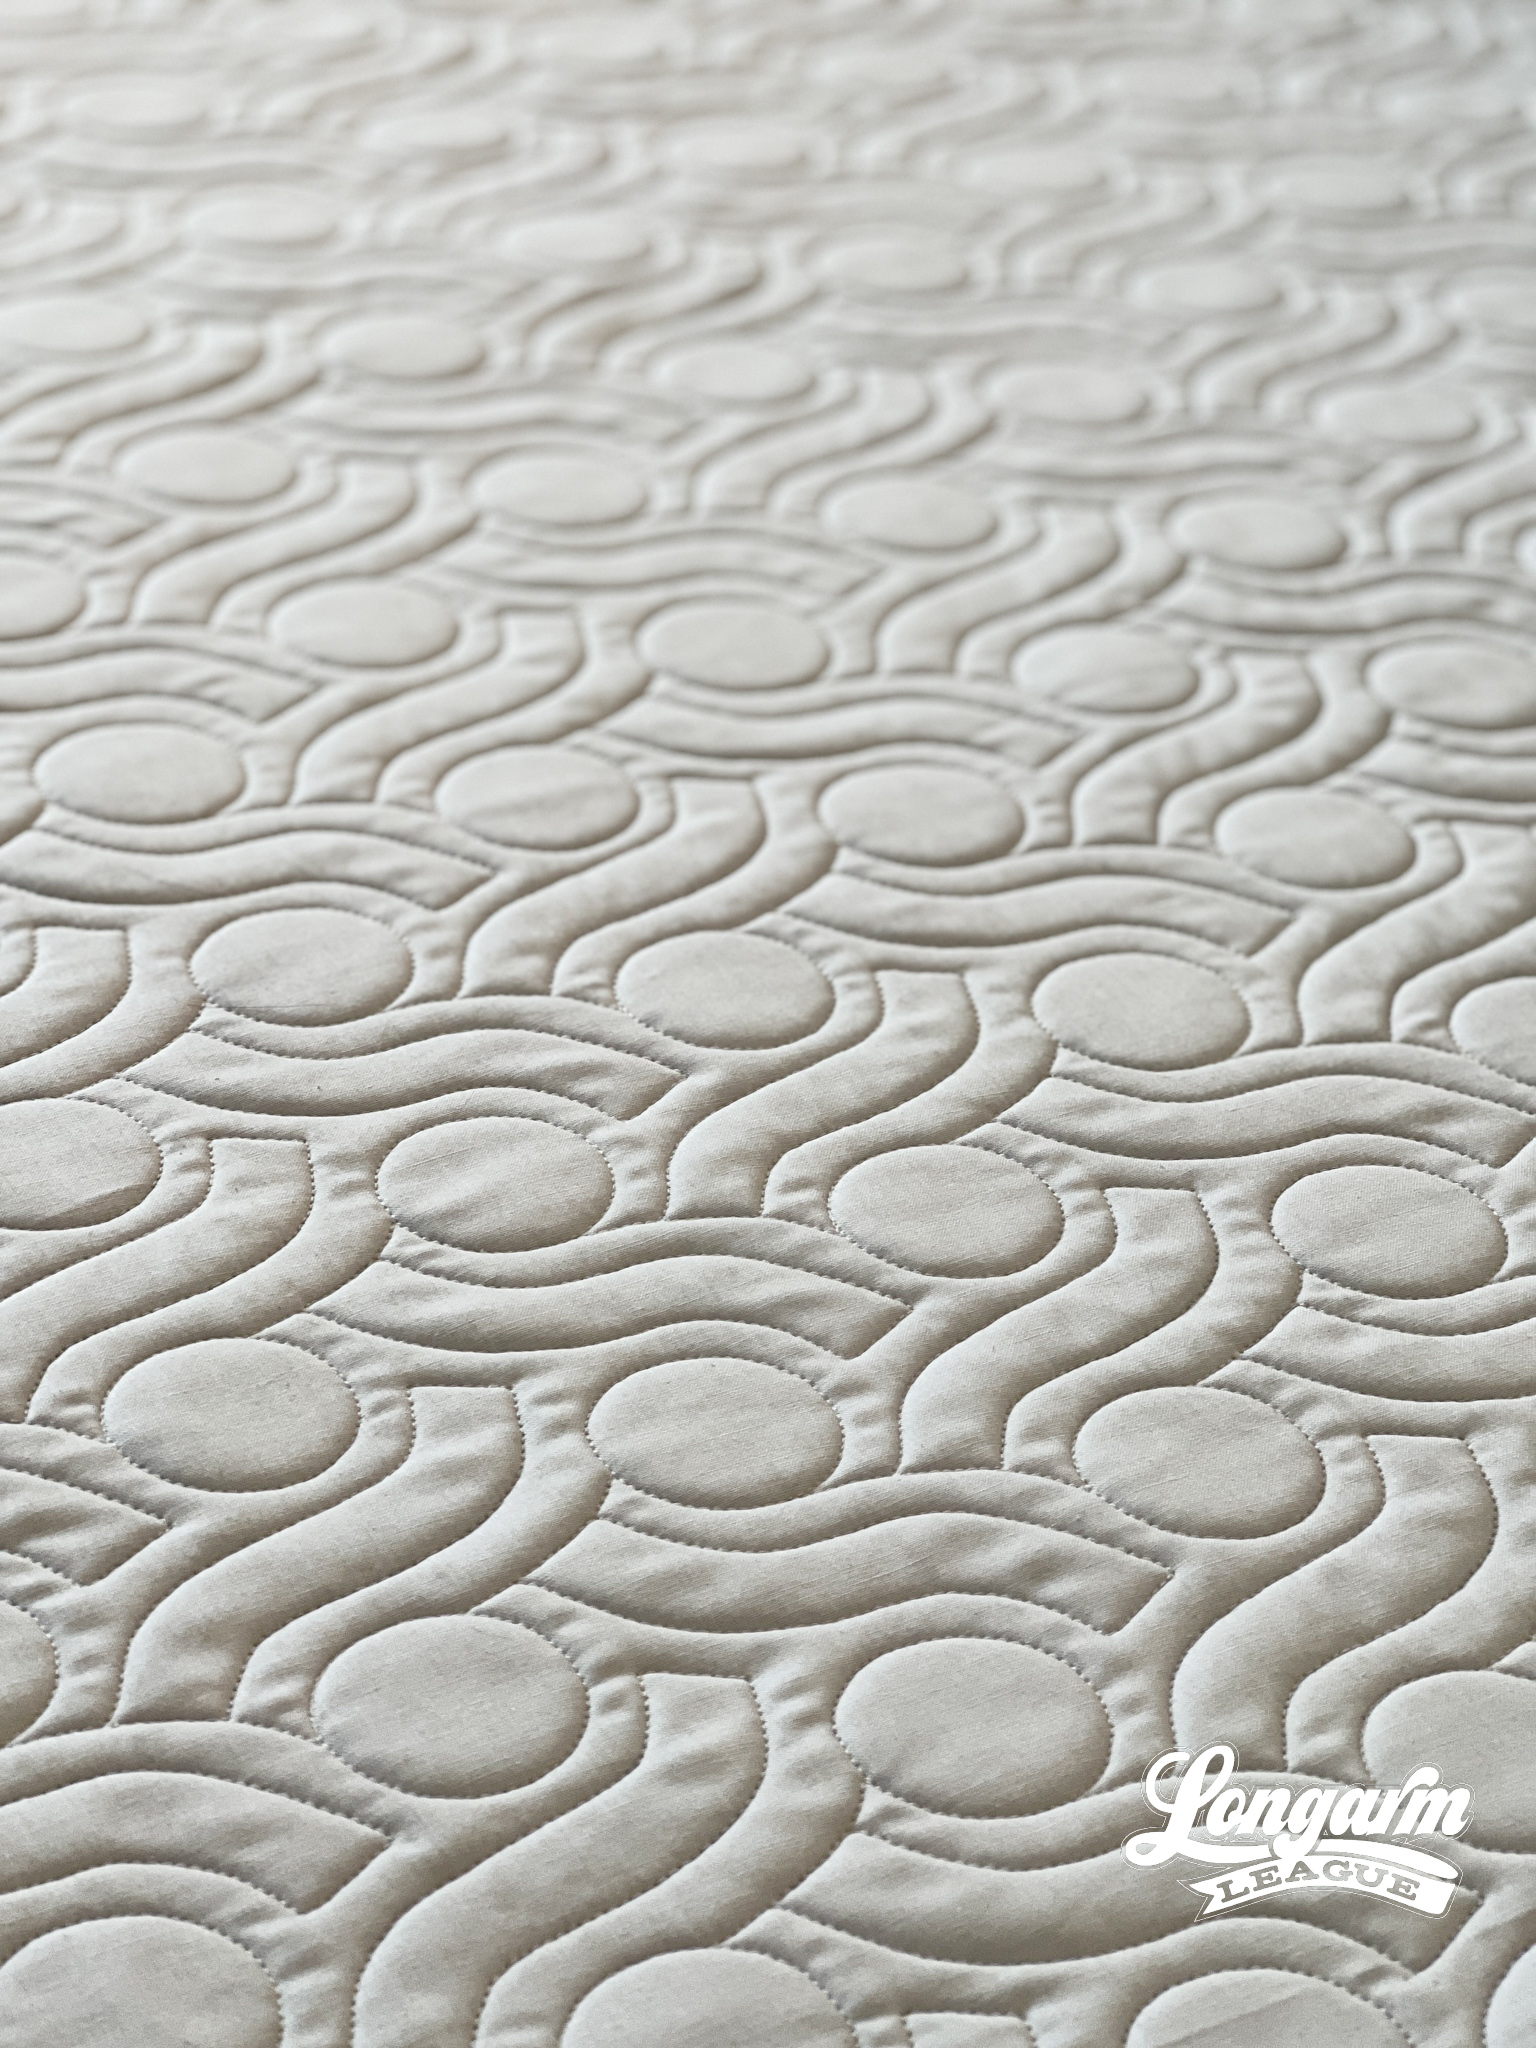
Here are my specifics using a baby-sized sample in the photos (45" x 50" quilt size):
Row height: 3.5"
Gap: -1.167"
Pattern height: 4.667" (this is the total span of the design from the top to the bottom of the repeat)
I use an Intellquilter as my computer system, so your terms might differ.

With th...
Thread Garden Digital Pantograph

I'm going to be honest and let you know that this is likely the only whole garden you'll ever see me cultivate. The two "plants" I have in my house are plastic. I tell myself it's because of the naughty cats.
I know, I know! So many quilters also love to garden, so I feel like these are fighting words. But, I gotta be me!
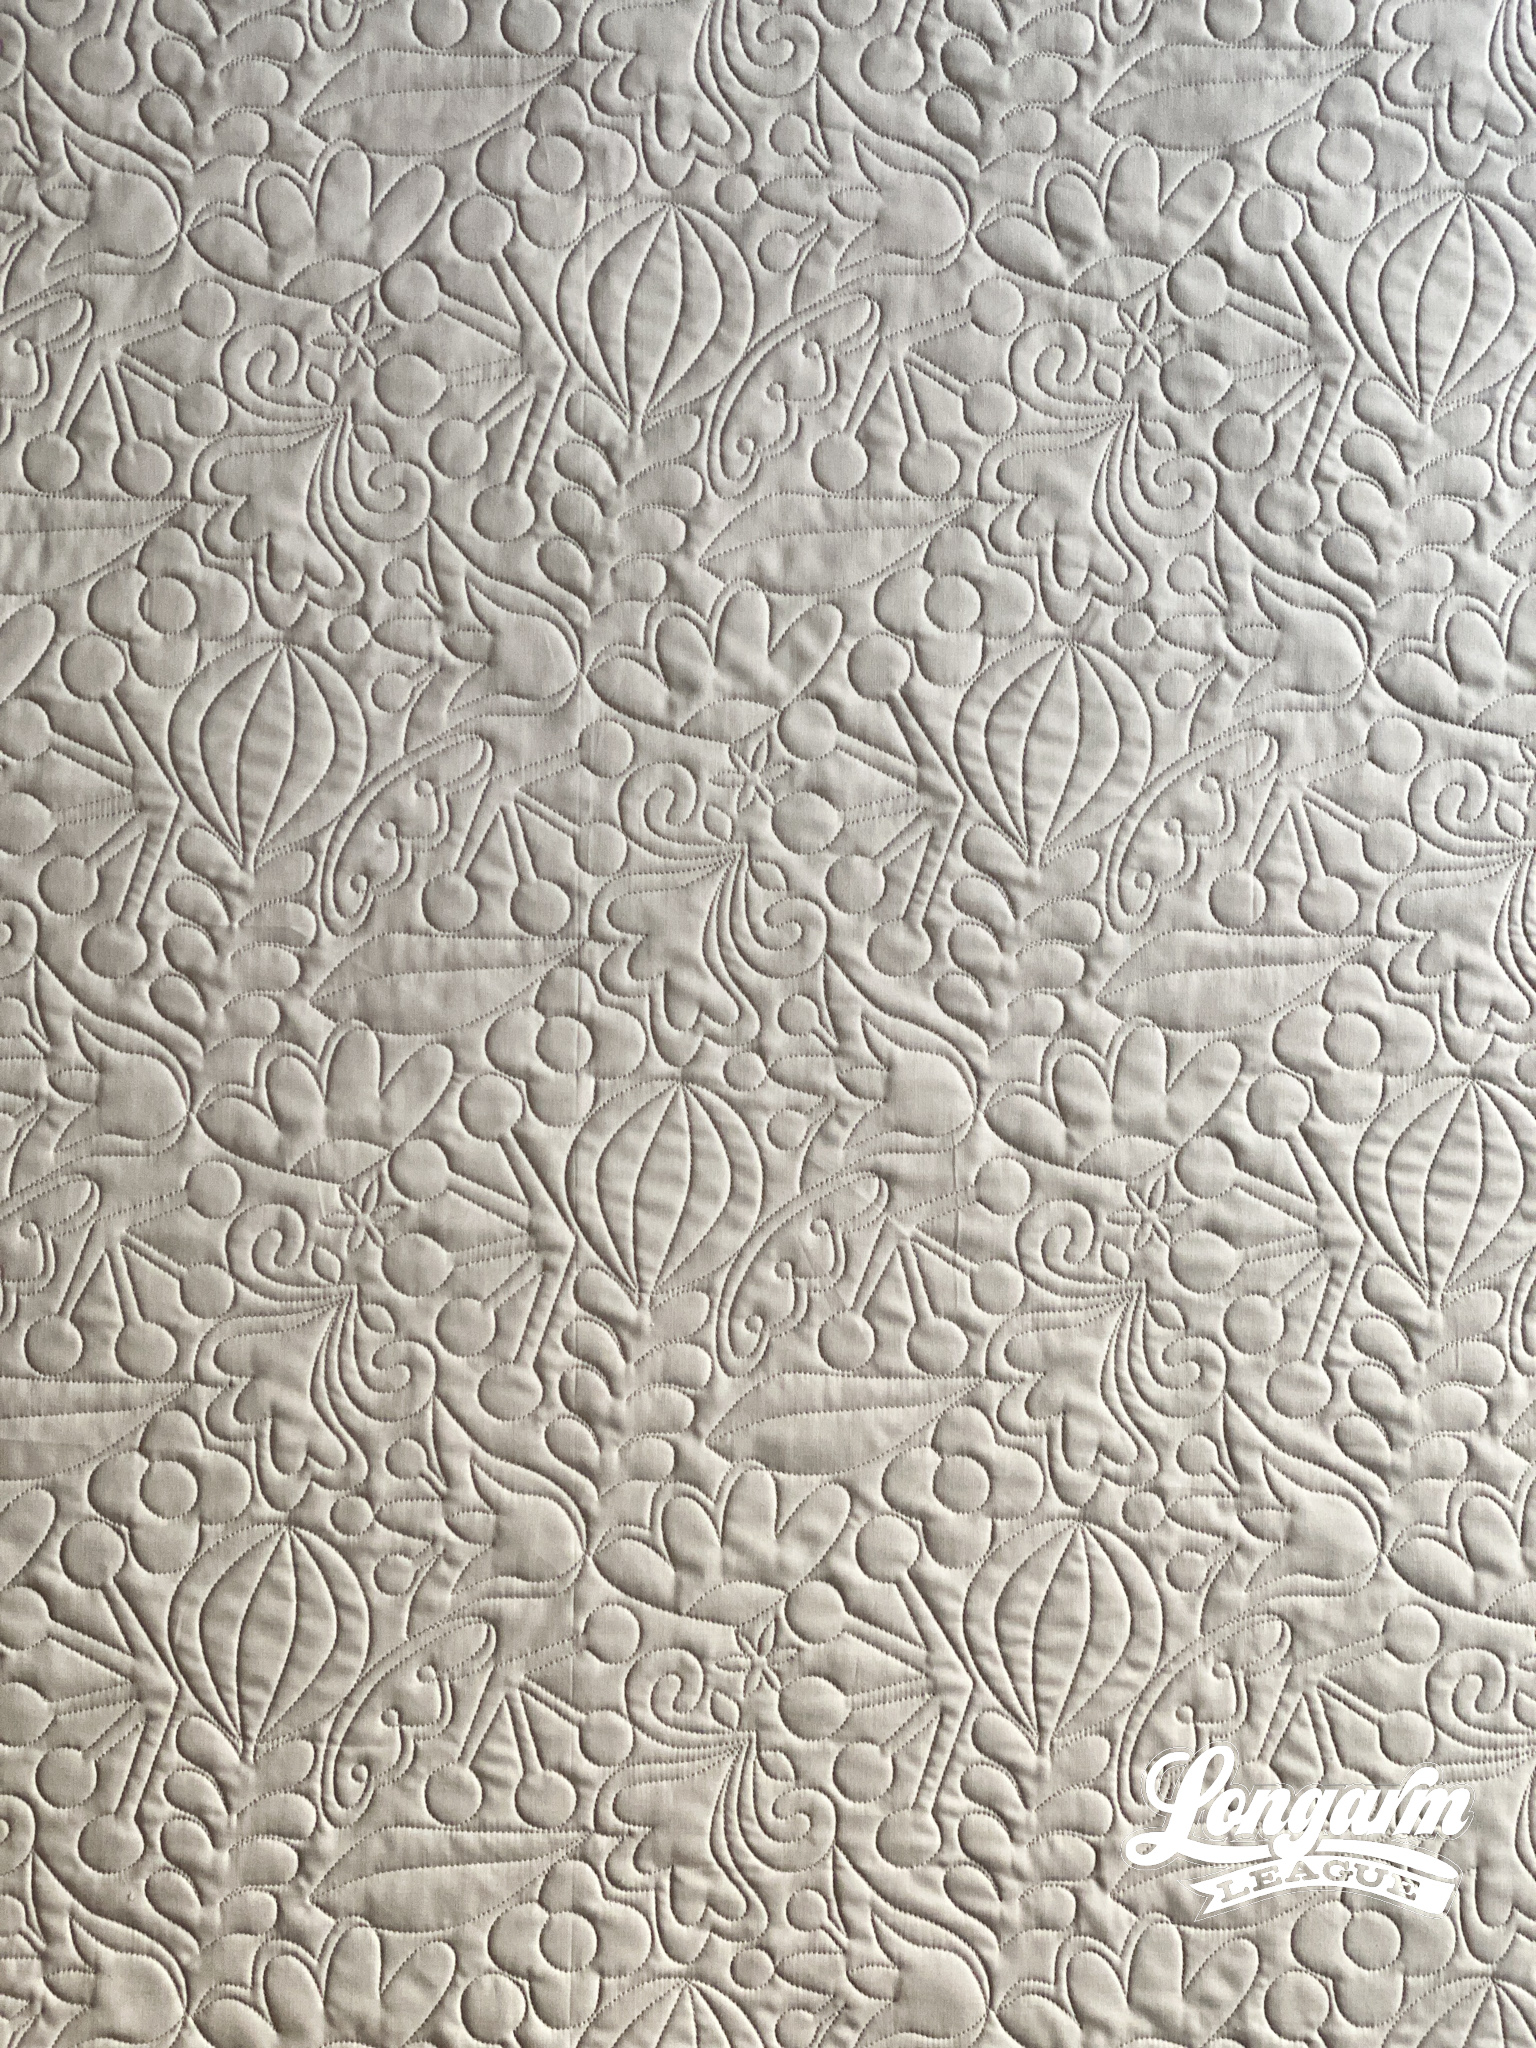
I was captivated by the idea of making fanciful floral shapes that looked "illustrated"—if you will—with no particular directionality.
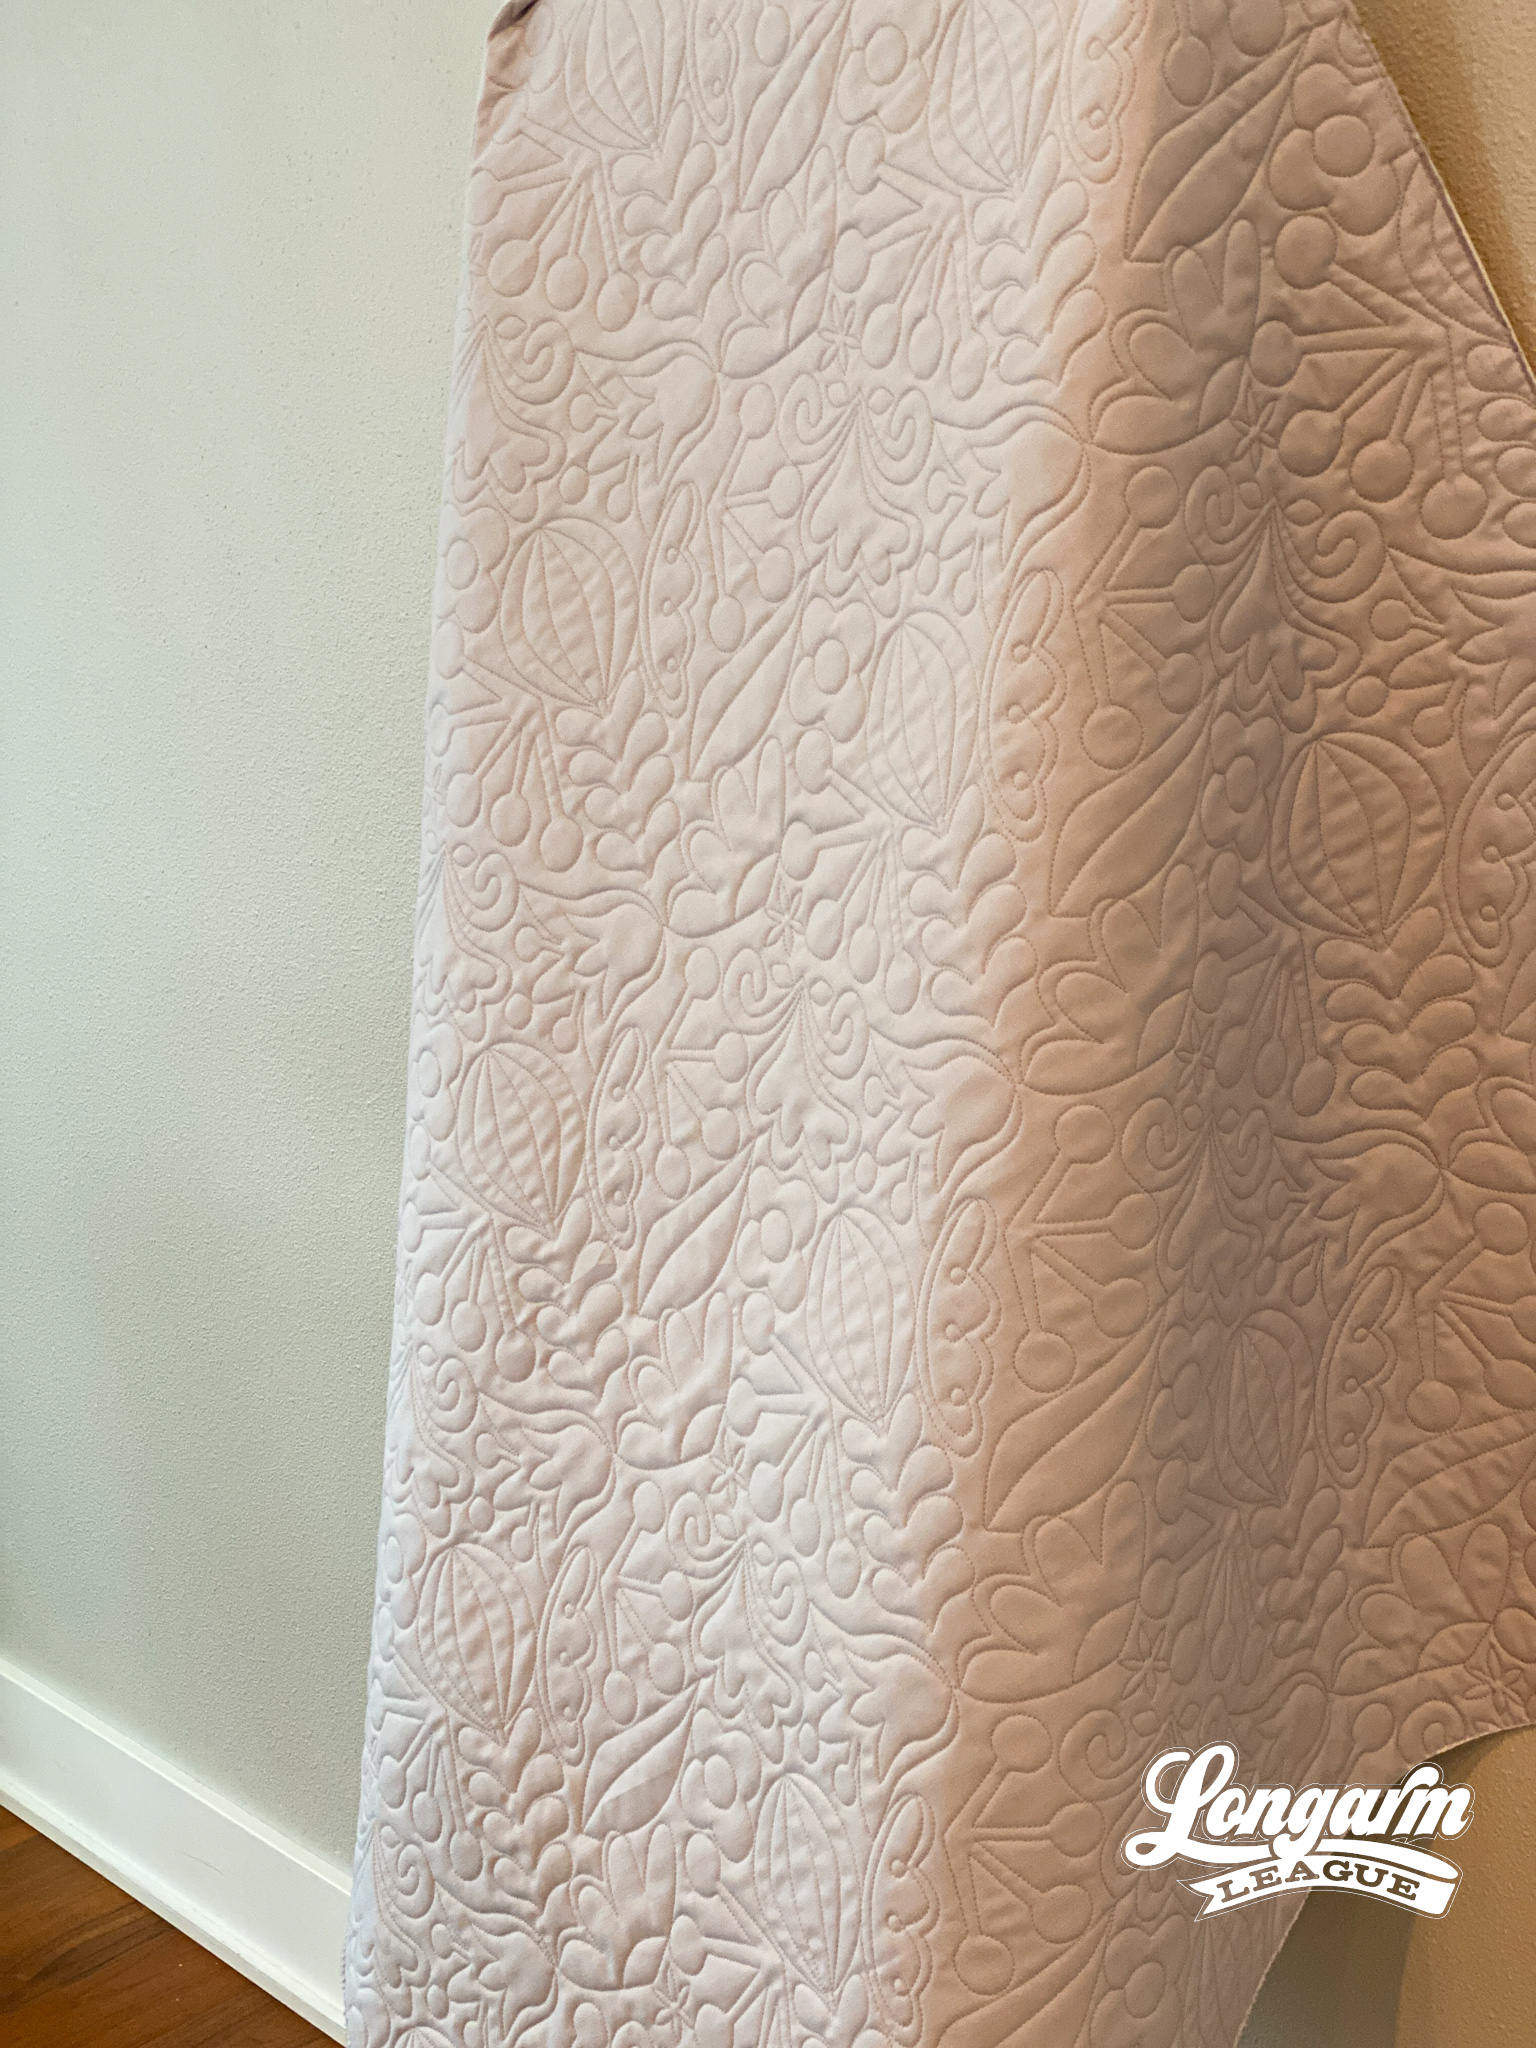
I think this design would look great on quilt tops for kids, or for modern tops, or even quilt tops with a Scandinavian theme, if you'll allow me to get super-specific about it and my influences.
I'll also state the obvious and say this digital pantograph design could also be great with floral-themed quilts! Or with quilts using a lot of solid fabrics or negative space. You know... to add some extra interest and texture.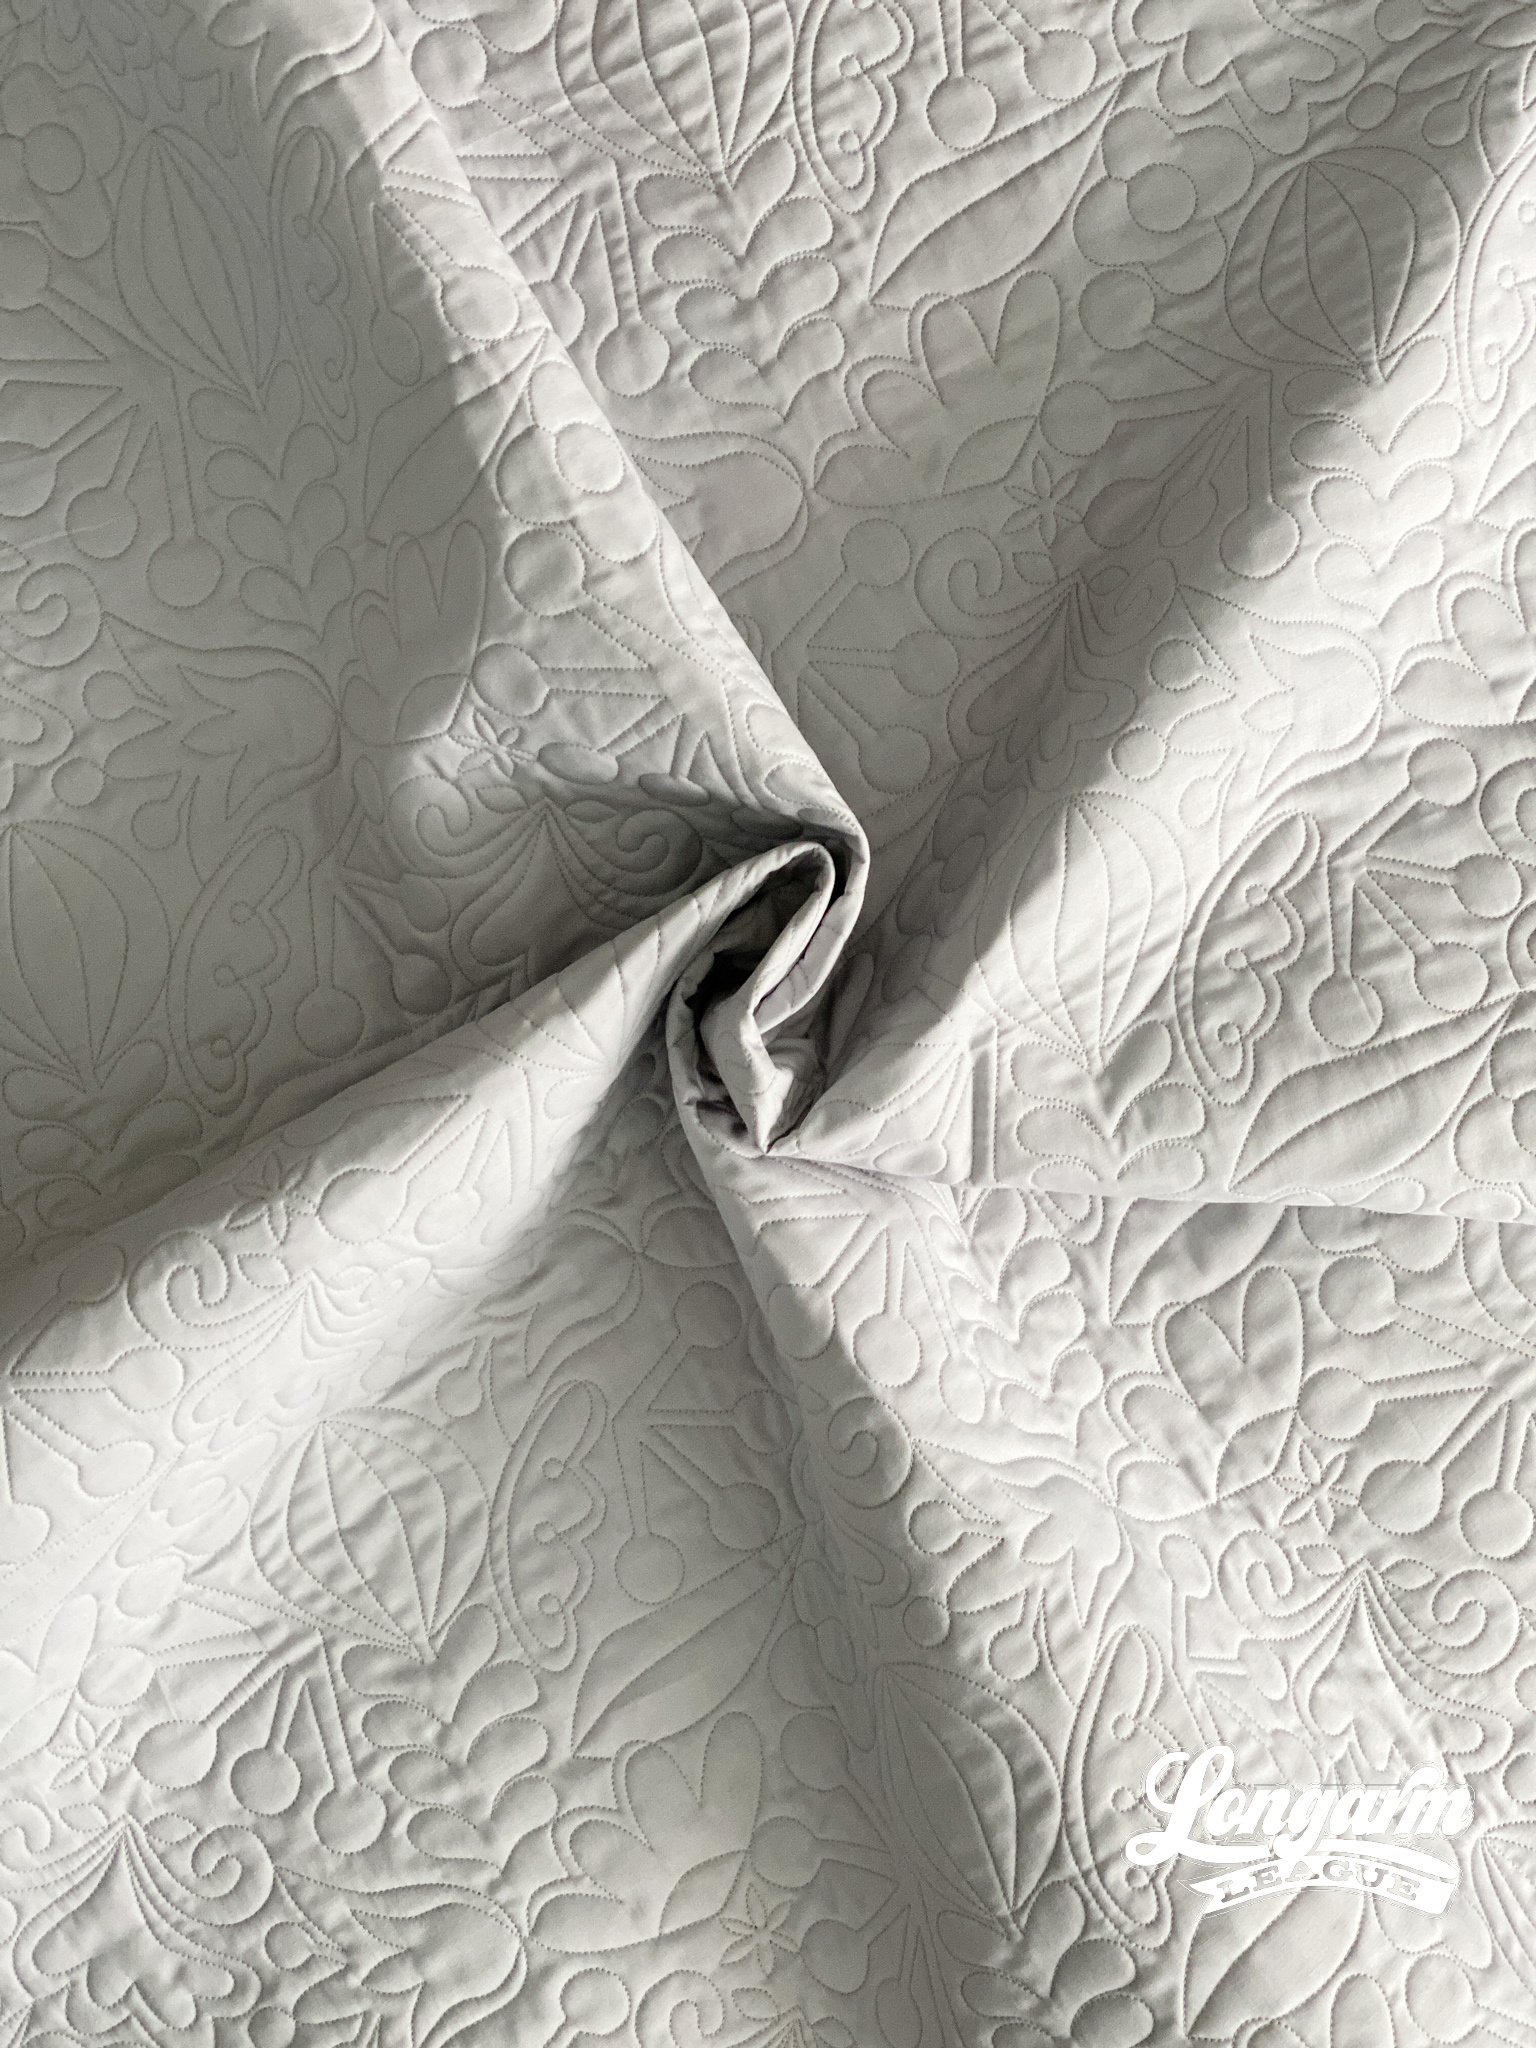
As a digital pantograph designer, I like to disguise "hard rows" whenever possible. I experimented wit...
Orange Dream Digital Quilting Design
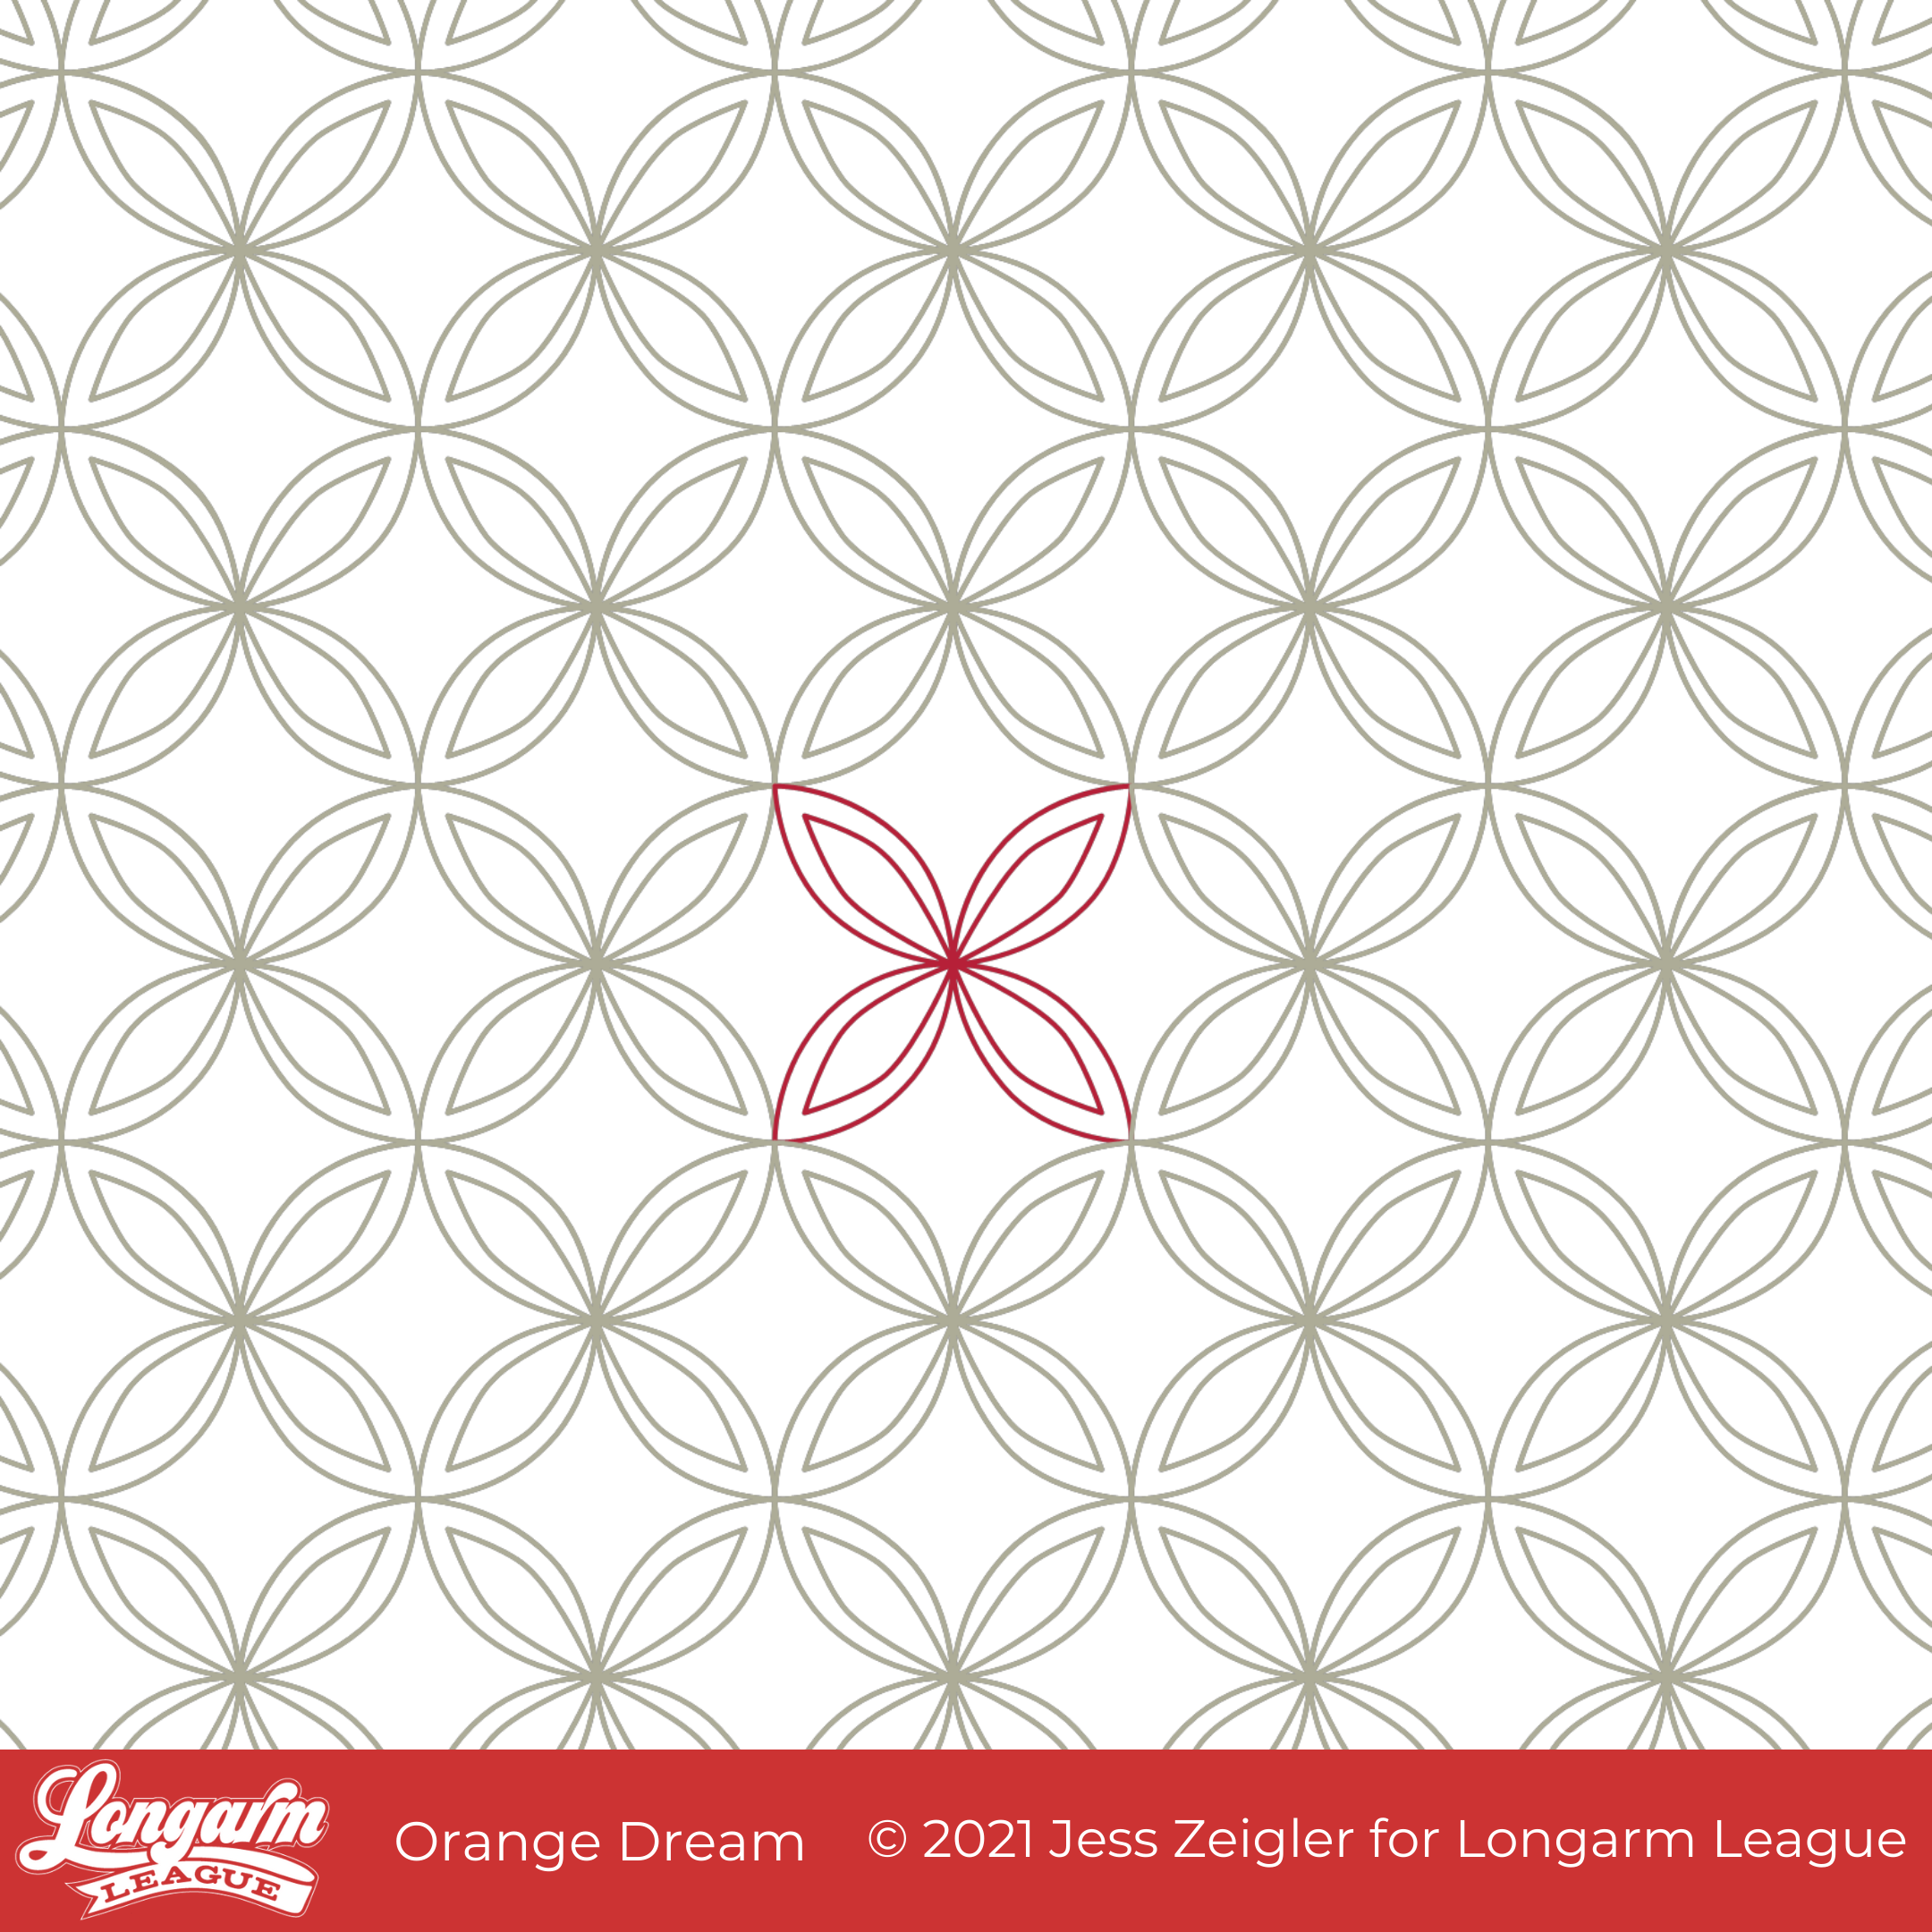
I love a classic Orange Peel moment! This design is a simple variation on a classic that adds a touch of sass... as long as sassy and elegance can coexist.
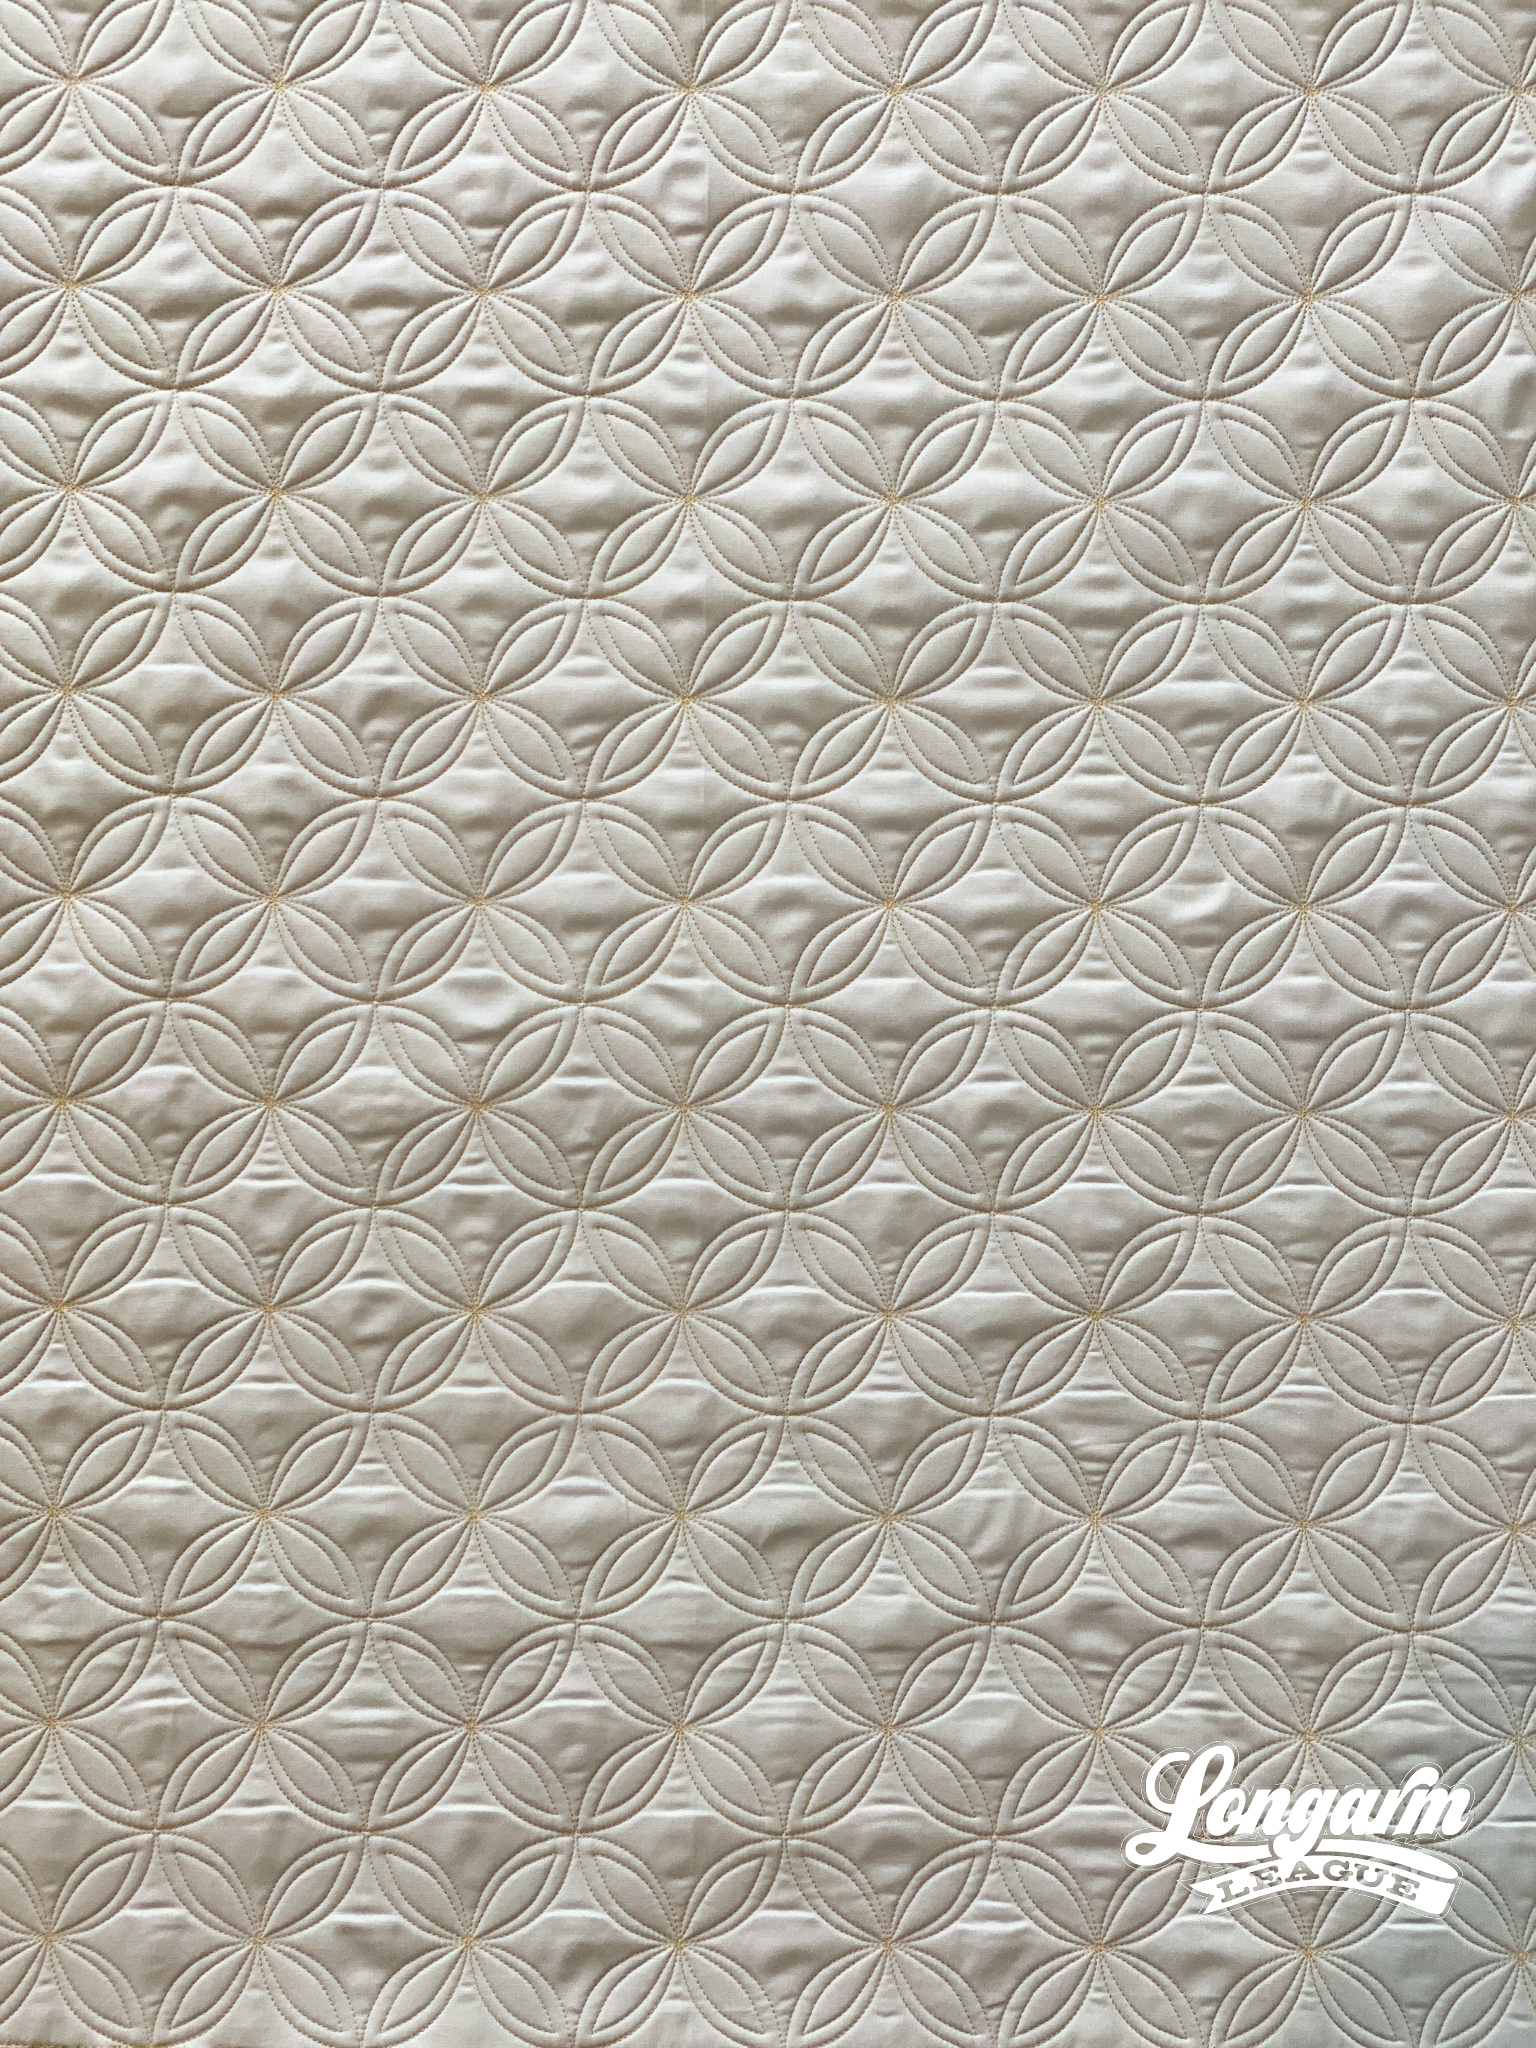
Let's face it, one of the reasons why Orange Peel quilting works so well is because it's simple and extremely versatile.
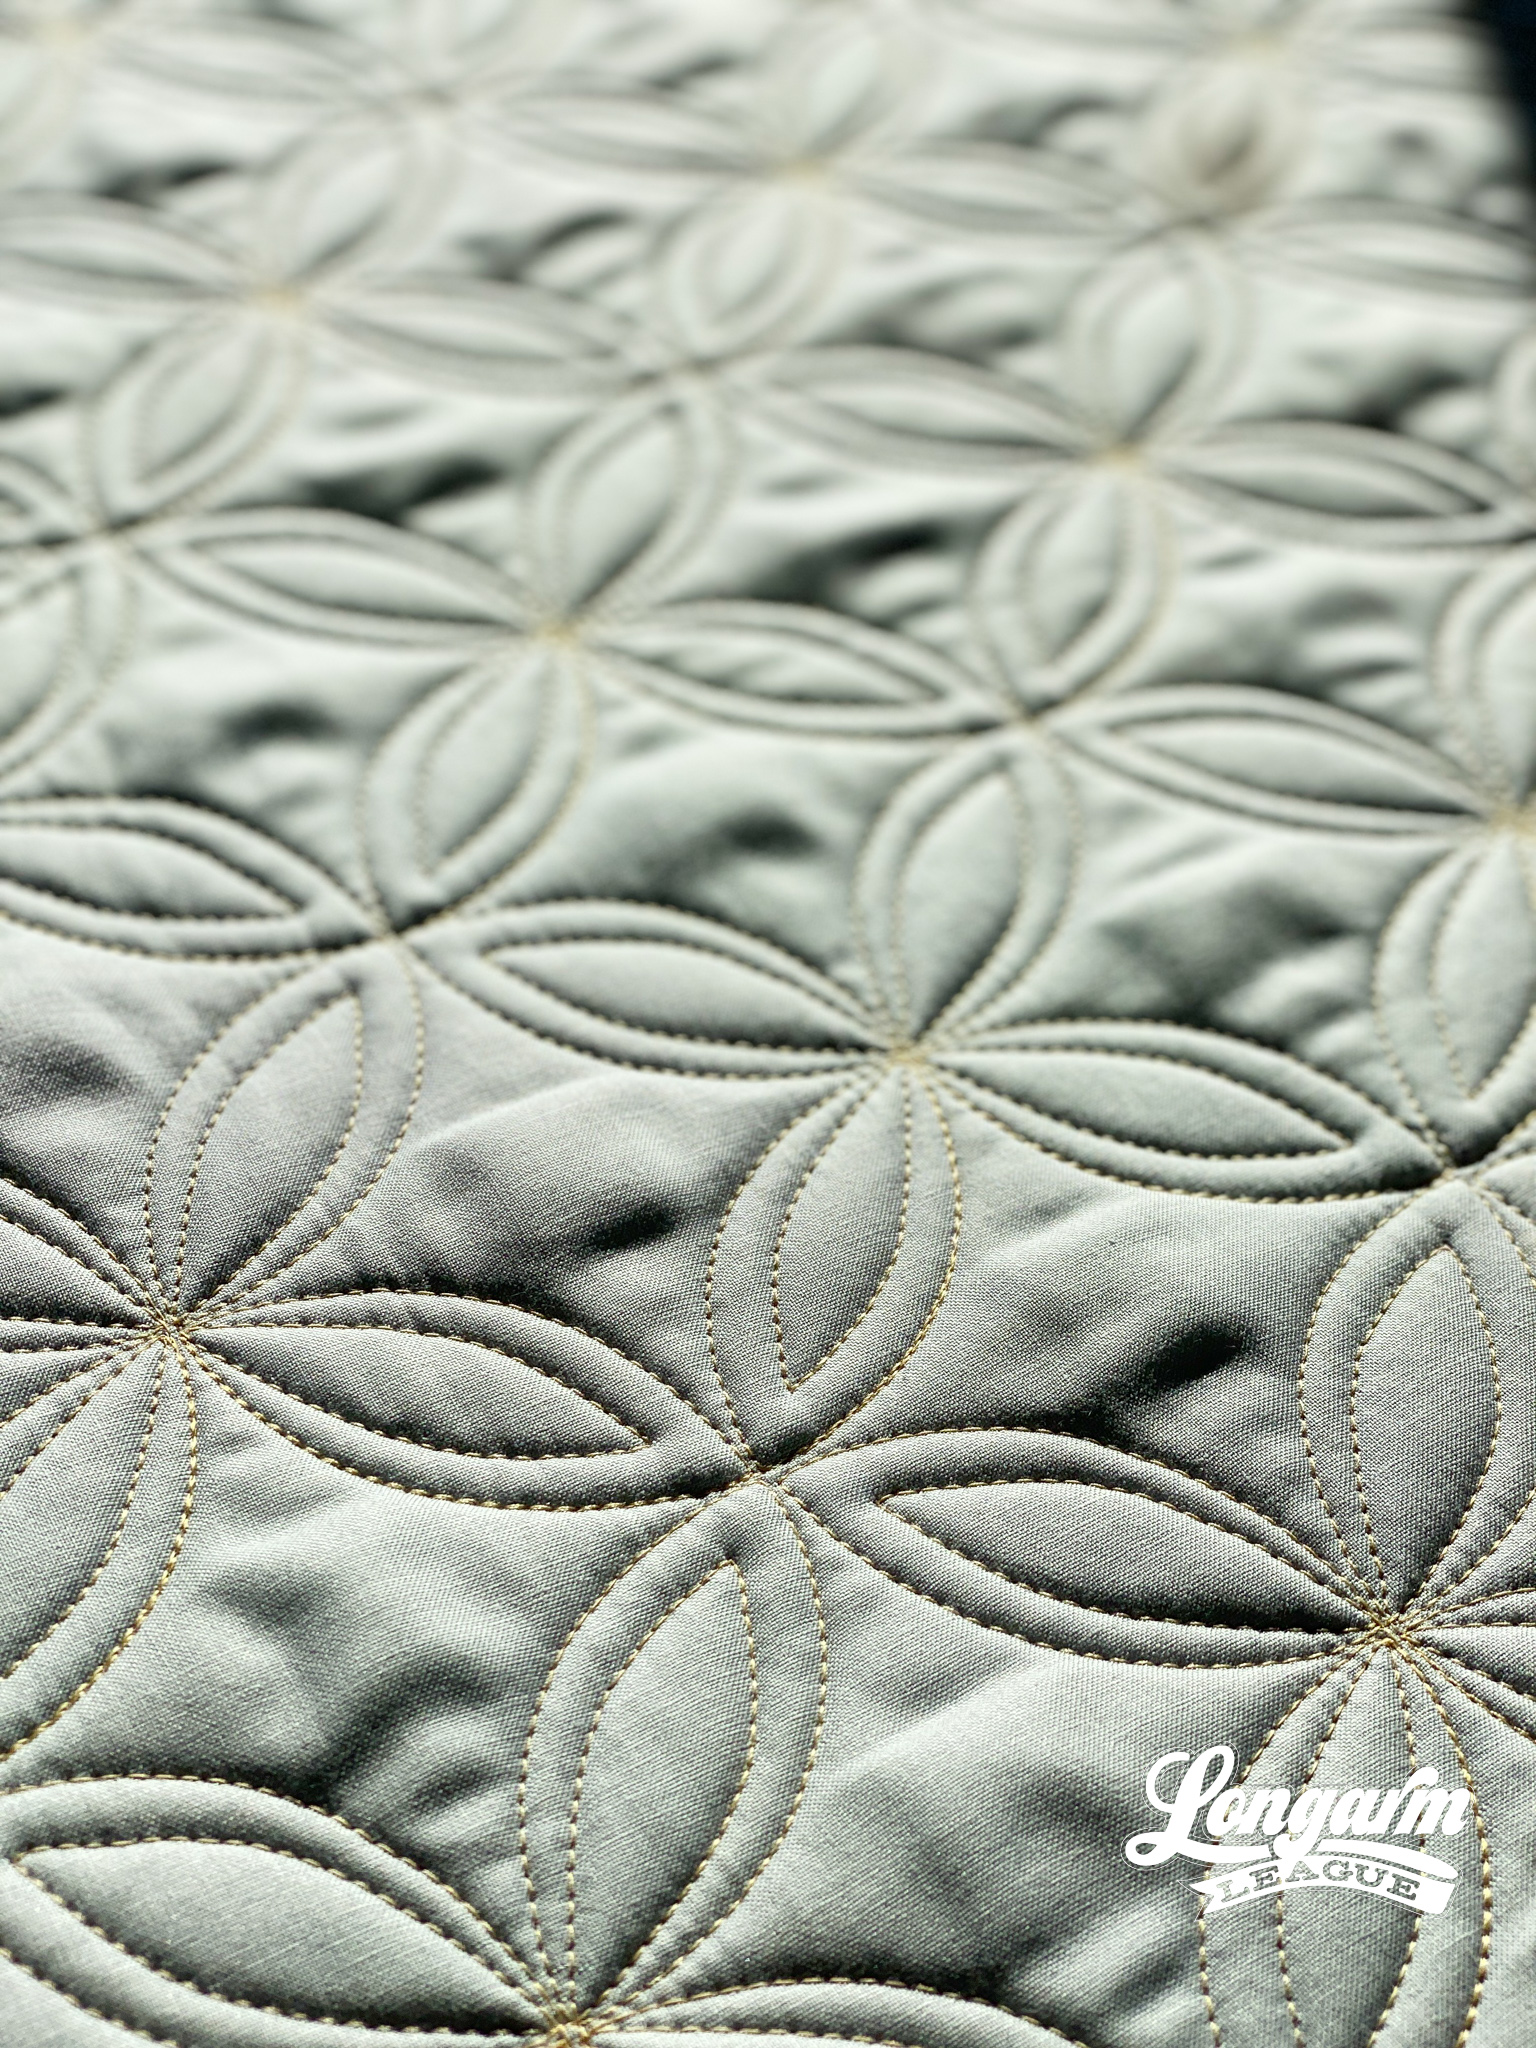
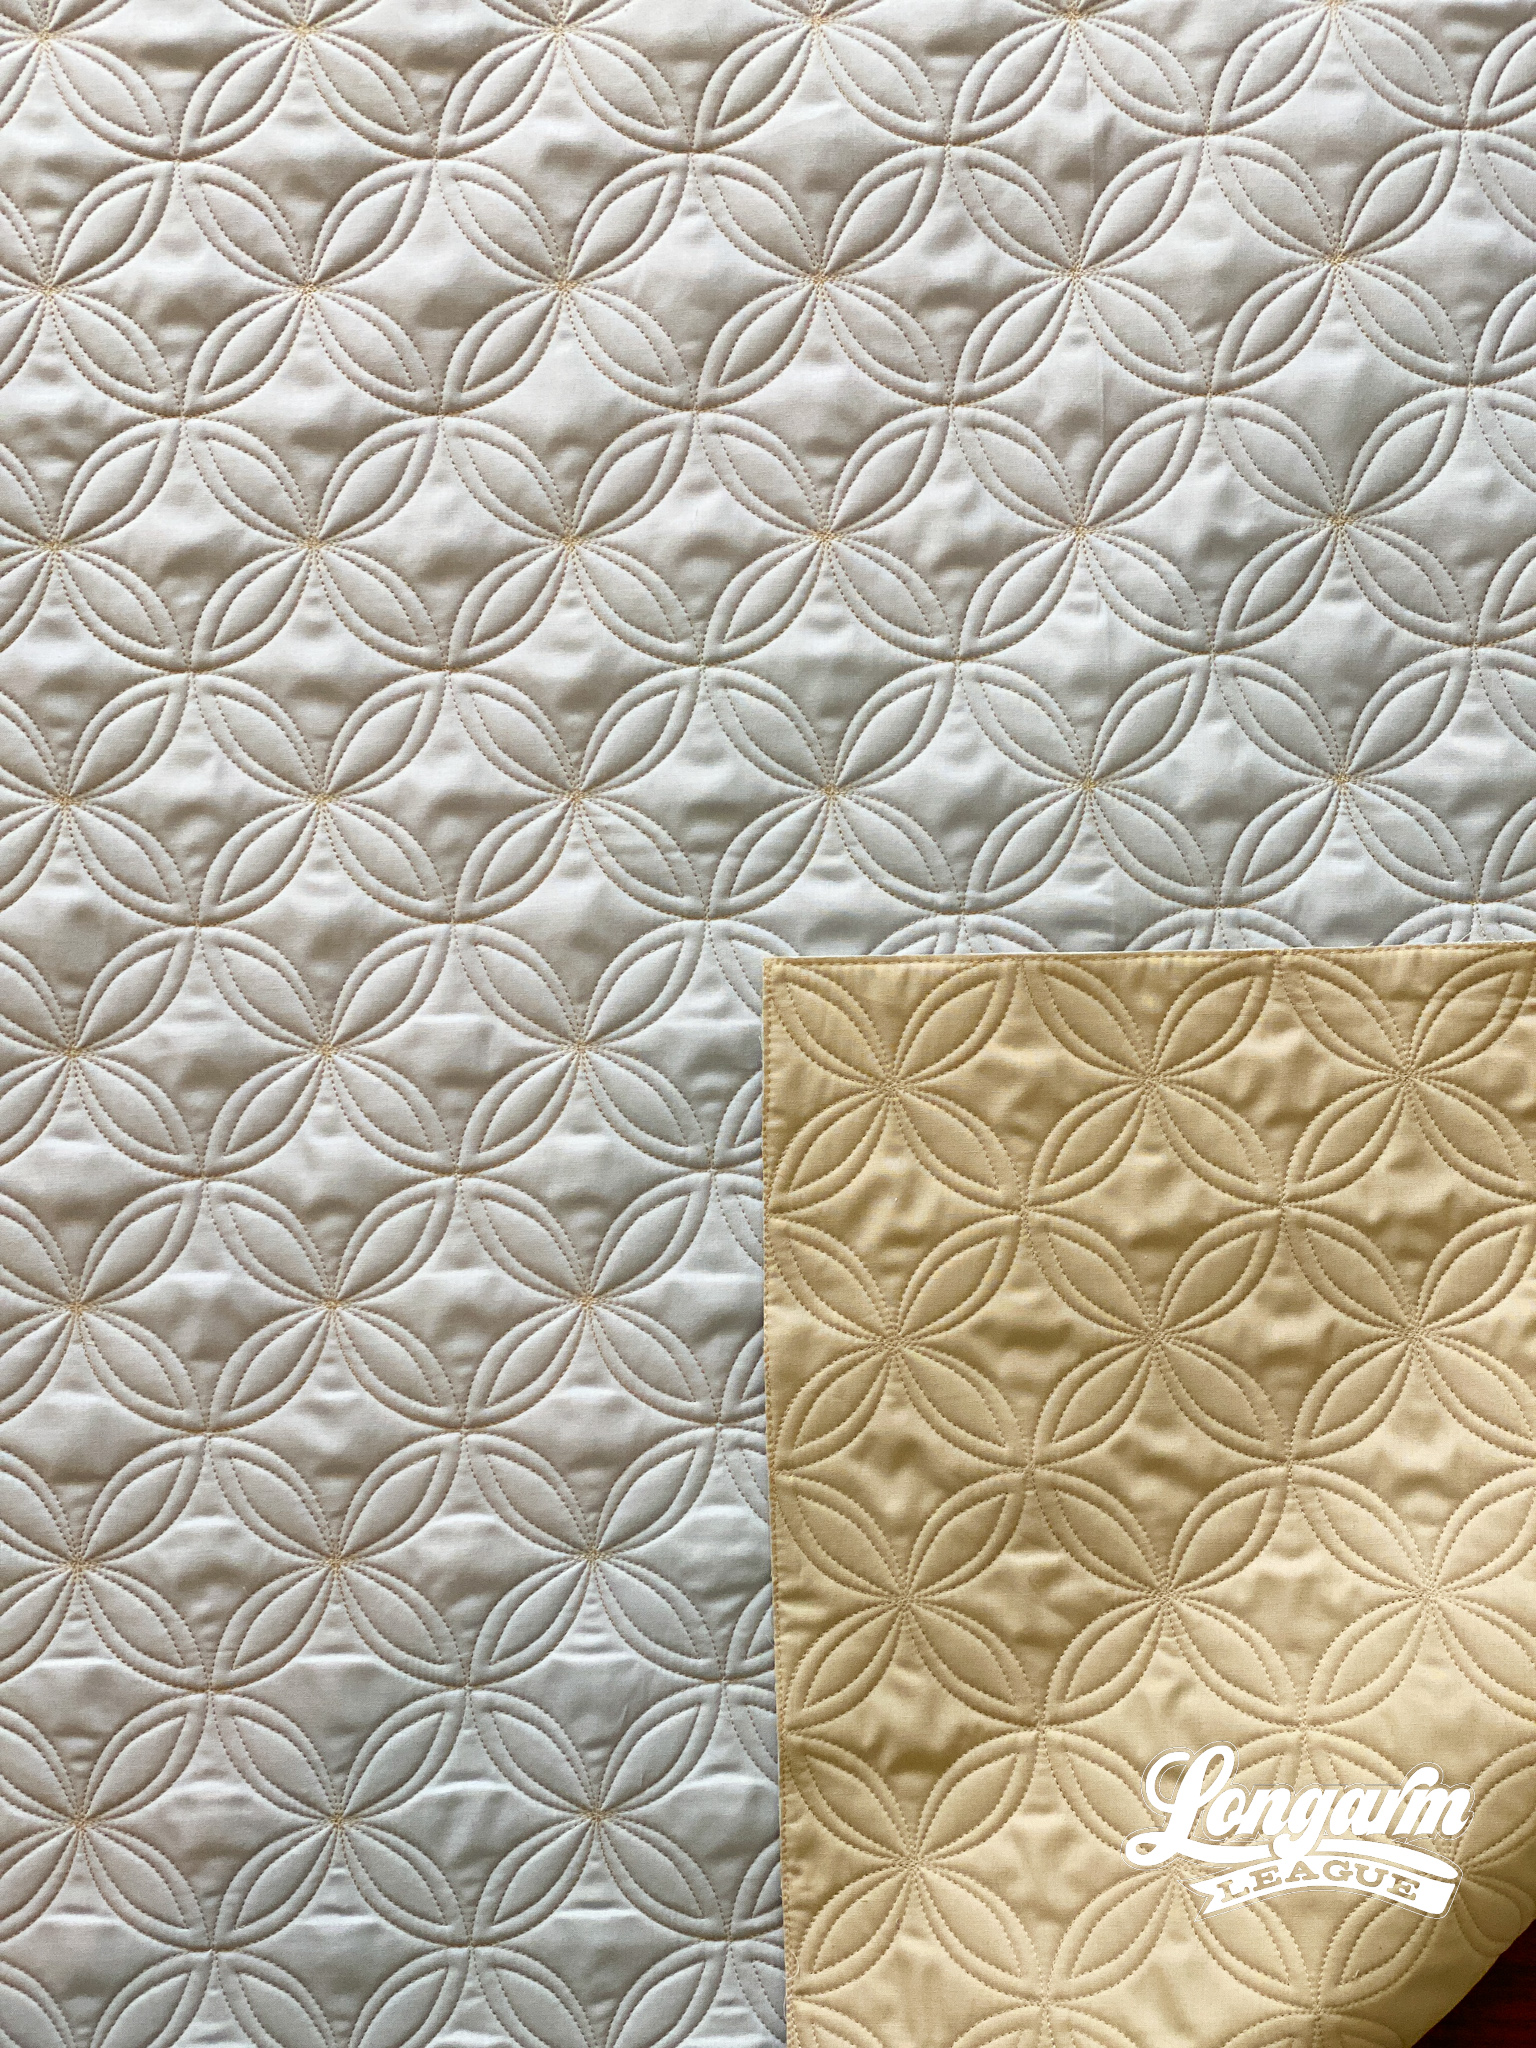
You could easily use this design on modern tops or traditional tops and it'll look great on both. In fact, I think the classic design is made a touch more modern by having the echoed "peel" within each shape. And when used on a traditional quilt top, I think that's when it could read a bit fancier.
I could also see this design lending itself well with floral-themed quilts.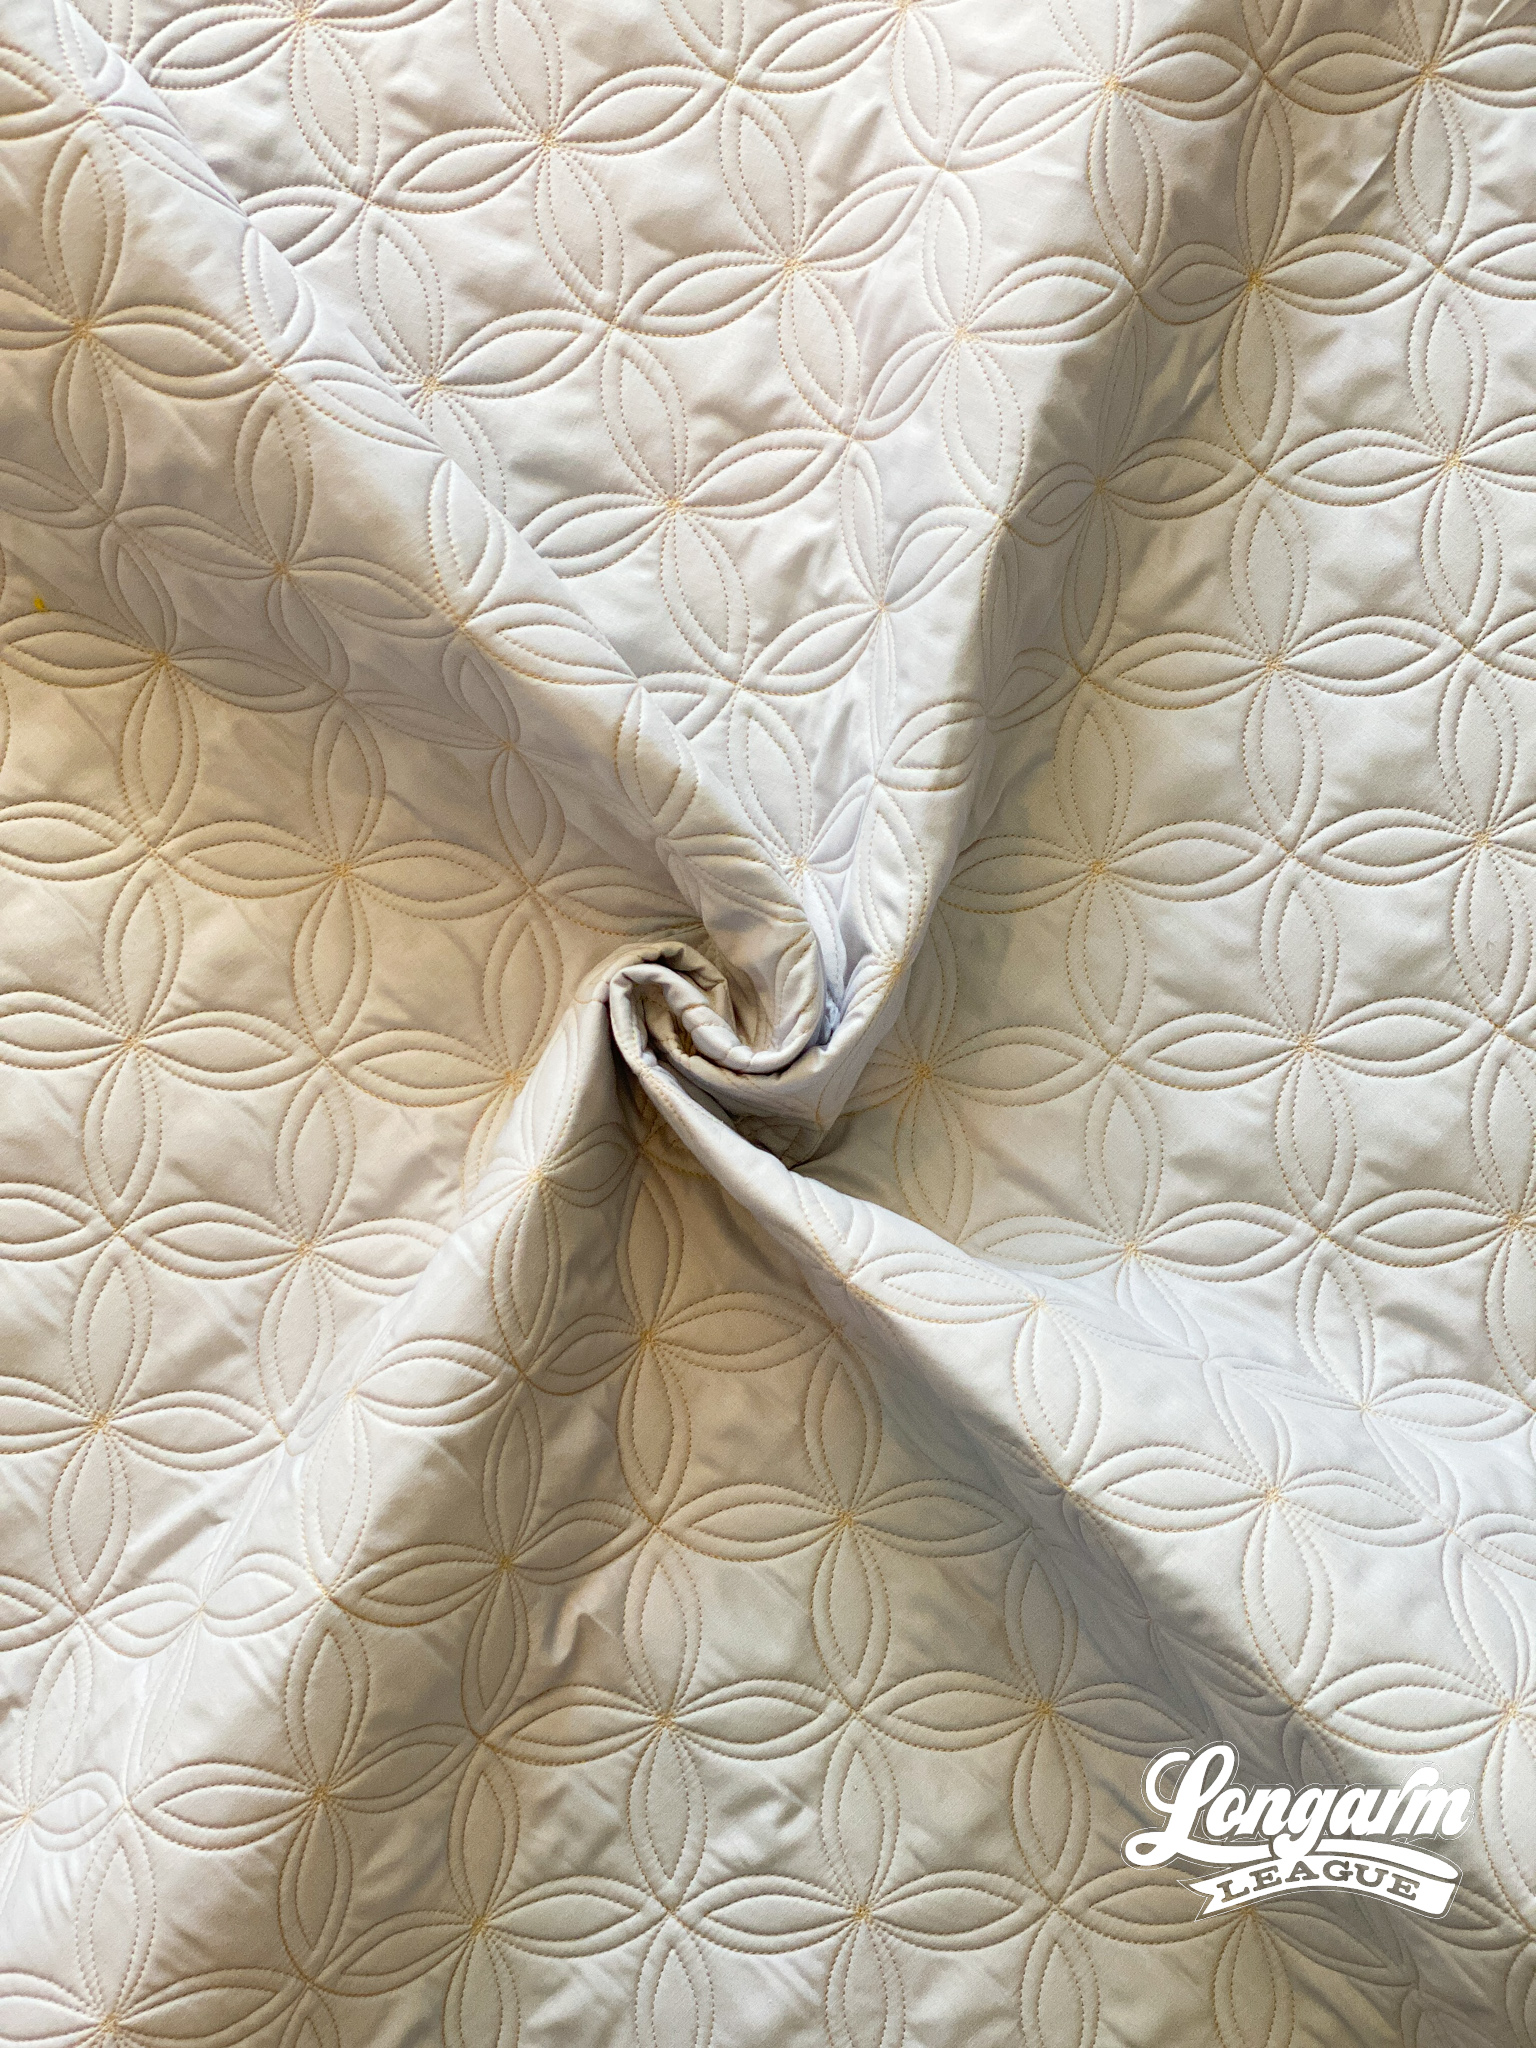
Another major benefit of this design is that it's multi-directional. It's going to look the same whether you load your top sideways or not. If you are trying to save time and capitalize on efficiency, loading the long side of the quilt to the leaders will mean advancing and re-aligning fewer times.

As for set-up, there is no o...

Jess Zeigler
Longarm League Commish & Owner of Threaded Quilting Studio, LLC.


